We photographers know that photography is all about painting or writing with light. It is an essential ingredient in photography and without light, there is no photography. When purchasing photography gear, one needs to wisely invest in equipment that have good light gathering capabilities. The camera and lens combinations needs to be able to gather good light, be good at focusing accurately and then capture the light neatly. Besides this, the photographer needs to know how to use light or the available light to their advantage, in order to capture beautiful photos.
In order to harness the power, dynamism, and idiosyncratic nature of light, it is absolutely necessary for a photographer to establish a real relationship with light. As is true in human relationships, understanding is a key component. Any photographer who wishes to reach their full creative potential should, likewise, make it a point to understand the vital characteristics of light.
There are some fundamental characteristics of light that we need to understand and learn to use when starting out on photography. Without this, you will not be able to create visually appealing photographs that will stand out from the rest. Once you understand light, you will become obsessed with it that you will always be keeping your eyes open for some great light and on how to use it to create stunning photographs.
Here Are Some Of The Fundamental Characteristics Of Light:
1. Quantity or Intensity of Light
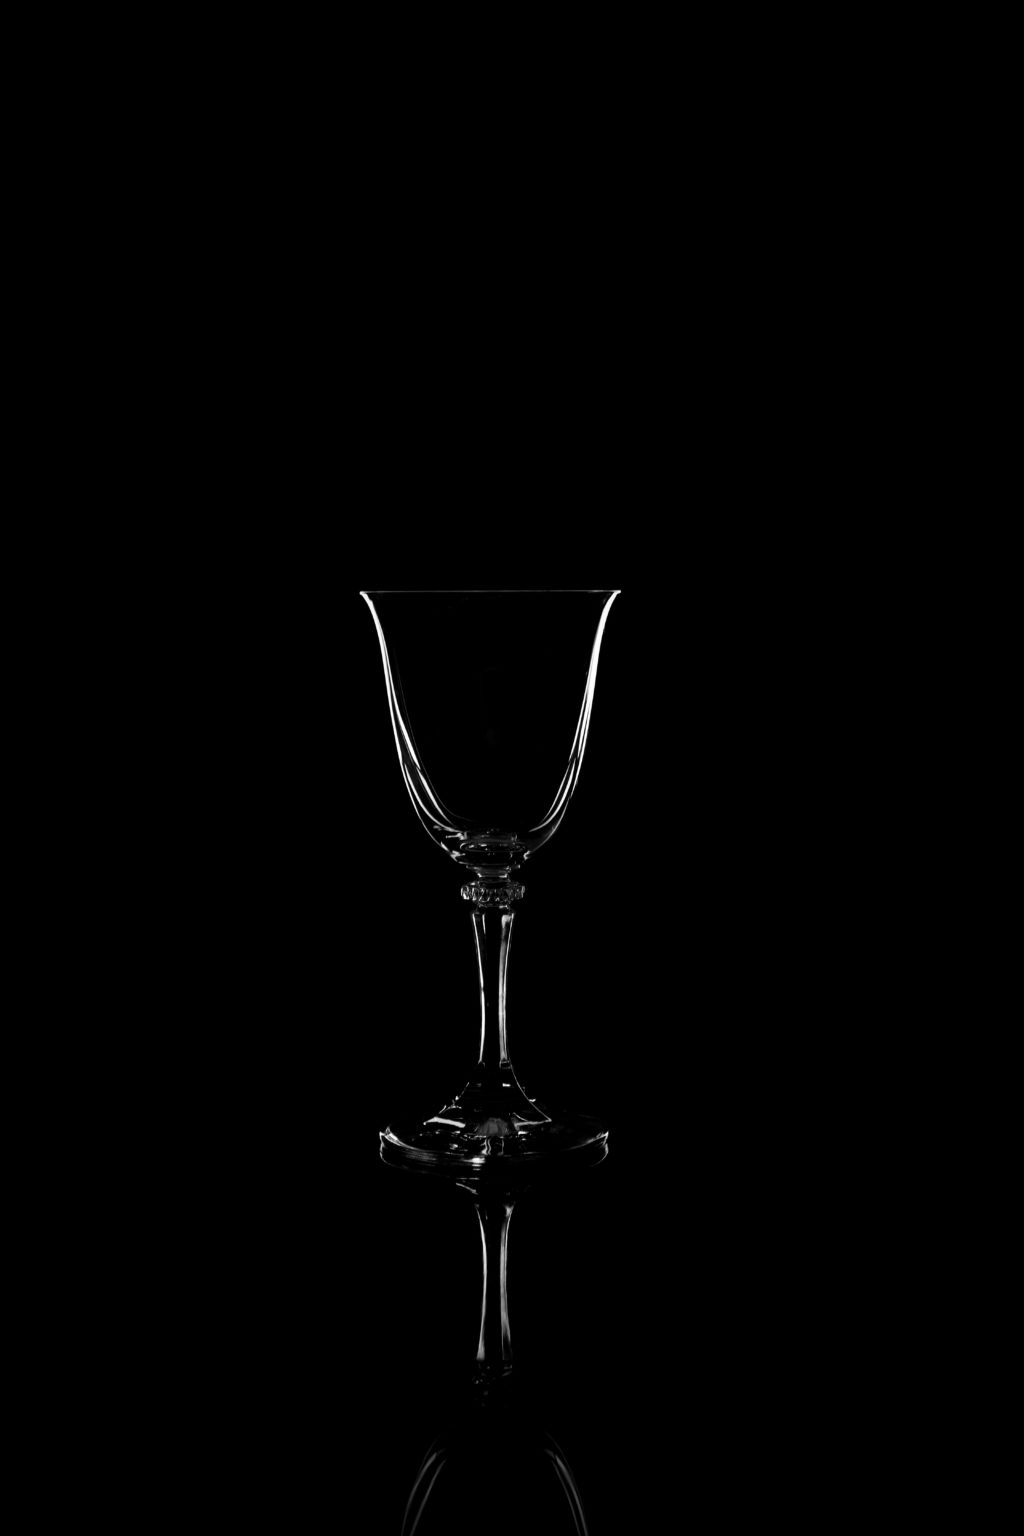
When entering into any environment where you intend to make a photograph, the first characteristic of light — whether natural or artificial — to pay attention to is “Intensity.”

The intensity of light may also be referred to as quantity of light and it refers to how bright or dim the light source is. This is just a way of speaking about the amount or strength of light present. Light intensity can also be used to represent the mood of the scene; for example bright light as cheerful or dramatic and dim light as mysterious or melancholic.
As a practical example, think of how your eyes react when you walk into a dimly lit room after spending some time in a brightly lit room; for a moment, you can’t really see much of anything — everything is underexposed. Or, when entering a brightly lit room after being in a dimly lit room, the light is a bit overwhelming — everything is overexposed.
A camera reacts to light in very similar fashion; not enough light underexposes, while too much light overexposes.
While you have to wait a few moments for your eyes to adjust to changes in the intensity of light, you can simply change the settings for your camera’s aperture, shutter speed, and ISO level (the exposure triangle) to control intensity. Say you want to do some shooting at the beach. The ideal thing to do would be to wait until about an hour or so before sunset, as the quantity of light is considerably lower than during midday when you run the risk of overexposing parts of your photos. Otherwise, you will have to make some thoughtful adjustments to your camera’s settings in order to get the right exposure.
In situations with intense light, you will generally want to keep the ISO low, the shutter speed high, or the aperture small (large f-number). One or more of these adjustments will serve to lessen the intensity of the light recorded by your camera, thus preventing blown out images.
The same principle applies to the opposite scenario; shooting in an environment with less light available will call for you to boost your ISO, slow your shutter speed, or open up your aperture. Each of these adjustments allows in more light and will help you avoid having photos swamped by darkness.
2. Quality or Hardness of Light
The quality of light is not something we can measure. It is, instead, something we describe based upon visual perception; light is either soft or hard (or some similar descriptive variation).
Soft light is non-directional and typically comes from a diffused source. The shadows created by soft light are not well defined but soft. When you’re using flash and you aim the flash into a white umbrella, for example, you are diffusing the light and softening it or on an overcast day, the sunlight is diffused by the cloud cover and the whole sky becomes a huge and soft light source. Soft light helps creates smooth, gradual transitions from light to dark without causing strong shadows to appear.

Hard light is harsh, directional, and casts strong shadows and bright highlights. If you’ve ever attempted to take a portrait of someone under the midday sun, you likely noticed your subject’s facial features — particularly the eyes, nose, and neck — cast or were beset by harsh shadows. There will be a huge range of intensity variation between the highlights and shadows and this is a typical trait of hard light.
Light sources smaller than the subject cast hard shadows and light sources bigger than the subject cast softer shadows. So, the bigger the light source relative to the subject, the softer the light.
Note: If you are confused about the sharp shadows cast by the Sun, although the Sun is huge, the huge distance of the Sun from the Earth makes it a relatively small source of light compared to Earth. So on a bright sunny day, the shadows cast by the Sun have very strong, well defined edges.
Portrait photographers overwhelmingly prefer soft light because it is perceived as more flattering. As alluded to above, photographers use a wide variety of devices known as modifiers in an effort to soften the otherwise harsh light of their strobes and flashes. However, natural light can be diffused also; shooting on a cloudy day or using the sunlight trickling in through a window can create beautiful soft light.
As a general rule, the bigger the light source in relation to your subject, the softer the light will be. Moving that light source closer to the subject, if possible, will also help soften the light.
In terms of intensity of light, the closer the light source, the higher the intensity of light and the farther the light, the dimmer the light.
Therefore, this is not to say that there are no uses for hard light; hard light, used properly, can infuse a portrait with a striking touch of drama. The quality of light one prefers to use comes down to artistic choice, but the first step in being equipped to make such decisions is having an understanding of the quality of light — soft light or hard light —and its fundamental impact on the photos you create.

3. Color or Temperature of Light
Color or temperature of light is all about mood. A photograph may have a color cast or tint of sorts that strikes the viewer as being “cool” or “warm” light. This, of course, has nothing to do with the weather at the time the shot was taken, but can vary with the time of the day or under the type of light it was shot.
Contrary to what we perceive with our eyes, light isn’t typically crystal clear — it actually has a color to it and that color can vary under certain conditions. A photograph taken in deep shade, for instance, may have somewhat of a bluish hue to it; this is a shot we would refer to as being cool. Conversely, the golden light of sunset would translate into a warm shot.
Color temperatures are measured on the Kelvin scale and range from roughly 1000K on the warm, red end to 10,000K on the cool, blue end of the scale. As a point of reference, daylight and electronic flash fall into the 5000 to 5500°K range; tungsten/incandescent bulbs are rated at about 2500°K to 2800°K.

Color temperature has a profound impact on photography. Depending on what type of lighting you are using on your subject, it has the potential to cause some undesirable color casting in your shots. To work around this and ensure that your photos are accurate representations of the scenes you are shooting, you will have to adjust your camera’s white balance to even things out.

However, this is yet another area where there is a lot of subjectivity. A cool scene can be warmed, a warm scene can be cooled down, a feat made extraordinarily easy with digital photography. Plus, if you shoot raw you can fix color temperature in Lightroom, Photoshop, GIMP, or just about any other image editor. A basic understanding of color temperature and white balance will give you greater creative control over your photography.
4. Direction of Light
In addition to exercising control over the quantity, quality, and color of the lighting being used, a portrait photographer also has some control over the “shape” of their subject’s face. How? By dictating the direction from which the light is coming. Direction of light also decides the length of shadows and these shadows are responsible for creating a sense of depth in the images!
This is rather easy in a studio setting. All you need to do is move your key light (main light) into a position that creates the look you want; the way the light reflects in the subject’s eyes, the way it wraps around the face, the direction and strength of the nose shadow. If a multi-light setup (hair, rim, and fill lights) is being used, the position of those other lights can also be arranged to fine tune everything and further affect the shape of the face.
Here Are Some Scenarios Based On The Directions Of Light:
- When light hits the subject straight from the front, the light can look a bit flat without much features seen on the subject. It will lack much shadows and hence not have much depth.
- If the light hits the subject at an angle, say 45 or 60 degrees, shadows are created and as a result there is more depth in the image.

- If the light hits the subject from the sides it helps to create dramatic images. You may need to use reflectors or fill light on the opposite side to fill in any dark shadows.
- If the light hits the subject from behind, it will create a silhouette. If the backlight is used as a secondary light along with another keylight that is lit at an angle, side or front, then the back light can help create beautiful rim light.
Being so precise is much trickier when working outdoors with the sun as your main light source. In this case, since the sun can’t be moved, you will have to move your subject around until you get the desired look.
Why does the direction of light matter so much? Because it influences how the portrait is perceived by the viewer. For example, “butterfly” lighting is a lighting technique that creates a symmetrical butterfly-shaped shadow under the subject’s nose and emphasizes prominent cheekbones and good skin. In order to accomplish this glamorous look, it is absolutely necessary to make sure the lighting hits your subject’s face in a very specific way. The direction of light can make or break a shot.

Do Not Forget – Contrast in Light
Contrast in light refers to the difference in brightness between the brightest and darkest parts of the image which is the contrast between highlight and shadow areas. Highlights are the brightest parts of the image and shadows are the darker regions of an image.
Contrast in an image can be increased by lighting the subject wisely. You will need to have more shadows for better contrast and lesser shadows for lesser contrast.
A high contrast image will have bright highlights and dark shadows with a range of tones/colours in between, whereas a low contrast image will have just a narrow range of tones. As a result, high contrast images look striking and low contrast images can look flat and dull.
Understanding these four characteristics of light — quantity, quality, color temperature, and direction — won’t magically make you a better photographer. The information is important, sure, but it is useless unless you are prepared to take it from the theoretical to the practical. Light is everything in photography. Learn how light works and learn how to assess it. Once you put those skills to use, you will be well on your way to becoming the photographer you desire to be.


6 Comments
Good article, Jason. Just wanted to point out that color temperature doesn’t quite cover the range of color possibilities. It’s only one axis of LAB color, the other is the magenta/green. That’s why ACR/Lightroom offers both color adjustments.
Nice point, Michael — I’d welcome some guidance on how to use both variables together — color temperature and tint — in editing RAW files. Personally, I’ve been working in Lightroom 5 lately.
Hi Randall,
LAB is based on three distinct axis: L= Lunimance; A= green/magenta, B= yellow/blue. It is incredibly powerful and can produce colors well outside of the printable spectrum.
In use in Lightroom, Color temp. is used to warm or cool an image Blue/Yellow, the Tint Green/Magenta can be used for images that have color shifts in a very basic sense. Together, with the exposure slider, you have an entire LAB color space. I have found it more useful to send a 16bit, ProPhotoRGB copy to Photoshop, then change the CMYK space to LAB. There, you will see a set of positive or negative numbers depending on the image. If used properly, it is a fantastic color correction color space. Used too much, it can ruin an image because it has the ability to separate color.
Check out Dan Margulis’ writings on the subject of LAB. He is an expert in the field and has at least two two books: The LAB Frontier, and Professional Photoshop. The latter has to do with color correction and is amazingly in depth. I found it to be a hard read several years ago, so I’ll have to revisit it. He also has classes on KelbyOne.com in which he goes into detail on the subject. LAB is a color space that is not for the faint of heart once one digs in, but oh, how powerful it can be.
Thanks, I bought the blue prints, but the articles are priceless.
Breif discription
Good to learn
Excellent, very helpful, as was the discussion.