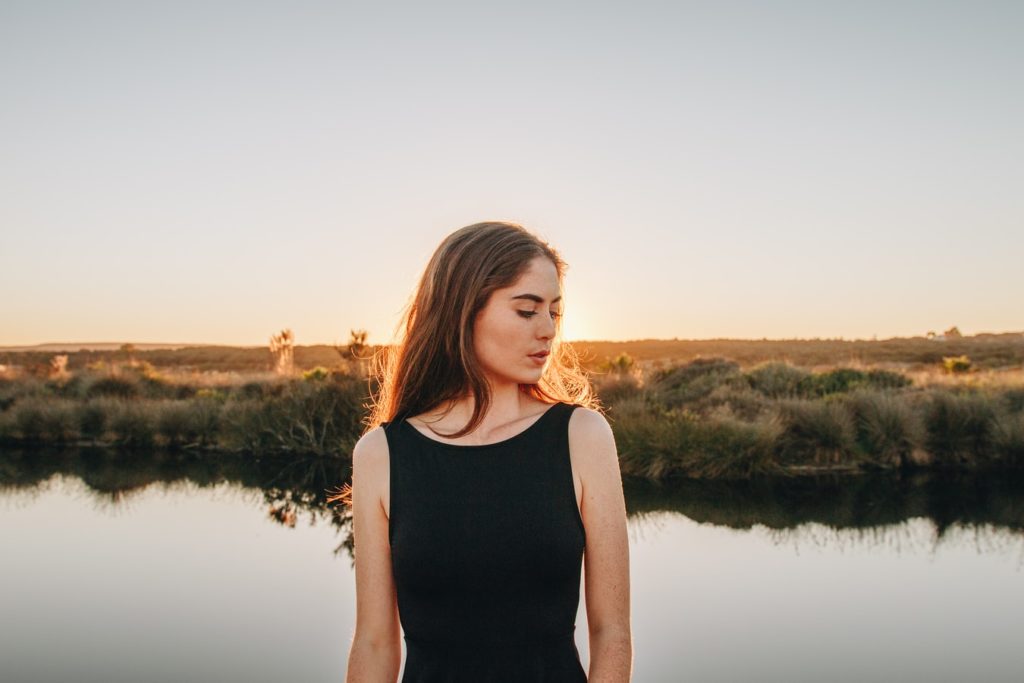
Portraits taken during the golden hours – that is, the time just before sunset and after sunrise – have an incredibly powerful light to them. The dramatic back-lighting from the sun and the golden tones that flood your viewfinder can give you an incredible image. Not only that, the mood of your photo is vastly different from portraits taken with overhead or flat lighting – there's a warm, carefree feel to this time, and your artistic flexibility is truly unlimited.
To achieve these stunning portraits, there's a need to place the sun behind your model and in your viewfinder, which makes this a bit different from your average portrait session. Below are a few key points to know to ensure you get the most out of this short window of opportunity.
Rim Lighting
A hge benefit to having portraits backlit with the sun is achieving that wonderful rim lighting – where the edges of your model are outlined by a thin thread of light. When photographed at the right angle, you have an incredibly powerful portrait.
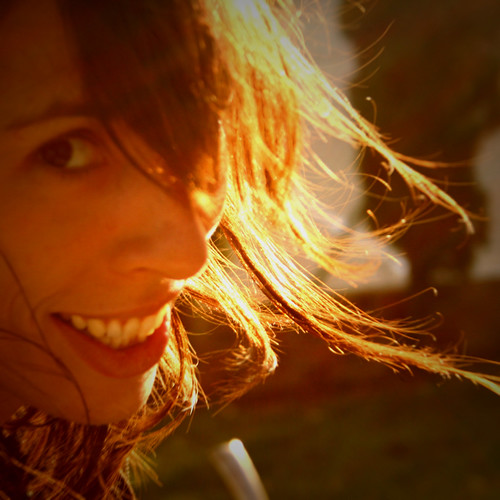
Rim lighting is most prominent on subjects that have a thin profile – such as hair and grass. The light can wrap around thin subjects which causes that great golden outline of light – a wonderful way to trace your model. Composing your photo so that the sun is directly behind your model is needed in order to achieve good rim lighting – and is why these golden hour portraits look so incredibly stunning.
Using a Wide Aperture
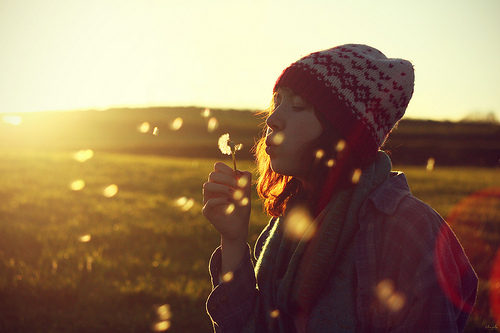
For a truly artistic approach to shooting these golden hour portraits, you can open your aperture wide up which will give you a fantastic shallow depth of field…not to mention plenty of great-looking bokeh. As you may know, bokeh is more prominent when dealing with light sources – and the setting sun can provide a huge amount of light that can turn into beautiful bokeh – not to mention the benefits of selective focus and a less distracting background.
Depending on how much light you’re working with though, you may find yourself letting too much light into your sensor and overexposing your image – this happens often when using a wide aperture into the sun. If this happens, you can easily use an ND filter to reduce the amount of light entering your camera and bring your shutter speed back under 1/8000ths of a second.
Foreground Interest
A great layering technique that you'll find often with these portraits is to shoot with a wide aperture and place something in the foreground – usually some type of foliage. Lock the focus on your model and the foreground will become blurred – giving a natural, soft layering effect that adds depth and interest to your image.
Tips on Shooting
A huge concern with photographing into the sun is the damage and strain it can cause to your eyes – you definitely shouldn’t spend an extended amount of time composing your shot with the sun in your viewfinder without some kind of protection.
A good way to get those stunning backlit portraits is to compose your shot with your subject blocking the sun – once you’ve got your settings down, sidestep quickly and take a few shots.
It’s also a good idea to have only part of the sun viewable and keep the majority of it blocked by your subject to avoid flooding your photo with too much light – it's a delicate balance to find that sweet spot which gives you a golden tone and great lens flares, so experimenting is key.
Exposure
When photographing into the sun, you have a potential exposure nightmare. You’re not just dealing with a backlit subject, but you’re trying to get the sun in your viewfinder and have it cast some dramatic golden light across your image. This can cause some major problems with your light meter and throw off your exposure greatly.
With this in mind, manual mode will work best for golden hour portraits. Fire off a few test shots in auto mode and make a note of your settings – aperture, shutter speed, and ISO – and input them into manual mode, adjusting as you see fit to correct your exposure. Since you're working with your depth of field here, it would be better to not adjust your aperture to change your exposure – instead, select your aperture for the effect you want and adjust your shutter speed to move your exposure around.
Shoot in RAW format so that you can adjust the exposure in post process if needed, and remember – it’s better to overexpose than to underexpose since it’s much easier to recover blown highlights than blocked shadows.
If you're looking for some great inspiration for your golden hour portrait, check out our backlit portrait and our golden hour portrait collections – guaranteed to give you some great ideas on composition and perspective.
Finally, a nifty tool that I've mentioned before is The Photographer's Ephemeris – a program that uses Google maps to tell you exactly when and where the sun (and moon) will rise and set, letting you plan your golden hour portrait session without playing the guessing game on where the sun will be. They also have an iOS app which allows you to install it on your iPhone, iPad, etc. – it's an incredible asset to any outdoor photographer.


11 Comments
Fabulous photos all and thanks for the tips and the link to the ephemeris – great tool!
Great information and examples, thanks for posting!
Shooting into the light at sunset for flare and a golden rim light is one of my fave ways to shoot. These also seem to be my best selling images too. Love the “golden hour”!!
These are fabulous! Thank you for the tips! (and I find the facebook comments funny- not only are these composed well and well lit, but the most beautiful photos don’t have to be technically perfect- the technical aspect tends to be the main focus of those who may not “see” art as well, just the numbers)…thanks again!
Sorry Gentleman – but the flared, over exposed look is HOT right now. Time to get with this seasons style. If you can’t keep up- you’ll never be anything great OR different. I’d hate to shoot the same style for the rest of my life. That’s my personal opinion. To call someone “amateurish” is pompous, at best. A true photographer and SECURE human being wouldn’t bash others work with out knowing what they were trying to achieve. If you feel the need to point out “issues” YOU personally find dissatisfied, perhaps have some suggestions. HELP. Don’t HATE. I’m sure you weren’t very good at one point in your life and I’m pretty sure there are others who STILL don’t think you’re that great. Let this person do what works for him and maybe provide others with tricks that work for THEM. If you don’t like his article-move on. Your pointless.
Thanks for sharing. Literally!
Good guide. Just one thing though. Are you sure this piece of advice is correct?
“it’s better to overexpose than to underexpose since it’s much easier to recover blown highlights than blocked shadows”
I’ve always worked on the opposite basis. Did I miss a memo?
Just wanted to read the original article, thanks … your a Star * 😉
What do you do when the subject’s face is too dark? How do you make it light? Thanks so much!
You can either use a reflector to reflect the sun back into their face or you can use a flash or other artificial lighting. 🙂
Just found this post while looking for something else – great stuff. Now that a lot of flashes can go high-speed and up to 1/4000, it does make it a bit easier in some cases. Cheers 🙂