Digital cameras are brimming with all kinds of spectacular features that exist ostensibly to make a photographer’s life easier. From WiFi to in-body image stabilization to built-in panorama mode, some features are far more useful than others.
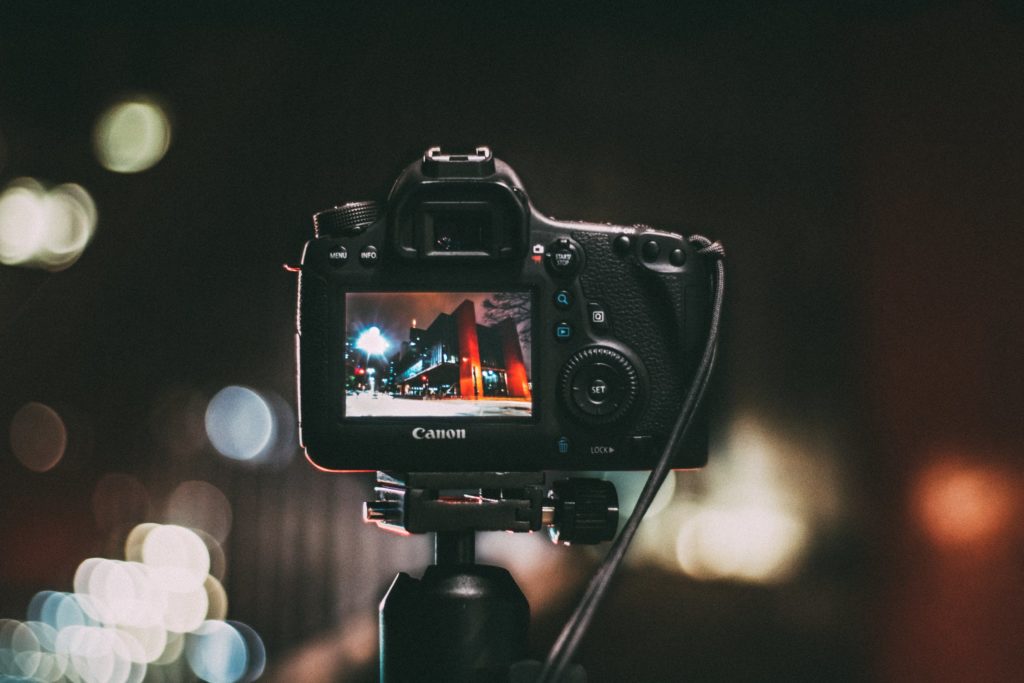
One camera feature that is fundamental to digital camera technology is the rear LCD screen. The rear LCD has become indispensable for photographers, allowing us to see what we’ve shot immediately after an image has been captured.
As wonderful a tool as the LCD is, it isn’t necessarily the best method of checking exposure, though that’s what it is most often used for.
There are more accurate ways to check exposure and we will discuss three of them below.
1. The Light Meter
Unless you’re shooting in manual mode you may not even pay much attention to your camera’s light meter but it is most definitely always at work, reading the light entering through the lens.
In the electronic viewfinder or on the rear LCD you will see a number scale with zero in the middle and numbers 1 through 3 (or 5) on either side of the zero. When the arrow/triangle located above the scale is pointed at zero, you’ve got a “perfect” exposure; if it is pointed at a number on either side of the zero, that represents how many stops under- or overexposed the shot is.
Things might look good when you view the image as it appears on the LCD preview, but looks can be deceiving. If you want to make sure your exposure is spot on, refer to the light meter.
2. Highlight Warning
Different cameras will implement this feature in various ways but the basic principle applies across all bodies: if any given part of an image is overexposed, that area will blink/flash when the image preview is displayed on the LCD.
A blown highlight doesn’t automatically mean your overall exposure is wrong. For example, if you shot a sky full of clouds you wouldn’t want the whole sky to blink, but a small patch nearest the sun might blink.
Photographers who like to “expose to the right” will find the use of “blinkies” especially useful. If the parts of the image that you want to be overexposed are blinking, and the parts that you don’t want to be overexposed aren’t blinking, then you can be sure you’ve got a good baseline exposure.
The LCD alone won’t accurately indicate which parts of an image are overexposed.
3. The Histogram
As the previous two points have illustrated, the concept of perfect exposure really isn’t perfect at all. The best exposure can vary according to factors such as subject matter and the mood you’re trying to evoke.
However, it’s vital to learn the basics of exposure before you can operate with any useful degree of creative freedom. Learning how to use a histogram effectively is a good way of learning this.
The histogram will let you quickly determine if your image is over- or underexposed. The left side of this graph represents shadows, the right side represents highlights. If the bulk of the graph is to the left, your image is underexposed, to the right your image is overexposed. The “ideal” histogram will be evenly distributed from edge to edge with no clipping, but this ideal won’t apply in every situation.
If you increase and decrease the brightness level of your camera’s rear LCD at different times of day, there’s no way you could ever rely on it for critical examination of exposure. Using the histogram makes LCD brightness irrelevant in this context.

Final Thoughts
Exposure is a fundamental component of photography — it can determine whether a shot is a keeper or not.
While the LCD is a great way to judge things like composition and framing, it’s best to not be overly trusting when it comes to exposure.
Sure, if you shoot raw you have quite a bit of breathing room in post-production. But in the spirit of getting things right in camera, take advantage of the other tools that your camera provides to make more accurate assessments of exposure.
Further Reading
- Creating Beautifully Executed High-Key Photography
- When and Why Should You Use Exposure Compensation
- 7 Essential Resources To Help You Understand Exposure
- Bite Size Tips: How to Get the Perfect Exposure with a Histogram


2 Comments
Much better than M mode or this 3 methods is to learn how to use Ansel Adam’s Zone system on camera’s light meter.
Great for landscape, street, fashion etc but what about wildlife and nature?sometimes you only have a split second to capture animals/birds etc.