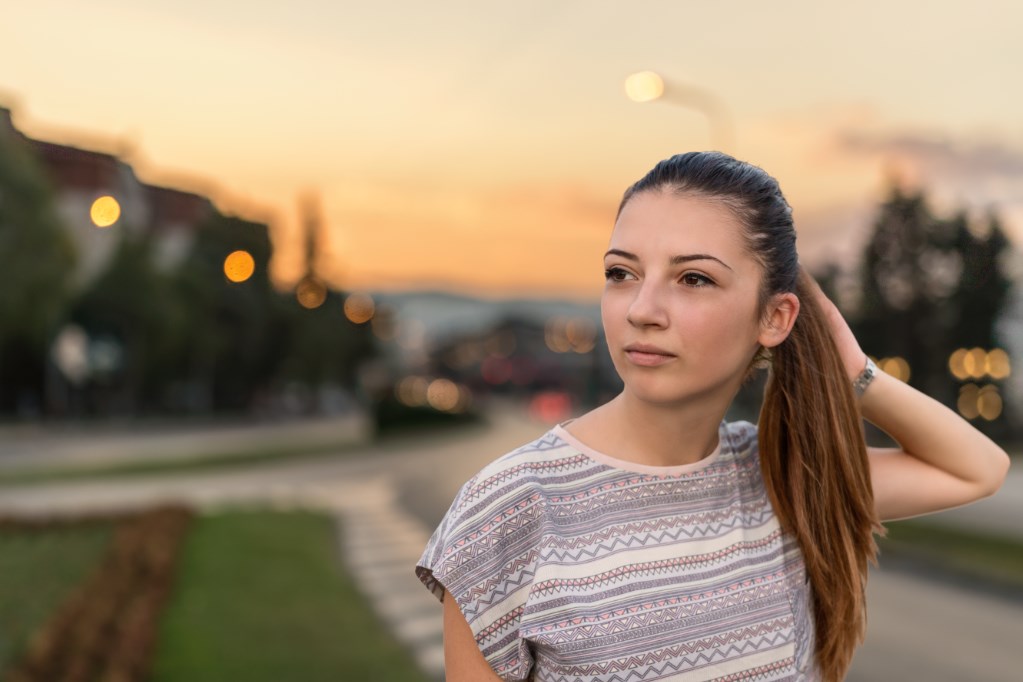
Previously I’ve talked about preparing and shooting your images for the composite. If you missed it, click here.
Once the images are uploaded in Photoshop, the retouching should be done first. I will use the frequency separation technique to retouch the portrait before masking it to fit the other background.
Before you start, convert everything to smart objects. You will get to resize things repeatedly in order to fit the scale and scene, but resizing a regular layer can make things difficult since the resolution is lost upon scaling it down.
Let’s begin masking and matching.
How to Handle Masking
The primary thing about masking is that you must work non-destructively. Using the eraser tool and deleting things is a recipe for failure.
The first thing I do is use the “Quick Selection Tool since I am” doing this to get a rough selection. Later on, I will refine the selection more precisely by hand.
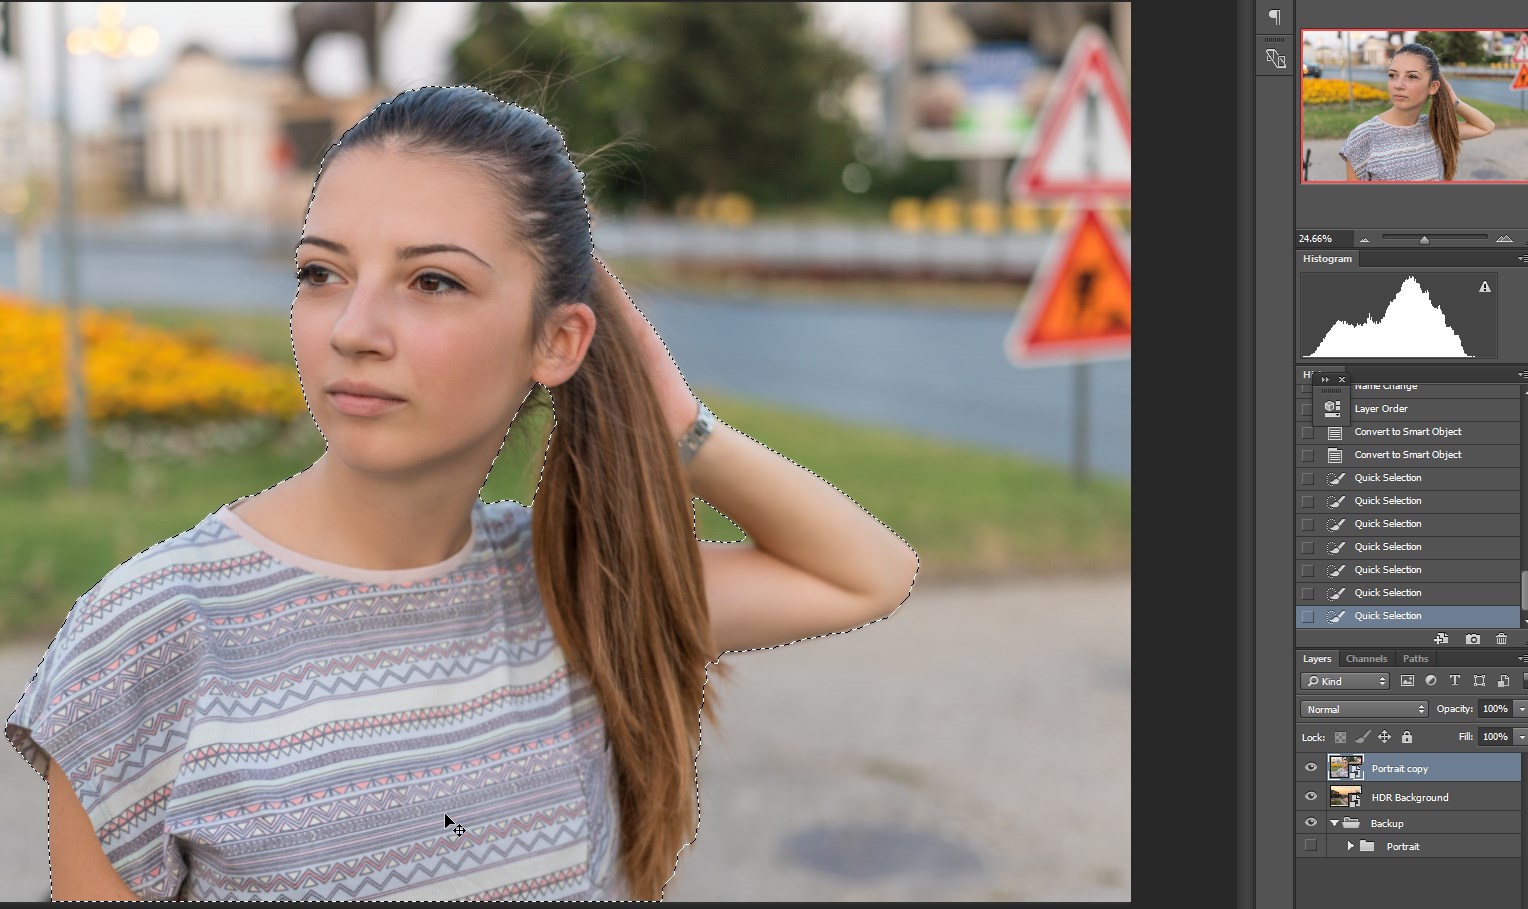
You can add to the selection with the “Quick Selection Tool” just by clicking and dragging over and over again. You can remove from the selection by holding the Alt key.
Once you are satisfied with the selection, right click on the selection and head out to “Refine Edge.”
You can adjust the settings as you feel necessary. I usually turn on “Smart Radius” and refine the edges of the selection.
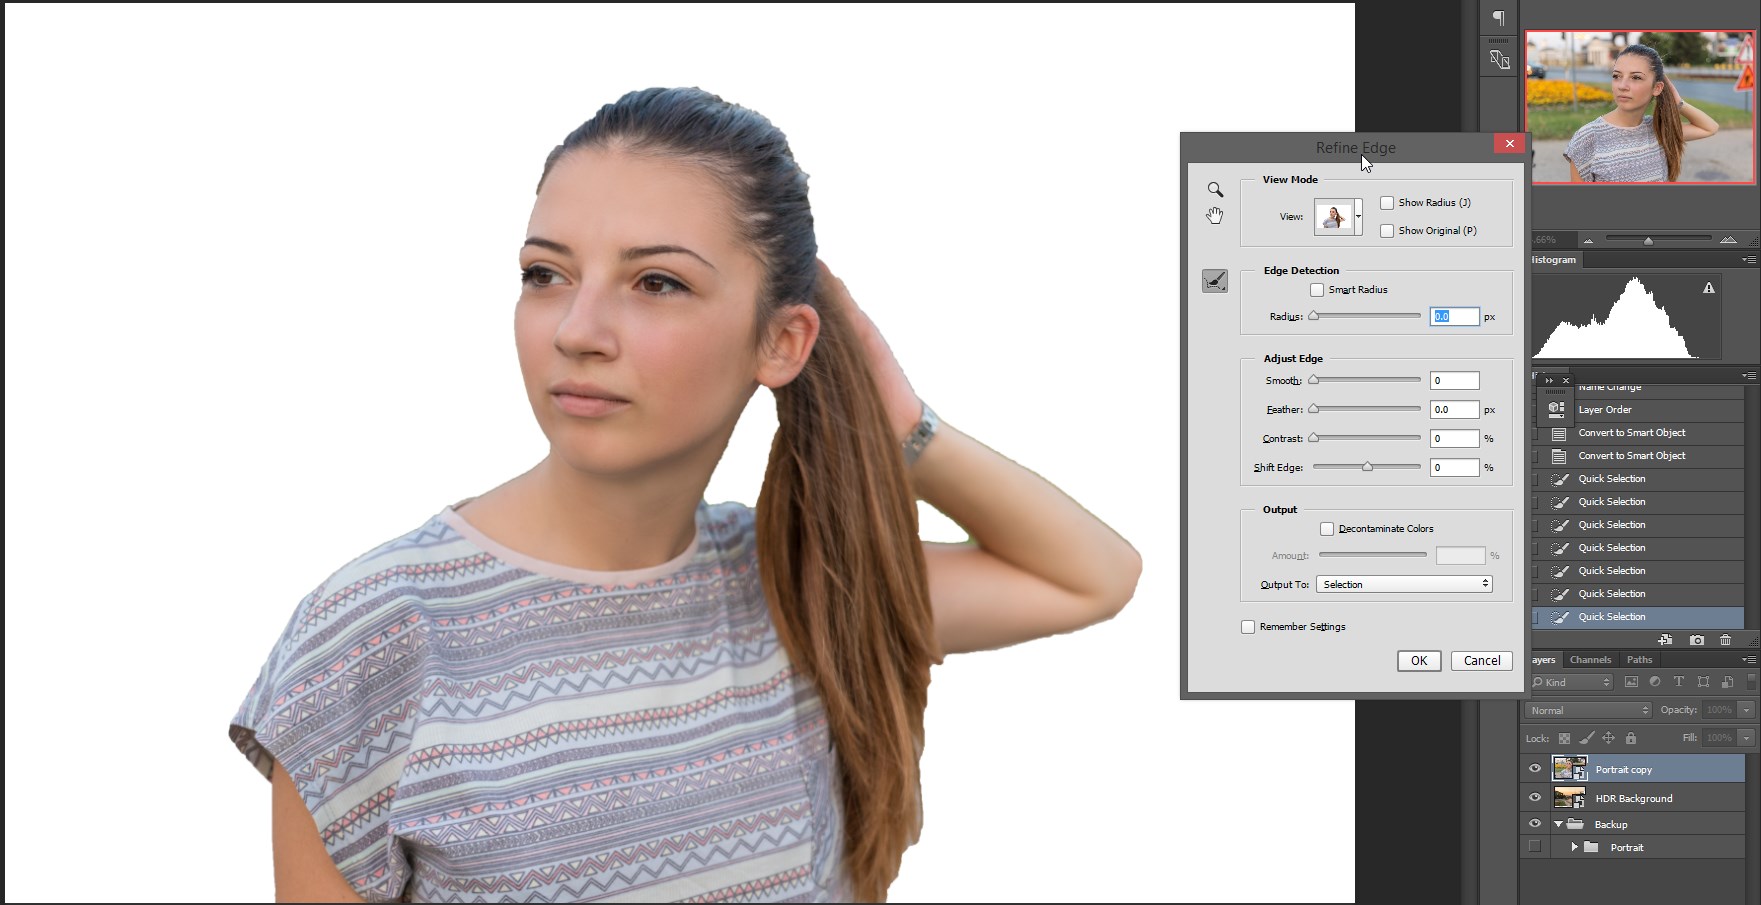
Since we are working non-destructively, under “Output To” select “New Layer with Layer Mask.” The selection won’t be perfect and you’ll need to mask further by hand later.
Now for the fine-tuning: grab a brush, give it a softness of around 50%, reduce the opacity to about 25%, and start painting the edges at a high-zoom in order to be as precise as possible.
You can use the original layer as a reference for the areas that the “Quick Selection Tool” may have missed and manipulate the feathering and strength of the brush to compensate. It is important not to forget about the depth of field. If there are soft edges, keep them as soft as possible using a soft, large brush. Of course, you should try to match the softness that the lens created in the first place.
How to Get the Light Right
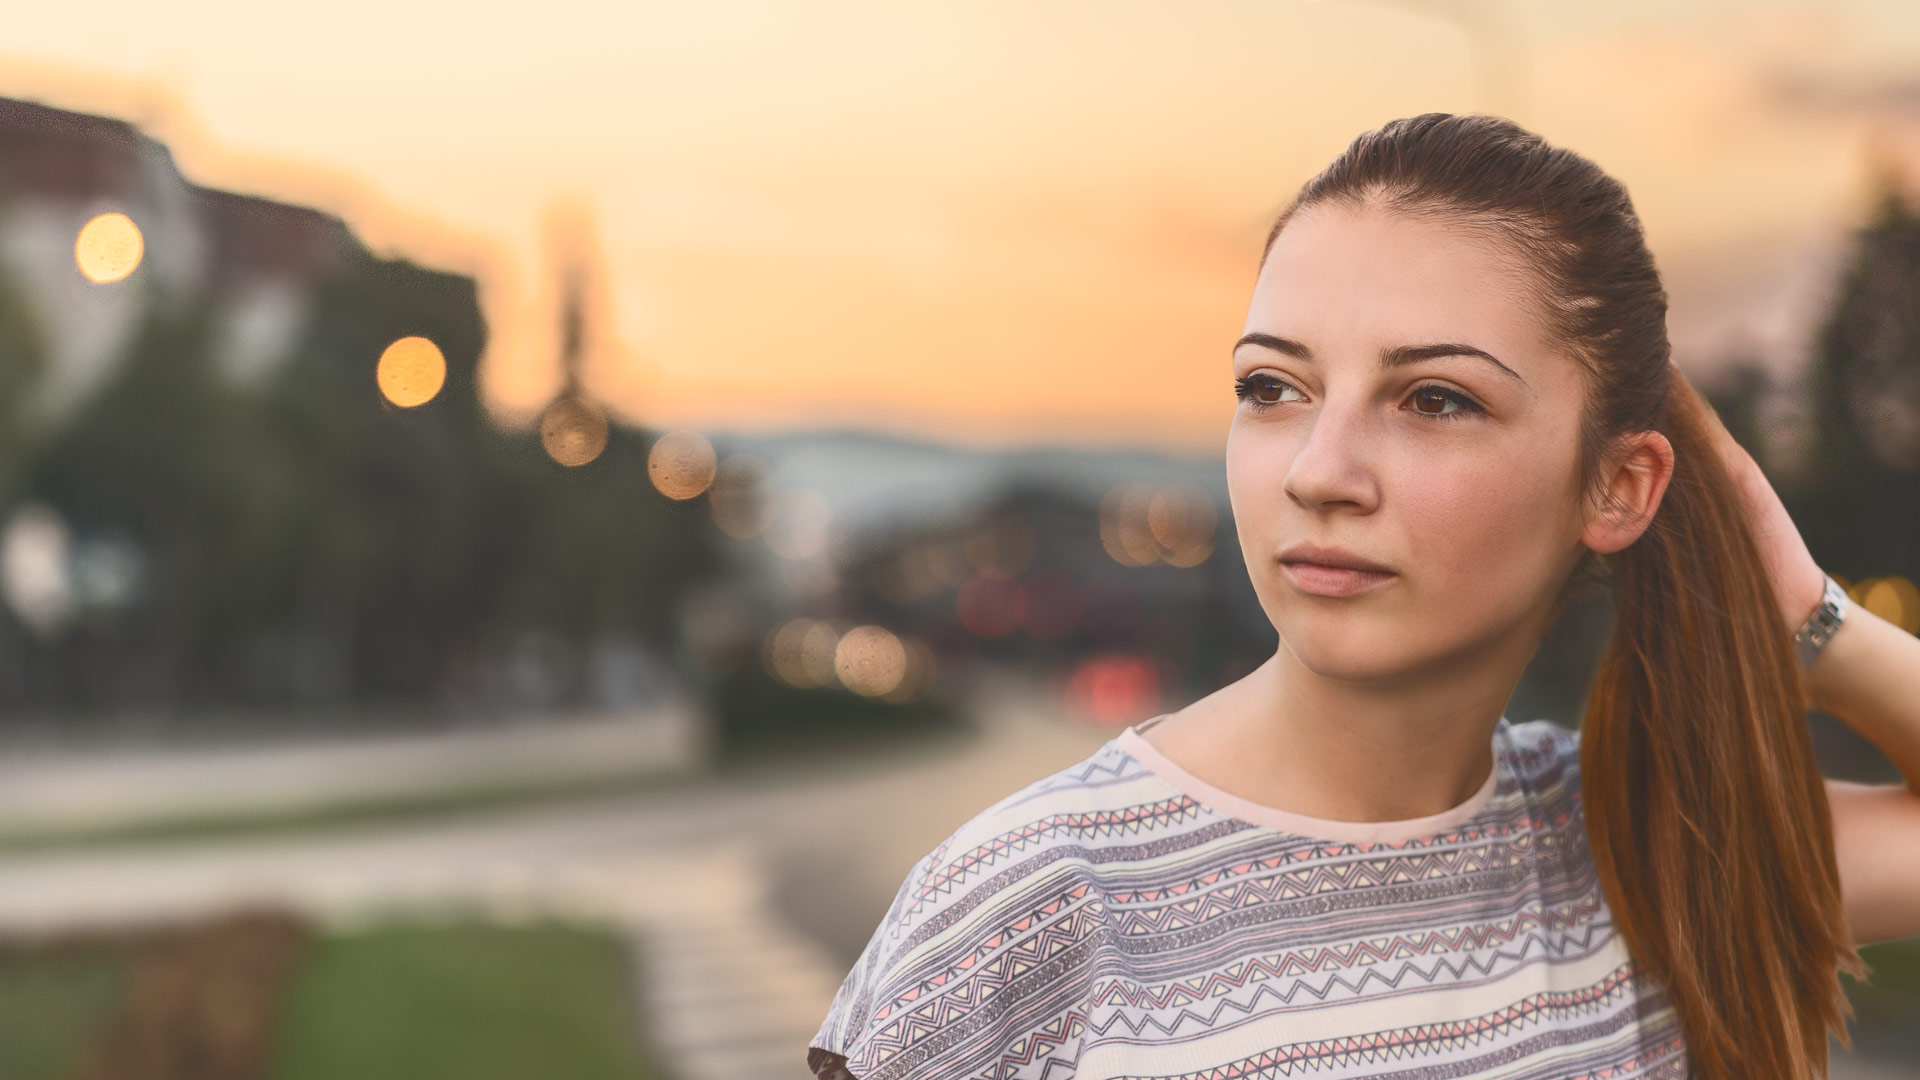
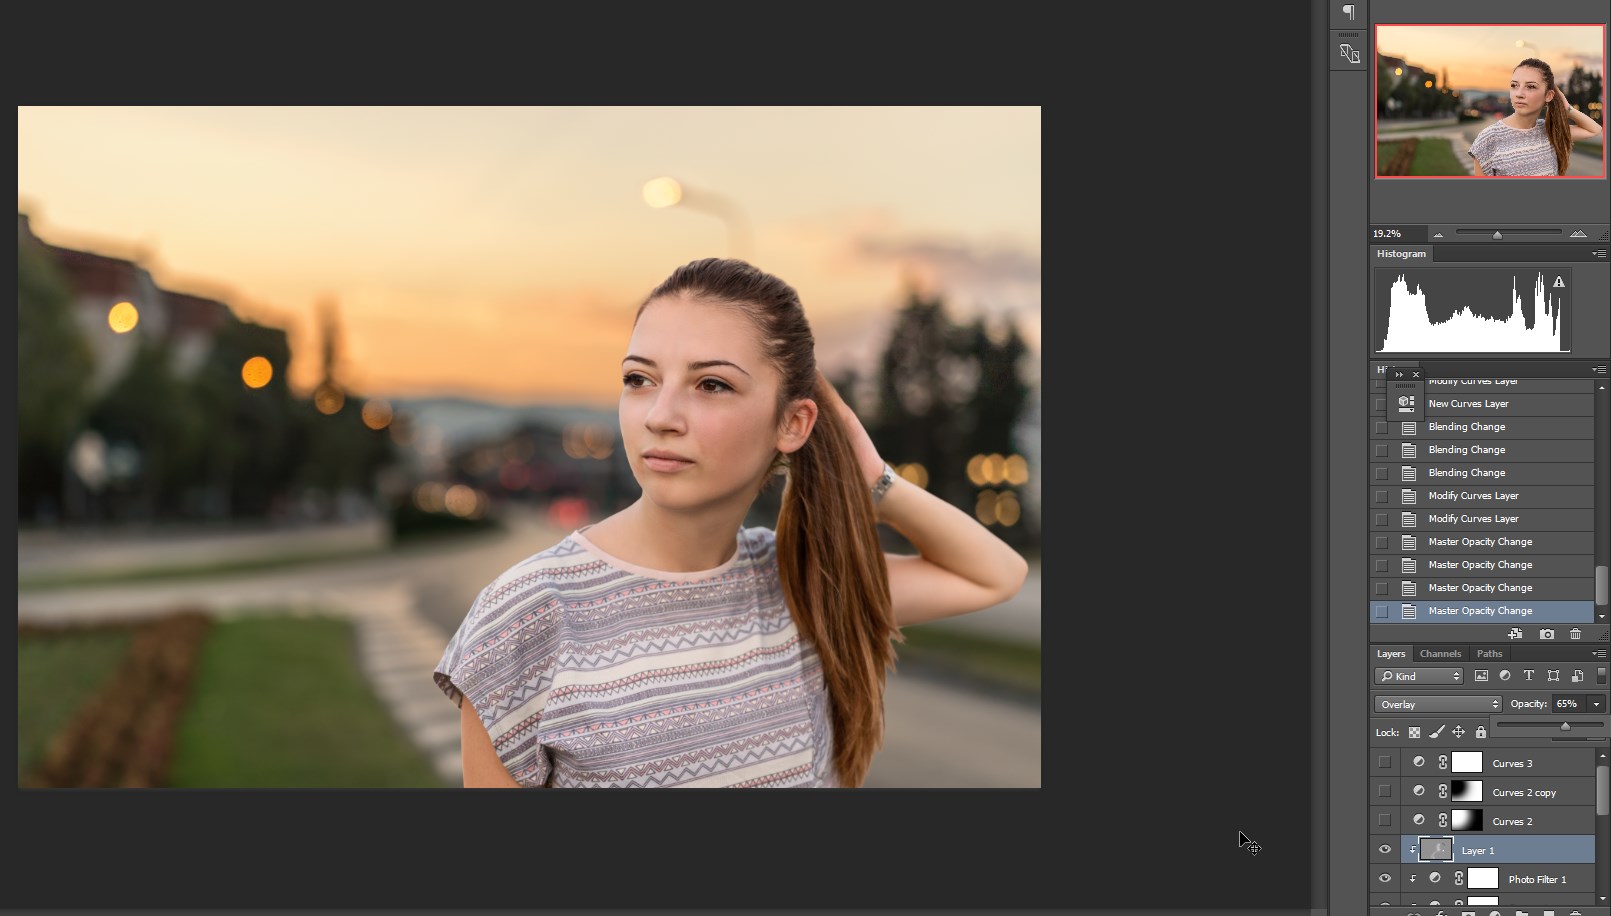
As you might realize by now, the light in my portrait doesn’t completely match the light created by the background. I intended to simulate a portrait light with natural light and some counter light to avoid too many shadows. But in this case, the light has some inconsistencies. I'll mask out some of the highlighted areas in order to reduce this effect. Yes, it is really hard to match the light properly, and probably you never will do it precisely, but you need to try to get as close as possible to give the picture a realistic feel.
In addition to the lighting, check the color matching again. In my case, I haven’t done it well enough in Lightroom, so I am going to fix that with a “Curves” layer and a “Photo Filter” for added warmth.
Dodge and Burn
I will do the dodging and burning using a 50% gray layer with “Blending Mode” set to “Overlay.” I'll set this layer as a clipping mask for the portrait in order to fix any lingering light inconsistencies.
Since the light will be falling from the left side of the image, it is logical to light up the left side of the portrait while darkening the right side.
How to Perfect the Simulated Light and Final Touches
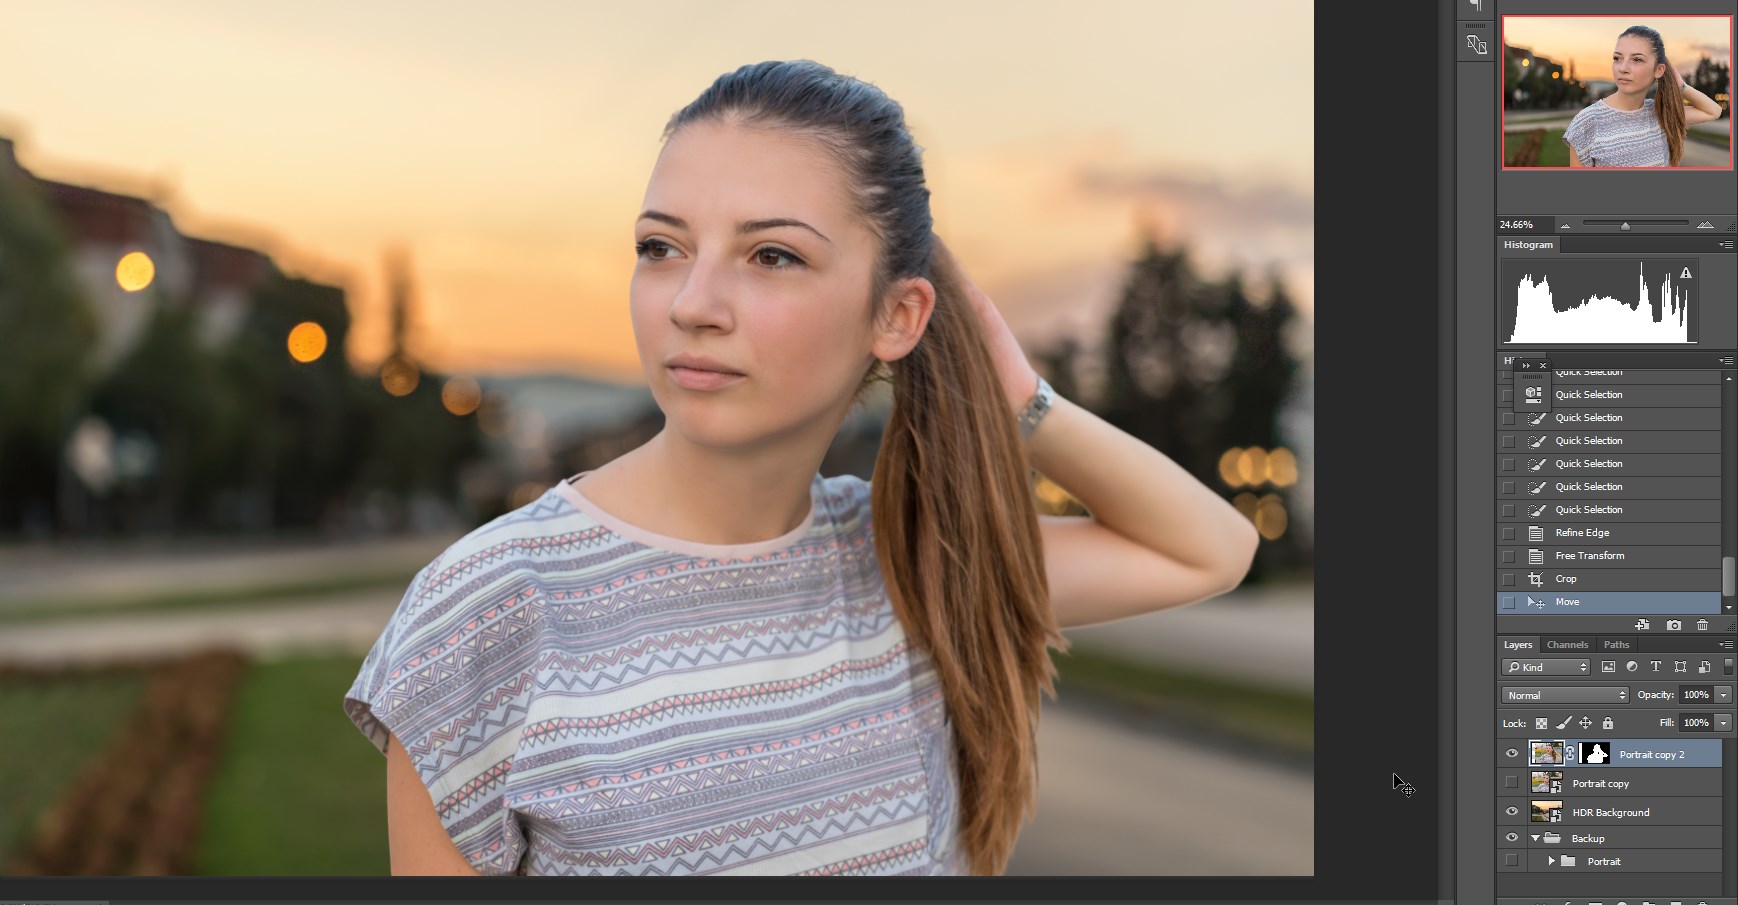
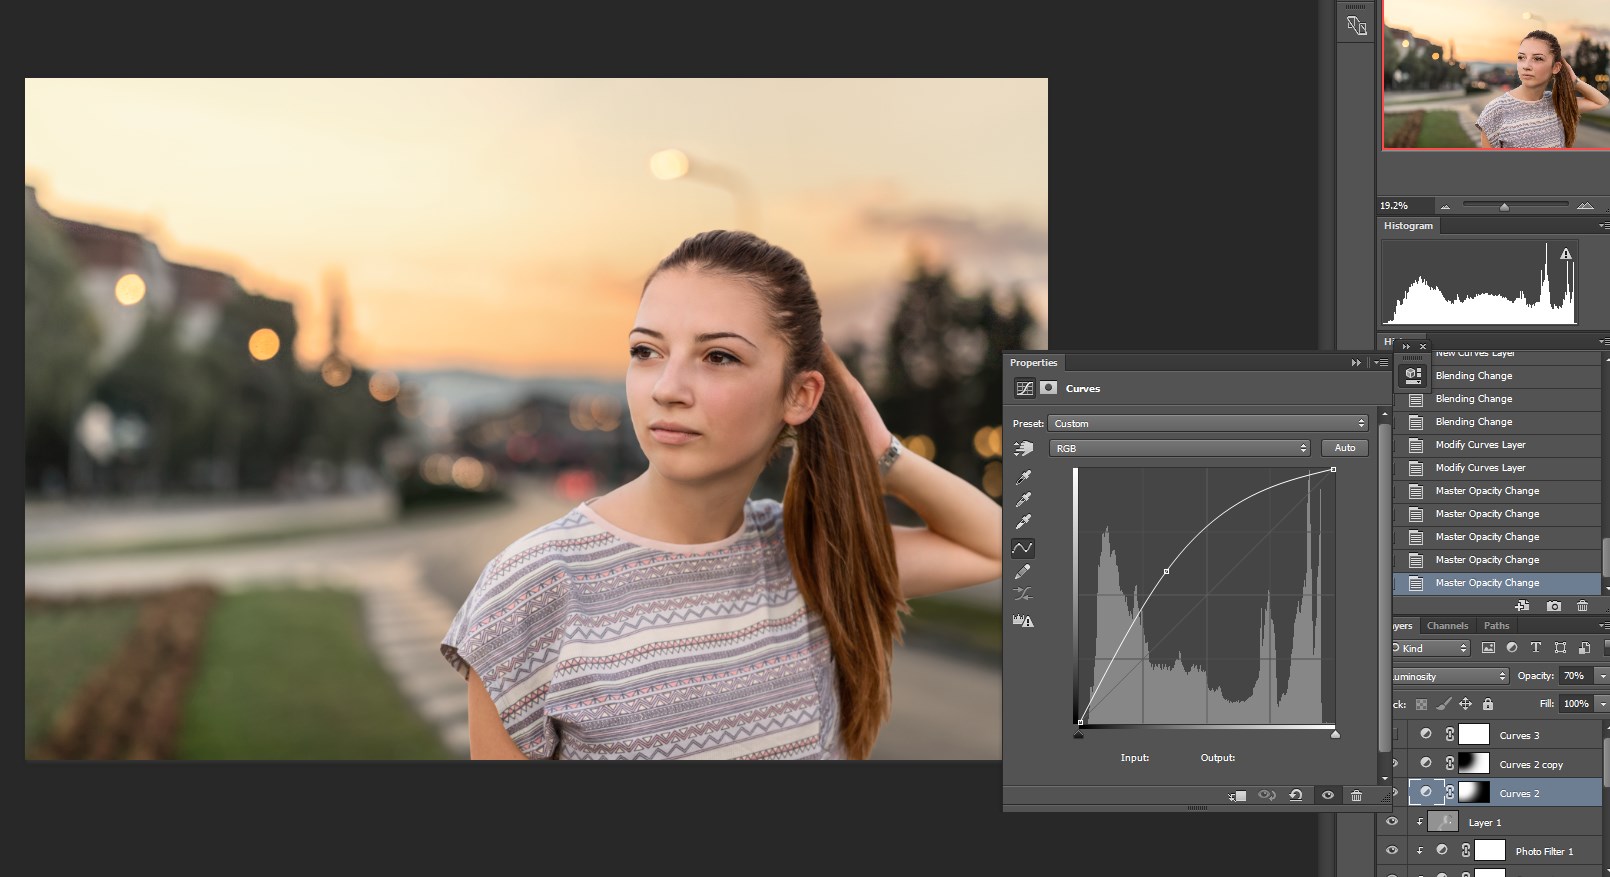
At the end, I am going to enhance the light from the background image using a “Curves” layer in order for it to give the impression of being stronger. I’m using a “Curves” layer with the middle point going to the right and a 5000px soft brush as the mask will cause the sun to seem brighter on the left side. An additional “Curves” layer with the same mask as the latter, but inverted, will be used to darken the opposite side just a tad in order to create some contrast.
Since I would like to enhance the contours a bit more, I’ll use the dodge and burn layer to add some contour to the image.
As a finishing touch, I will do a slight “Curves” layer with washed out shadows and highlights since that's just how I’m feeling this image. The way you post-process the final result is up to you.
Sharpening and Crop
Lately, I think I've been overusing cinematic style crops (16:9 and 21:9), but somehow they fit my needs nicely, so I tend to use them a lot. If you haven’t yet tried wide crops, I advise you to do so, especially when you shoot an image with a wide ratio in mind.
As for the sharpening part, I used a slightly unsharpened mask because it was already quite sharp.
Summary
Compositing is all about attention to details and knowing exactly what your technique is. Shoot with your abilities in mind, post-process slowly and steadily, and plan your way through the procedure so that you don’t waste time in doubling back because of having missed anything. Work non-destructively so that you can make later changes without having to start over.


