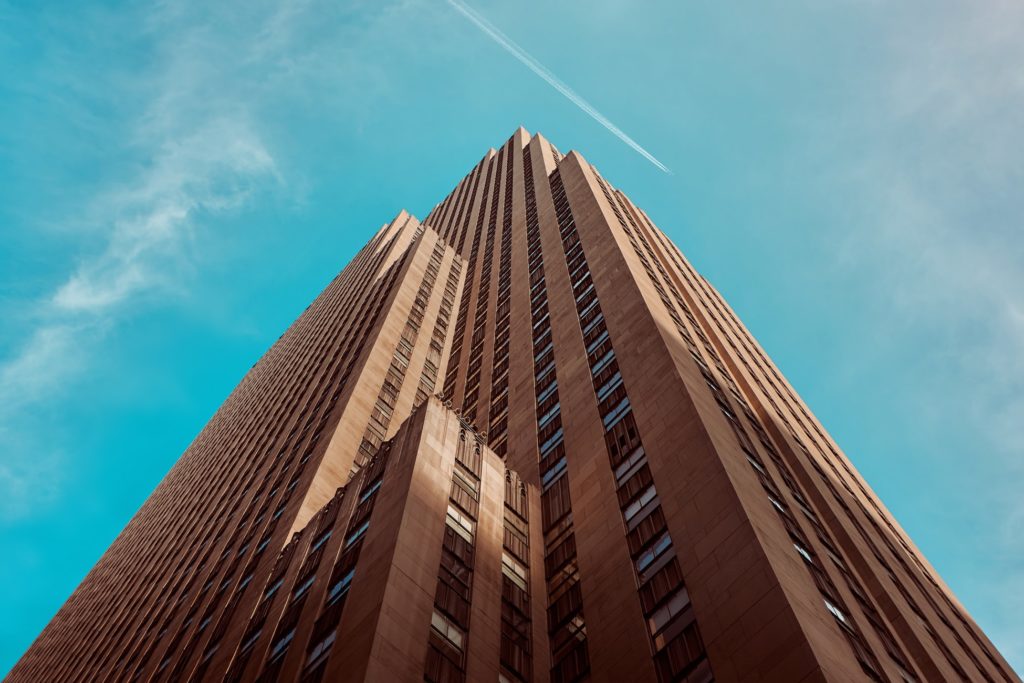
If you often use wide-angle and telephoto lenses, you have certainly noticed that distortion can have a lot of impact on your images and it can make them look rather unprofessional. Perspective distortion is prominent especially in images that have many vertical lines or various geometric shapes. Knowing how to correct this type of distortion will make your landscape and architectural shots much more powerful.
It’s quite easy to correct perspective if you edit your images in Lightroom. There are two ways to do this – automatic and manual. We’ll cover both ways to correct perspective distortion in Lightroom and we’ll illustrate them with examples so that you can test them out easily.
Automatic Correction
Automatic correction can solve most of the perspective problems. Use manual correction only if the problem can’t be solved with automatic correction.
1. Open up your image in Lightroom and go to the Develop Module.
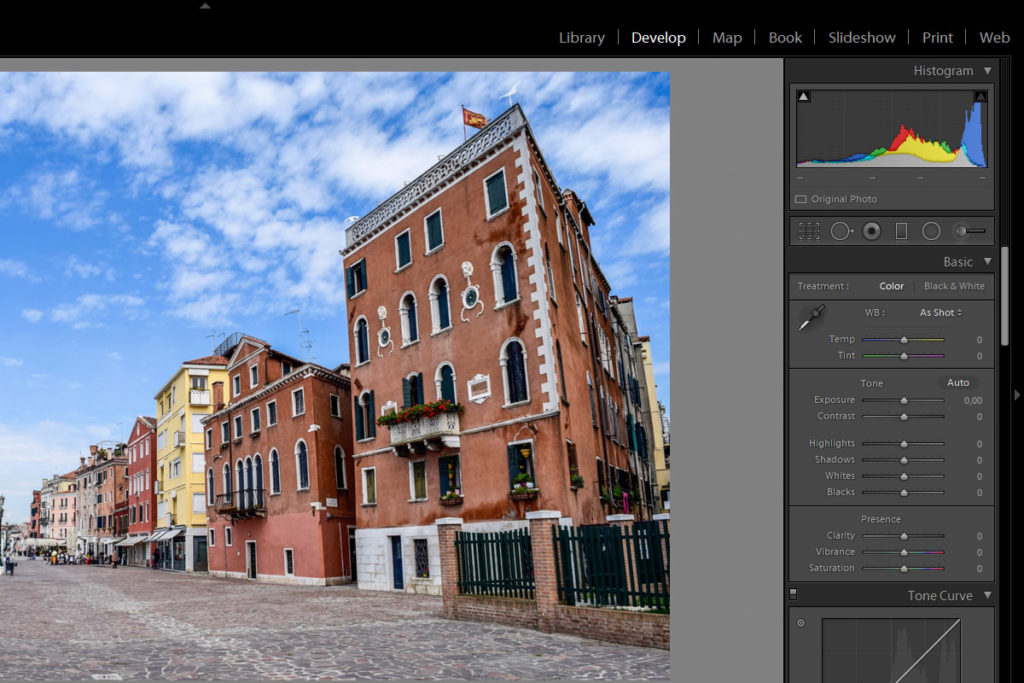
2. Scroll down to the Lens Correction Panel and check out the Basic Tab.
3. Before testing out various options for correcting perspective distortion, click on Enable Profile Corrections. This is a very important step because this option will enable Lightroom to read the metadata and guess which lens you used for your shot. In addition to this, Enable Profile Corrections option will automatically remove barrel distortion and vignetting that is typical for wide-angle lenses.
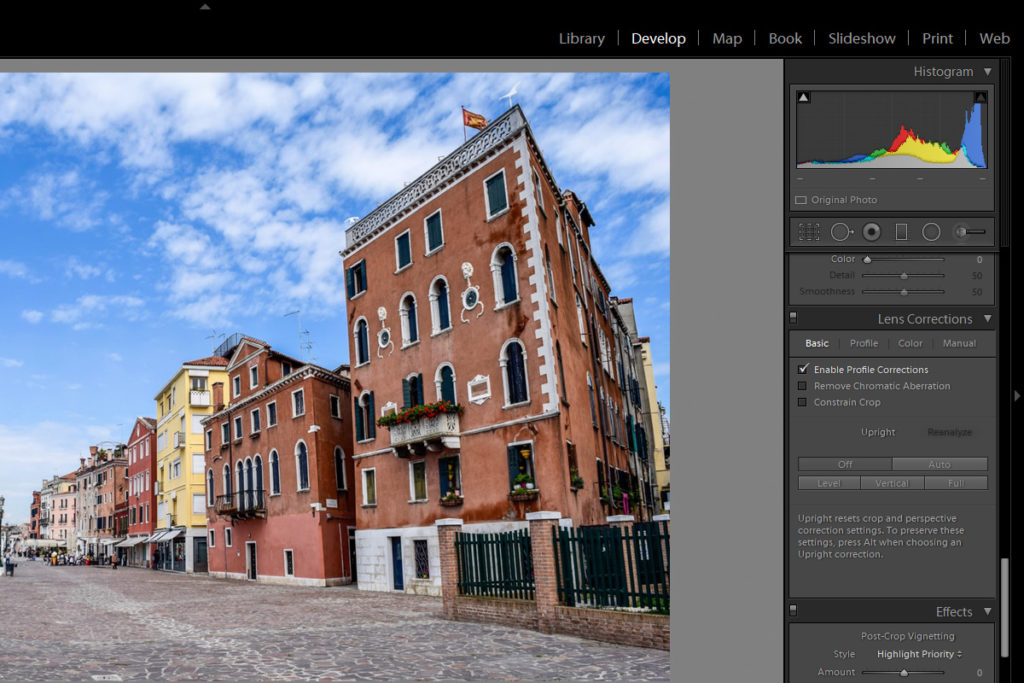
4. Once you have enabled profile corrections, try all the options below (Off / Auto / Level / Vertical / Full) until you find what works best for your image.
Here’s a little bit about what to expect from each of these options:
Auto – This mode offers a balanced mix of aspect ratio and perspective corrections.
Level – In this mode, perspective corrections will be weighted toward horizontal details.
Vertical – Perspective corrections will be weighted toward vertical details.
Full – This mode is a combination of Auto, Level and Vertical perspective corrections, but it can deliver very strange results. It’s usually better to stick with one of the previous options (auto, level or vertical).
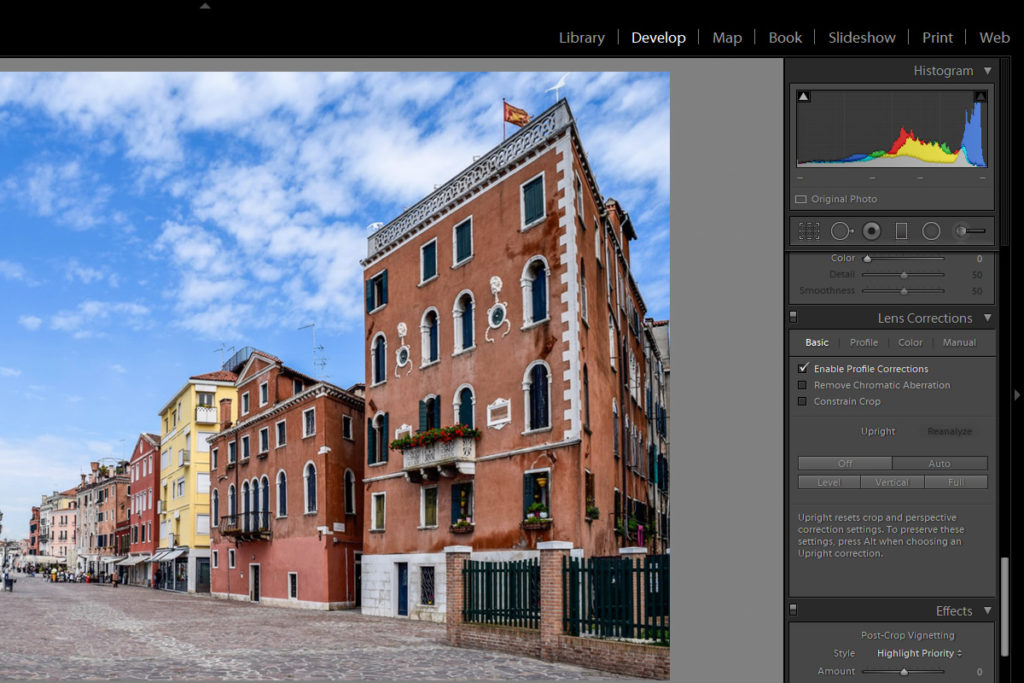

In case you're still not happy with the results, you can proceed to manual correction.
Manual Correction
1. In the Lens Corrections Panel click on the Manual Tab. You will see different sliders that allow you to fine-tune your lens perspective correction – Distortion / Vertical / Horizontal / Rotate / Scale / Aspect.
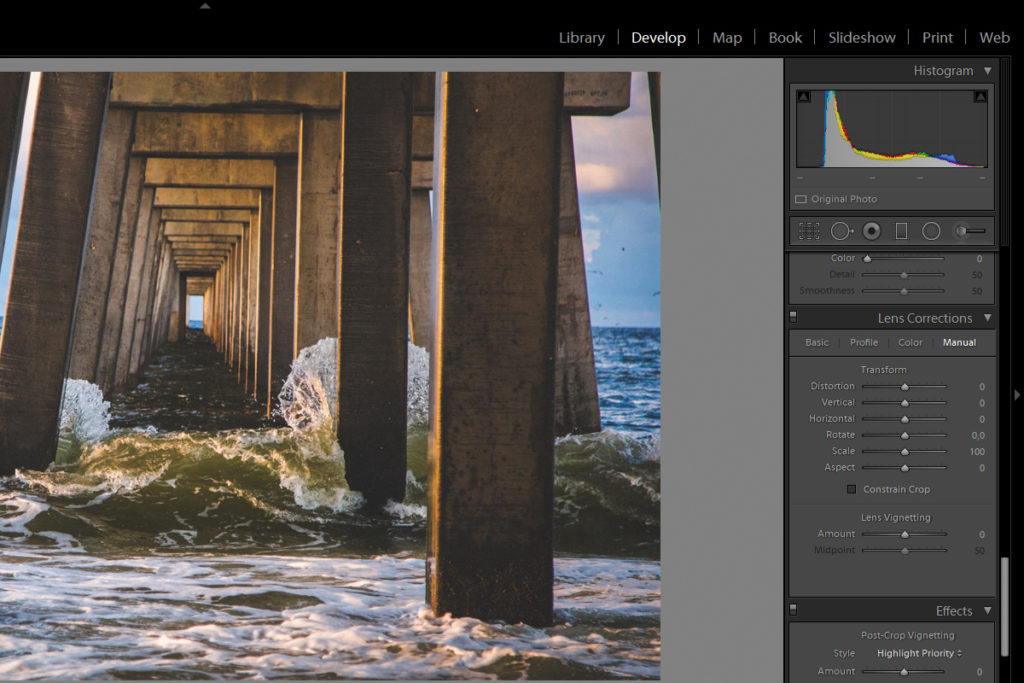
Distortion – Corrects barrel and pincushion distortion.
Vertical – Corrects keystoning (distortion of an image caused by projecting it onto an angled surface).
Horizontal – Corrects horizontal keystoning.
Rotate – It rotates the image either clockwise or counterclockwise.
Scale – Enlarges or shrinks the image.
Aspect – It will either squish or stretch the image.
2. You need to experiment and use the combination of these options for the best result. It can be more demanding than automatic correction, but it gives you much more control over various aspects of perspective distortion.
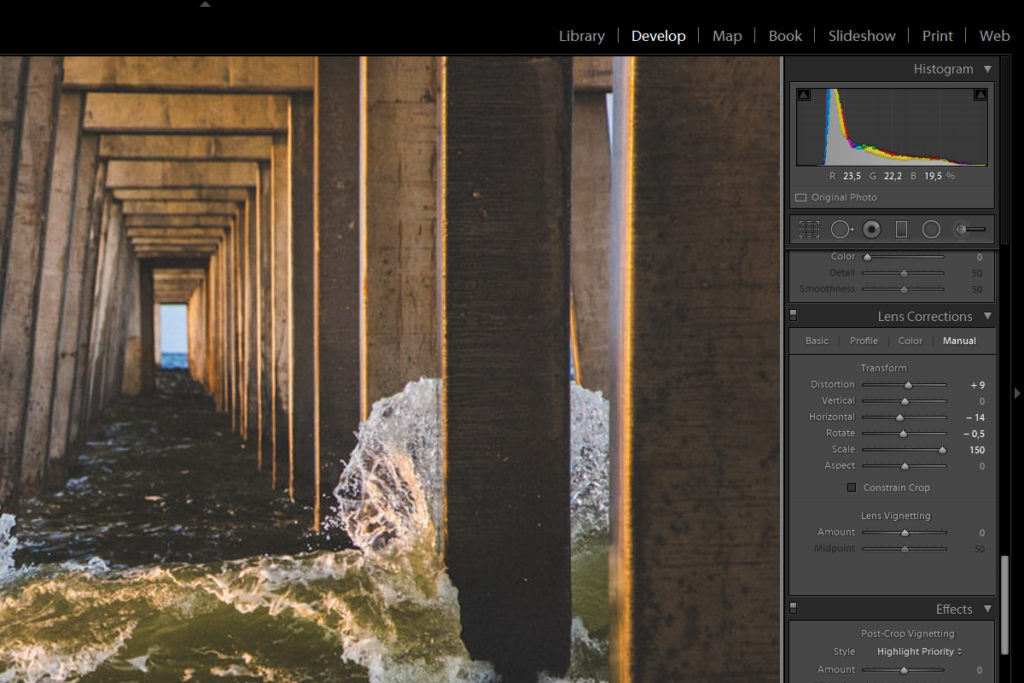
While both automatic and manual correction in Lightroom can help you fix perspective distortion, it’s good to think about perspective while you’re shooting. If you apply certain tips and tricks, less work will be required in post-processing.
For instance, it can be very useful to shoot a little wider because you’ll most probably crop your image in post-production and this can affect the composition in a negative way if your framing was too tight. Also, try to shoot from a higher angle and parallel to your subject – this will automatically minimize distortion.
If you want to learn more about editing tricks in Lightroom, check out the links below!
Further Reading:
- 5 Lightroom Edits That Will Rock Your Outdoor Photography
- 9 Incredibly Useful Links That Lightroom Users Will Love
- 7 Lightroom Workflow Tips For Simple, Stunning Landscape Photography
- What Is Lens Profile Correction And When To Use It
- Alter A Photo's Perspective
- Architectural Perspective Correction In Lightroom CC (video)


