Let's have a little fun with creating a photographic spooky image of ghosts and apparitions. There are more than a few ways to get the job the done, but here is a fast and simple way to capture a “ghost” simply by utilizing some post production magic.

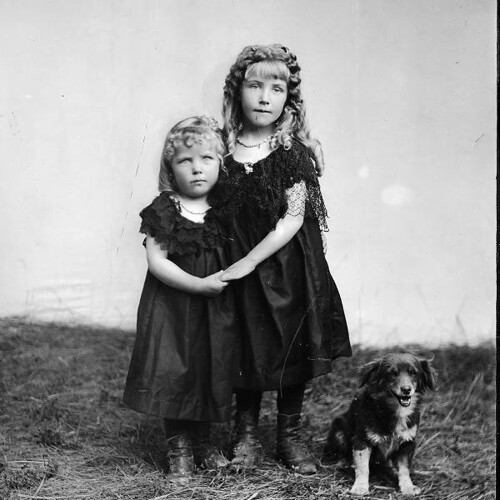
Using Photoshop, you can create “ghosts” in just a handful of relatively basic steps. To get started you'll need to find two images that will serve as your background and “ghost”. Here are the two I selected. The forest scene is a photo I took on a foggy morning hike in the Blue Ridge Mountains. The second is a cool, old photo I found in the Creative Commons that had the appropriate liscence to allow it to be modified.

- Once you have the images you are going to use selected, go ahead and open them up in Photoshop and make any minor tweaks and adjustments that need to be done (i.e. curves, exposure, shadows, etc…).
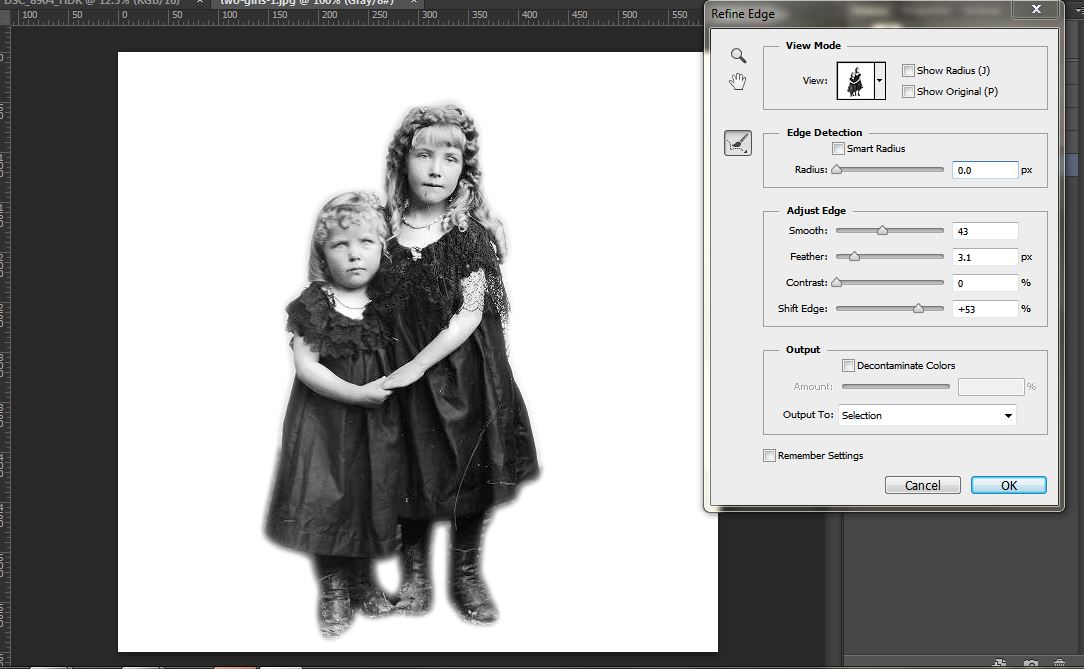
- Next, go to the window of the image you are using as your ghost and select the magnetic lasso tool. We'll be using it to select the person that will serve as our “ghost.” (Just a quick tip: When you are choosing the “ghost” photo, it will make this step a lot easier if the subject doesn't blend into the background.) Select the the subject the best you can by tracing around their edge like I have shown in the screensnap below. It doesn't have to be perfect at this point, we'll fix it in the next step. (One more quick tip: A graphics tablet is a useful tool that makes this insanely easy!)

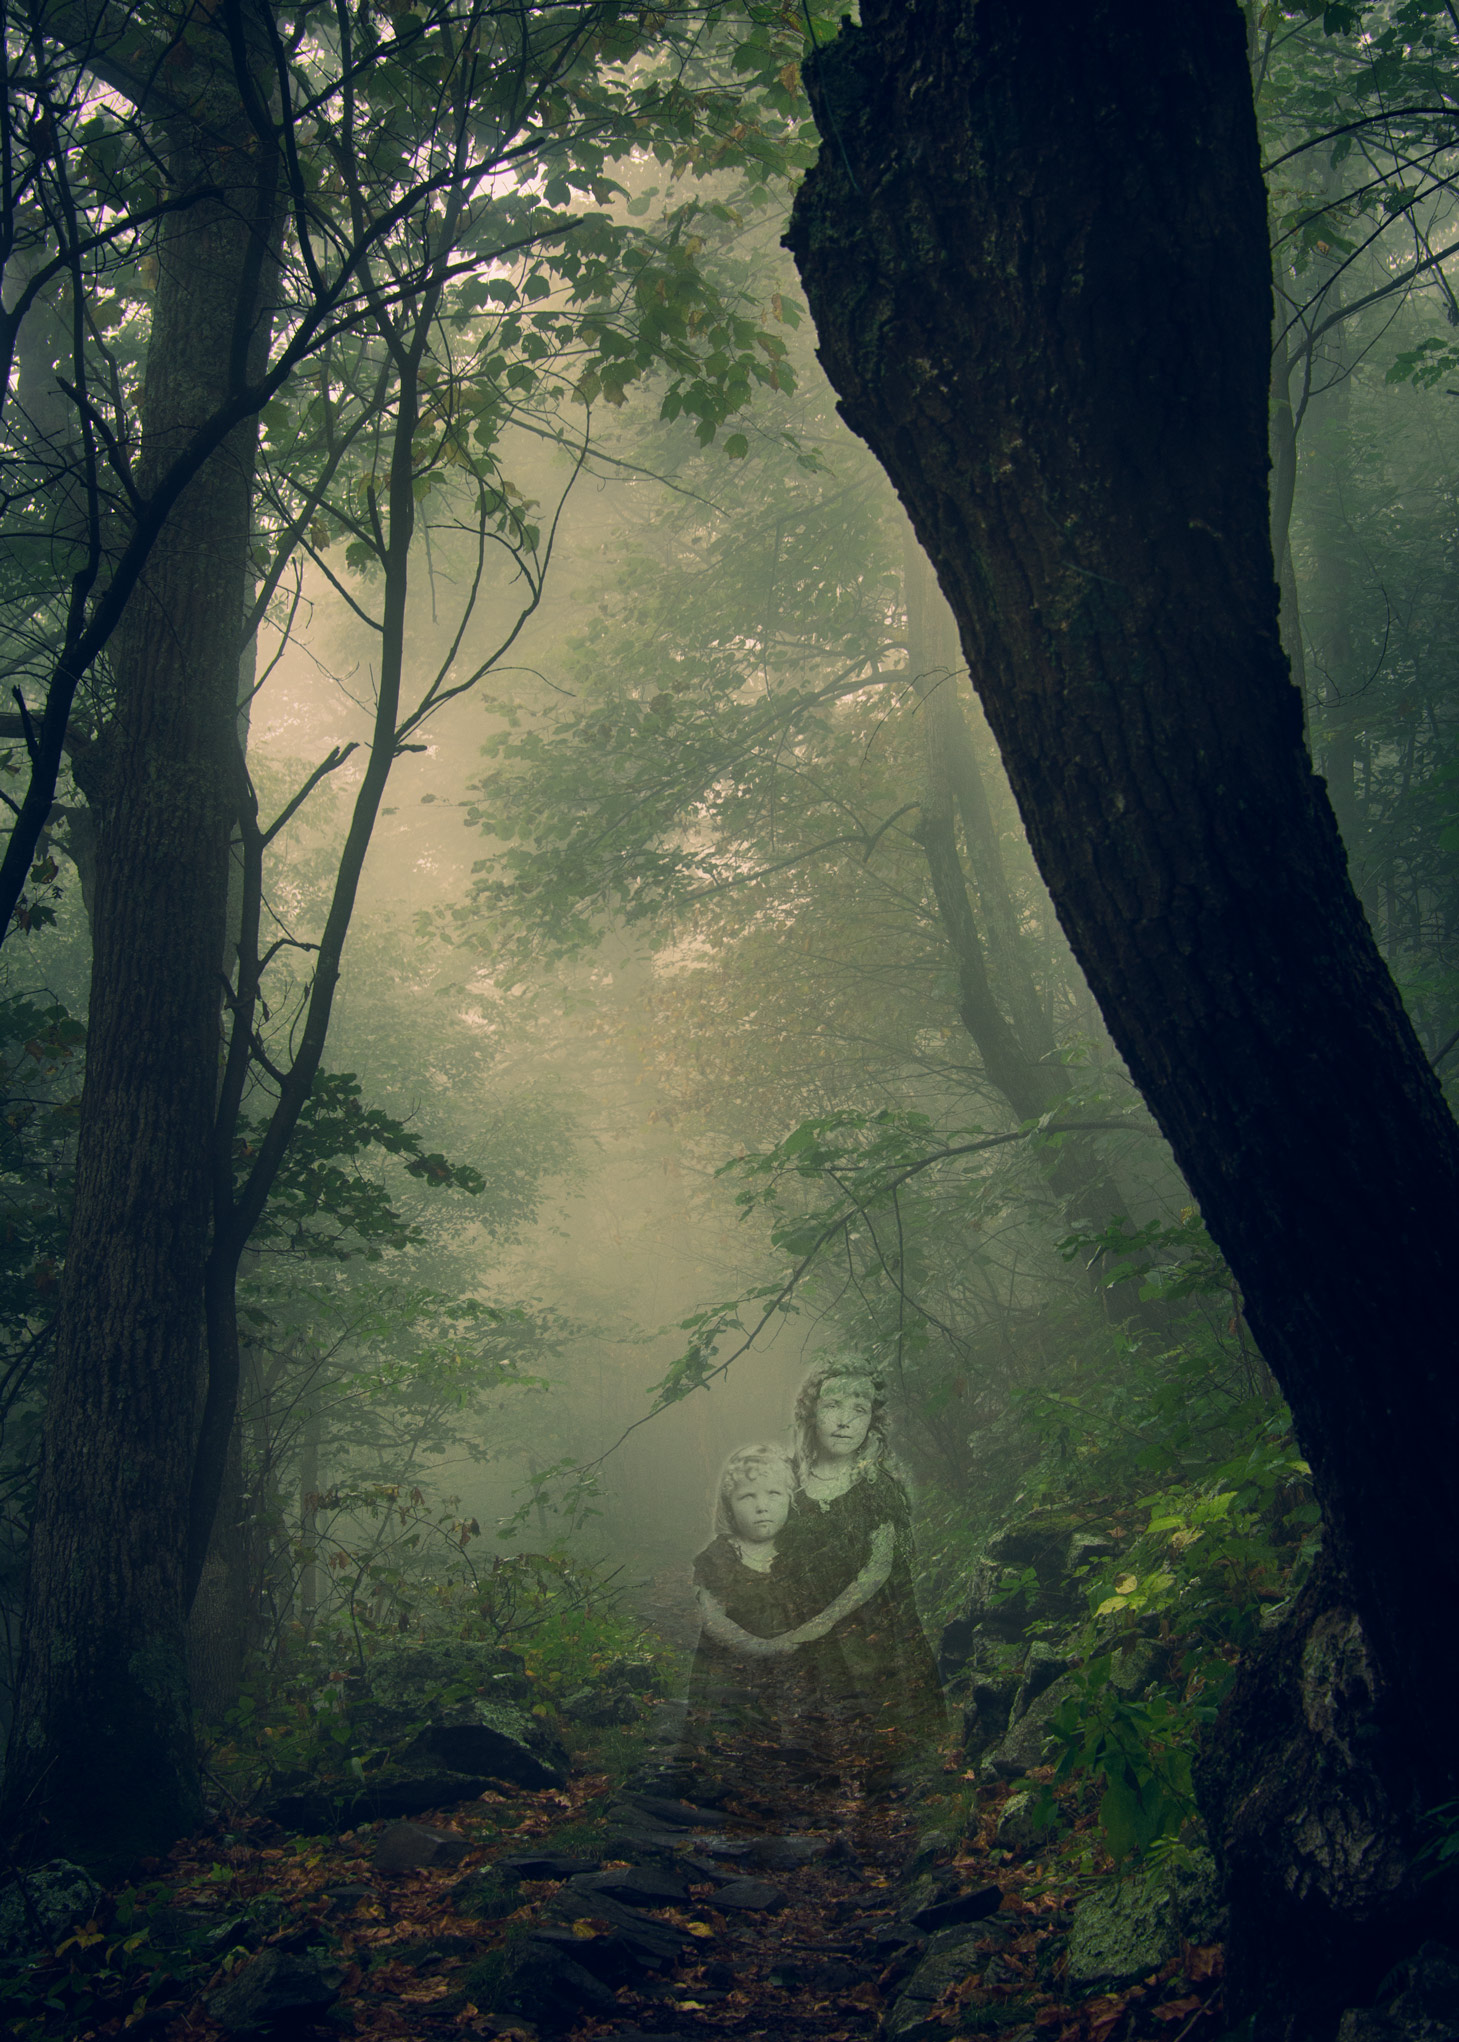
We're almost done! All we need to do now is adjust the Blend mode and Opacity settings to give the “ghost” it's ghostly aesthetic. Make sure the “ghost” layer is still selected then start working your way through the blend modes, seeing which one you like best. I settled on “Overlay” then moved on to the Opacity slider. Here are the settings I ultimately went with.

After completing all those steps, I was left with this spooky image:
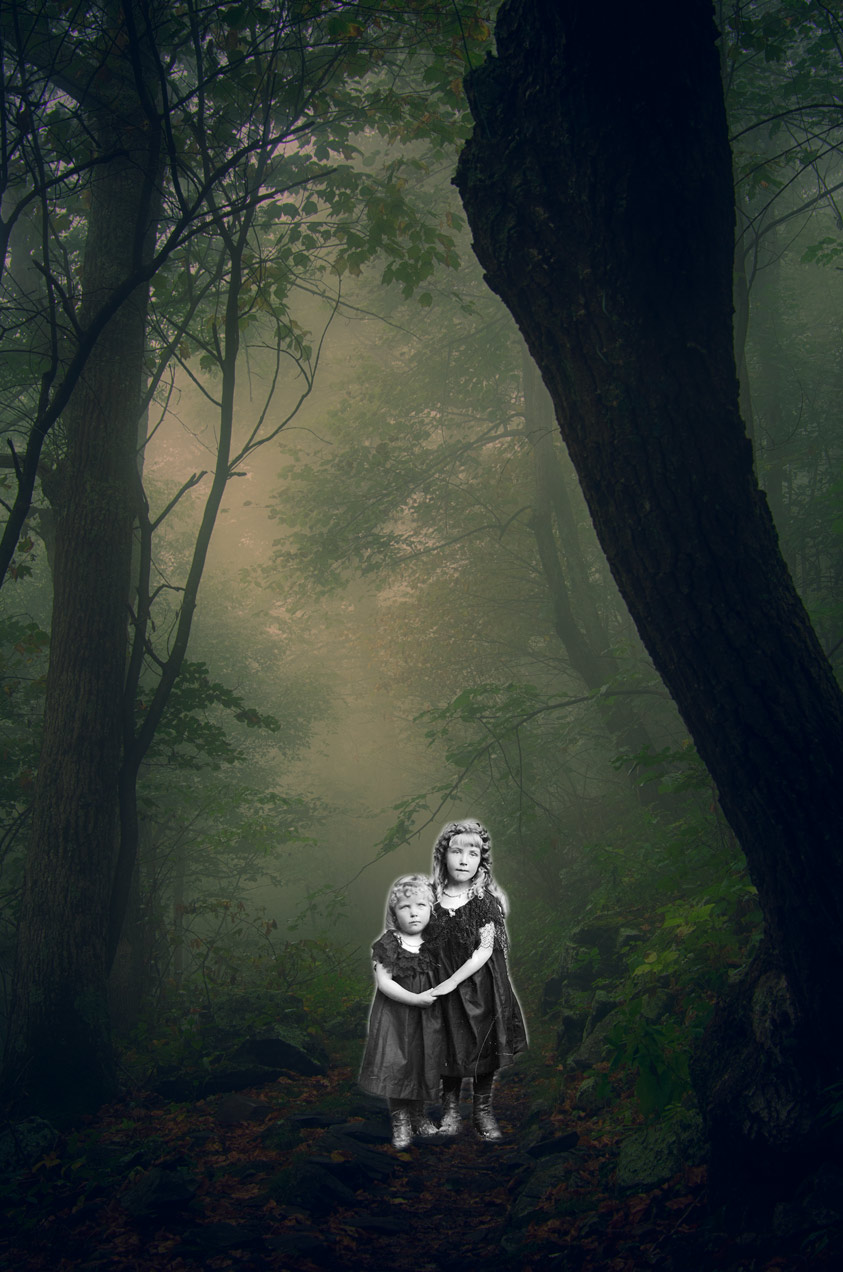
At this point, feel free to experiment with your image to give it an even more scary feel if you so desire. To me, there is something inherently creepy about many black and white images so I decided to try the look in black in white, too. Not entirely happy with it, I added a soft glow and changed the paper tones up a bit using Nik Color Efex Pro, to create the very first image you saw in this post. This is all part of the creative process so find what works for you and run with it!


1 Comment
Can’t wait to try this one…