“Dodging and burning are steps to take care of mistakes God made in establishing tonal relationships.”
– Ansel Adams
Dodging and burning is actually not a Photoshop discovery – those who have a history with film will know that these are darkroom techniques replicated for the computer. Simply put, the dodge tool will lighten your tones (increase exposure) and the burn tool will darken your tones (decrease exposure). In the film darkroom, you would hold an object (usually a piece of black foam board on a dowel) to block parts of the negative from hitting your photo paper during exposure.
With the help of Photoshop, you can execute these techniques a little bit easier. Dodging and burning works especially well for black and white photography since you’re just dealing with tones, which is what I'll use for my example image (below).
1. Open your image in Photoshop after any RAW editing. It would be ideal to convert to black and white in RAW first if you plan to only process this as a b/w – this will ensure that you have the highest quality image.
2. Duplicate the layer so that you will always have your original to revert back to if necessary (I recommend this for ANY photo editing).
To add more drama (especially to black and white photos), I like to go over my images with a very light highlight dodge (to bring up my whites) and a shadows burn (to deepen my darks), which is what I'll explain in this tutorial. This gives me more contrast to a gray and boring image, but with the added control of a brush tool – meaning that I can selectively choose what areas I want to change, and how strong I want those changes to be.
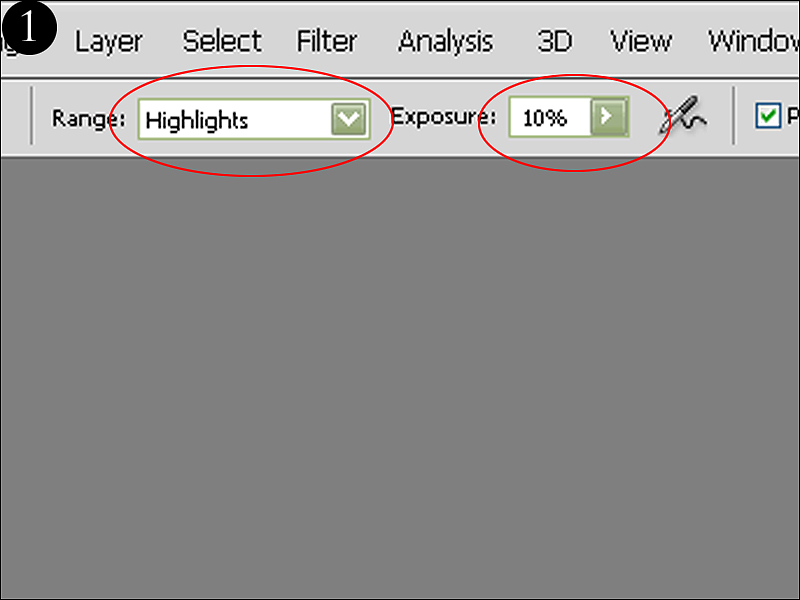
3. Select your Dodge tool and you’ll notice that you have three options to choose from in the Range menu – highlights, midtones, and shadows. These selections are literal – you can choose to dodge (lighten) your shadows (tones towards the left of your histogram), midtones (tones in the middle) or the highlights (tones gathered on the right). For this image, I want to add a lot more contrast and tonal range so I’m going to select to brighten my highlights (Figure 1).
4. With a brush size suitable to the area you want to affect (you can change this instantly by pressing your “[” and “]” keys), start with an Exposure level of about 10% and brush around your area. You can increase or decrease the exposure as necessary. For this image, I want to add a little more tonal range in the middle to brighten up my highlights (Figure 2).
5. When you’re finished working with your dodging, you can then move onto burning. I prefer to dodge before burning since if I want to lighten any highlights in my image, I don’t want them getting darker first with the burn tool.
Select your burn tool and, like we did with the dodge tool, choose the tonal range you want to darken. Since my goal is to increase drama and contrast, I’m going to burn my shadows as the original image is flat with little to no dark tones.
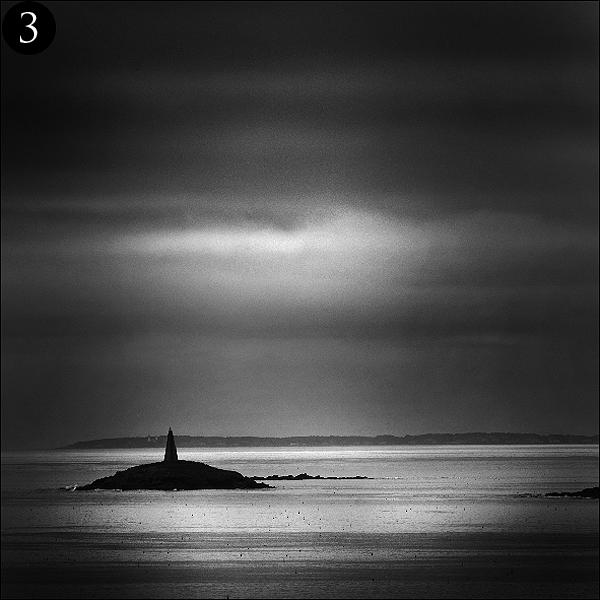
With an opacity level at 10% to start, brush over the tones you wish to darken (Figure 3).
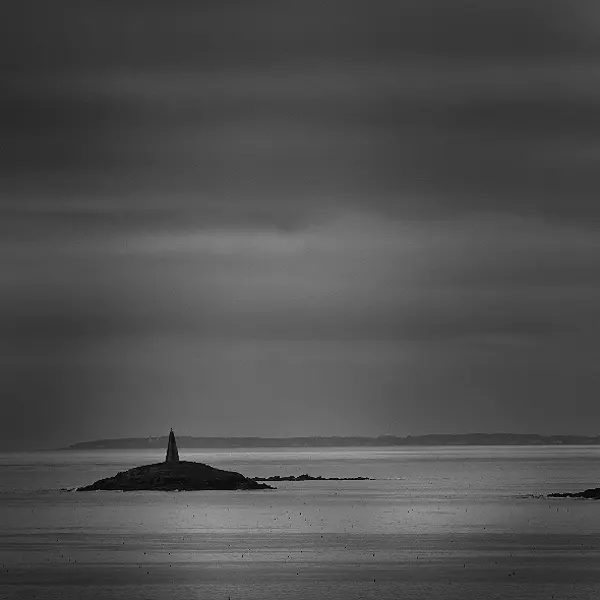
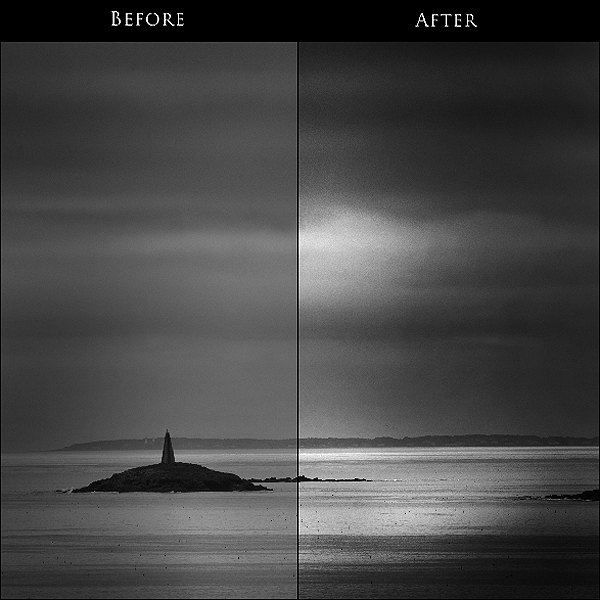
When we compare the before and after, you can see a notable difference in both the atmosphere and the tonal range – going from a flat, uninteresting image to a dramatic coastal scene.
Important notes: Since I’ve increased the tonal range, I’ve also made my noise stand out a bit in the sky. I could remove it using several techniques, but I like the grainy effect as it compliments the moody atmosphere. Also, there is a bit of banding in my new image from the intense dodging and burning. Typically, you won't go to the extreme level as I did, but to reduce this effect I would edit my photo at a 16bit image instead of 8bit – you can change this in your RAW editor before importing to Photoshop. This will give you a better tonal range and more information to work with; this is especially important for black and white images as you're strictly dealing with tones.
Dodging and burning is not just a technique to use, it’s a way for you to direct the attention and focus of your image. If there are distracting elements around your subject, you can simply burn them to minimize their presence. Alternatively, if you want more attention on your subject, you can dodge the area around the general vicinity to make it more apparent. Since you’re working with your brush tool, your options are endless.
One final tip: try to avoid burning the midtones too much as it will give an overall gray appearance to your tones. The same goes for dodging – it will make your image look cloudy and uninteresting. Instead, do some midtone work but also try out the highlight and shadow options to work the different tonal ranges.
Read more great articles by Christopher O’Donnell at his blog or follow him on Facebook.




13 Comments
Book marking this one…great write up Christopher
I still use dodge and burn sometimes (if there are fine lines between highlights I want to dodge and shadows I want to burn, but in the main, I tend to use a more non-destructive technique to achieve dodge and burn:
Create a new layer, tick box to fill with 50% grey, choose soft light blending and click OK.
This opens a grey layer above the image layer.
I then toggle (using X) between a black soft brush and a white brush at 10 – 15% (depending on the image) to dodge and burn.
Hi Mark – That is a great technique for non-destructive midtone dodging and burning, but to work your highlights and shadows it doesn’t really do much since you’re working on a gray fill layer essentially. To really expand your tonal range the dodge and burn tool are still the prime choice, but this is a good technique to redirect the focus using the same tonal range where you don’t need to add shadows and/or highlights.
Yep, I see your point and agree, which is why I also use dodge and burn sometimes when the results I am getting isn’t suitable.
Although I still use dodge and burn sometimes (if there are fine lines between highlights I want to dodge and shadows I want to burn, in the main, I tend to use a more non-destructive technique to achieve dodge and burn:
Create a new layer, tick box to fill with 50% grey, choose soft light blending and click OK.
This opens a grey layer above the image layer.
I then toggle (using X) between a black soft brush and a white brush at 10 – 15% (depending on the image) to dodge and burn.
Sorry for double post above. My computer showed an error when I first tried to submit. Admin… please feel free to delete first version and this message.
Useful article, I think dodging and burning are one of the most important post processing tools, and the only ones used by me besides cropping.
… if all else fails, slash and burn.
I use almost the same technique as Mark W. However, I set my blend mode to Overlay rather than Soft light. I find it very useful when doing portrait touchups to remove lines/wrinkles/eye or neck shadows.
A white brush will “erase” these very well. A black brush will add a bit of depth where you need it, or fills in eyebrows/eyelashes very nicely. White is also good to brighten eyes/teeth. Crank your opacity on the brush WAY down (5%-13% or so) and go over your strokes as much as needed.
Note: when doing work like this – I am at 16bit, and am zoomed in at 100-400%, with a brush size of 1-10 pixels. Yes, it is tedious. It also offers almost infinite control via masks, brush opacity and layer opacity to fine tune the result. Obviously for bigger areas (ie neck shadows) the brush size can get much bigger, just make it a very soft brush!
Just started using the tools, they can really make an ok image stand out!! Great…
I’m also using the Overlay method. Then with a brush of usually 10% opacity i can darken or highlight the areas.
Good website sincerely, Rona Dong
This gives me something extra to try as I mainly work in LR