When you think of boudoir photography, the first thing that comes to your mind is probably those impeccable editorial images you can find in popular magazines. Such boudoir photographs usually require a lot of gear and many hours of post-production. However, you can take a different approach and learn to excel in so-called freestyle boudoir. This review covers Ed Verosky’s course on freestyle boudoir, a sub-genre that will please photographers who prefer the indie style and raw emotions over perfectly posed portraits.
Ed Verosky is a senior photographer with over 30 years of experience and he specializes in portraiture. His course on freestyle boudoir photography is available on his website and it includes 4 detailed lessons as well as additional materials such as Lightroom presets and eBooks.
Read on to learn more about this course!
What is the Difference Between Freestyle And Traditional Boudoir?
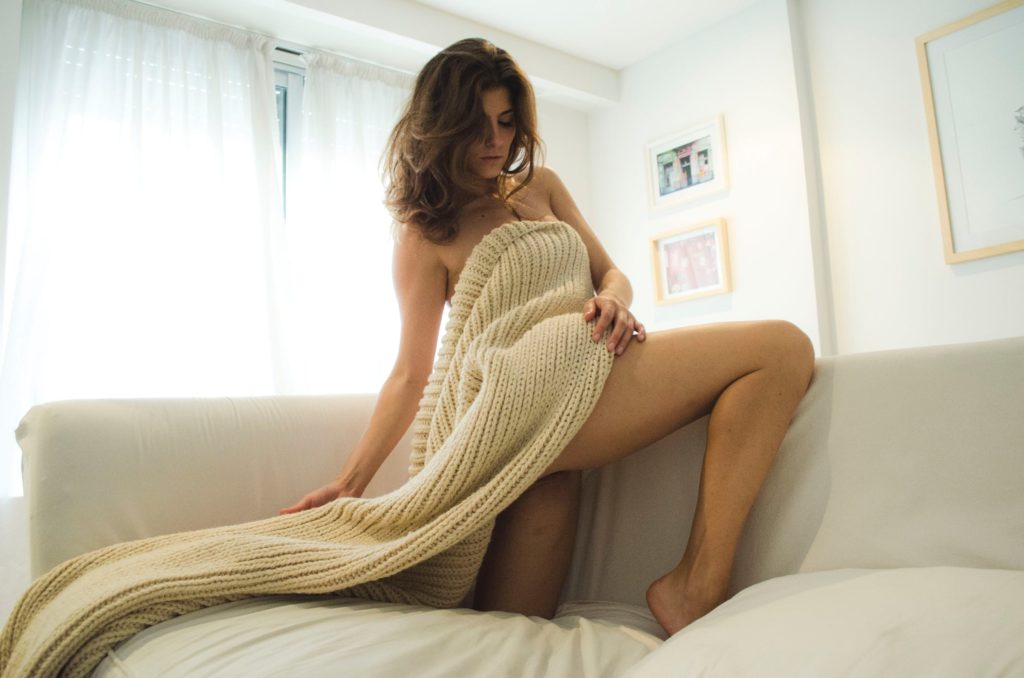
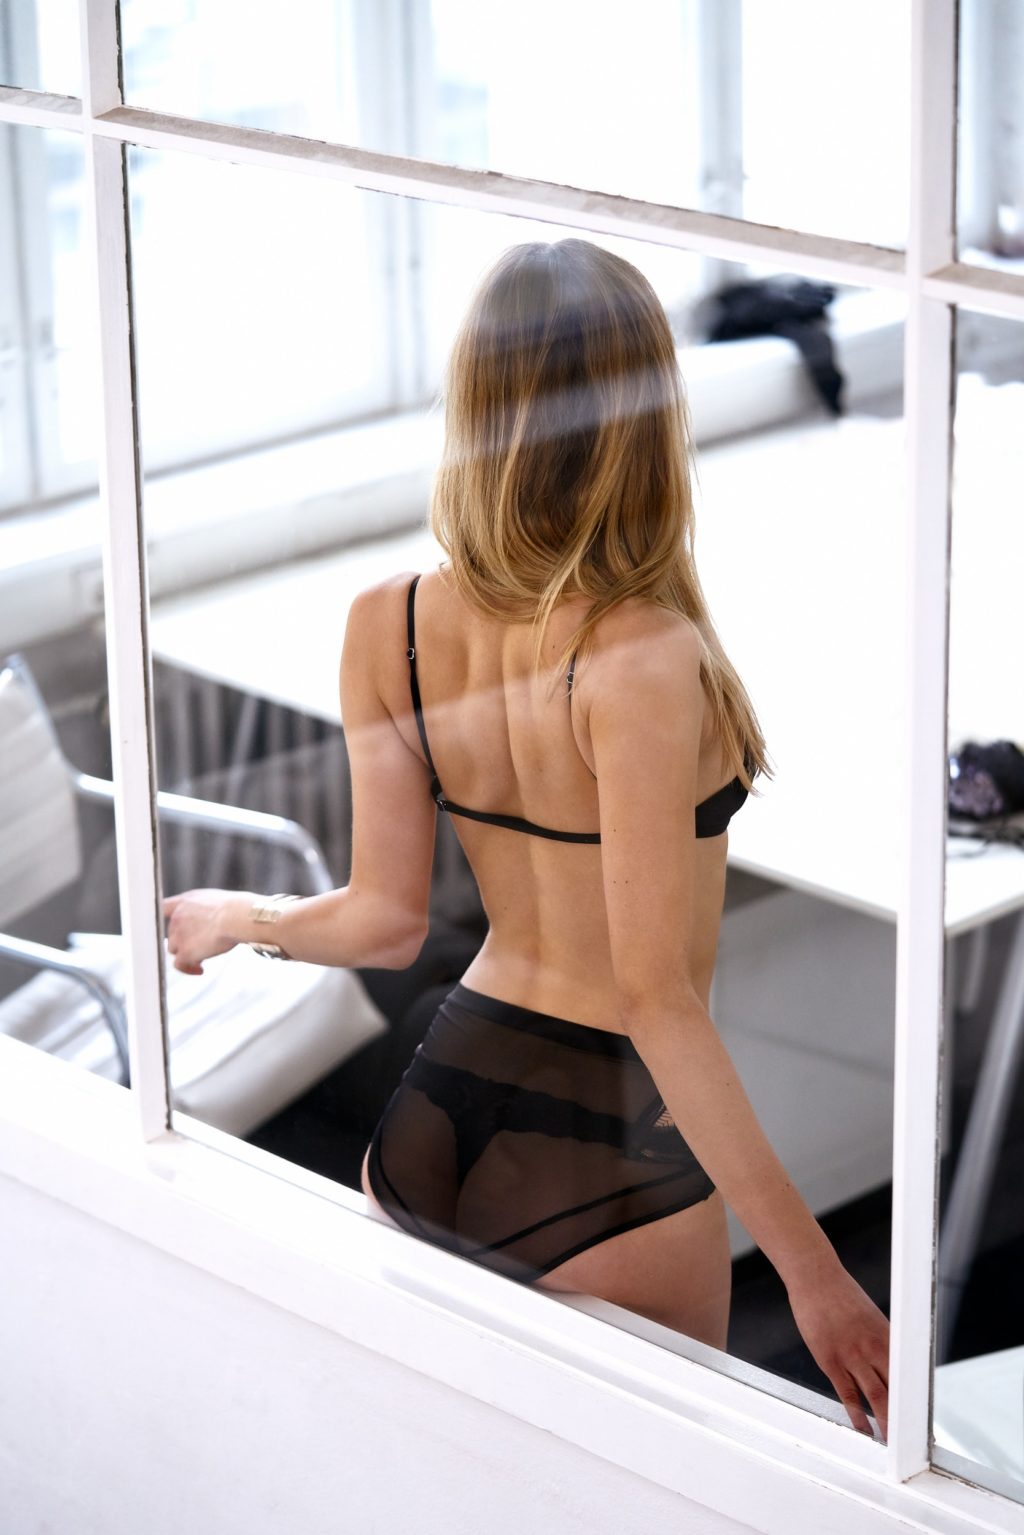
In his introductory lesson, Verosky talks about differences between traditional and freestyle boudoir photography. I agree with his claim that typical boudoir tends to look too posed and sometimes even unnatural, while freestyle boudoir has an edgy vibe and it focuses on emotion and story.
If we don’t put emphasis on technical perfection, we can become more playful and more creative photographers. That’s exactly why freestyle boudoir can be more engaging, visually and emotionally.
Verosky’s photographs depict his approach well. His models look comfortable and relaxed while they pose, his lighting setups are quite simple and his post-processing routine isn’t too elaborate either. I also like the fact that he didn’t remove every single flaw in editing, such as skin and body imperfections. Because of this, the models in his images look very vibrant and authentic.

Lesson 1: Getting Started
This lesson is divided into 5 sections:
- Plan Your Shoots For Success
- Finding Models
- Working With Models: Best Practices
- Working With Models: Reference Videos
- Photoshoot & Editing Workflows
Each section contains short videos (up to 10 minutes) which are very straightforward and easy to follow, just like the one below.
In this lesson, Verosky suggests that we should start off a freestyle boudoir session with simple ideas and poses and then let them unfold organically. He also talks about the best online sources for finding models, such as Model Mayhem, Facebook groups, Instagram and Craigslist and he mentions the importance of having a proper model release.
I find the third section of this lesson most useful, because it contains an interview with one of Verosky's experienced models who talks about various tips and tricks regarding the collaboration between boudoir models and photographers.
Lesson 2: Photoshoots
This lesson is also divided into 5 chapters:
- Beginning The Shoot: Warm-Up Shots
- Simple Tops, Simple Direction
- Floor Shoots
- Get Creative!
- No Flash? No problem.
This is the most important lesson in this course, because it covers the hardest part of boudoir photography – getting great shots! Verosky gives excellent suggestions when it comes to poses we should use during warm-up shots and then he proceeds to explain some more demanding poses.
He also demonstrates how working with minimal gear shouldn't prevent anyone from creating truly bold images. We can see that Verosky works mainly with two strobes and lighting modifiers, but he's also capable of creating very good images without any artificial lighting.
In this lesson I find the second section very informative. It's not easy to give proper directions to models (especially inexperienced ones!) but Verosky explains how to do it without creating any confusion and awkward situations. I also like his suggestions when it comes to clothings – even simple items such as plain white shirts or tank tops can look quite bold in freestyle boudoir setting!

Lesson 3: Editing
The lesson on editing is divided into 5 sections. Four of them contain only videos and the last section is dedicated to final edits, tweaks and preview galleries in Lightroom.
The videos in this lesson cover the editing routine for 4 different types of boudoir sessions:
- Vintage
- Indie (with props)
- Minimal
- Open-ended (with an experienced model)
Even though Verosky doesn't give any detailed directions when it comes to editing images in Lightroom, his way to pick the best shots and edit only them can be quite useful technique especially for photographers who aren't really good at deciding which images to keep.
Bonus Materials
Verosky provides us with 5 bonus materials at the end of this course:
- Freestyle Boudoir eBook
- Model Release Examples
- Vendetta Presets for Lightroom
- Behind-The-Scenes Video
- Photoshoot Notebook
I have tried out his custom presets and they are well-crafted and easy to use. There are 52 of them, which means you will certainly find something that is right up your ally. I find Verosky's presets that emulate grain quite fun because I've never experimented with grain myself.
Verosky's Photoshoot Notebook is also a great bonus material because it covers an entire session done with rather simple lighting. This type of photo shoot is available to anyone, even amateur photographers who are willing to explore freestyle boudoir photography.

Topics That Weren't Discussed In This Course
Even though this course on freestyle boudoir photography is certainly well-organized and it covers many crucial topics, I have to say that I didn't find it as in-depth as I would have liked.
You won't be able to find almost any information about camera settings and if you're not proficient in lighting setups in portraiture you might need to find additional lessons about lighting. The same goes for posing models – if you have no experience when it comes to the basic workflow of posing in boudoir photography, it's probably a good idea to find additional sources dedicated to posing specifically.
To sum things up, Ed Verosky's course on boudoir photography will satisfy the curiosity of many novice portrait photographers who are willing to explore this genre of portraiture. I think the winning combination would be using this course along with other sources that cover in-depth technical topics, such as camera and flash settings, types of lighting in portraiture, detailed Lightroom or Photoshop workflows and so on.

To learn more about boudoir photography, check out the links below.
What Next?
It dig down into Ed Verosky's Freestyle Boudoir course, you can check it out here.


