Getting correctly exposed images doesn’t have to be difficult. But to get it right, there are a few things you need to remember. To avoid under and over exposure, it's important to understand how to use the two controls that adjust the amount of light reaching the film or sensor, the aperture and shutter speed. Let’s have a look at how you can do this.
If your film or sensor receives the proper amount of light, the final image will reproduce your subject in it's proper tones and colours.
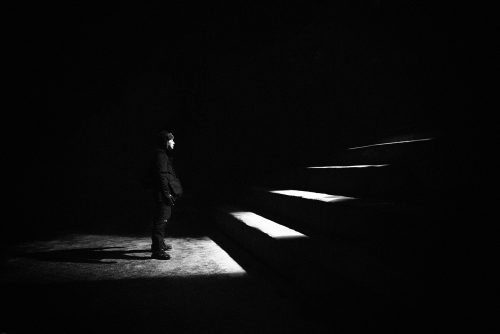
But if the film gets too much light (over exposure), the image will be pale and lacking in detail.
If it gets too little light (under exposure), the image will be dark and muddy.
Exposing film (for SLRs) or sensors (for DSLRs) to light can be compared to filling a bucket with water from a tap. You can open the tap wide and fill the bucket quickly, or open it only a little and let the water trickle slowly.
The two variables are how much you open the tap and how long you leave it on. The two exposure controls on the camera work much the same way.
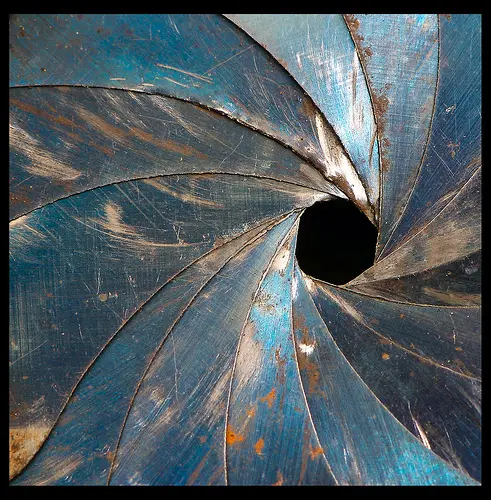
Like the valve on the tap, the aperture controls the size of the opening in the lens that admits the light. The shutter speed determines the length of time that the shutter will stay open to let the light pass through.
The exposure meter on your camera reads the total quantity of light reflected from the subject and tells you, or the camera, which combinations of shutter speed and aperture will produce the correct result on the film or sensor setting (measured as ISO or ASA) you are using.
Because apertures and shutter speeds work on the principal of halving and doubling as you change their setting, a variety of aperture and shutter speed combinations will produce the same quantity of light on the film or sensor surface.
For example, if the camera came up with an exposure of 125th of a second at f5.6, you could change the setting by halving the shutter speed to 250th of a second and doubling the aperture to f4 and still achieve a correct exposure.
By using the principal of halving and doubling your aperture and shutter speeds, you can select the creative parameters of your photograph.
Exposure is the amount of light it takes to record a scene correctly. Too much light and the picture will look washed out, too little light and it will be lost in murky darkness.
If your film receives the proper amount of light, the final image will reproduce your subject in it's proper tones and colours.
Virtually all point-and-shoot and most SLR cameras employ tiny computer chips to set the exposure automatically, often without so much as a prayer from you.
Still, having some idea of how the camera works its magic will help you get a higher percentage of good exposures and often opens up additional creative options.
In deciding how much light is needed for correct exposure, your camera employs a light meter that measures the amount of light reflecting from the subject. Taking into account the ISO setting, it then sets the camera's controls for the optimum exposure.
The two basic controls that all cameras use to set exposure are:
-
Shutter Speed – the amount of time the film is exposed to light.
- shutter speeds are described in fractions of seconds (typically ranging from one second to 1/2,000 second); the fastest speeds let in the least light, and the slowest let in the most
-
Aperture – the size of the lens opening that lets light into the camera.
- apertures are described as numbered f/stops; lower-numbered stops (f/2.8, for example) let in the most light and higher-numbered stops (f/22) provide the least.
In combination, shutter speed and aperture are the gatekeepers that regulate the amount of light that gets to the film or sensor.
Understanding the significance of the numerical sequences of each control isn't important.
It is important, however, to know that the two controls have an entirely reciprocal relationship – if you open the lens by one aperture stop to let in more light (going from f/11 to f/8, for example) and then speed up the shutter speed by one stop (from 1/125 to 1/250), you get exactly the same exposure.
It doesn't matter if you (or the camera) open the lens and speed up the shutter or vice versa: The exposure remains the same.
The only difference is that faster shutter speeds stop action better, and changes in aperture affect depth of field.
Note: Light Stalking was lucky enough to be given access to Fiona Hall’s old teaching notes for this post. Check out Fiona’s Antarctic photos at her site.



1 Comment
Thanks for the insight into photography and exposure. Love the photo of the Brownie camera. Excellent condition!
Have a great day!
Curtis
Wedding Photography Miami