So you have rushed out to shoot a landscape on a sunny day, and while you tried to remember the sunny f/16 rule, you forgot to take your gradient filter with you and you have some washed out skies in your shots. Fear not! All is not lost. Here is a quick and dirty way to fake a gradient filter in Photoshop.
Before we explain how to mimic a gradient filter (graduated neutral density filter) in Photoshop, you should know that this filter is a handy tool in landscape photography because it allows you to balance the light levels between a bright sky and darker ground. This will result in an image which is well exposed and full of detail.
You can control the gradient very accurately in Photoshop because you decide where the filtering starts and ends, which is impossible to do with a real ND graduated filter!
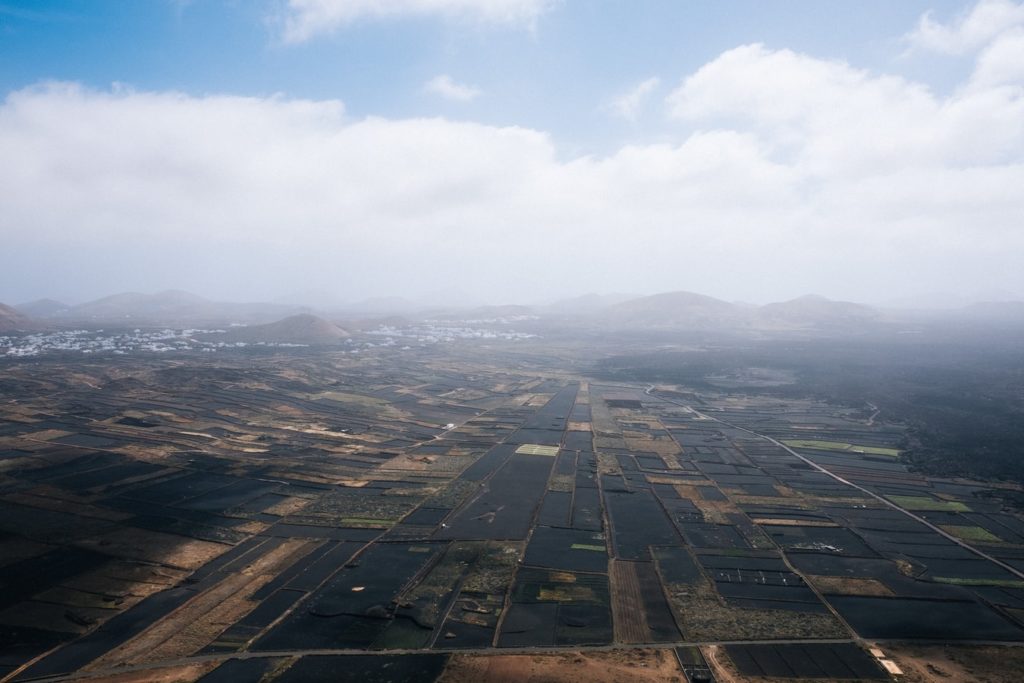

Step 1:
Open your image in Photoshop. This trick will work if the sky in your image is very bright and ground is very dark.
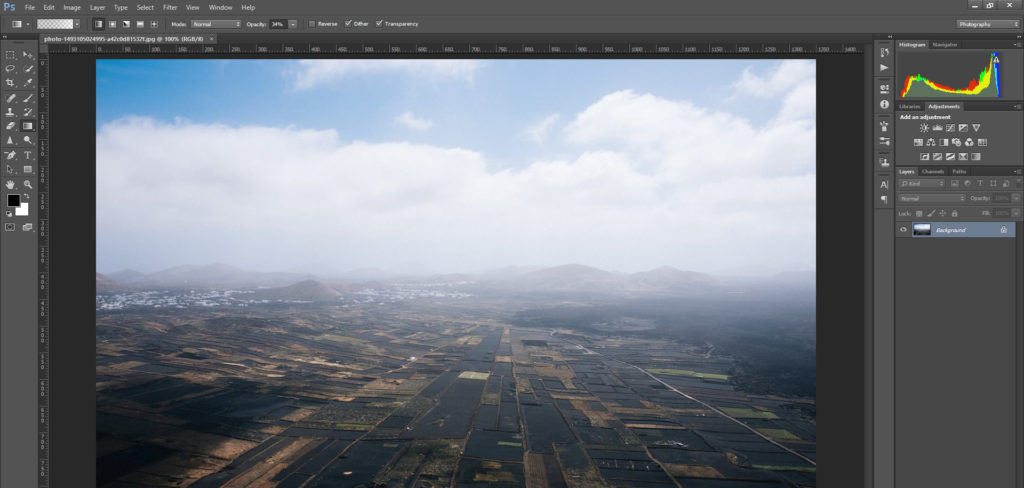
Step 2:
Create a new layer.
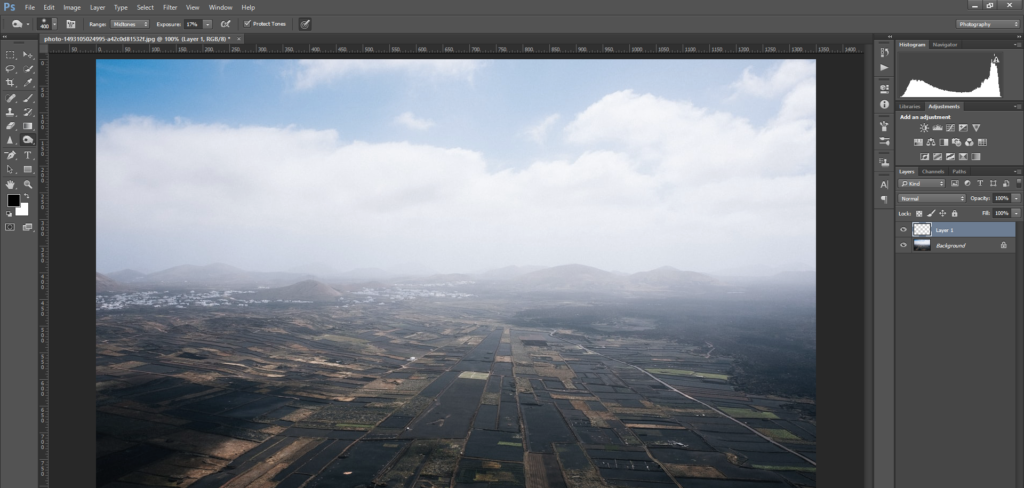
Step 3:
Hit “G” to bring up the gradient bar and select “white/black” in the gradient editor.

Step 4:
Draw the gradient.
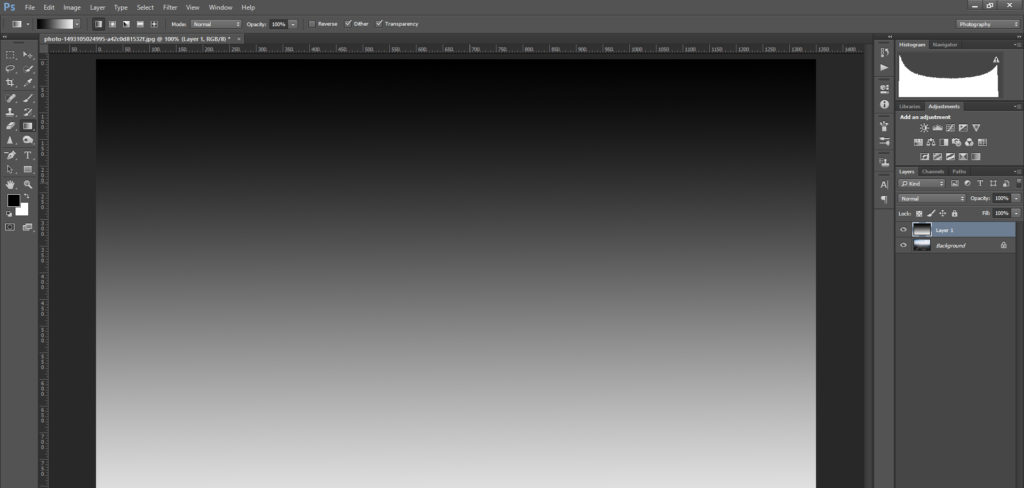
Step 5:
In the layer properties window, select “Overlay”.
Step 6:
In the Layer properties window, adjust the opacity to suit your tastes.
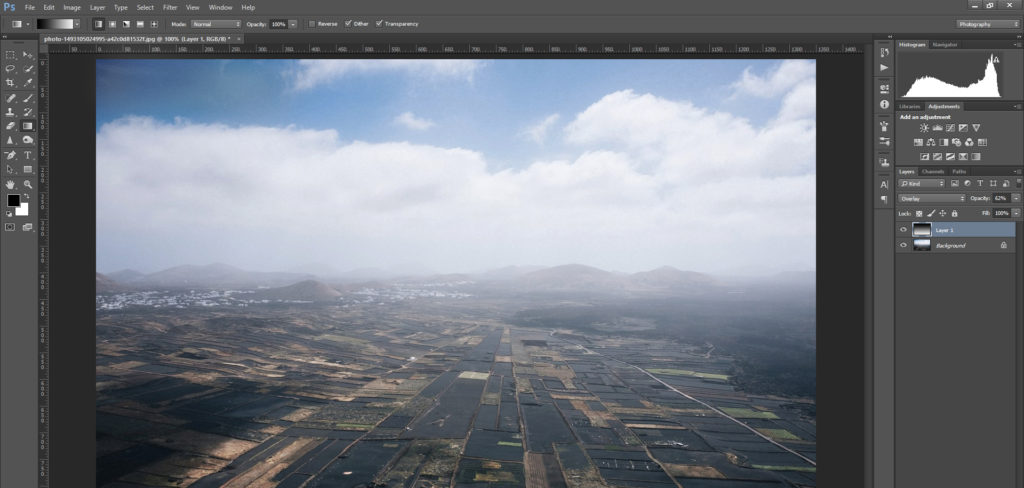
After you've created a gradient, you can work on other settings such as tone, contrast and color until you're happy with the final results!
Well, that’s about it. It’s quick. It’s nasty. And it can save your washed out skies when you’re in a bind.
To learn more about graduated ND filters, check out the links below!
Further reading:
- How Using Strong ND Filters Can Create Awesome Results
- How To Go From Dull To Dramatic Skies
- Here’s How To Use The Power Of Lightroom’s Graduated Filter
- Imitating A Graduated Neutral Density Filter In Photoshop
- How To Make The Most Out Of Graduated Filters In Post
- Photoshop Tip: Improving Images With Gradient Filters


3 Comments
first of all here in the UK we only get one day of sunny weather (well not that bad but …) I use a slightly longer method loosely select the sky feather the selection at 200 then darken with the Image>Adjustments>Brightness. this works great when you a busy sky with clouds
Thanks for your tip
@John – that’s a great way to do it too – I hadn’t thought of that one, but I can see that it would work. Thanks for sharing.
first of all here in the UK we only get one day of sunny weather (well not that bad but …) I use a slightly longer method loosely select the sky feather the selection at 200 then darken with the Image>Adjustments>Brightness. this works great when you a busy sky with clouds
Thanks for your tip