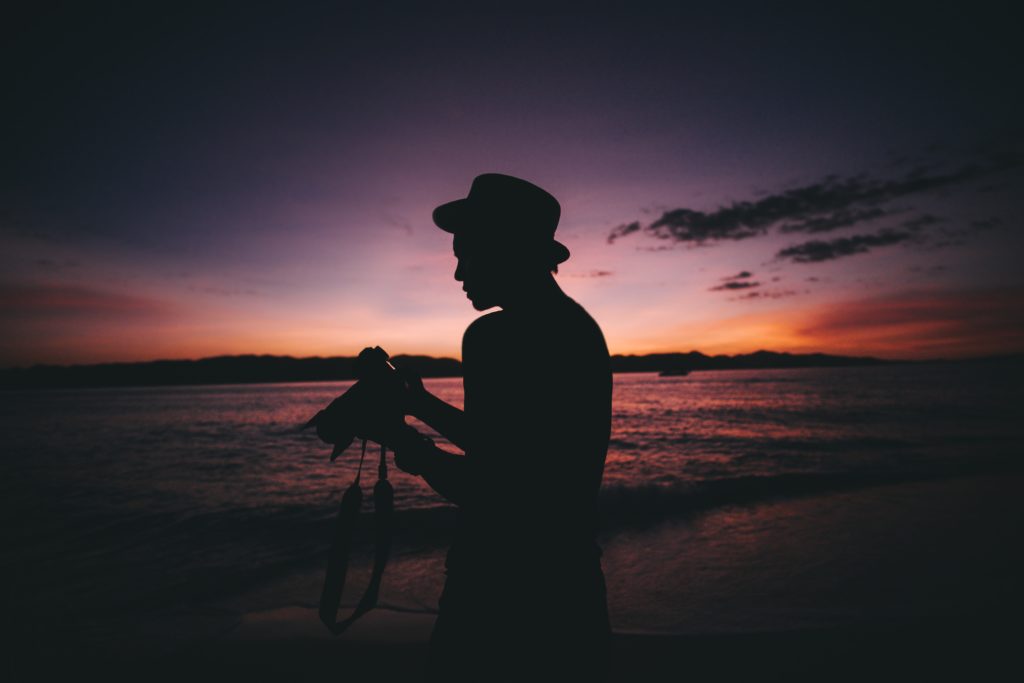
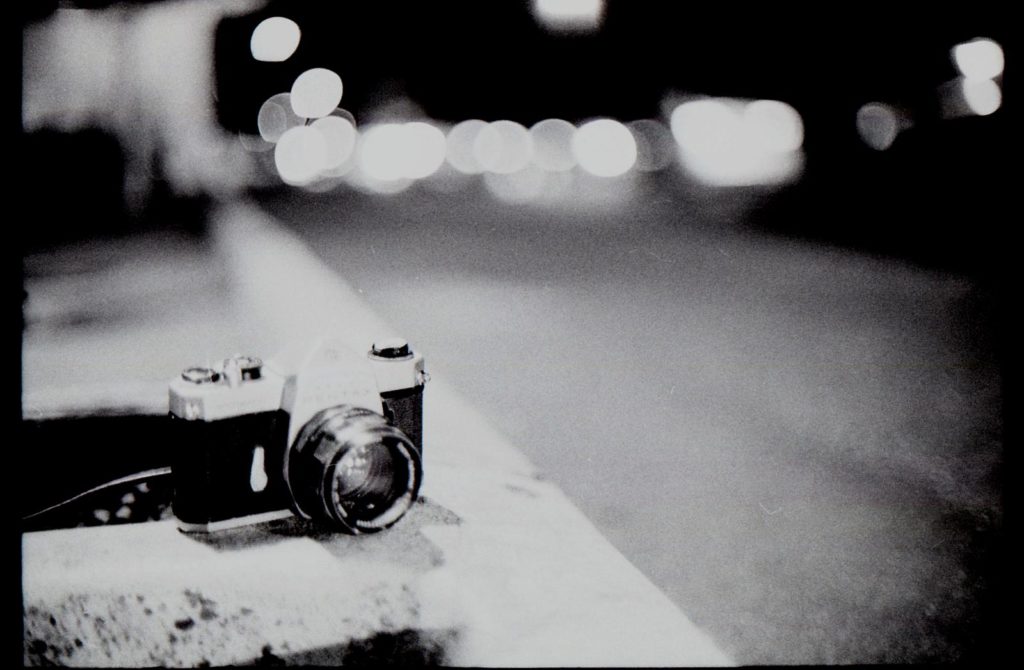
Some people love them and some people hate them, but whatever your tastes you should probably know a little about the vignette effect in photography. A vignette photo has edges that fade to either white or black, typically gradually, although it can be an effect that is used dramatically as well. This effect can be created in camera with certain lenses that are known to produce it, sometimes undesirably. Vignettes can also be created in the darkroom during the printing process. However, in this day and age the most common way to create a vignette is during the post-processing phase in a photo editing program such as Photoshop.

Generally in spite of our very wide field of view, our eyes don’t see with perfect focus at all points in a scene. We see the center of a scene with ideal light sensitivity and perfect focus and then focus and brightness will fall off increasingly toward the periphery. Therefore, a vignette more or less mimics the way our eyes actually see a scene. Although a photograph with precise focus and exposure throughout may be desirable in some scenarios, it can also seem very boring, artificial and even too contrived in others.
Vignetting can act as a way to frame the intended subject in a photo in either a subtle or dramatic way and really make it stand out to great creative effect. By causing the periphery to gradually fade away, not only will the photo be more like actual vision, it can immediately draw the eye to the main subject and away from unimportant elements in the background or periphery. It can also be used as a finishing touch on a photo once the exposure and composition are perfect.
Typically a vignette, as previously mentioned, is used in a gradual or subtle way since our eyes don’t actually make the borders of our vision very dark and fuzzy. When used in this way, a vignette will generally not be consciously detectable by the untrained eye. However, there are times when a more dramatic vignette is a useful effect, such as in a black and white landscape to add a touch of drama or in an intense portrait to create a darker mood.
Older cheaper cameras such as Holgas often had poor optics, so many old photos have vignetting that was created in-camera unintentionally. This vintage look, which was previously not desirable, is now often intentionally recreated during post-processing with software like Photoshop.

How to Create a Vignette in Photoshop
There are a few ways to create a vignette in Photoshop but there are a few bits of information that are important to know first. A vignette should always be the very last step in the editing process. Deciding to crop the image post-vignette, for example, can cause the end result to be not desirable since a vignette is used to highlight the subject. If you are not completely sure that you are absolutely done editing your photo in other ways, you can choose to duplicate the original image layer so that you can go back to it if needed.
The easiest way to create a vignette in Photoshop is to first create a new layer and select the elliptical marquee tool. Create a circle or oval shape in the desired area on your photo.
Next you will need to choose to feather your selection anywhere from 50 to 80 pixels by going to Select>Modify>Feather.
You can also choose the square marquee or even use the lasso tool to create a custom and creative shape. At this point you will go to Select>Inverse and fill the center of the selection with black or white depending on the look you ultimately want to achieve. If it is too dark at this point then you can easily lighten it by lowering the layer opacity.
Another easy and quick way to add vignetting to your photos in Photoshop involves the use of the Lens Correction filter.
First you need to open your photo and as previously mentioned, be sure to finish all photo edits prior to adding the vignetting. Open the Lens Correction filter via the following path Filters>Distort>Lens Correction. You will see various options within the Lens Correction menu but we are going to focus on the Vignette sliders. The Amount slider will make the vignette darker or lighter and the Midpoint slider will adjust the mid-point of the vignette.
The first method of vignetting in Photoshop is definitely preferable if you want to place the vignetting in a custom place on the photo for creative effect, meaning not oval and dead center. However, the second method is great for a very precision vignette much like what would be created naturally with a lens.
A Quick Note About Opinions on Vignettes
One thing to be aware of is that there are photographers that “object” to the use of vignetting. Many see it as a form of cheating and as a way to make a bad photograph better. They argue that the composition itself should be what creates all of the emphasis on the subject and not a post-processing technique. However, the viewer of the photo, unless they possess a critical and trained eye, really doesn’t care about why they like a photo. They just do. Ultimately photography is indeed an art form and artists are as varied art itself. The most important thing is to produce the images that you want to produce.
Rachael Towne is a photographer, digital artist and creator of photoluminary.com
.


4 Comments
Great info, thank you!
Hi Rachel…
Very informative post about vignettes. I appreciate your portion about opinions.
I feel that the image captured in the camera is intended as a started point for me to express my artistry. If the image can be manipulated in a photo editor, who is going to say that I may not, or should not? I’ve just recently started using Lightroom, after using a number of open sourced, and free photo editors for years. I love having the capability to turn the captured image into something that I would hang on my wall.
Even in the ancient times of the darkroom era, I was manipulating images, instructing the colour processor to dodge, burn, put filters on the enlarger, and anything that I could think of.
Does this make me a lousy photographer. Perhaps! Not many people get to see the work that I do between capturing the image and displaying the finished product. I tend to keep the alchemy to myself.
I have Aperture on my iMac, and mostly just sit and look at it very confused, and then just go back to iPhoto.
There are some really nice apps on the iPad for photo editing, too.
And then, I suppose if I can’t rely on “fixing” a photo in post-production software, I have to make sure I get the best shot I can right off the bat.
I’m an anti-willy-nilly-black-vignette-arian. I think many photographers use a black vignettes with no consideration as to what it does to the colors in a photo. When black is used it can really muddy the colors and lead to blech-y looking photos. Of course, there are times when black can look good – like in black and white photos. Or the
brown toned photo a above. But there are so, so many examples out there of poor use of black.
It’s possible to get a vignette effect, without slapping black on top, using good old dodging and burning (using radial filter or masking and adjusting exposure or curves.)