There is no doubt the film revival is here and here to stay and knowing how to digitise film is a useful skills a film photographer. Increasing numbers of people, both masters of celluloid and disciples of digital are giving film photography a look. Of course one of the most satisfying aspects of film photography is printing, or receiving prints. It is also one of the most expensive aspects as well.
Whilst you might take 36 good images on a roll, you might only want to print one or two. What to do with the rest? Put them in plastic boxes never to be seen again. The other alternative is to digitise them. Today we are going to take a look at ways you can get from C to D, from celluloid to digital.
How to Digitise Film with a Flatbed Scanner
The chances are you might have a flatbed scanner gathering dust somewhere. If it was a good model there is also the chance that it might have a film adapter included. One of the advantages of a flatbed scanner is that they can also often scan medium format film or even bigger. They are also cheap if you do not already own one.
Flatbeds are ok if you only have a few transparencies or negatives to scan and are not overly bothered about quality. Because the scanner uses reflected light rather than light shining directly through to a sensor, quality is not as high as you might like. There are also issues with film strips curling and the large scanning decks are prone to gathering dust, making it difficult to keep the film surface clean.
Overall ideal for one of scanning that does not require high quality.

How to Digitise Film with a Dedicated Film Scanner
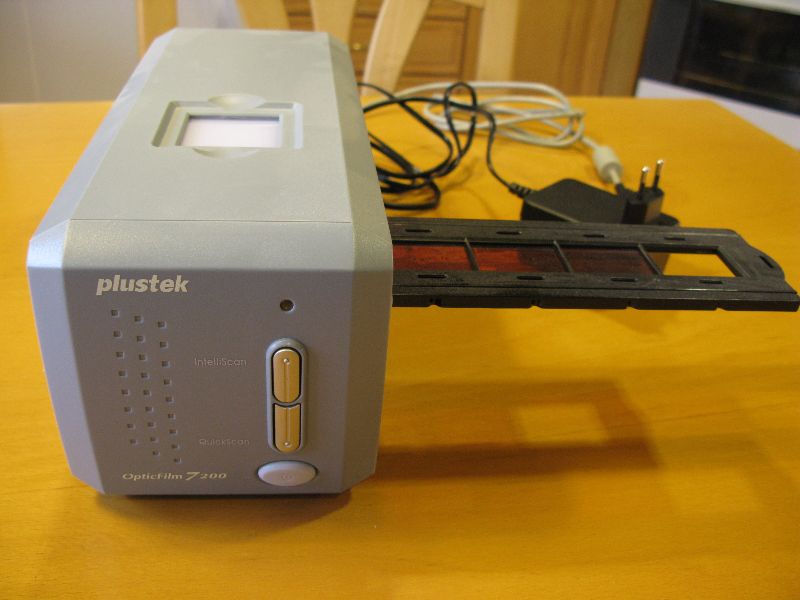
Film scanners used to be expensive and slow machines that required you to be hooked up to a computer. Indeed you can still buy these machines secondhand on eBay for low prices. Recent years though have seen the rise of the small stand alone film scanner. Costing from $60-$160 these neat little machines will allow you to scan 4-6 images at per run. They scan to between 14 and 20 megapixels in resolution and save the image files to SD cards. Many of them have small built in preview screens that allow you to check quality and progress.
The advantages of these little machines are they are relatively cheap, fairly quick and do not require connection to a computer. They are however limited to 35mm film and can be prone to dust.

Older film scanners such as this required hooking up to a computer. Newer ones are standalone.
How to Digitise Film Using a Digital Camera
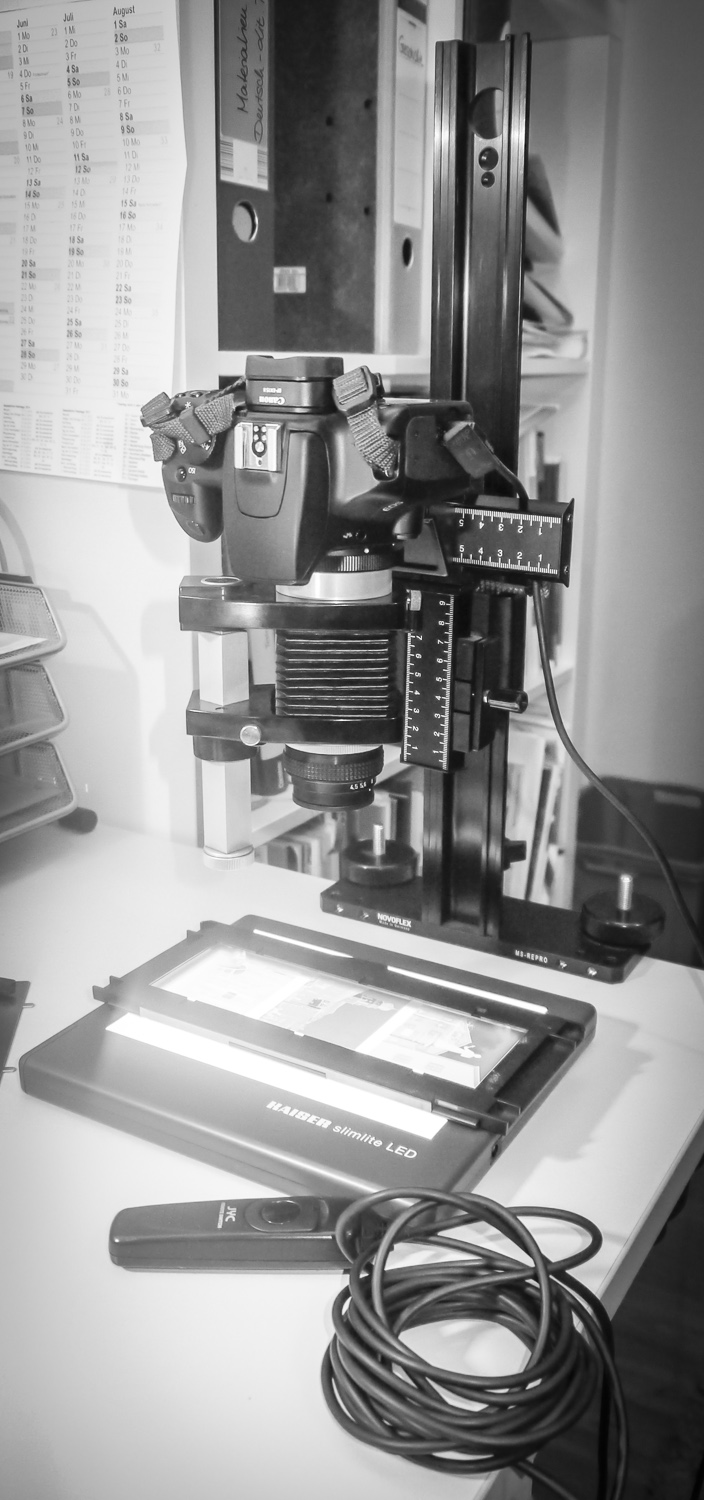
It might not seem obvious but we all already own a very high quality image scanner, our digital cameras. The better the dynamic range of your camera the better quality your “scan” will be, an important factor when scanning transparencies which tend to have a higher contrast than negatives. Other things you will need are a macro lens with 1:1 reproduction, a light source and a stand. The best light source is a colour corrected lightbox and for a stand you can get a dedicated copy stand off eBay or even convert an old enlarger. It is also preferable to have a slide/negative holder to keep the film flat.
For a similar price as a dedicated film scanner you can get create a setup that will arguably make better renditions of slides. Because you are using a digital camera the actual scan will be very quick, however, the whole process can be slow.

A solid set up for scanning with a digital camera.
How to Digitise Film with a Drum Scanner
Drum scanners are out of the budget for most enthusiast photographers running into the several 1000s of dollars even secondhand. They are however the very best quality that you will achieve when scanning film. Fortunately there are many companies that will take your film and scan it for you. The cost varies a lot, with top end professional photo-labs charging $30-$50 per scan depending on resolution. You might find cheaper places and better deals for bulk. These companies may send you film overseas to be scanned which takes time and increases the risk of the film getting lost.
Whatever method you choose, digitising film needs to be viewed as a long term project, especially if you have large numbers to be done. You need to sort out an efficient workflow, one that maintains quality whilst allowing you to work quickly. The end result however can give great satisfaction, especially for those of us that spent a deal of time accumulating a big catalogue of celluloid based images.


4 Comments
I use Nikon 9000 on occasion and keep my scans as DNG/RAW.
Also shoot digital a lot and use RNI All Films 4 for Lightroom and RNI’s camera profile for my Leica and Sony A7II to match the look to my film footage.
What’s the best way to digitize a lot of old 35mm slides and not go broke doing it?
RNI All Films works well for me. I use a Pro version.
Probably the best implementation of analog film profiles to the date.
Tried digitising film myself a couple of times but ended up using RNI film profiles.
It does real magic if you shoot raw.