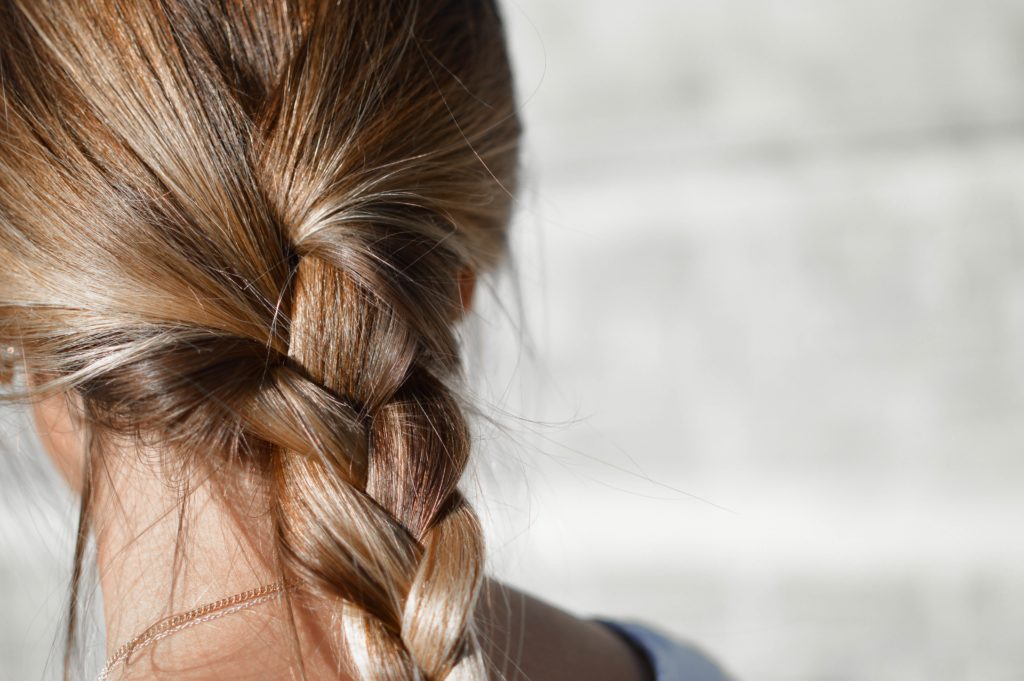
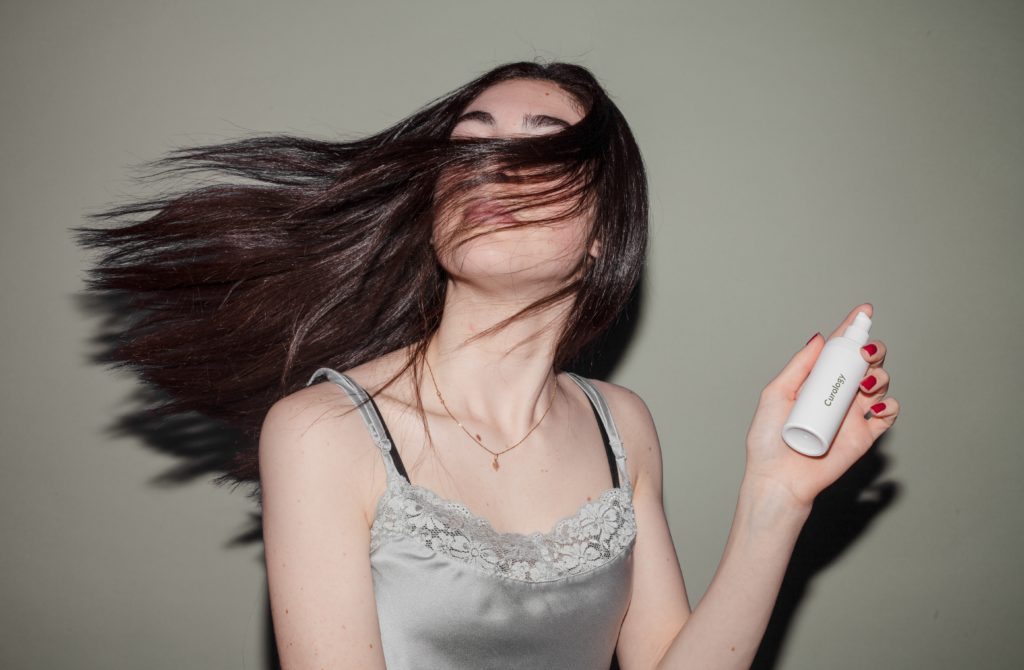
Today we are going to look at how to edit hair in Photoshop. If you’re into portraiture, you probably know that hair rarely looks perfect straight out of the camera, and it requires at least a little bit of retouching. In case you are shooting fashion models or hair product commercials, only basic retouching won’t be enough – you’ll need to make the hair of your models as stunning as possible, and that’s not an easy task.
Retouching hair can make a huge difference in a photo, and that’s why learning proper editing techniques can be quite useful. The following 4 tips on how to edit hair will help you achieve much better results when it comes to hair retouching in Photoshop.
Remove Stray Hair
Stray hair is one of the most common issues when it comes to portraiture. Removing stray hair can be a painstaking process in case you want to remove every single stray hair, but the results will look more natural if you remove only those stubborn and awkward stray hairs.
The best way to remove stray hair is by using the Spot Healing Brush Tool (Content-Aware type) in Photoshop. There is no way to speed up the process if there are many stray hairs, but this tool is quite precise, and you can easily adjust the brush size depending on the size of stray hairs. The result will be best if the model was shot in front of a plain solid color background.
When using this tool, make sure to create a new layer and choose “Sample All Layers” from the top menu.
Clean Up Edges And Create A Hair Outline
In case the entire hair of your model looks too messy, the Spot Healing Brush Tool can’t help you. In this case, you need to work on the outline of the hair and make it smoother.
To obtain a clean outline, you need to create a perfect selection. You can do this with the Pen Tool – you should trace an edge around the hair. In case you’re not familiar with the Pen Tool, you might have to practice a bit.
You should click and drag in the direction of the hair and create a loop. Once this is done, you have to right-click the path you just created and choose “Make Selection”. Then create a new layer, select the Clone Stamp Tool and sample “Current and Below.”
The point of doing this is to sample outside of the hairline and then paint inside of the selection to clean the outline of the hair. Don’t overdo it because the results won’t look natural – the hair shouldn’t look like a wig.
Add More Volume To Hair
Sometimes, you will have to add more hair instead of removing it. This technique is very useful in case your model has a thin and lifeless hair.
To add more volume to your model’s hair, select the Brush Tool and make the brush size small enough to correspond to the width of a hair. Then sample the color from the existing hair and paint small strokes at the edge of the hair to mimic stray hair.
To make the hair more realistic, you should paint in only a few well-positioned strays, not a whole bunch of hair. You should also be careful when it comes to colors – change the mode of your brush to Color Burn or Color Dodge, to mimic highlights and lowlights.
Another way to edit hair and add more volume to hair would be with the Liquify Filter. On a flattened image, you should create a new layer, go to ‘’Liquify’’ in the filter menu and use the Forward Warp Tool to slightly pull out the edges of the hair. Make sure to do this in a subtle way!
Fill In Gaps In Hair
You might need to fill in gaps in case the hair of your model doesn’t fall correctly, or in case your subject has a visible hair loss.
It’s not too complicated to fill in such gaps – you need to know how to use the Clone Stamp Tool correctly. You should choose this tool and make the brush size small enough to mimic the width of a hair. Once you’ve done this, you should sample the surrounding hair and paint it in light strokes over the gaps. The results can be truly seamless if you take it slow and work with a small enough brush size.
If you want to learn more about editing portraits, check out the following links!
Further Resources:
- 7 Expert Editing Tricks for Portraits
- Case Study: Portrait Photoshop Retouching From Lighting to Finished Product
- How the Photoshop Liquify Tool Can Be Used to Improve Your Portraits
- Photoshop Tutorial: How To Do Frequency Separation For Retouching A Portrait
- Photoshop Retouching Tutorials for Skin, Hair, Eyes & Face
- 70 Beauty Retouching Photoshop Tutorials


