You've probably stumbled upon a photo collection from your grandparents, tucked away somewhere, left for ages. Since those photos will probably be older than you are, time and elements probably had taken their toll. However, with the modern technology and the power of Photoshop, most of that damage can be repaired, and some additional enhancement can be done as well.
It would be a nice present for a birthday of your grandparents if you had one or two of those images cleaned up, reprinted and framed for them, right? Especially now when that can be done very easily.
So, I will be using a photo I found on reddit/imgur, where the user is requesting some repair work to be done. Killing two birds with one stone, I’ll fix the image for the person, and you’ll get to see the steps taken in the process.
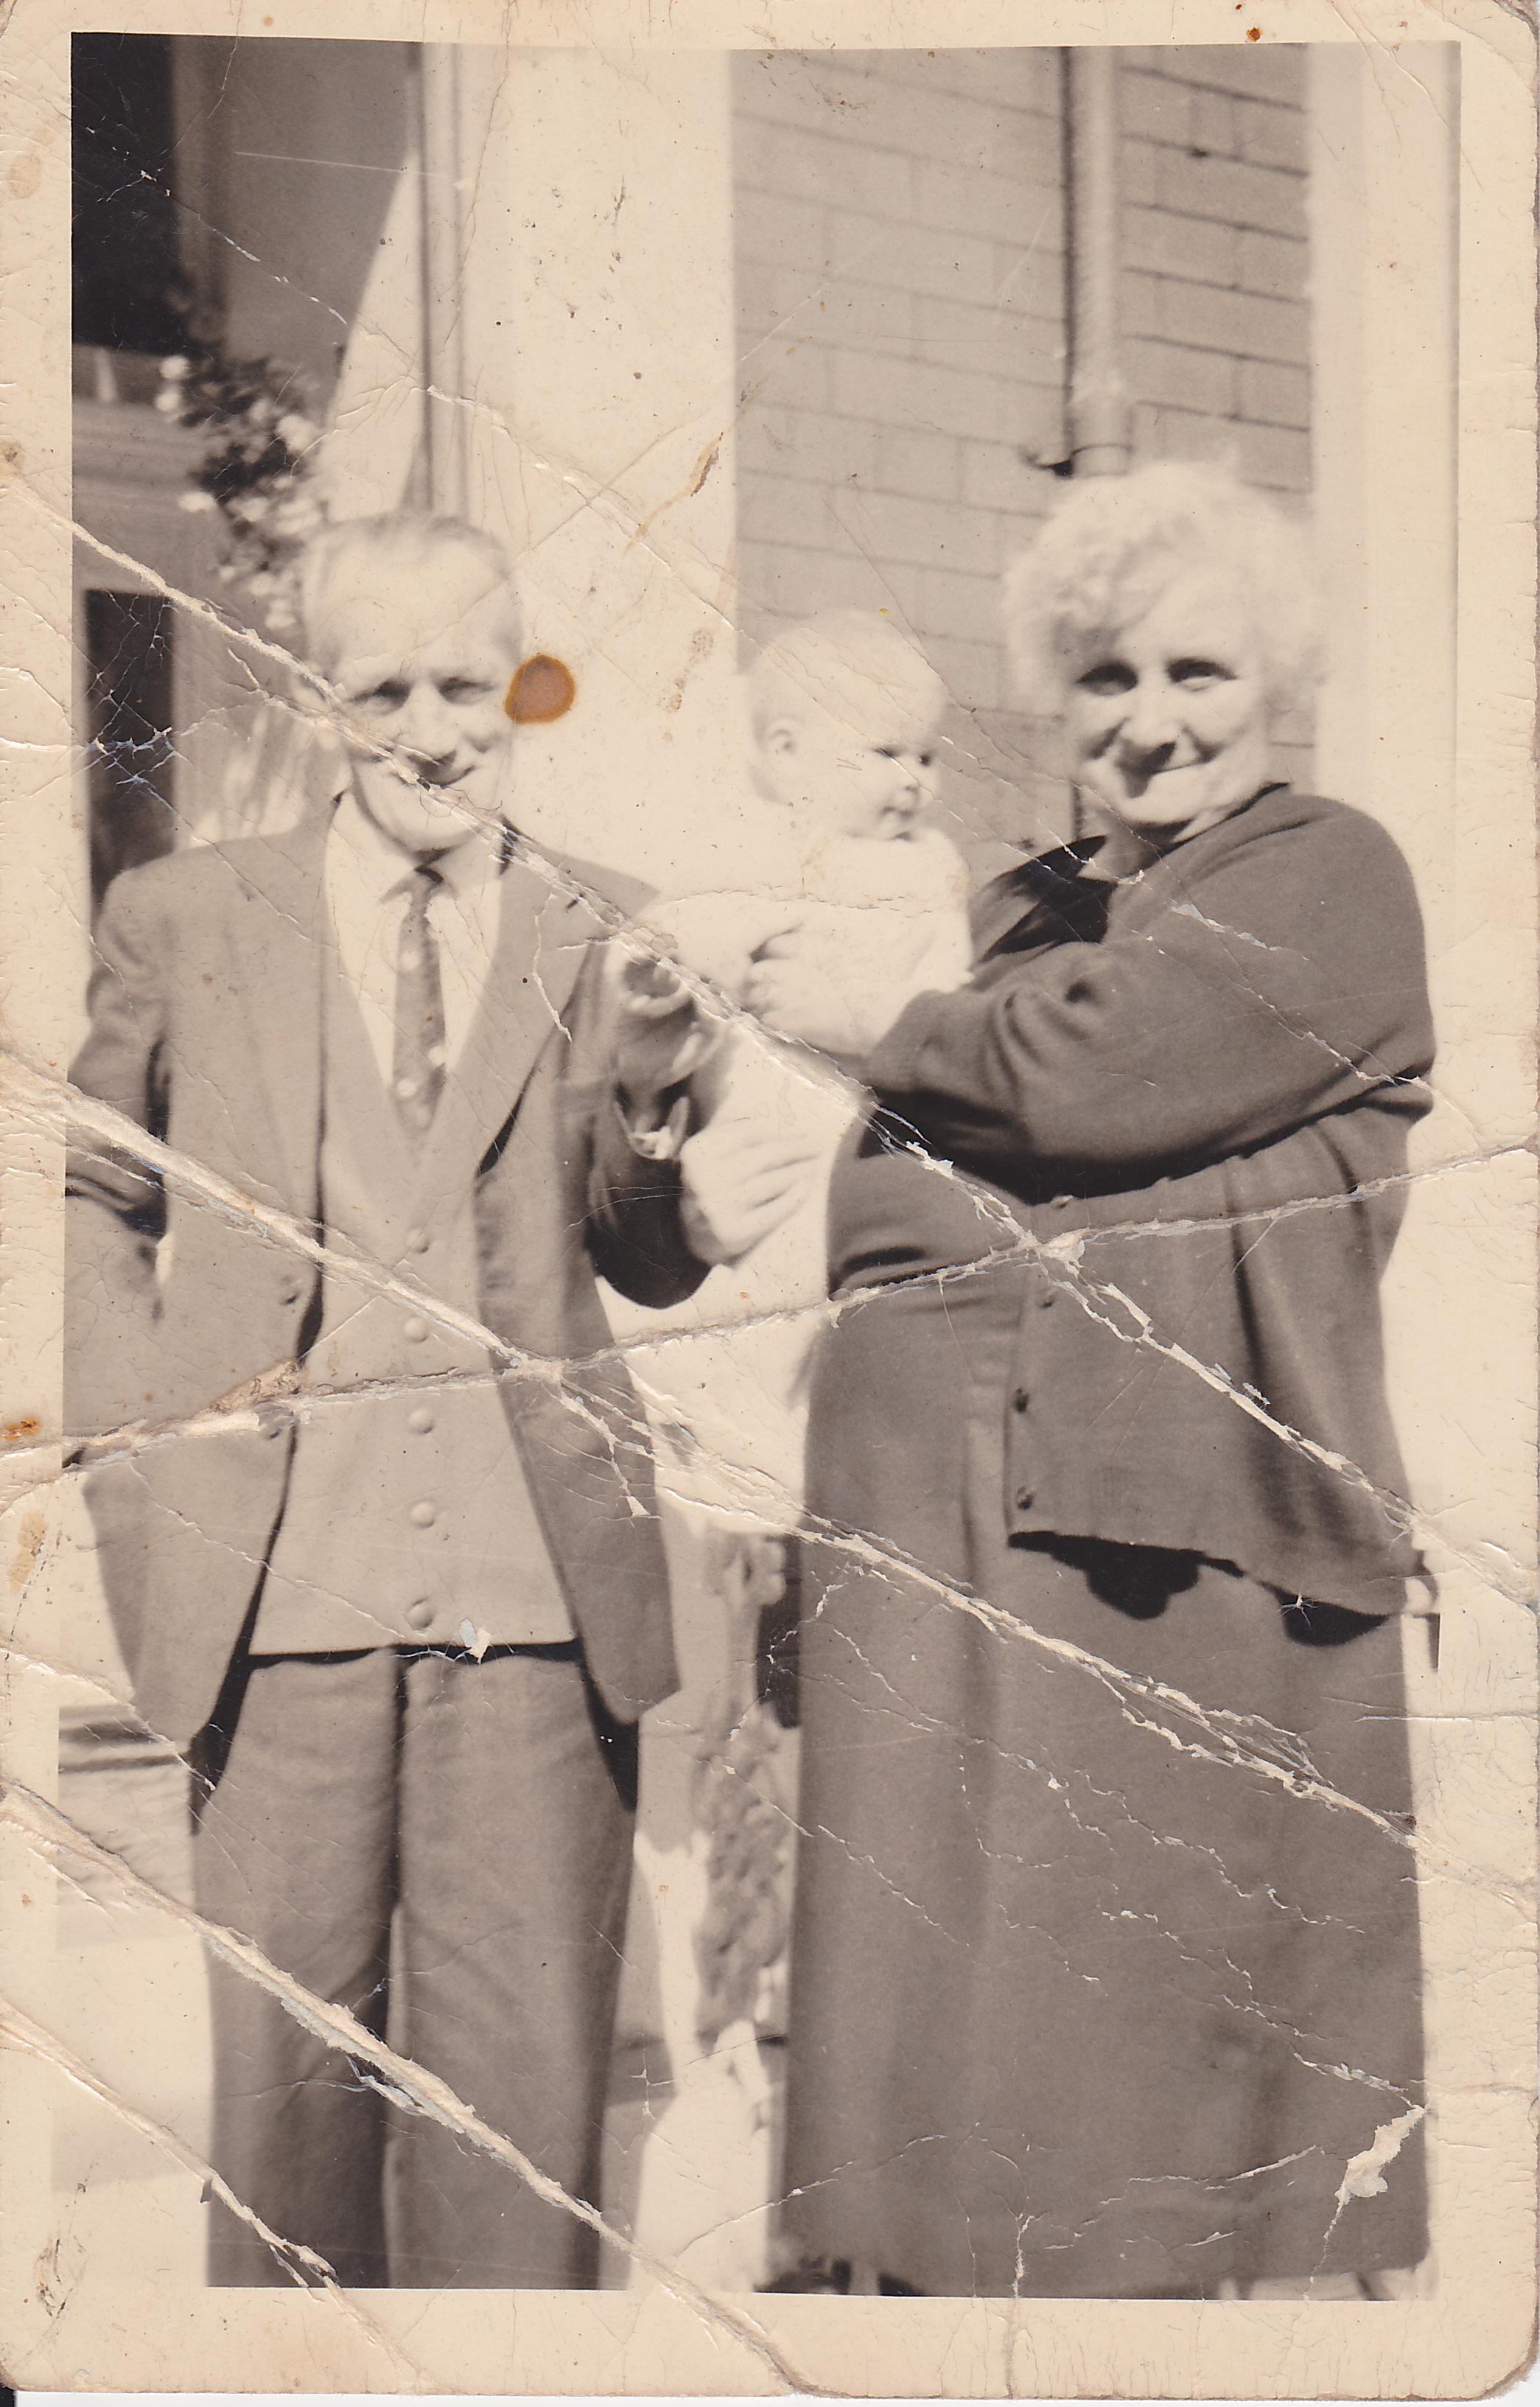
The original image
First of all, if you have the physical image, scan it as well as possible. Avoid photographing the image (except if you don’t have any choice) due to the fact that providing equal light is hard.
Now, make no mistake, there are countless ways to get to the same result, but I’ll present you the way I do the repairing.
Also, have in mind that there are many pictures that are beyond repair, or will have parts of it that can’t be repaired. since images get some sepia look due to dust and paper getting old (due to the acidic nature of the paper, caused by lignin).
Make The Image Black And White
So the first step is to revert the image to black and white. And I do this by going to Image -> Adjustments -> Black And White. I prefer this over desaturating because I have more control over the process.
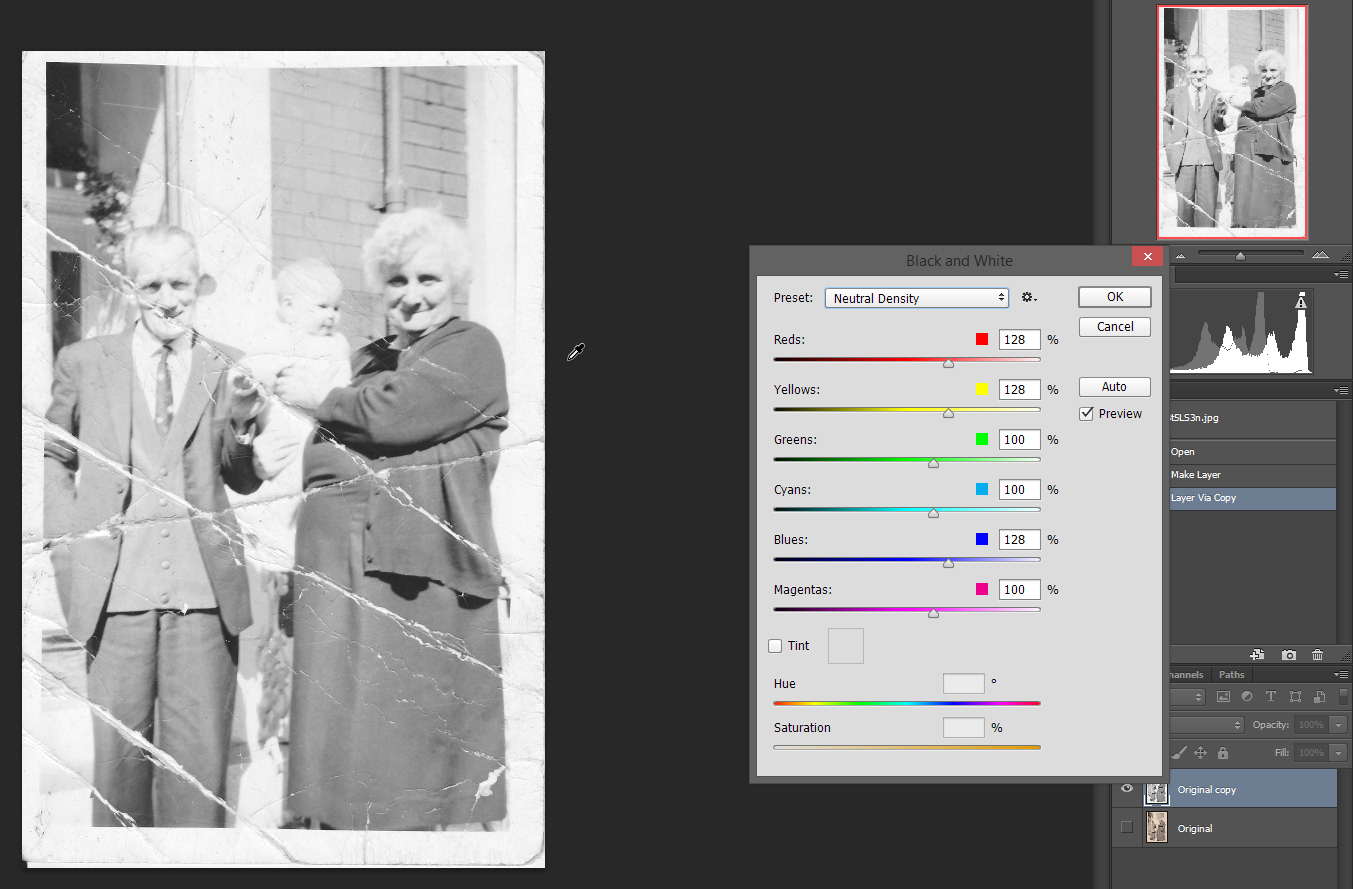
Clean Up The Mess
After I have the image converted to black and white to my liking, I tend to drop some guides to make a grid for the cleaning process. This makes things easier for me because it is more organized, I take up one field, clean it, move on to the next one, etc.
The cleaning process involves Healing Brush Tool and Clone Stamp. I use Healing Brush where the Photoshop algorithms are smart enough to fix the issue, Clone Stamp when I have to do it manually.
First of all, we go through the easily fixable paper cracks and stains. That will provide more texture to sample from for the bigger cracks.
Note that you can use the Clone Stamp Tool in Lighten or Darken mode for tough spots. This is good for removing stains while maintaining the texture and detail inside. It will work more or less like dodge tool, but a bit less aggressive to the details. This can also be done with a brush if you want to paint something on it.
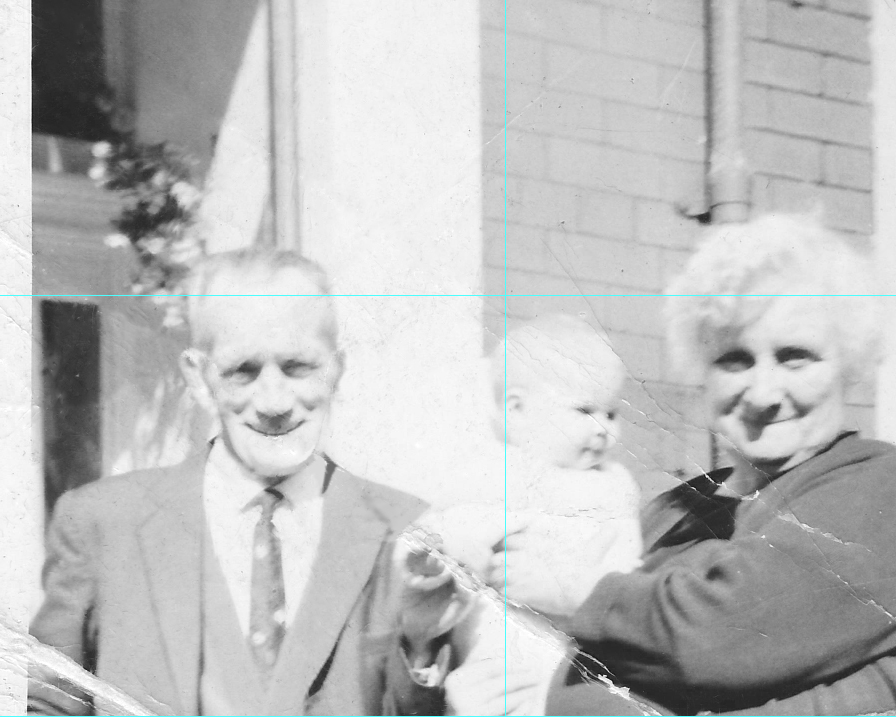
For tougher spots, you can use dodge and burn to repair lost detail by practically drawing them back in. This isn’t that hard of a process if you own a pen tablet with reasonable accuracy. I personally use Wacom Intuos S, the most basic one, and it does the trick.
If there is too much damage on certain facial aspect, for example, you can copy and flip the other side of the face and then fill in the blanks. Yes, I am aware that the left and right side aren’t exactly the same, but I think you’d rather fill in the blanks using the healthy part of the image rather than leaving big gap there, right?
Final Adjustments
When you are done cleaning the image of all the tears and creases, and you have removed the stains and all, it is time to enhance the photo a bit. For this process I usually use two high pass layers in order to enhance the sharpness and structure. Of course, there aren’t many fine details left in this picture, but local contrast does change quite a bit. The first High Pass layer is with 2-5 pixel radius, and the second one is with 20-50 pixels radius. They’re both set to overlay, and then the opacity is reduced by taste.
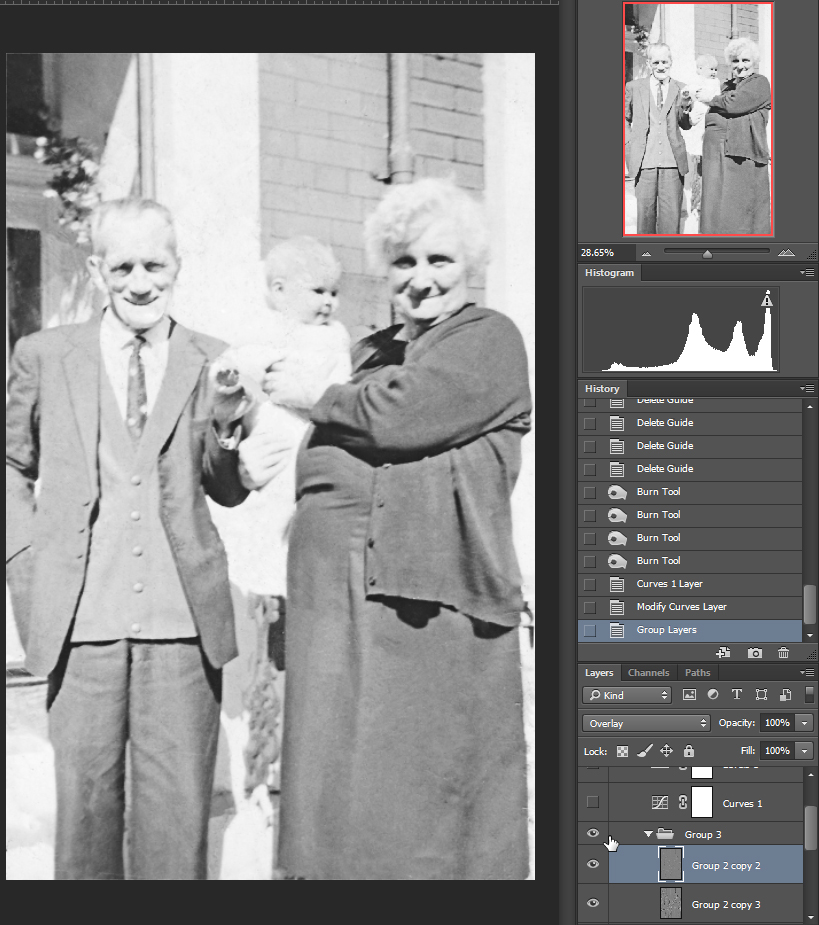
On top of that, setting the white and black point using curves as a final touch is what I usually do. You can do this by adding a curves adjustment layer, and then use the eyedropper tools on the curves panel to set the white and black point by sampling areas of the image which you think that should be white and black.
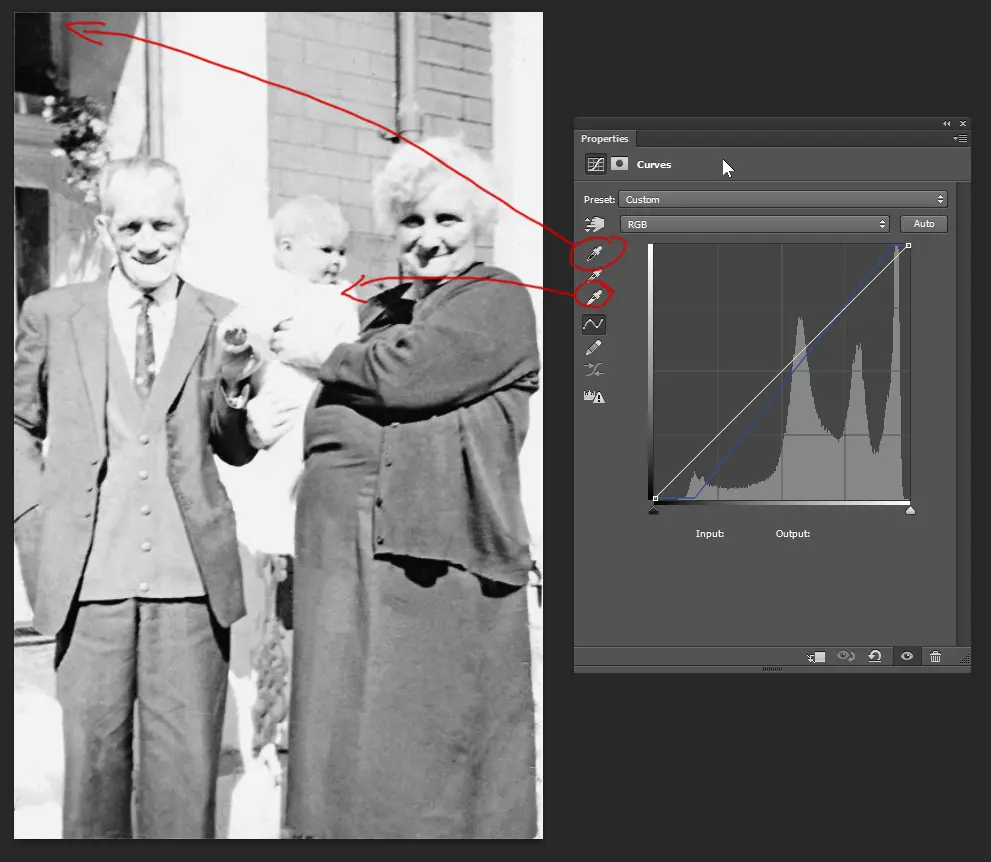
Finally, crop the image accordingly, or don’t if you don’t feel the need to do so, and check it again for any imperfections or anything you might have missed.
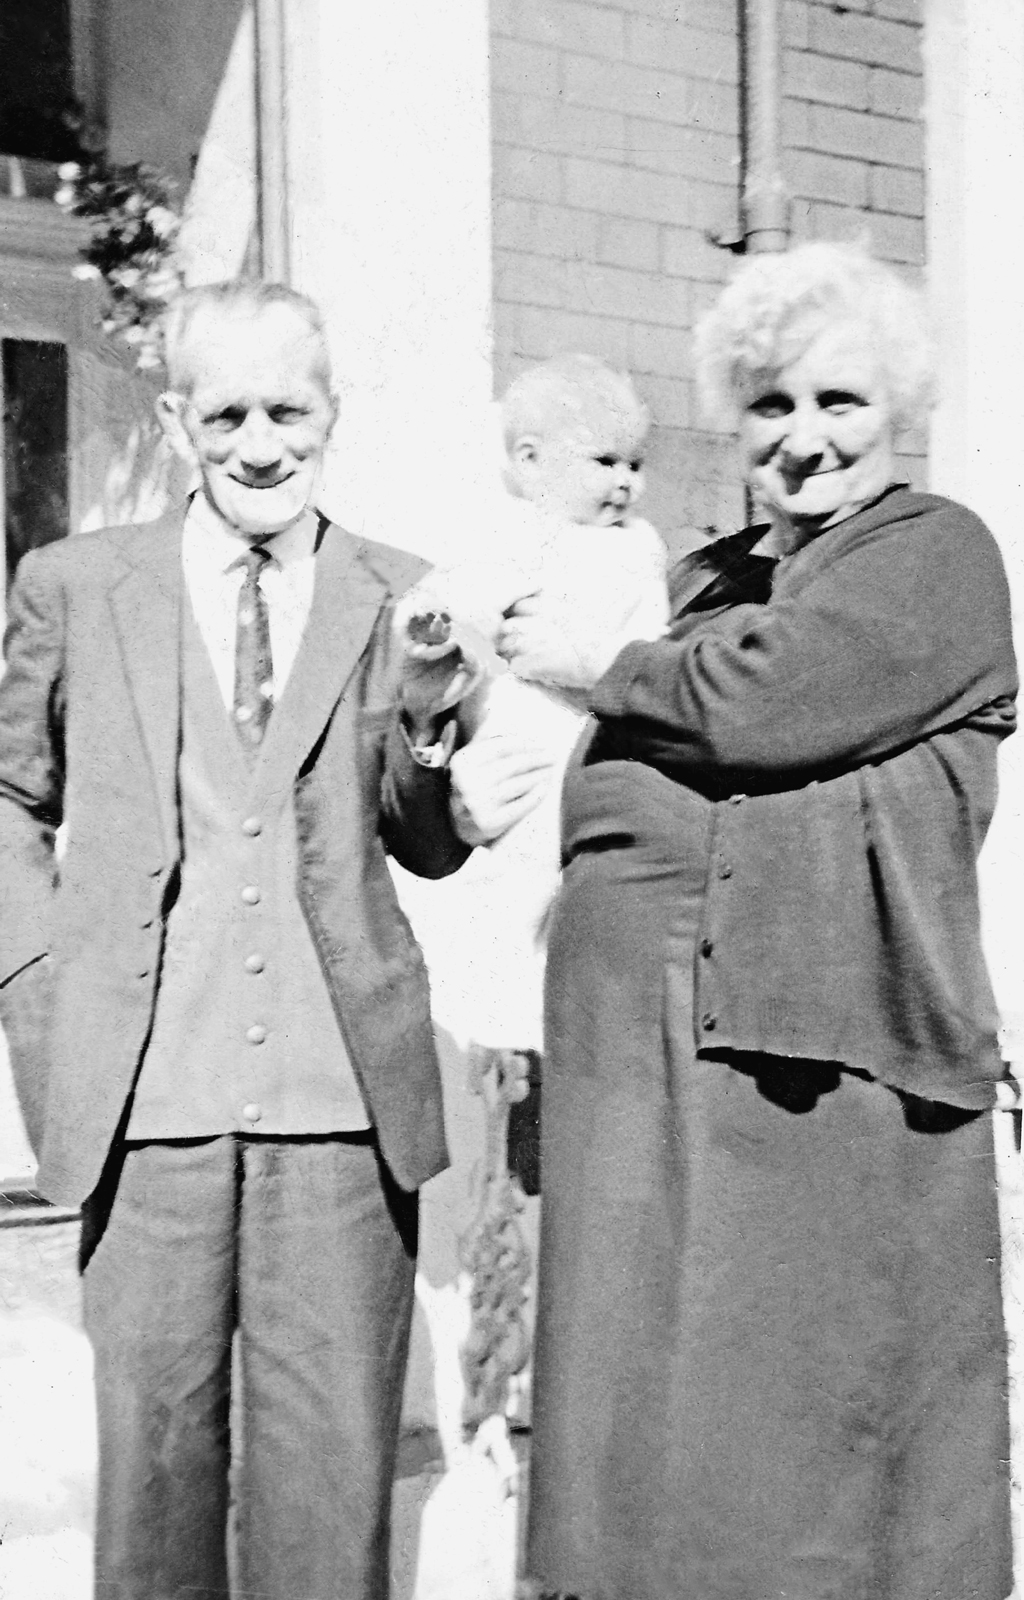
The final image


9 Comments
Is it just me who thinks that the result is overexposed? I see more details on the first pic
Might be, but keep in mind that the damage might fool your eye.
Any suggestions for an image that is extremely cracked? The cracks and creases of this image are minor compared to an image that I am working on. It might be too cracked to fully repair. I’ve been using the clone stamp tool bit by bit to fix the cracks that way, but was wondering if there isn’t a technique where you can create a blur or something and then overlay the image with a blending mode, perhaps?
Unfortunately, when the damage is too extensive there isn’t much that can be done. Clone Stamp / Healing Brush is the only way to go. Except if you are good in digital drawing so you can fill in the blanks by yourself, but that is way more complicated.
I saw a really good YouTube video for getting rid of fly away hairs that used a technique similar to what your describing. Can’t find a link atm but I’m sure if you have a look you will find something x
Love this article. Was very helpful. I have some old faded photos. Can they be restored with photo shop?
with lots of practice you can learn to use healing brush like a paint brush … I have also found that clearing the unnecessary background, such as the pipes behind their heads and the area around the outline of their heads can be very helpful in drawing out the people you are actually trying to get a good image of.. ask yourself if something is really important to the photo..background is so important in taking photos and creating better photos..
This is really good work..
I have a picture from the mid 1800’s of my great grandfather the only one known in existance, the foxing, scratches, missing body parts, were pretty bad. In the end I used the old microsoft paint progam at a high zoom setting and slowly painted in legs, feet, hands and some facial parts. I cleand up the minor scratches and smoothed out other problems with the photo shop clone and healing brush tool. In the zoom out to original picture size it was impressive. the 2 pictures side by side were incredible. It can be done with a lot of time and patience. But it did take 2 programs to achieve this.