When post processing images in Lightroom, the Basic Panel is a powerful tool in enhancing the total image. Just above the Basic Panel are three easy to use tools that that allow you to quickly isolate areas within a photo to make specific adjustments. These three tools include the Graduated Filter, the Radial Filter and the Adjustment Brush. The more you use them, the more you'll probably want to go back in time and apply these tools to some of your favorite photos.
This article will highlight how to use the Radial Filter to make your subjects naturally stand out.
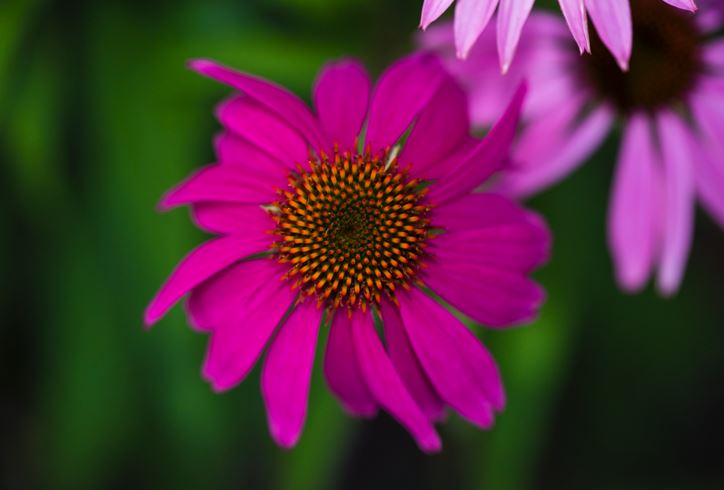
For illustration, we'll use a coneflower. With bright magenta petals and a textured golden center, this is a favorite for many photographers. The image below has some adjustments from the Basic Panel applied. It's a pretty flower but the lighting didn't really highlight the golden brilliance and texture of the center.
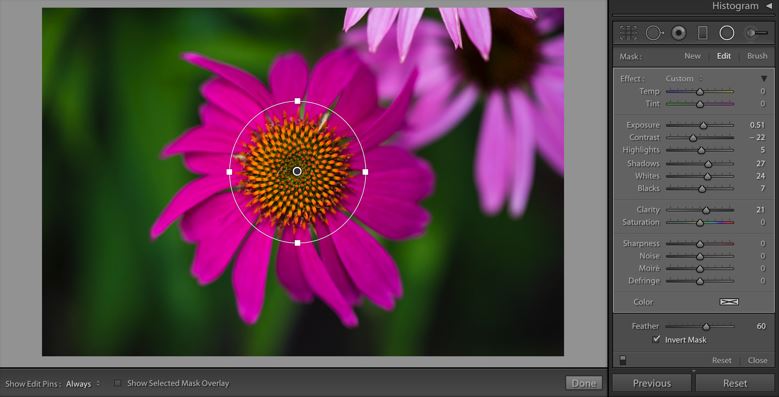
The Radial filter works in a circular pattern. From perfectly round to oblong, you have complete control of the size, width and length. These adjustments may be gradual and soft, or very defined. You can use the Radial Filter to add one or more specific adjustments to a selected area or areas of a photograph. In the case of our flower, I circled the center and included some of the petals as you can see below. By expanding the circle larger than the targeted area, I am able to use the feathering slider to ensure the adjustments look natural.
The image above also shows the range of adjustments available with the Radial Filter. These include White Balance, Tint, Exposure, Contrast, Highlights all the way to managing noise and sharpening sliders. The sliders start at neutral (center). You can see the Radial Filter adjustments I applied.
Note: The adjustments can be applied within or outside the circle. The standard is to adjust what's outside the circle, I checked invert mask to process inside the circle instead. Control over how gradual or how hard the adjustments appear is controlled by the feathering slider.
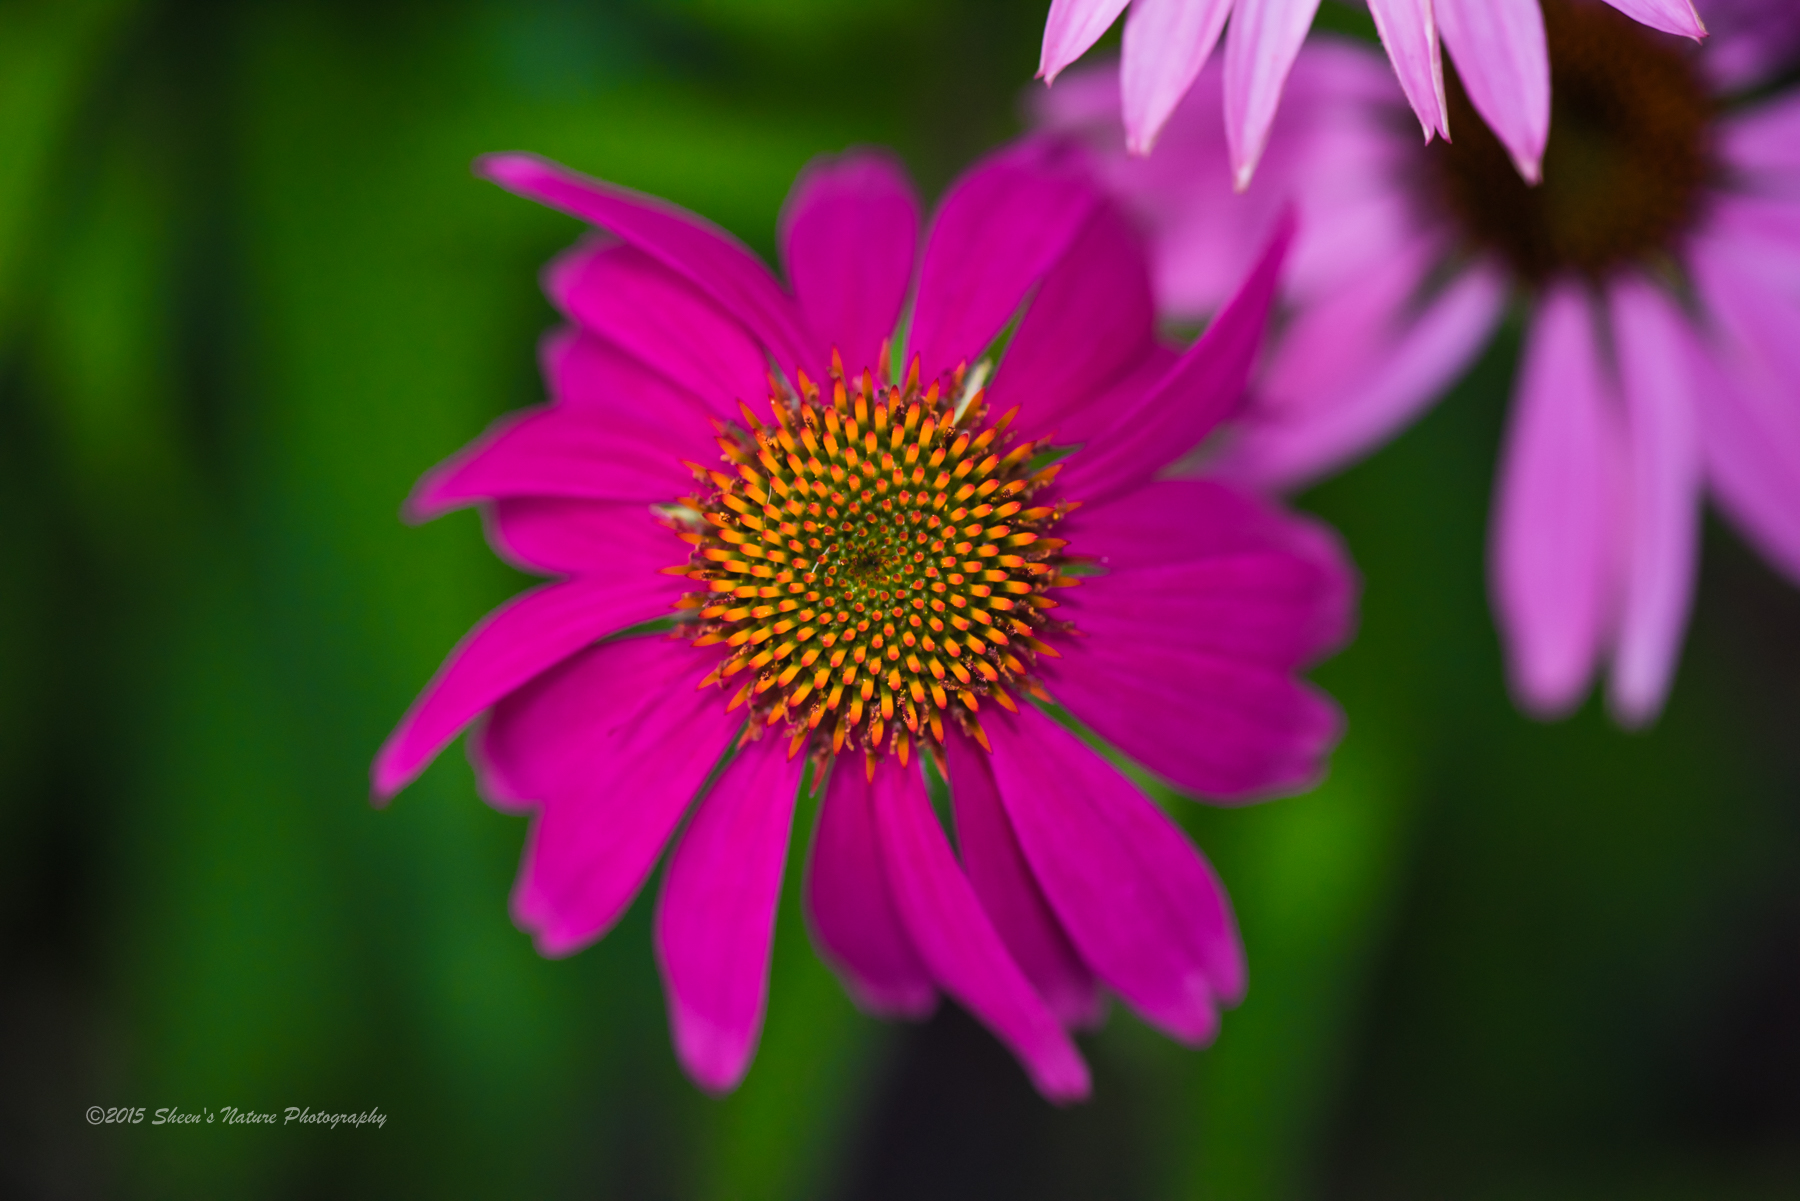
After working with the Radial Filter, I continued to make a few minor adjustments to get the desired overall effect.
Adjustments can be modified at any time by selecting the Radial Filter button, then the small gray circle to select that targeted area.
Multiple filters can be also be used on a single image. This includes using the radial filter across multiple areas or in combination with the Graduated Filter and Adjustment Brush. From flowers, birds, bees, wildlife and even people, the Radial Filter is a fast and clean approach in adding extra emphasis to your subject.


