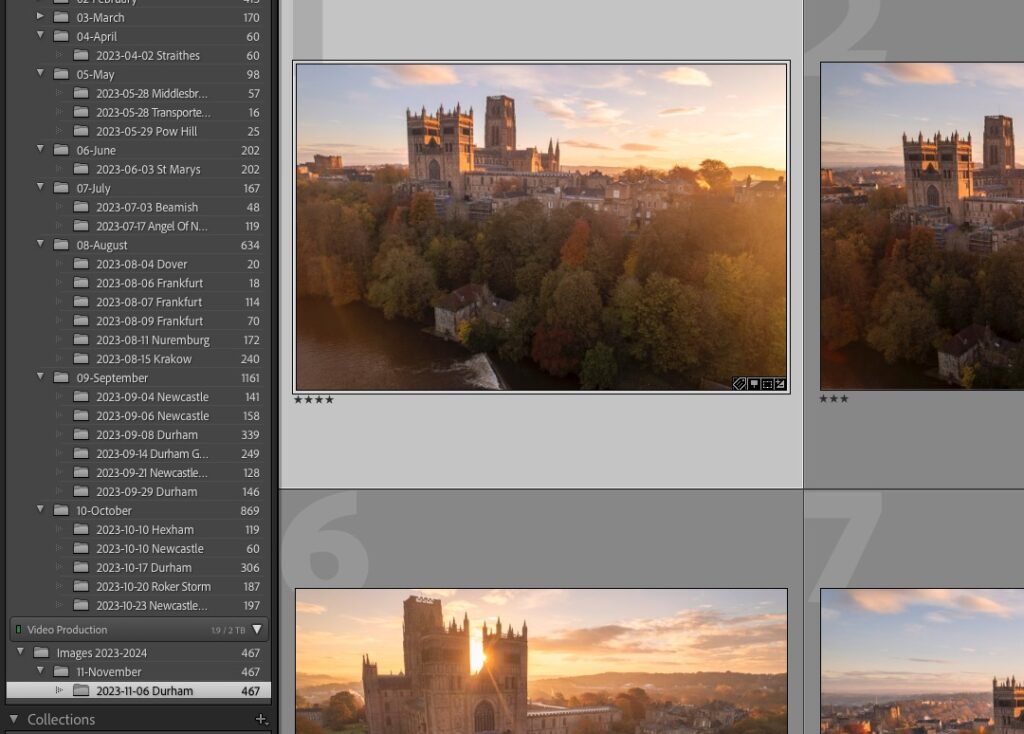
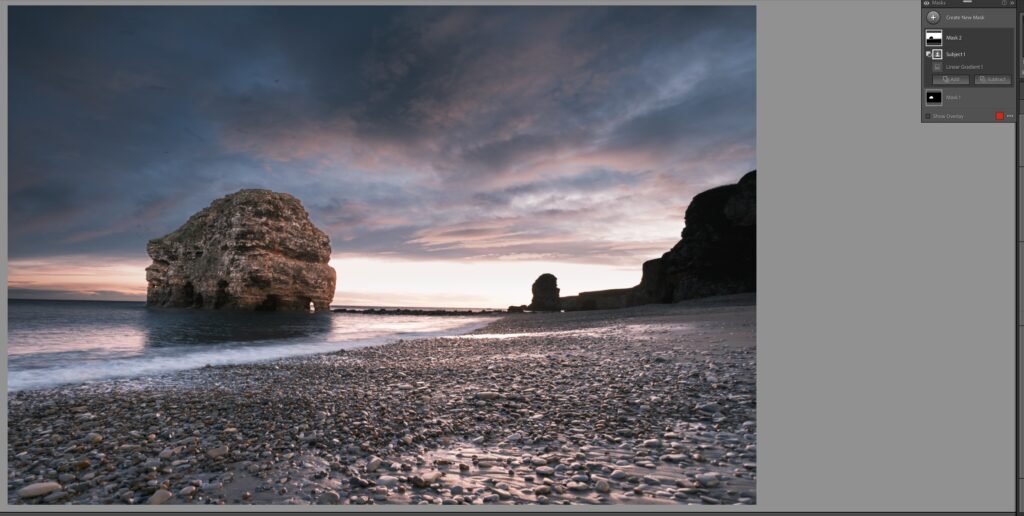
Many of us have used presets in Lightroom for a long time. They allow us to quickly edit an image by running a set of predetermined exposure and colour corrections to that image. These corrections are the ones found in the Develop module.
However, in April 2018 Adobe introduced an alternative to presets…profiles. Rather than using preset develop edits, profiles adjust the look of the entire image without using any of the Develop controls. This means that we can create a uniform look for a series of images and then modify them further using a preset.
What Are Profiles?
Profiles are effectively an extension of the colour profiles many cameras have. For example, Fuji cameras have a number built in – such as Velvia and Arcos. Lightroom has always been able to detect these profiles and allows you to apply them to a RAW image in post-production.
However, the April 2018 update added a number of Adobe’s own profiles, the ability to convert presets to profiles and to create your own profiles. Today, we are going to look at how to work with profiles in Lightroom.
Applying A Profile
Make sure that Lightroom is updated to the latest version. Open up your image in the Develop Module. Just below the histogram, grouped with Treatment you will see Profile. By default, this is set to Adobe Standard, however, if you click on Adobe Standard a drop-down box will appear with other options.
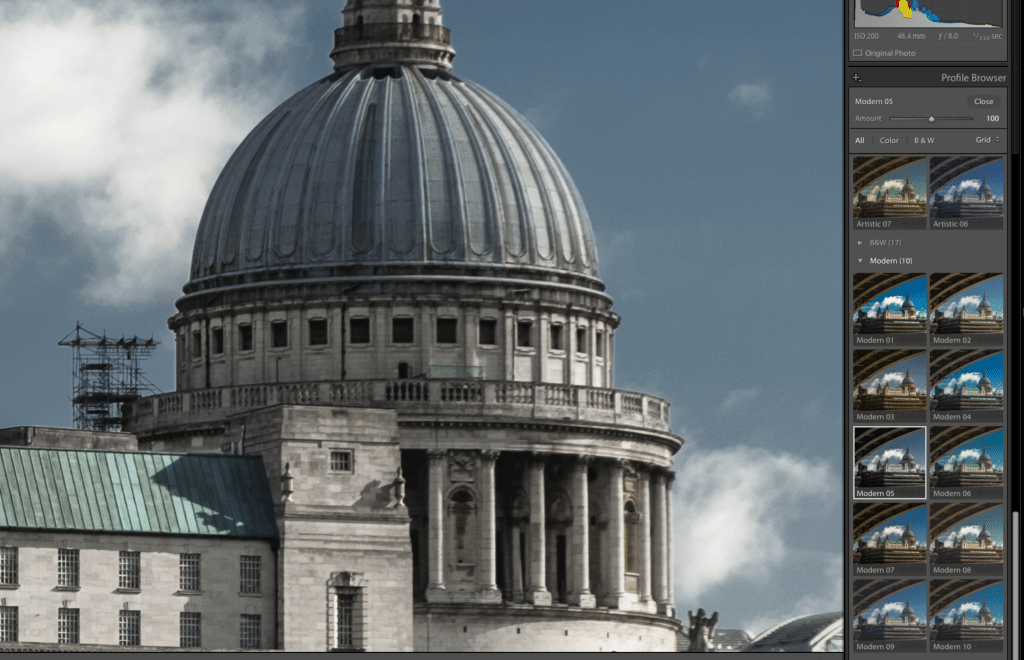
Click on Browse and you will see a thumbnail gallery of all the available profiles grouped by category. You can also filter profiles into color or black and white as well as seeing a larger thumbnail of each.
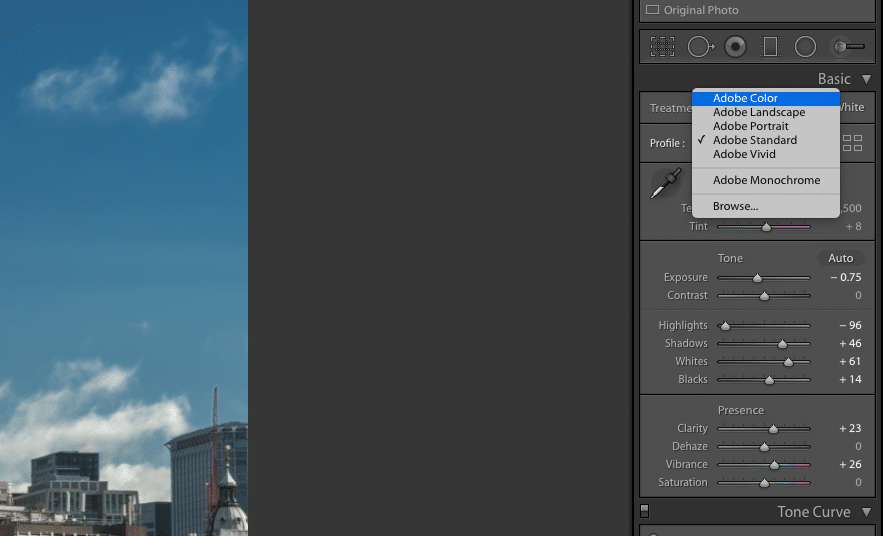
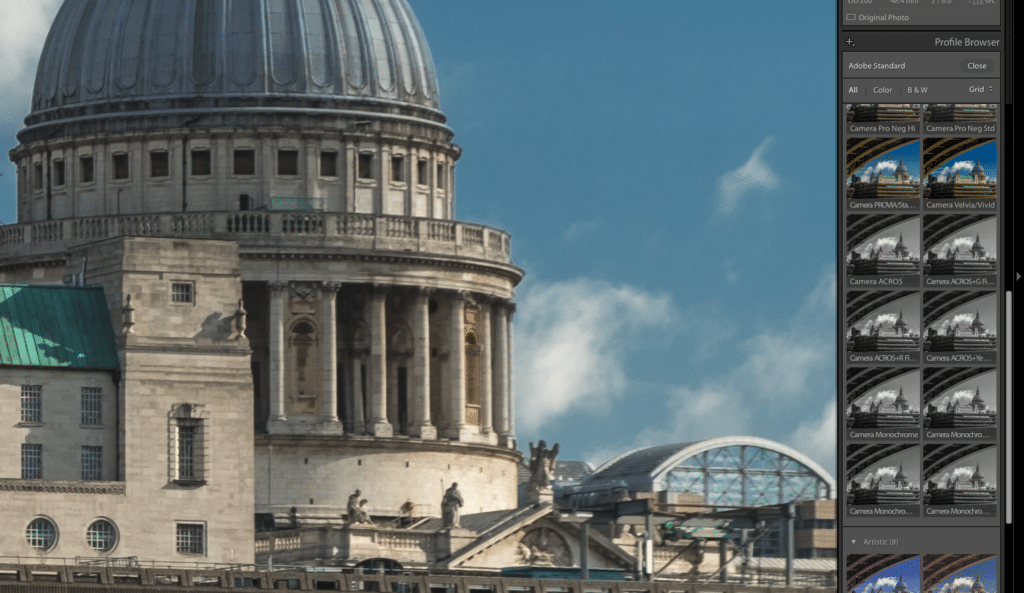
If you position your mouse over any of the profiles, it will show you a full-size preview of the look. If you apply the profile, the image will take on that look. To reverse or change this, simply click on the Adobe Standard to return to default or another profile for a different look.
You will notice that many of the profiles also have a slider appear at the top of the profile browser. This allows you to fade the profile in or out for greater control. Sliding fully to the left will effectively remove the colour profile, while sliding fully right will fully saturate it.
Converting Preset to Profile
You can convert your existing presets to work as a profile. To do this you will need to open Photoshop with an image. The easiest way to do this in Lightroom is to right click and select Edit In Adobe Photoshop. Once open go to the Photoshop menu and select Filter – Camera Raw Filter. Select the presets tab, the right-hand icon underneath the histogram and you will see all the presets that you have in Lightroom.
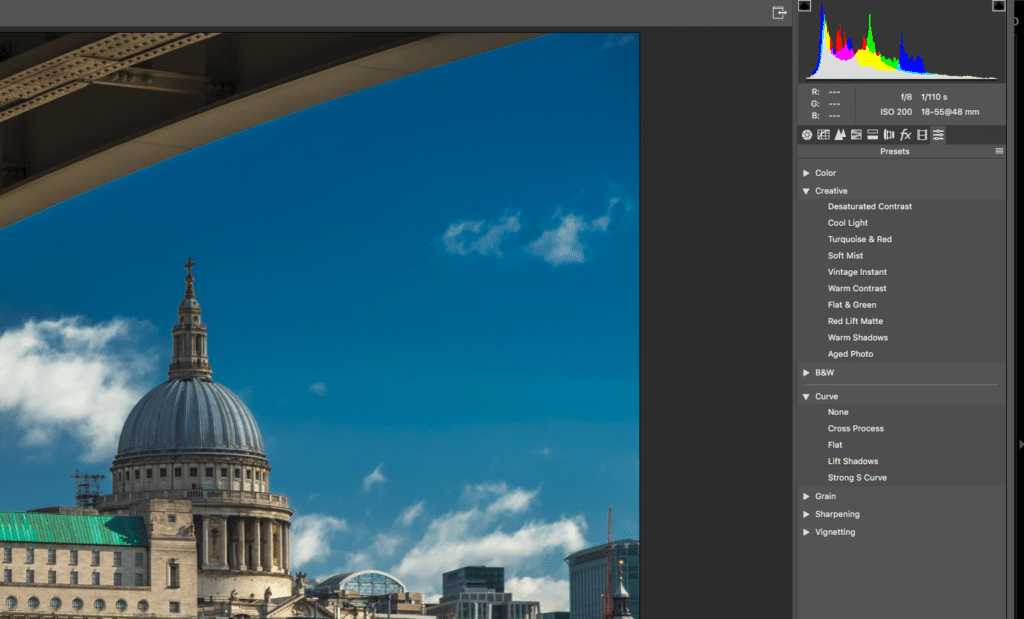
Select the preset from which you wish to create a profile.
At the very bottom of the presets panel is a small icon for creating a new preset. However, if you CMD or ALT-click this icon it will allow you to create a new profile. A new window will open.
Give your new profile a unique name. Then you can create a new profile group to separate your own profiles from the Adobe default. To do this click the Group drop-down and select New Group.
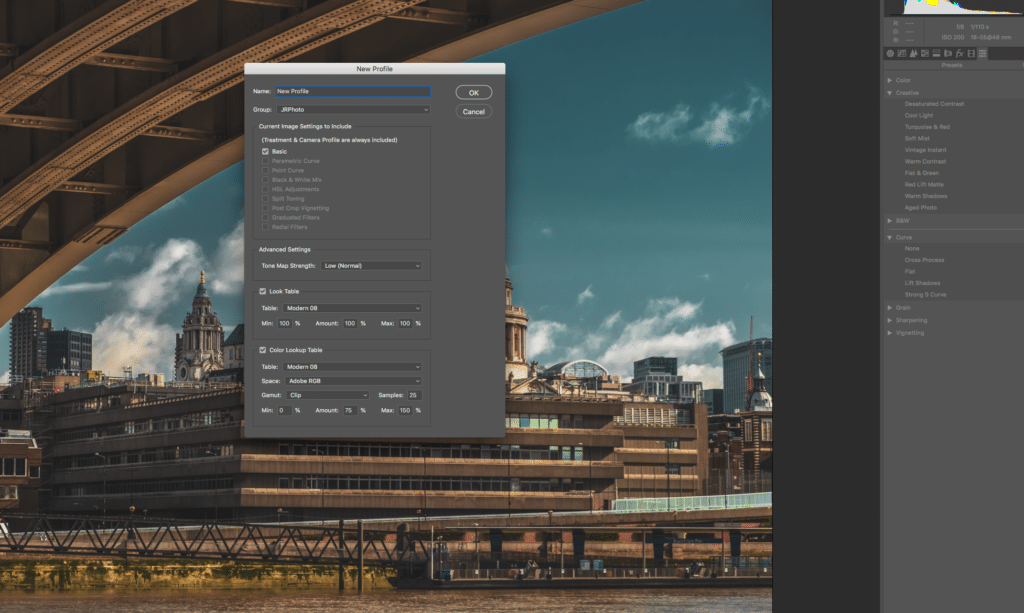
All edits from that preset should now be grouped into a new profile. Click Ok to save the profile.
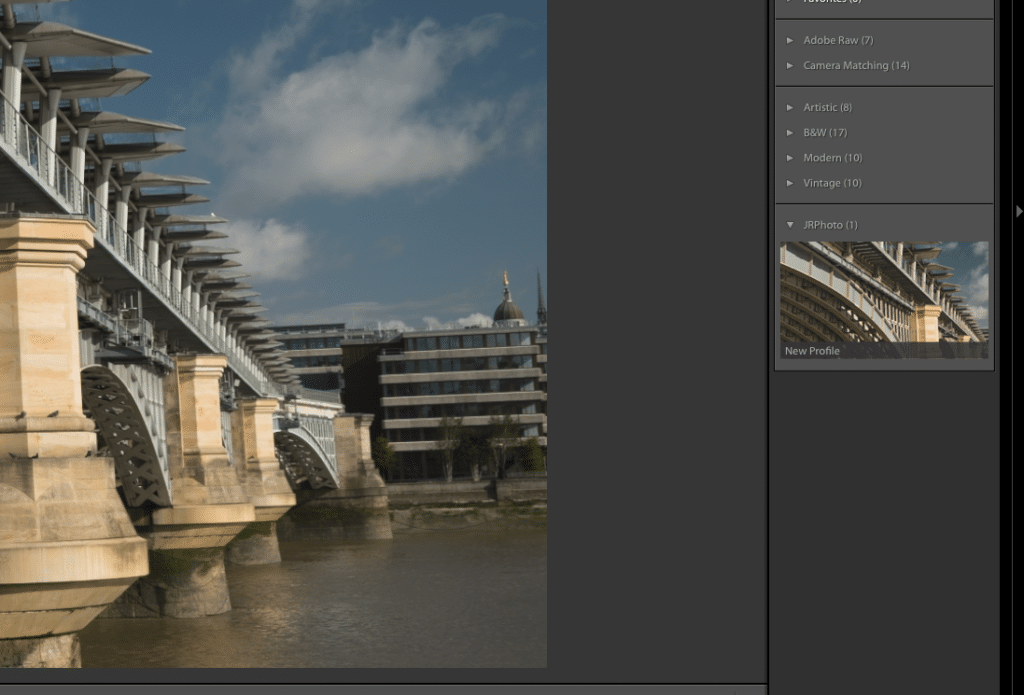
In order to see the new profile, you will need to close and reopen Lightroom. When you do, you will see your new section added to the profile groups with your new profile inside.
Creating A New Profile.
The easiest way to create a new profile is to create it as a preset first. With your image open in the Develop Module, carry out the edits you need for your profile. From the left of the Lightroom screen, click the plus button beside the Preset tab. Give your preset a name and add it to User Presets or create a new group. Click on Create to save the preset.
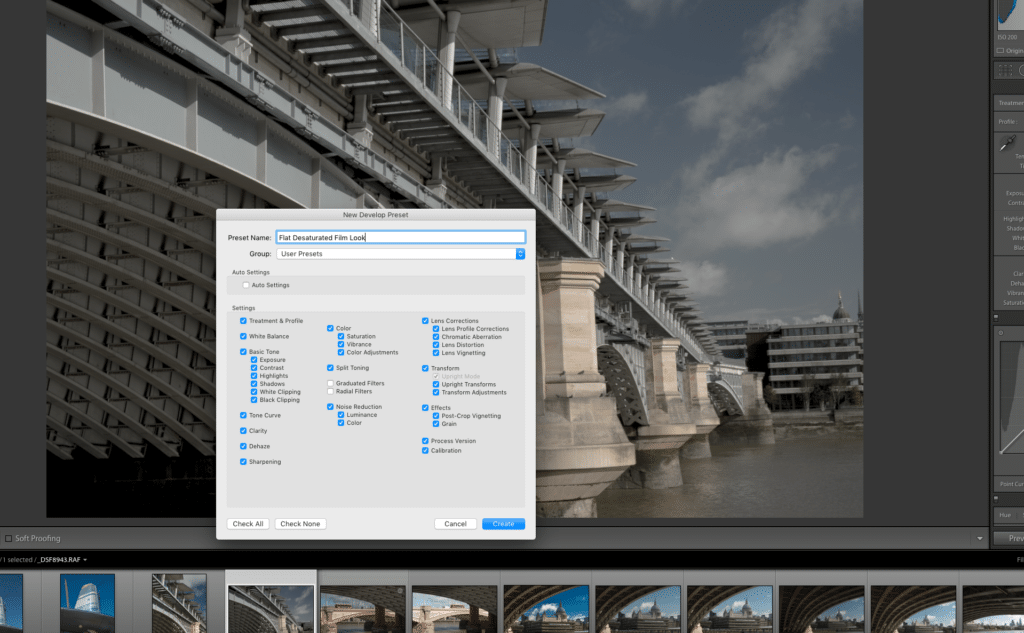
Now repeat the process for converting a preset to a profile. When you open Camera Raw you will find your new preset in its group at the bottom of the presets list.
Profiles are a fantastic new addition to Lightroom. They allow us to apply a general style to an image or a batch of images without affecting the controls within the Develop Module.
Whether you use default profiles, converted presets or your own designs, profiles can add an extra layer of creativity to your Lightroom edits.


