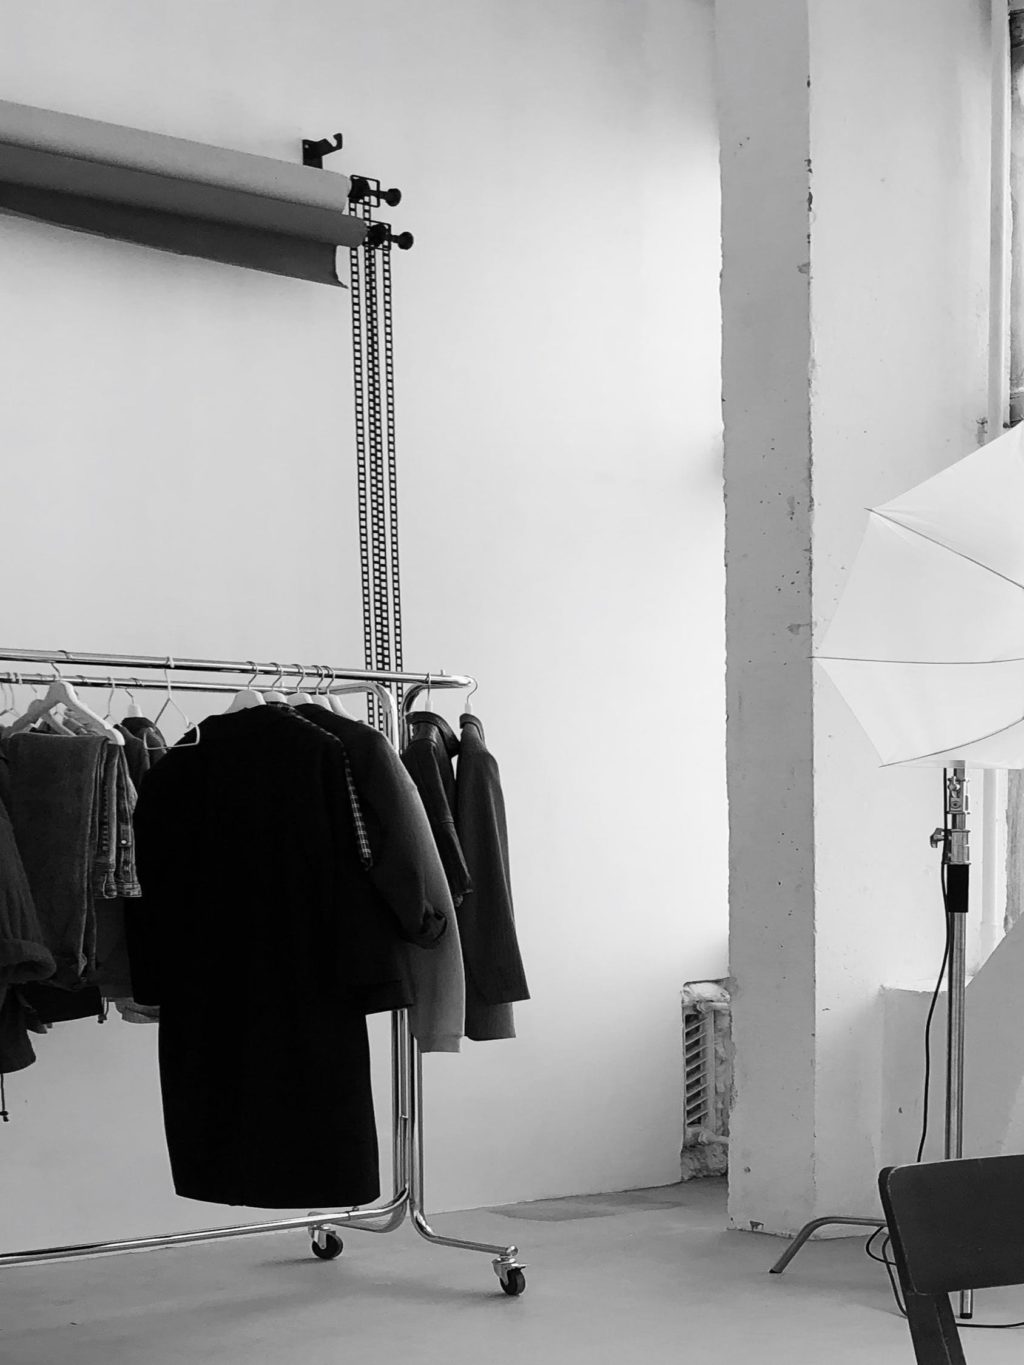
Indoor photography is perhaps one of the most challenging places to shoot for new and experienced photographers. Natural and artificial light combined with natural light reflecting and refracting through windows and off walls can lead to some funky photographs.
Mastering indoor photography can be one of the most frustrating things to learn. The following deadly sins of indoor photography should be avoided – doing so will result in far better photographs!

Lack Of Custom White Balance
I've already shown you how and why you need to manually set your white balance, why not take the time to do it? Because almost all indoor photography has some sort of mixed lighting situation, it's almost positive that auto or one the presets available on your camera won't give you great results.

On Camera Flash
Utilizing the on camera flash for indoor photography will surely give you a washed out, unflattering photograph. Avoid it at all costs if you can, even if you need to raise the ISO, avoid on camera flash whenever possible.

Composition Is Everything
Because indoor photography consists of so many architectural lines, keeping good composition is of the utmost importance. Really pay attention to how you frame images, especially in places that have exposed brick or tile work. Maintaining a nice, constant flow through the images is essential and even slightly off balanced it will be noticed.

Pay Attention To The Small Details
It doesn't matter if you're shooting friends over for a dinner party or a paid architecture gig, the small details matter! Look at the counter tops for pens and notepaper, do they belong in the shot or can they be stashed somewhere else? The toilet seat cover being down probably looks more attractive, and taking the time to even out towels on a rack will provide a better photo.
If there are dirty dishes in a sink, clean and put them away. Full ashtrays look gross and crooked picture frames can make properly composed photographs look crooked. Take the time to stage your photograph, these are things that can't be easily edited in post production.
Bounce The Flash
If you must use a flash inside, use a hotshoe mounted flash, not the pop-up on-camera one. I'd also strongly suggest a flash bracket to get the flash further away from the lens and reduce red-eye. Bounce the flash off a wall, ceiling or, if none are available, utilize an Omni-Bounce or similar diffuser. When you bounce or diffuse a flash, be aware that you essentially lose some of the effective power of it.
You'll need to utilize either exposure compensation on your camera or adjust the ISO slightly higher to compensate for the difference. Flash photography indoors should only be utilized when you can't achieve the desired look from natural light.
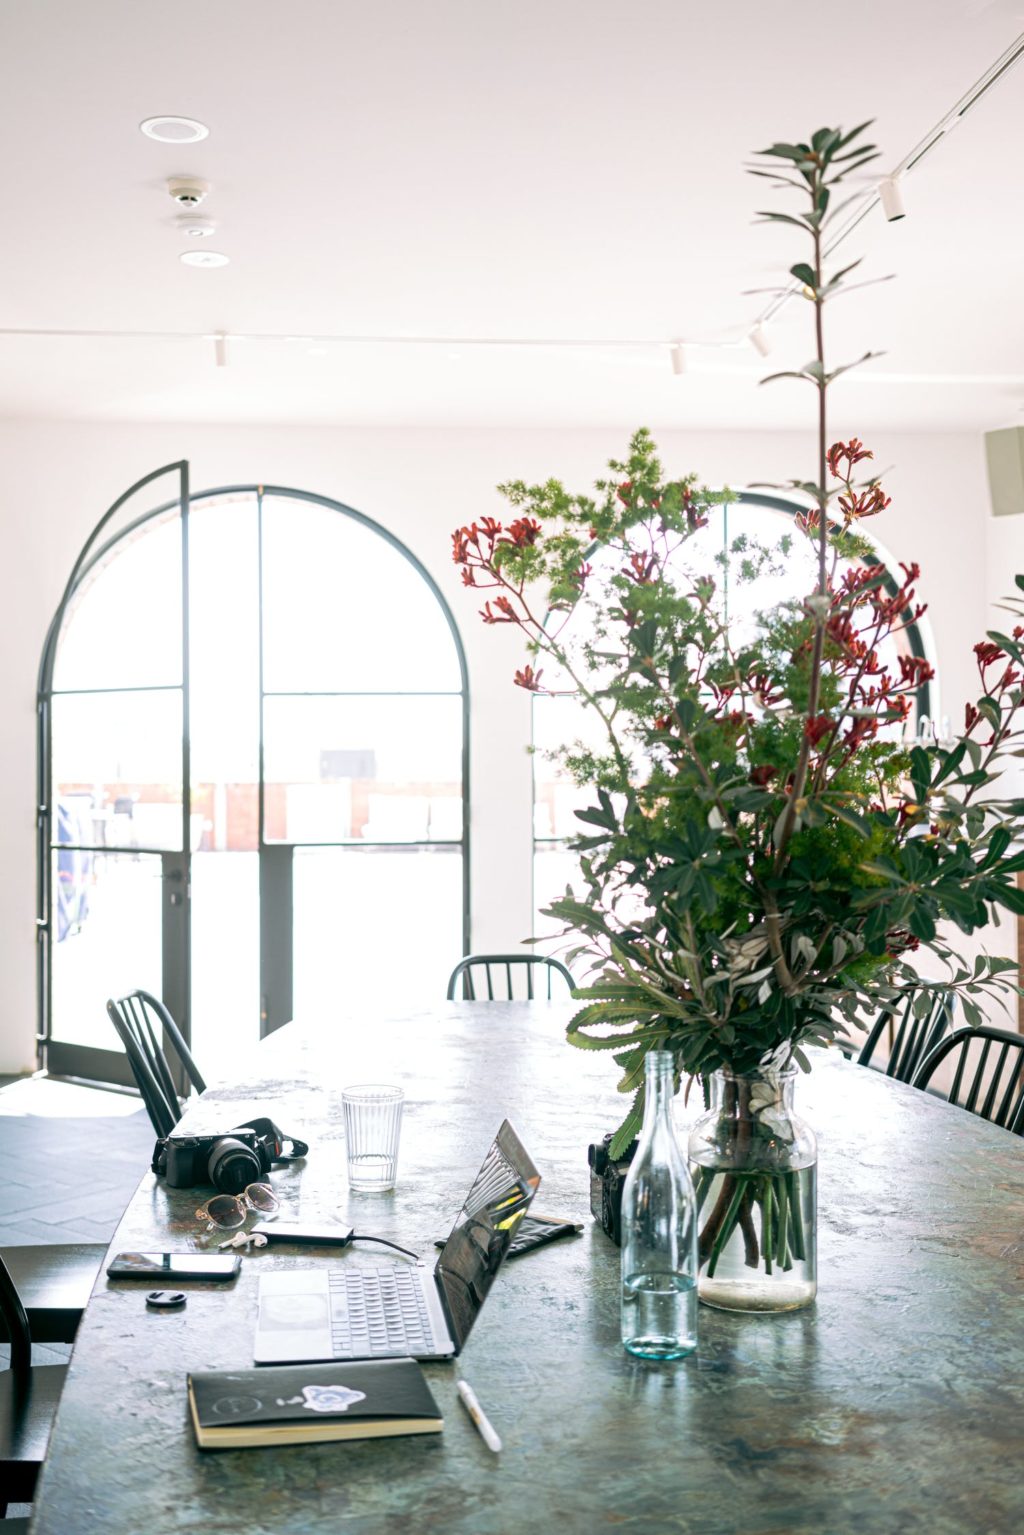
Windows, Picture Frames, Mirrors And Glass Cabinets
Perhaps one of the most frustrating things to deal with while shooting indoor photography are reflective materials, especially when shooting with a flash. Avoid using your flash if there is glass or reflective materials in the room at all.
Pack a circular polarizer filter to deal with the reflective and glass objects in your shots, and be aware you could lose 1/2 to 2 full stops of light, so adjust accordingly either via opening up the aperture or bumping the ISO higher. Also take note to whether or not you show up in the reflection of any shiny objects!

A Tripod Is Your Friend!
While I know it's nearly impossible to shoot candid photos of people with a tripod, if you're doing architectural shots or photos of non-moving subject matter indoors, utilize a tripod.
Not only will it allow you to utilize the lowest possible ISO for the least amount of digital noise, it will provide a solid platform for you to properly align and compose your photograph.

As mentioned, indoor photography is a bit tricky and a lot of people can give up on it quickly. I strongly suggest that you continue to experiment and take several shots of everything, also known as bracket shooting. This will give you a better idea of what is and isn't working for you. One tip worth mentioning that is often overlooked is knowing the time of day and current weather outside, and how that relates to the house or building you're shooting in.
For example, shooting in an eastern facing kitchen at 9am is going to provide some pretty bright light through the windows on a cloud free day. The same kitchen at 4pm will probably be much darker since the sun will be passing over the house to the other side and shadows will be far less harsh.
Use A Wide Aperture
Indoor photographs tend to be dark unless the lighting is ideal. If you want to increase your exposure without introducing noise, you should open up your aperture. Ideally, you should use a prime lens with a maximum aperture of f/2.8, f/1.8 or f/1.4.
Using a wide aperture will let more light reach the camera’s sensor through the lens. However, a wide aperture narrows your depth of field, which might not be useful if you want to avoid blurry backgrounds.
Bear in mind that using a wide aperture works great for indoor portraiture or product photography but it's not a good choice for interior photographs.

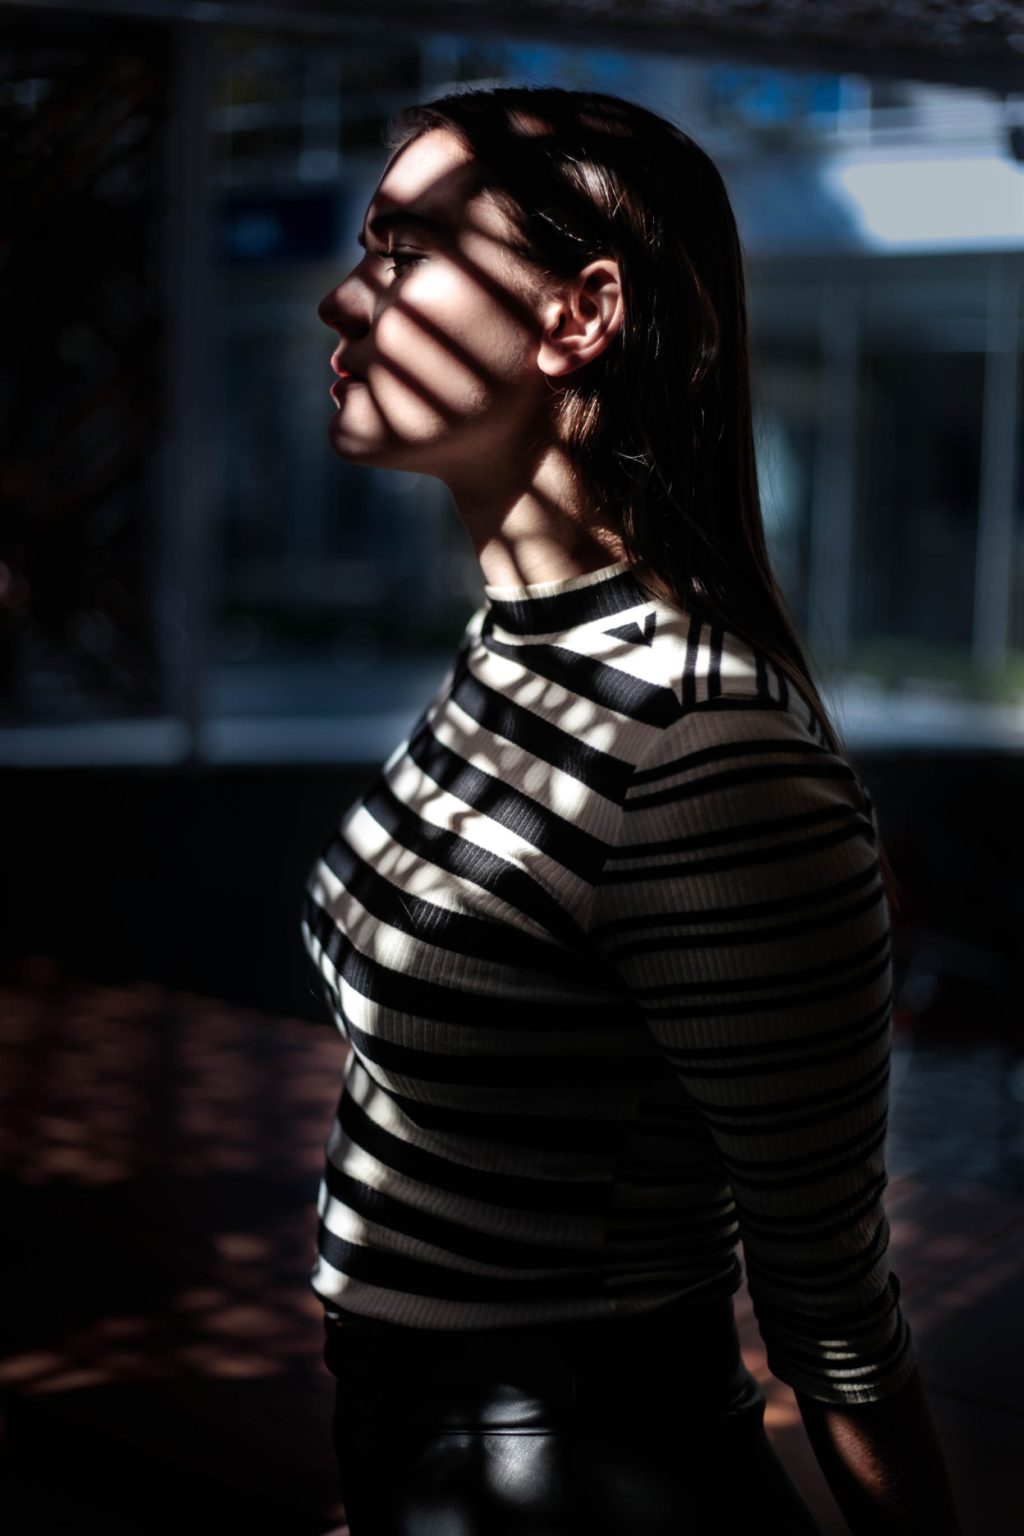
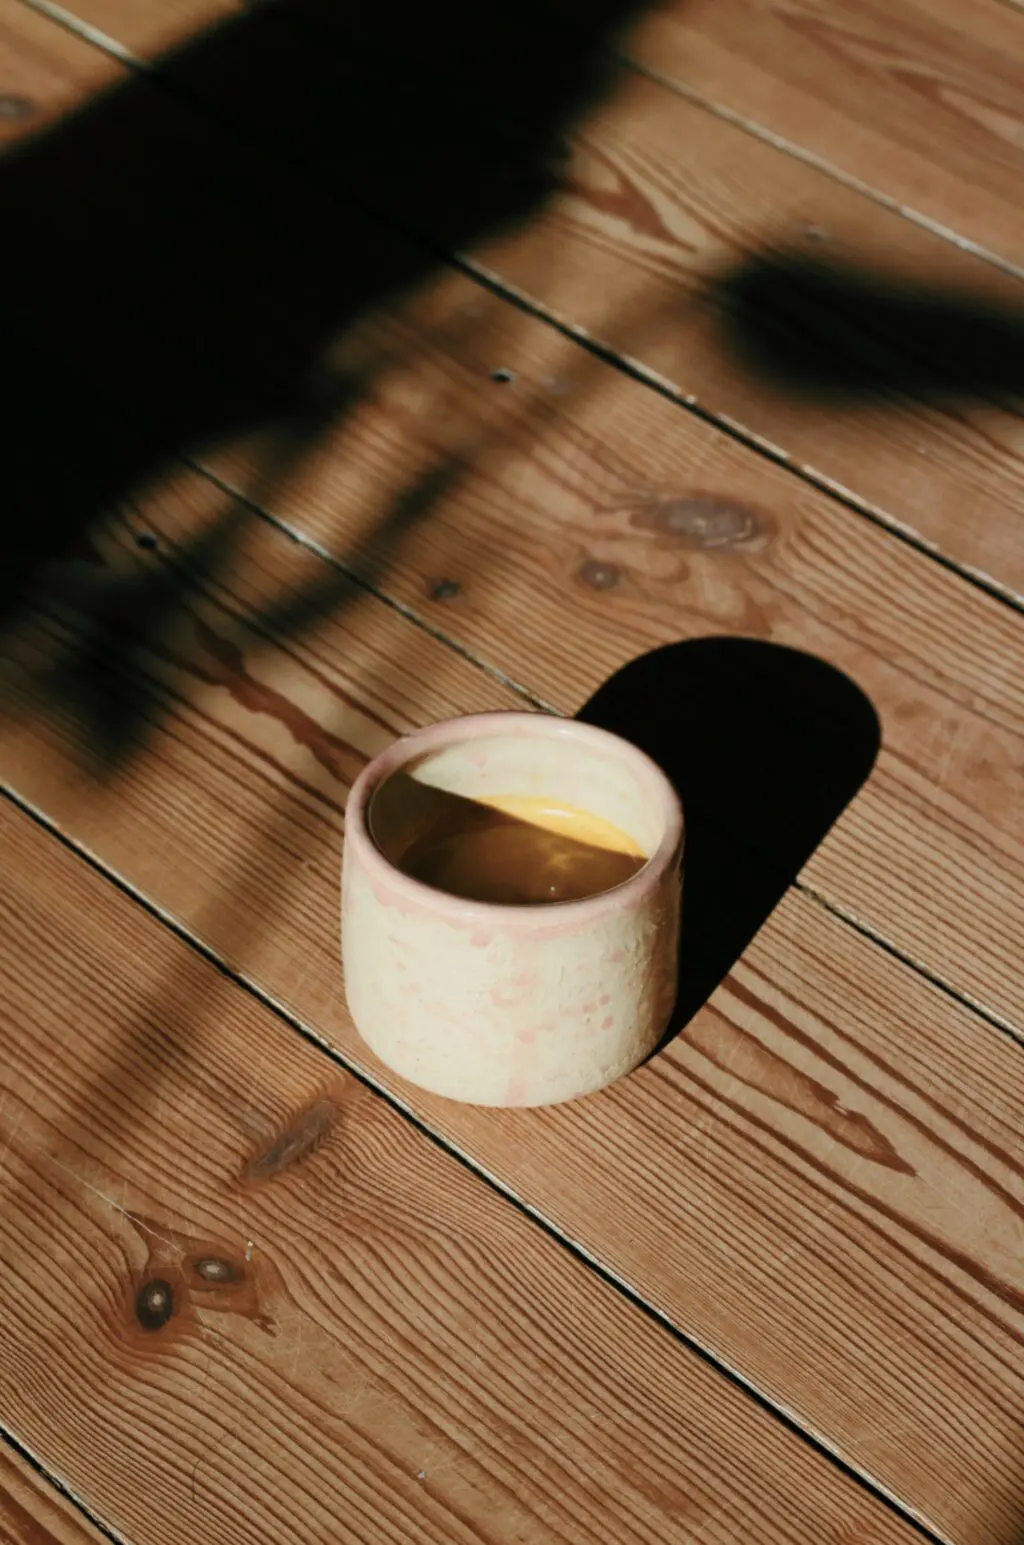
Play With Shadows
Shadows can introduce drama and mystery to your indoor photographs – you shouldn't avoid them! Of course, you have to make sure that shadows look flattering on your subject – they should add a certain depth but at the same time they shouldn't look too dark. If case you’re shooting portraits or product photographs, feel free to play with existing light fixtures in the room or get creative with handheld lighting options, such as a flash or a softbox.
Of course, adjust your white balance carefully, especially if you're using a combination of natural and artificial lights.
To learn more about indoor photography, check out the links below.
Further Reading:
- Beware Of These 6 Traps When Photographing Indoors
- Creative Filter Effects For The Indoor Photographer
- 10 Tips For Better Indoor Photography – From Lighting To Settings
- 8 Tips For Getting Professional Indoor Photos Every Time
- 12 Tips For Indoor Natural Light Photography
- 5 Indoor Photography Tips To Instantly Improve Your Photos


22 Comments
Good tips. I’m a beginner photographer just getting my brain around all the functions of my Canon 50D.
That is a good camera, Chris. Versatile. Reliable. Good luck with your photography.
Hi, tried to tweet your DOF Guide through your button but it doesn’t work, it says that it directs to a wrong URL…anyway thanks for the guide.
Thanks for writing these helpful tips especially about the CPL.
Generally good info in this post. I however am a PROponent of using flash indoors, and do it all the time. My recommendation is to use the flash OFF camera on a light stand. Personally I use 2 flash units whether indoors or outside for portrait work, and the results make the image pop with excellent contrast. But one flash can be used to great advantage as long as the angle of light isn’t too far to one side.
For interiors I often find it necessary to use as many as 5 flash units or even more. When doing this you need to be careful not to create a conflicting light pattern, but it’s important to light areas that that are in dark shadows in order to create a feeling of open, even light.
useful!
Great post, thank you for taking the time to post. I agree with the comments on multiple flashes but in a pinch one flash with good bounce technique will work. I would also recommend a slightly longer discussion on ISO settings not adjusting to an appropriate ISO is a simple yet fatal mistake many beginning photographers make.
This is very useful indeed. Thank you.
Very useful, thank you. I have had my Nikon D50 for a long time, but am just learning the manual settings and how to use them.
I normally shoot wildlife and don’t have time for manual settings.
https://colleen-coppock.artistwebsites.com/featured/dusk-tiger-colleen-coppock.html
You mean the worst thing I can possibly do with my point and shoot camera is point it at something a shoot a picture? Bummer.
This is a great tip. I would like to see …… tips on shooting sports inside. Basketball, soccer, hockey…. any indoor sports shooting is very hard.
Nice Collection of indoor Photography
Great advices! And simple and reproduceable , I’d like to receive more, send them to my mail, please. I’m living in México. Thanks!
Good luck, Rob!
I’ve been asked to be my works official photographer at our annual conference…it’s a fairly big deal as there’ll be around 230 people expecting great images shot mainly indoors of the event. Being an amateur photog’r and having never covered off anything on this scale before I welcome this and other Lightstalking guides – thanks and wish me luck!
Thanks for the tips. I am getting ready to shoot my first indoor wedding (for a relative) and am looking for all the help I can get.
Rob and Alan, if you’ve never done it before, try to go to the venue early or even a few days before. If you can go at the same time of day as the event even better. Your flash will most likely sync at 1/60th or 1/125th of a second. Set your camera to manual at 1/125th of a second and your aperture to f4. Then adjust your ISO until you get an acceptable picture. Now set the ISO one half stop darker (for instance if at ISO 800 change to ISO 640). Then turn the camera to aperture preferred and turn on the external flash on TTL. Bounce the flash off the ceiling or wall if possible. Oh make sure you bring another person with you to test shoot. Walls don’t make good models. If your ISO is too low your pictures will be heavily shadowed. If it’s too high they will be very grainy. Some of these imperfections can be fixed in post processing but it’s easier to take a better photo.
Great advice ! I’m an amateur also and learning all of this little stuff about your iso And aperture is a little frustrating but time and patience and a lot of shooting pictures thanks for all the great advice to everybody on this forum!!!!
I think if you cut and paste this url you can see the photo and get a better idea of what I am concerned about regarding the shadows.
I am a new photographer. I could use some advice… I did a shoot last week for a Yoga studio. The studio has windows on two sides. The setup was to have 8 instructors in different yoga postures in front of one of the windows, with shoji screens. The other window was on my left so I set up a speedlight on a tripod on my right and bounced it off the ceiling. It was slightly grey outside, no bright light coming in. I set my camera at ISO 200, shutter about 1/200 and F4.5. I thought the photos came out ok, but when I got them home there where some shadows on the back wall and some reflection from the hardwood floor. I am going to go do the shoot again next week and wonder what I should do different? Should I not use the speedlight? Should I increase my ISO. Any advice would be appreciated
DSC5578.tif
Thanks for the tips. I’m a beginner and shooting my sister’s maternity photos indoors with a Canon sx50 HS Powershot so these tips are very helpful.
You are so right about playing with shadows. It worked great when we tried.