The weekend approaches with plans of spending time immersed in Wildlife Photography followed by creating magic with your images in Lightroom. To capture the world waking up, you rise early on Saturday morning. To harness the best light, the best wildlife photography opportunities, you're in the field before the majority of your friends have had their first cup of coffee. The day starts by taking in a few images of dawn's gentle colors to get the creative juices flowing.
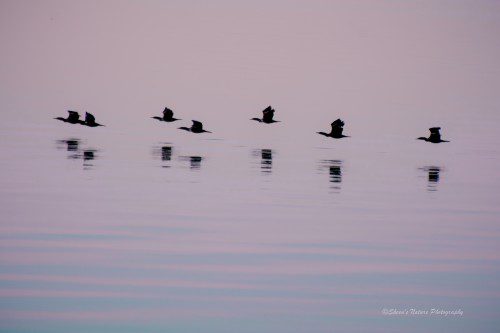
Morning Flight Plan – ©Sheen's Nature Photography
You spend hours in the field. Like most wildlife photographers, you easily lose track of time. Before you know it, the sun has turned a bit harsh, the memory cards are filled. With satisfaction of time well spent, you head home. Now it's time to review your work in Lightroom. There are moments of smiles as you select images for processing. The are also sighs of disappointment as you delete the images ‘you almost had'.
Whether one or twenty images have been selected to be processed in Lightroom, it is up to you as the photographer and editor to recreate the magic that inspired you in the field. An image is not just about what you saw, but how it made you feel.
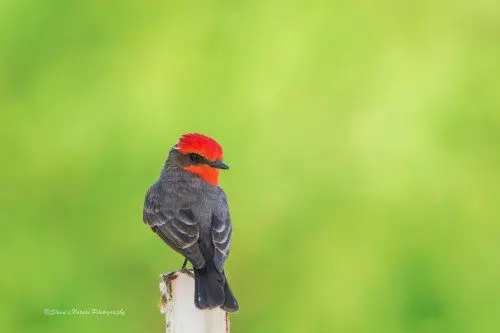
Vermillion Flycatcher Creates a Colorful Stir – ©Sheen's Nature Photography
Processing the Images in Lightroom
Before processing wildlife photography images in Lightroom, I assess the:
- Histogram to ensure highlights have not been blown out;
- Sharpness of the eyes (i.e. can it be sharpened to my satisfaction), the detail around the eye, face
- Opportunity for composition. With wildlife photography, a bit more cropping for composition is required versus landscape.
If it doesn't pass the histogram, eye sharpness potential and composition opportunity, it's deleted or moved to the bottom of the priority pile. Do note that the approach below is always subjective based on the image and personal preference. There are times when reviewing the image, I work with the Histogram adjustments and White Balance first.
When processing wildlife images, I use a two-part process formed over the course of time through reading, watching Lightroom instructional videos online and hands-on trial and error. The two part process consists of Quality and Creativity.
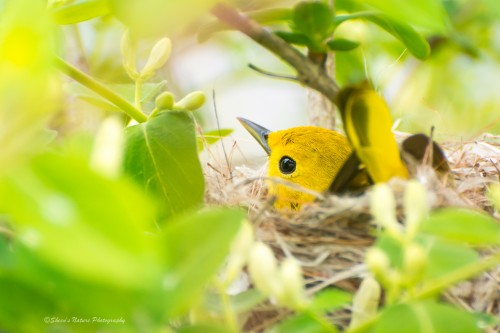
Building Her Nest – ©Sheen's Nature Photography
Part 1. Quality
These first few initial steps will validate if it is a priority to take further.
A. Cropping: This is the first order of business. Most wildlife images work well following the rule of thirds. Yet, there are times when wildlife images work centered, just off-center, or at a point that pulls the eye the direction you want the viewer to go. Cropping is both technical and creative!
B. The Detail Panel: The detail panel cleans sensor noise and impacts softening that happens with digital capture. The work in this panel impacts the full resolution of the image. While working in the detail panel I change between views – fit, 1:1 and 2:1 – in Lightroom's navigation panel on the left.
The guidelines below are starting points to follow. As with just about everything in photography, it's with repetitive practice, experience and what you like that determines your desired look and feel.
1. Take Sharpening Amount to Zero – Lightroom's default is set at 25%. Before doing any work in the detail panel, take this to zero. The reason is that any action you take without doing this will be on Lightroom's defaulted ‘sharpened noise'. The benefit is that Noise Reduction may not need to be quite as high when taking this step first.
2. Noise Reduction – I turn the Navigator panel to a visual of 2:1 when working on noise reduction.
With a) color noise I'm inspecting for little flecks of color. With birds, I've mostly found color on the dark bill or on tree limbs. I inspect around the darker parts of the image including shadows. When a correction is needed, it's typically a slight movement of the slider to the right.
With b) luminance noise it's looking at the details of the eye, the bill or curve of the neck and feathers against the background and shadows. The luminance slider is pushed slowly right to the point where the noise fades/disappears. 90% of the time, I only need to use these two before moving back to Sharpening.
3. Sharpening Amount – with the navigator pane set at 2-1 (image may appear out of focus in this view even when it is not) or 1:1, gently push the sharpening slider right. If the pixels start to show, look crunchy or tight, back the slider down a bit. Too much sharpening enhances noise.
Radius – with birds, animals, the radius impacts the sharpness of the edges. The fine details of a feather for example, a small bird, working with a .9 is a good starting point. The sharper the image, the less pushing needed. With a larger animal, it may be that a 1.0 or 1.1 works better. Holding the option/alt key and pushing the slider, the changes you are making to the edges is more readily visible.
Details – this applies the sharpening to the finest details such as eyelashes, fur or feathers. Holding the option/alt key and pushing the slider, you'll be looking at details as you move the slider. The more the details are pushed, we may introduce more noise (see masking next).
Masking – can assist in preventing noise in the smooth, non textured parts that may have been created when adjusting Sharpening Amount, Radius and Details. Holding the option/alt key again and pushing the slider, you may notice texture in the flat parts such as the sky, a background wall. Push the slider until the texture disappears and the white lines of your image are solid.
C. The Basic Panel: Now that a solid foundation image has emerged, additional clarity can be applied using the White Balance, Tone and Presence adjustment groups.
Viewing your image as 1:1 or Fit, work back and forth with Exposure and Contrast along with the Clarity sliders. Details and sharpness change as these sliders are pushed. The use of the Histogram to make adjustments is another option.
This is not a standalone process as quality and creativity work together, which brings us to the second part of the two part process.
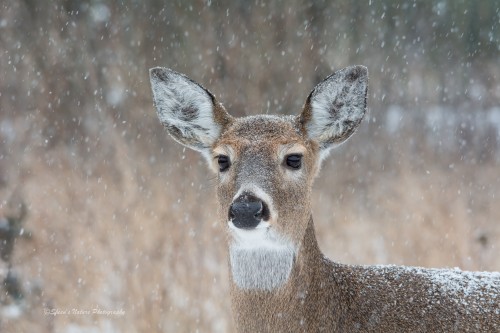
A Dear Deer – ©Sheen's Nature Photography
Part 2. Creativity
This step ‘brings to life' what we saw in the field. Or, it may be adding dramatic changes for a stylized view.
Let's continue our work using Lightroom's Basic Panel. Work with some of your own images that you've taken through the quality steps above. This is our playground!
A. White Balance – Does the overall color look correct? Adjusting the White Balance sliders of Temp and Tint subtly can make the skies, the background compliment your bird or animal. Dramatic Temp and Tint changes with wildlife can look stylized very quickly, it's all about personal preference.
B. Tone – What about the color tone? Many guidelines indicate that it's better to adjust from the top to the bottom in Lightroom. When working on the eye, move the Blacks and Shadows sliders to bring out the color definition between the iris and pupil. I move the sliders for Highlights and Whites to enhance the catchlight in the eye.
C. Presence – For the feathers, fur and ‘more shadows than you want' areas, adjust the Shadows sliders. Fine details can be impacted with Clarity by moving your slider left for softer or right which can make the image more crisp. Initial color enhancements in Vibrance and Saturation may be all that you need. If you want to work with specific colors, this can be accomplished in the HSL panel.
D. Tone Curve has recently become a favorite tool. Typically I use it for tweaking my Lights and Darks watching for shadows that may be underneath the lower parts of the bird.
E. HSL panel – Hue/Saturation/Luminance – Our icing on the cake. With Hue – was your Yellow more of an orangey-yellow, pure yellow or did it have a hint of green? With Saturation, colors that detract from your subject may be softened by taking out some of the intensity or enriched if not enough. With Luminance it's either brightening or darkening a hue.
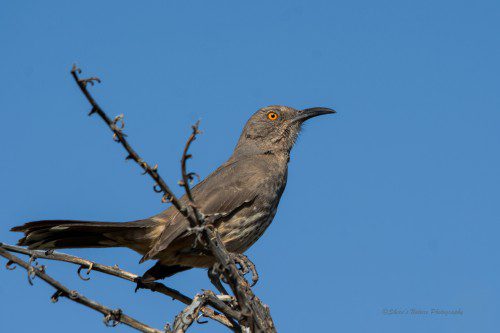
Bright Eyed Thrasher – ©Sheen's Nature Photography
A bright blue sky may show off the intense yellow eyes of a Curve-billed thrasher, but too much saturation could overpower the image. ‘Less may be more' or more may be needed.
Creating impact with wildlife photography in Lightroom starts with refining your image to your quality standards. Then it becomes a playground in applying Lightroom's creative features to bring out your own magical perspective.
Happy Shooting (and Editing)!


8 Comments
This is a great post. Learning from a written work flow is good. The “why” is especially good to know.
Thank you Paul – I am glad you enjoyed. Appreciate the comments!
Great post. The step by step approach is rellay good. The “sharpened noise” is someting new to me. In fact I’ll set it to zero as a default ajustement. Thanks and have a nice day !
Hi Duc – thanks for the feedback and setting it to zero is a good tip for our readers. Have a great one!
Many thanks for the step-by-step! My son gave me Ltr as a present for Christmas and I was like a blind dog in a slaughter house! Thanks for the directions…onward through the fog!
Hi George, just checking in to see how your progressing?
Excellent article – just what I needed !
Thank you Martyn!