In a recent article, we wrote about Macphun’s plans (now known as Skylum) to introduce a digital asset management module to their upcoming Luminar 2018 photo editing software. Although the DAM is not yet included, Skylum has sent us a review copy of the 2018 edition and today we are going to give your our first impressions of the new photo editor. When released it will be available on Mac and PC although for this review we used Mac. I would not expect there to be any huge difference between the two versions.
Setting Up And Using Luminar
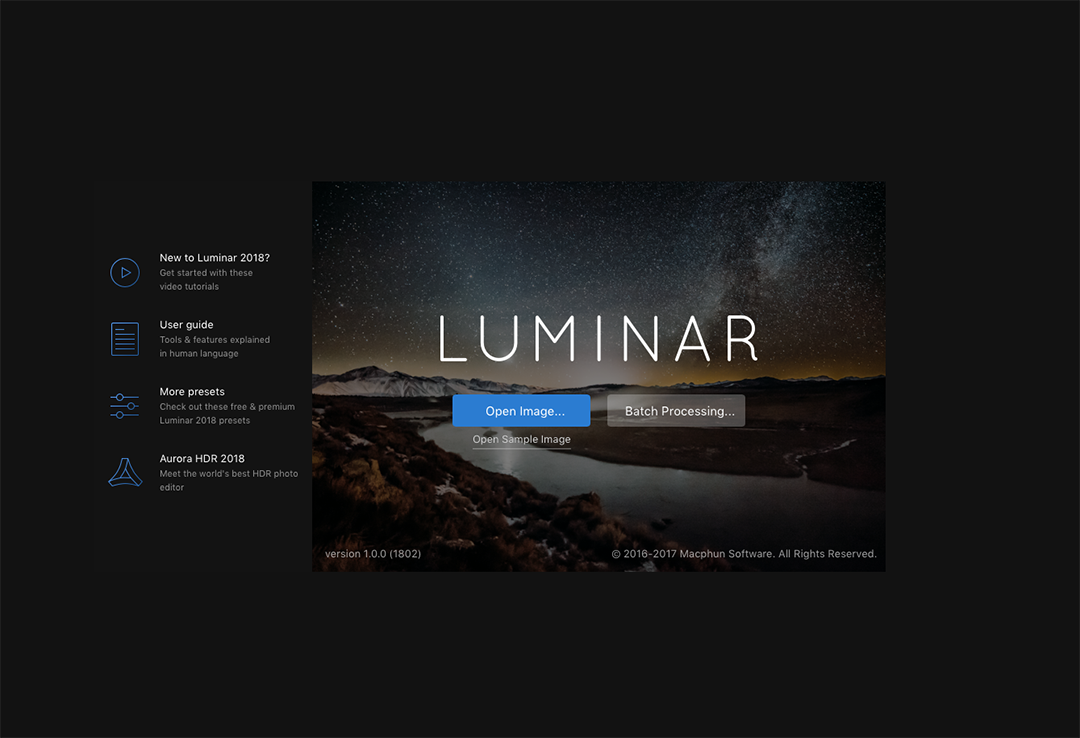
Once you have entered your license details you are directed to a very nice looking opening splash screen. Here you can choose to open an image directly or batch process a series of images. It also has links to what’s new in the 2018 version, an online user guide, paid and free presets and Macphun’s HDR editor. Once you open an image you arrive at a very clean, surprisingly uncluttered interface.
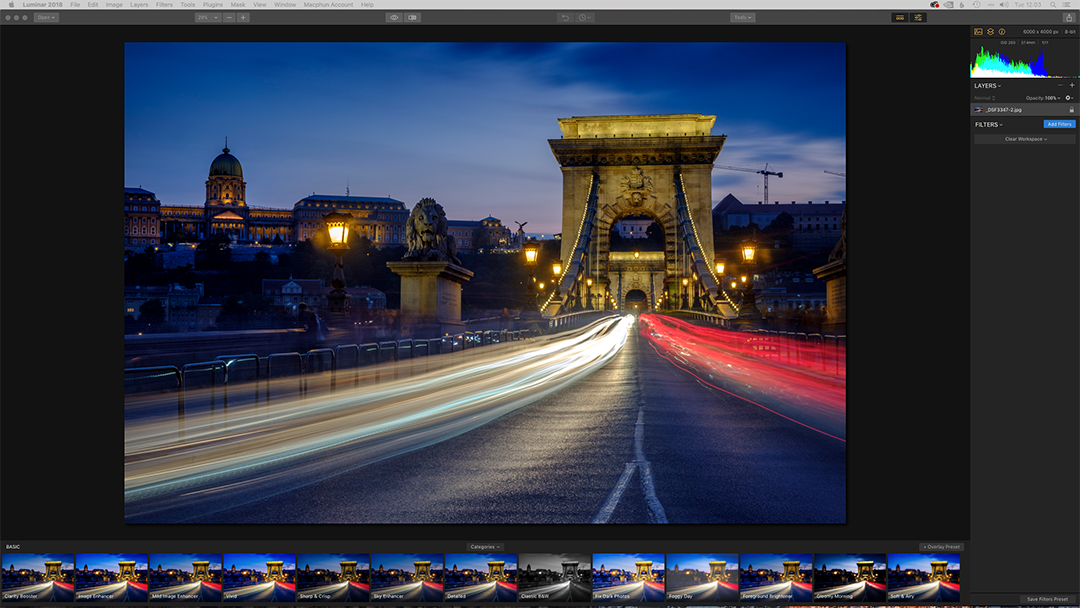
The interface is going to be a challenge for any relatively new photographic editing suites. The design problem is twofold. Making an interface simple enough for relative newcomers to get to grips with but also comprehensive and familiar enough for experienced photographers to feel comfortable moving over from the Adobe world. Luminar’s approach with the interface tends towards newcomers but behind the simple and clean interface lies a range of powerful tools and presets. Macphun have done a good job in not cluttering up the screen with these yet making it obvious on how to access them using simple icons. The advantage of this approach is clear, with a huge amount of screen real estate devoted to the actual image.
The Editing Tools
There are two ways to edit in Luminar 2018. Via a range of predesigned presets, or by using the more traditional editing tools. At the bottom of the editing screen, by default, are a range of presets. These are arranged into a series of categories ranging from Basic through Street to Dramatic. You can also add your own presets to this section.
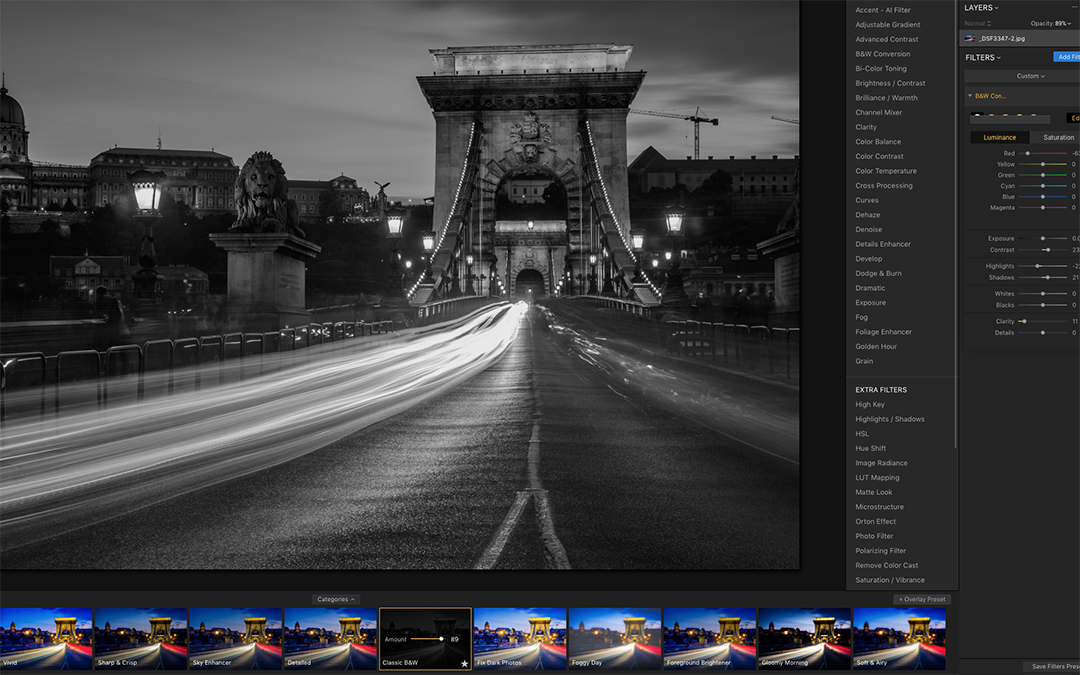
The more traditional editing tools are found just under the histogram on the right side of the screen. Clicking Add Filters reveals a huge range of powerful tools, many of which will be very familiar to Photoshop users. This includes Curves, Channel Mixer, Advanced Contrast, similar to the Photoshop Levels tool and many others. When you select a tool it appears underneath the histogram showing the different variables that can be used. The beauty of this system is that you can stack the filters and turn them on or off as required. This allows you to easily change the effect they have on the image. You can also simply delete them if they are not doing what you had hoped for. Also included is Layers. This includes Adjustment Layers as found in Photoshop.
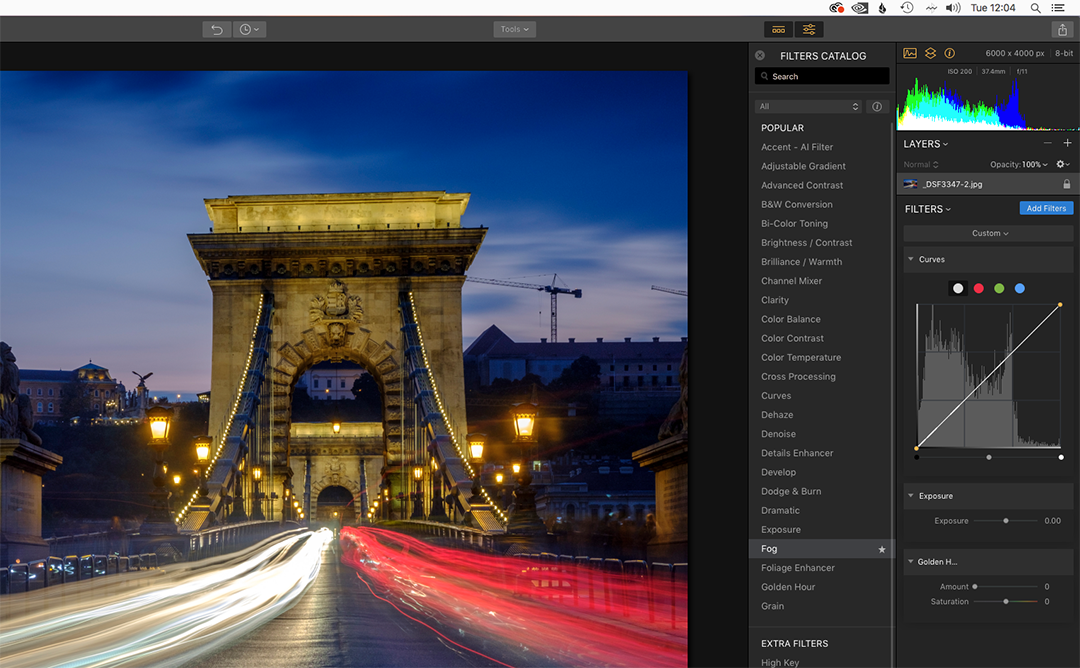
Basic cropping, resizing and zooming are found in a simple interface at the top. There is also a neat before and after comparison that splits the screen and shows you the difference between the edited and original image.

Luminar In Use
Switching to a new editing program is a challenge for any photographer. I found that within a few minutes I had worked out how to use Luminar to a reasonable degree of proficiency. The tools I know from other editing apps are available and easy to work out. The program loads RAW files straight into the editing suite without the need to go through a RAW processor first. This in itself is a useful advantage over its main competitor.
Speed wise the software was quick. Even with several filters stacked I did not see any slowdowns however the clone tool took some time to load on a 48mb Fuji Raw file. It also seemed slow to return to the main edit window after cloning. Saving also, seems quite slow, exporting to a simple Jpeg felt quite sluggish. This may be something that is optimised in the production version. The addition of many filters can make the filter window look quite cluttered although you can minimise each filter once you have finished using it.
Overall Luminar 2018 is a powerful photo editing app. Its clean and sleek interface conceal the multitude of tools that are available. The design of the interface puts emphasis on the actual image which makes editing easy on the eye and also very efficient. The performance issues with some brush style tools will hopefully be sorted out. The future integration of a DAM module will make a purchase of this software a very compelling case.



4 Comments
How does Luminar deal with Fuji RAW files? Is it better than what Lightroom does?
Luminar is great for landscape, any thought about portraits and weddings?
I’m planning to test this program as well as On1 Photo Raw and the new DxO Photo Lab during the cold month or winter.
Thanks, I’m looking for both a new camera and a new editing software. Fuji and Luminar are options I’m seriously considering.
Hi Jason,
reading a previous article on Lightroom alternative and this one, Luminar, my main concern is the final rendering from RAW files. I tried most of what is available, either free, trials, paid, yes I did paid for a few of them, but not Luminar, am on Windows, and the final output is never on par with Lightroom, Either printed or on the screen. I tried and tried but Lightroom is still the best on most cases and that is with Pentax and Canon raw files. Some are close, but never as clean looking as Lightroom.
No other software has a dust removal tool like Lightroom, all the others, so far have a very basic and old type of stamping and cloning, but the results are never good, that was good 10-15 years ago.
Also the stitch/pano fonction integration is great and so the basic HDR tool, works fast and doesn’t destroy the photo.
The only one that I found surprising is the free Faststone viewer. It converts raw files with ease and the rendering is surprising to say the least. Very limited in adjustments but a great free software.
I can’t wait to see a comparative on Luminar versus Lightroom.
Nice intro on this software.
You haven’t tried DxO Photolab.
Pretty good review overall, will probably opt for the upgrade, especially with the integration of the DAM module. Cheers.