Capturing Tasty Macro Food Pictures
Getting into Macro photography almost seems like a no-brainer to most photographers. Spending all that time captivated in the moment, getting everything “just right” to compose that shot you just can't wait to see up on the LCD – better still, your computer screen!
I think it's the extra fine detail which attracts many photographers, capturing something which we may take for granted – like a blade of grass, a coffee bean or a slice of mouth-watering kiwi fruit in a displayed “life-size” form, is pretty special.
Grab your How to Photograph Food PDF Download for free right here.
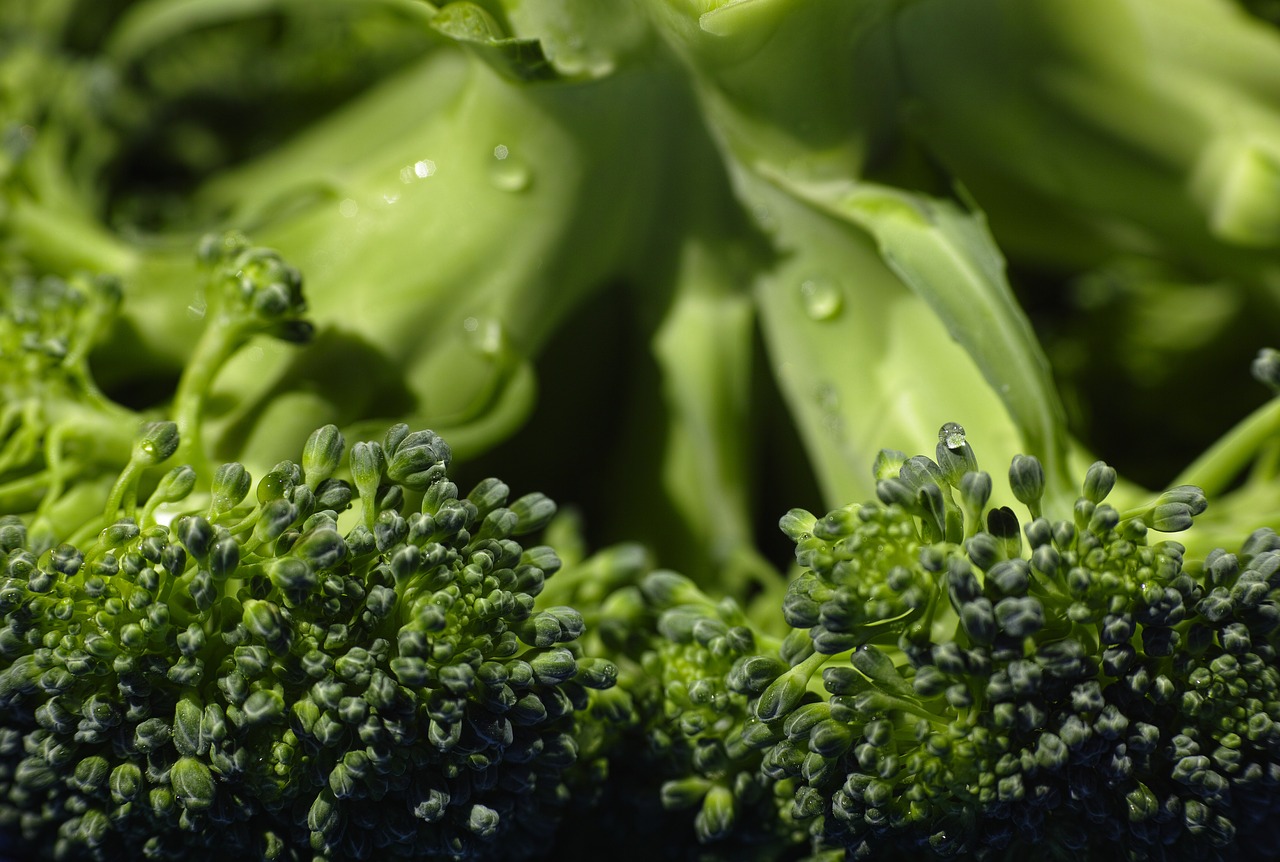
Patience and precision are of the utmost quality qualities a photographer will possess in order to get the shot. The level of often microscopic detail is just immense and it's easy to see how people become utterly obsessed with this area of photography.
To begin with, many beginners will research high and low to establish which macro lens they're going to purchase. So let's roll things back a little and look a fraction deeper into the concept of Macro Photography.
What is Macro Photography?
Macro photography gives a photographer the opportunity and ability to shoot subjects very close-up. The lens can focus and help take a picture of things in extreme detail, not visible to the human eye.
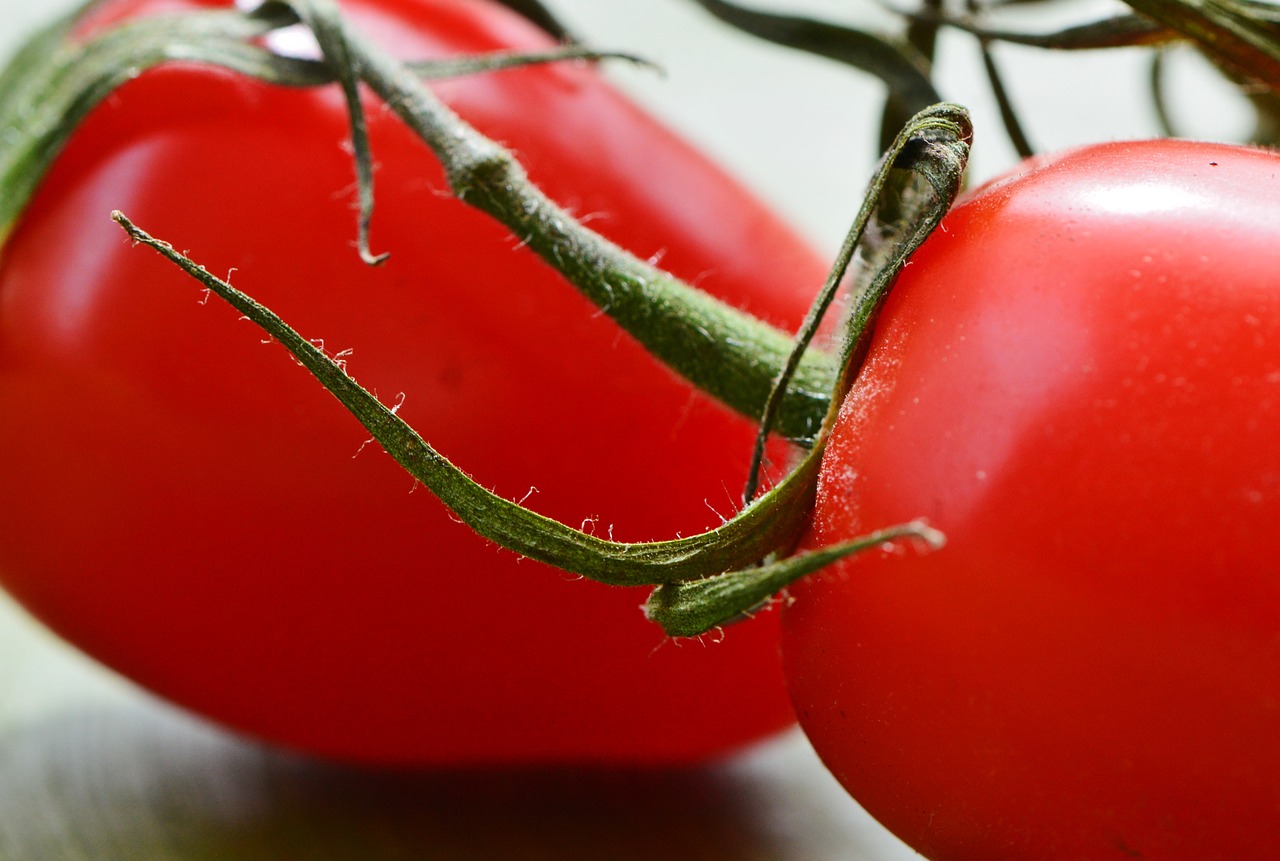
That sounds cool to me and since we're talking about food, have you ever looked at the shapes of vegetables when you slice them in half, or just look a little closer than normal, without looking…kinda strange?
Nature's patterns and shapes really do leave so much to be desired. Freshly grown food provides photographers with an almost infinite set of possibilities for shooting, and some seriously tasty grub.
I'm Thinking Food. So, What Kind of Lens Do I Need?
First choice for most photographers would be indeed, a Macro Lens. Now there's no right or wrong answer to this question as there's no right or wrong way to go about macro photography.
As you'll want to get some fine close-up details of the food, the shapes, textures and colors, we should firstly consider macro lenses for those serious about investing in this genre of photography.
A macro lens' ability to focus something representing the size of a postage stamp to completely fill the entire frame of a crop sensor, demonstrates just how much detail you can achieve.
Most DSLR macro lenses (including third party gear) tend to range from 90mm to 105mm in focal length – this isn't the rule, but these are the most “common” focal lengths. And with buying one you can expect some high magnification and enhanced sharpness in the details to your photos.
They'll often be sharp prime lenses at f/2.8, which for Canon & Nikon lenses, is reflected in their price tags. Going for third party or well-maintained used ones would be my suggestion if you're starting out and the budget is narrow (you'll still get pin-sharp pictures with all the right techniques).
Take a look at this Lightstalking Guide for further help about whether or not to purchase a macro lens. Here's a good roundup of lenses if you are considering adding a macro lens to your gear. If you cannot afford or just simply don't want to buy a macro lens, that's perfectly cool – there are alternatives.
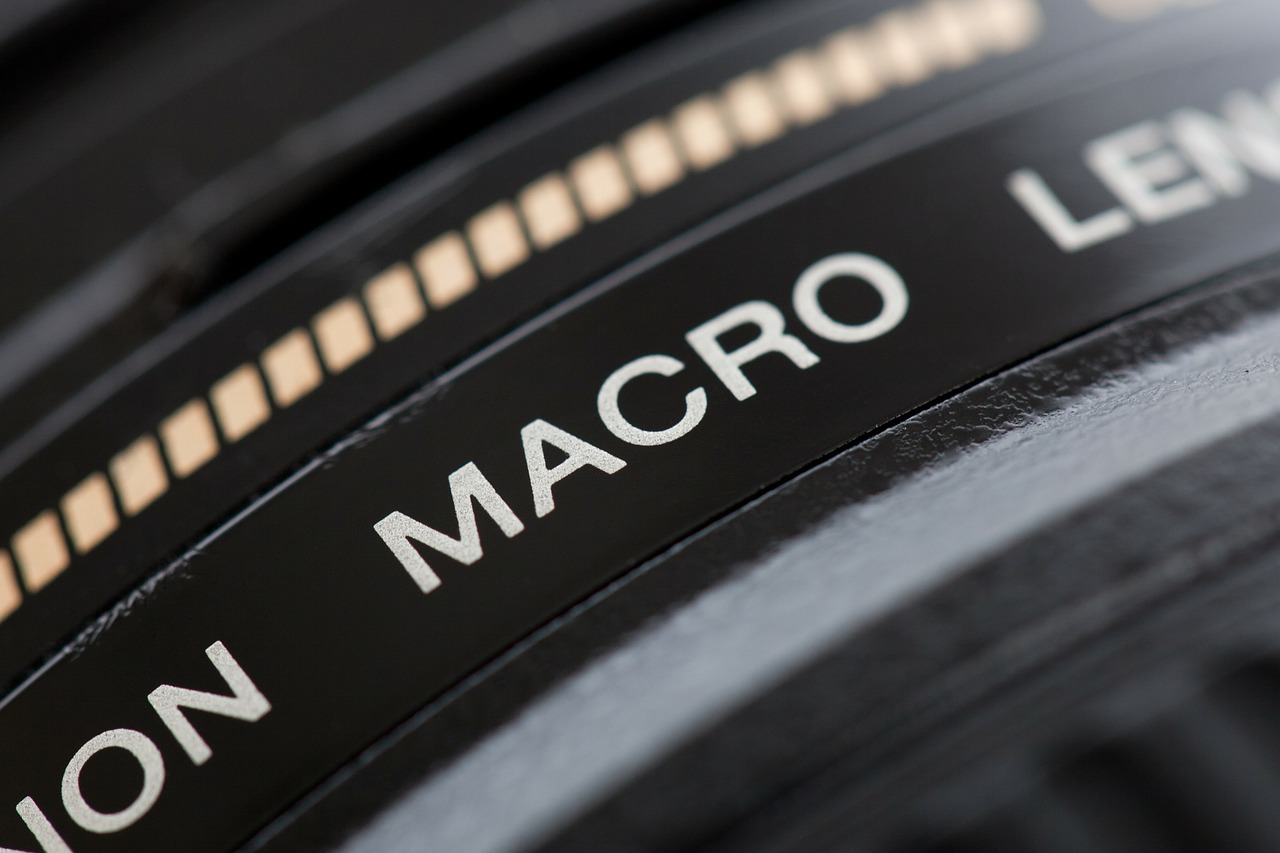
So I Don't Necessarily NEED a “Macro Lens”?
Extension Tubes is, of course, option #2. Let's be honest, if you're not sure whether macro photography is for you, pouring a ton of money into it with a high-tech lens may not be the best approach. You have to view buying and upgrading glass as an investment into your hobby, not just to have an impressive shelf of lenses.
Use Extension Tubes to Shoot Macro Food Pictures
This could just be the solution you've been looking for….
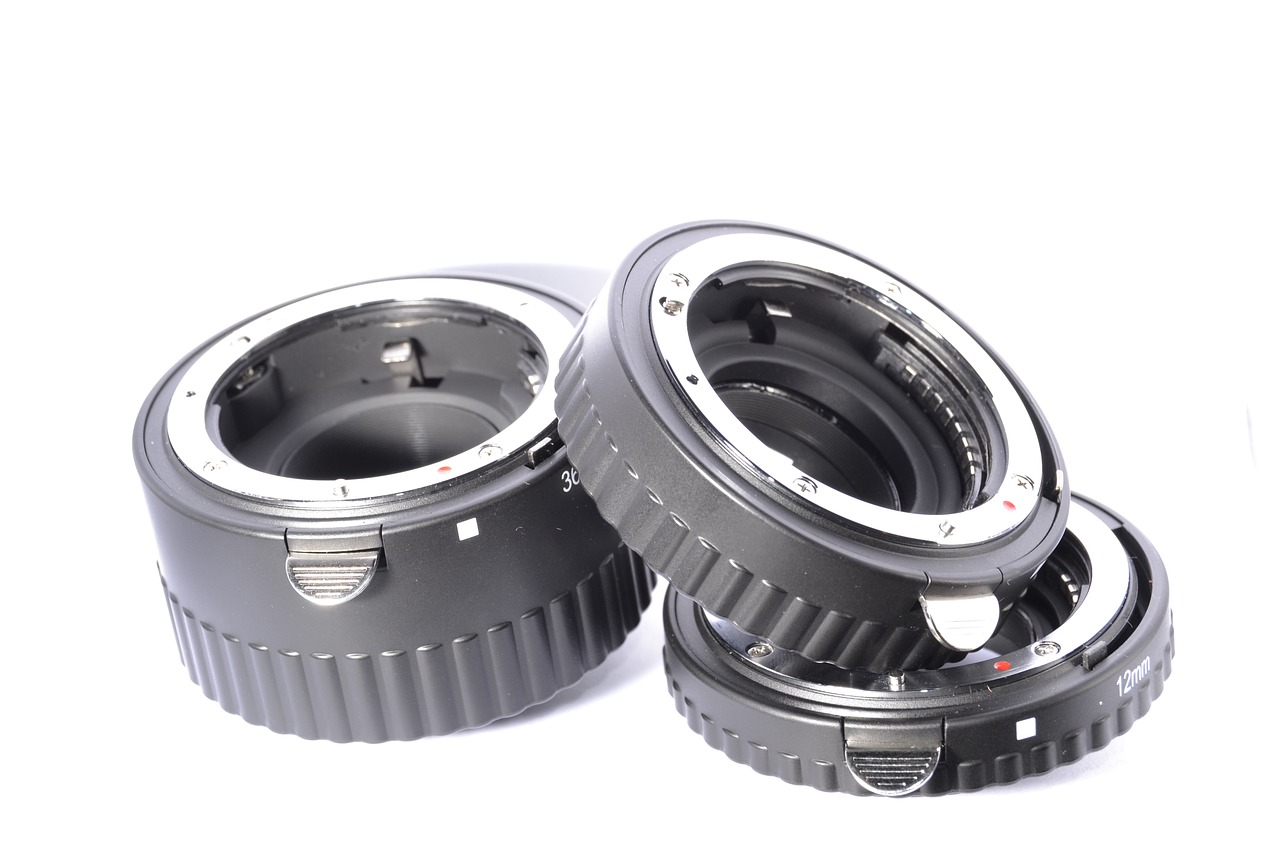
They're essentially hollow cylinders which increase the distance between your camera body (and therefore sensor) and the subject you're focusing on. By using one of these tubes, you're able to enhance the magnification level and focus more closely on a subject. This means, an extremely shallow depth of field.
Personally, I use one of these: a Nikon 50mm f/1.8 D with my set of extension tubes so that I'm able to manually set the aperture on the lens itself. Here was an early shot of a coffee bean from the morning I had my extension tubes delivered, shot on a crop sensor DSLR.
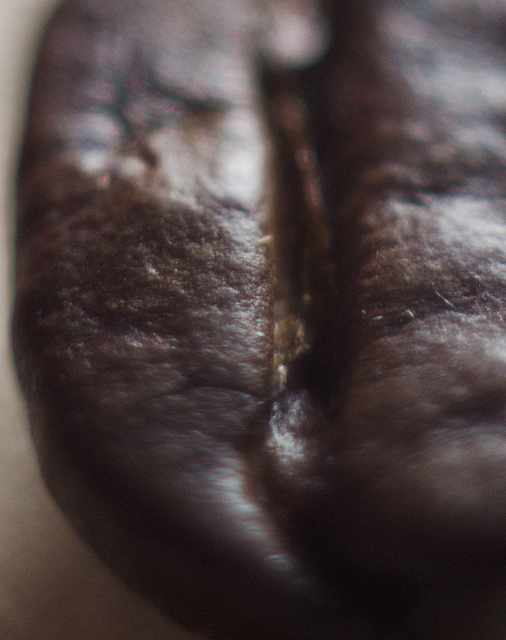
Tips For Shooting Macro Food Pictures
- Plan your setup: Have plenty of light – natural light works best for this type of macro photography.
- Depth of Field: Have a play around with your lens' aperture, this way you can obtain more or less of your image in focus.
- Shoot your macro food pictures with a high shutter speed: The reason is because even the slightest shake will appear as a blurry image and therefore show up out of focus. So here, maximum natural light and control of your ISO and aperture will ensure you're at the right place.
- You could use a tripod of course and with extension tubes, this might just be the best option.
- Use different surfaces to shoot through, for example, glass or even plastic – you'll get some interesting and fun effects! Just enjoy it.
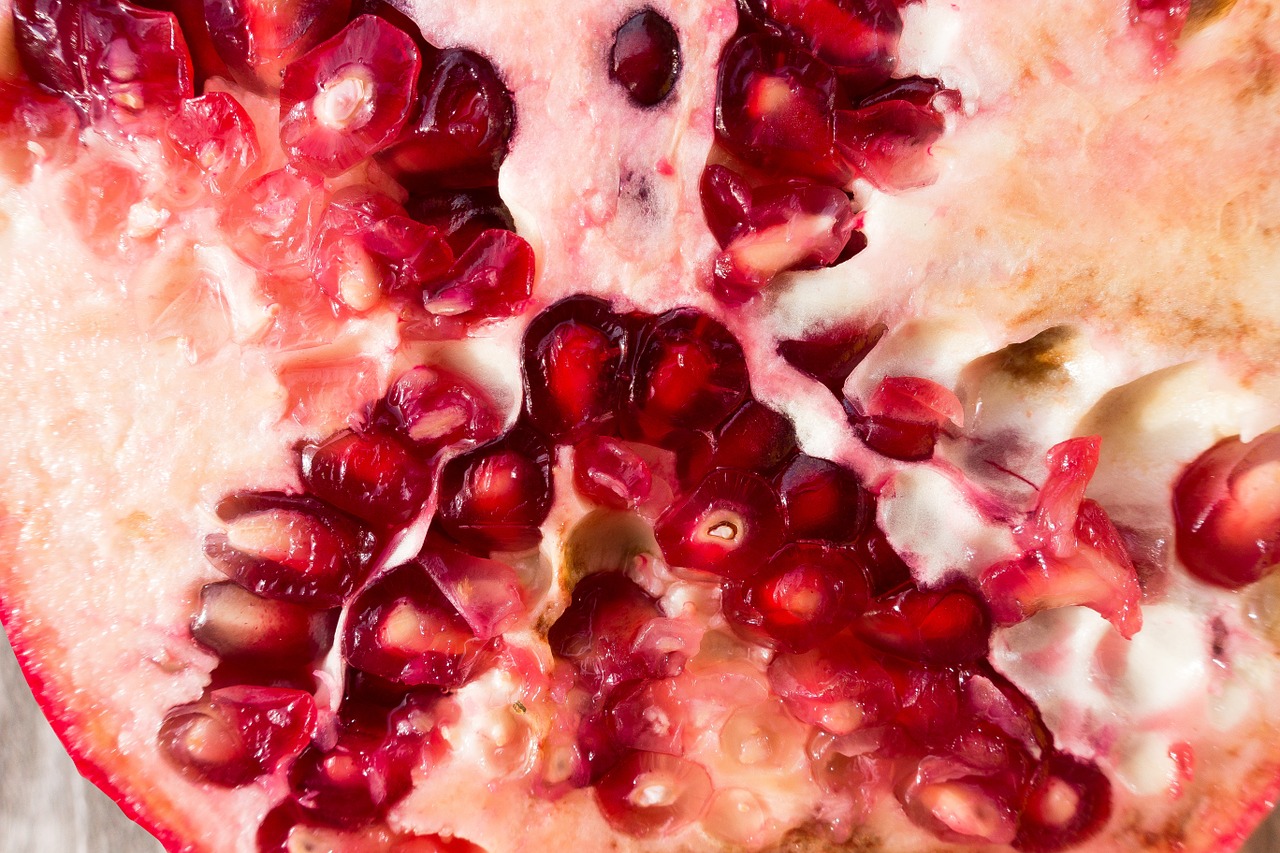
Further Resources
- 5 Masters At the Art of Macro Photography Whose Work You Will Want to Follow by Jason D. Little
- Improving Your Macro Photography – Resources on the Art of Macro and Close-Up Photography by Lightstalking
- Getting Started with Food Photography by Dzvonko Petrovski
Further Learning
We’ve got an amazing guide here on Advanced Composition. Now, although you may not consider this to be an essential part of taking food macro pictures, it really is.
Above all ‘The Advanced Composition Book’ by, Kent DuFault, will teach you the unique art of ‘pre-visualization’.


1 Comment
Fantastic article. I loved it. Please keep more coming our way.