As photographers, we have probably all taken photos during the golden hour, that time of beautiful light just after sunrise and just before sunset. There’s a pretty good chance we have taken some great shots during the blue hour. But what about night, who takes shots in the true dead of night?
Well, I do for one and I am sure others of you do also, but many do not and for a couple of reasons. Firstly they might feel that shots taken in the inky blackness of night do not look good. Secondly, they might struggle with the technical aspects required to get great night shots.
Today, we are going to look at shooting in the dead of night, what equipment to use and what techniques you need to know. Here are three night photography fundamentals
Grab your Milky Way Photography Blueprint for free right here.
1. Taking The Right Gear.
Getting a good night shot is going to require certain bits of kit. Obviously you will need a camera but this does not have to be high end. Any DSLR or compact system camera from the last decade will be more than suitable. Generally, we will not be shooting in high ISO.
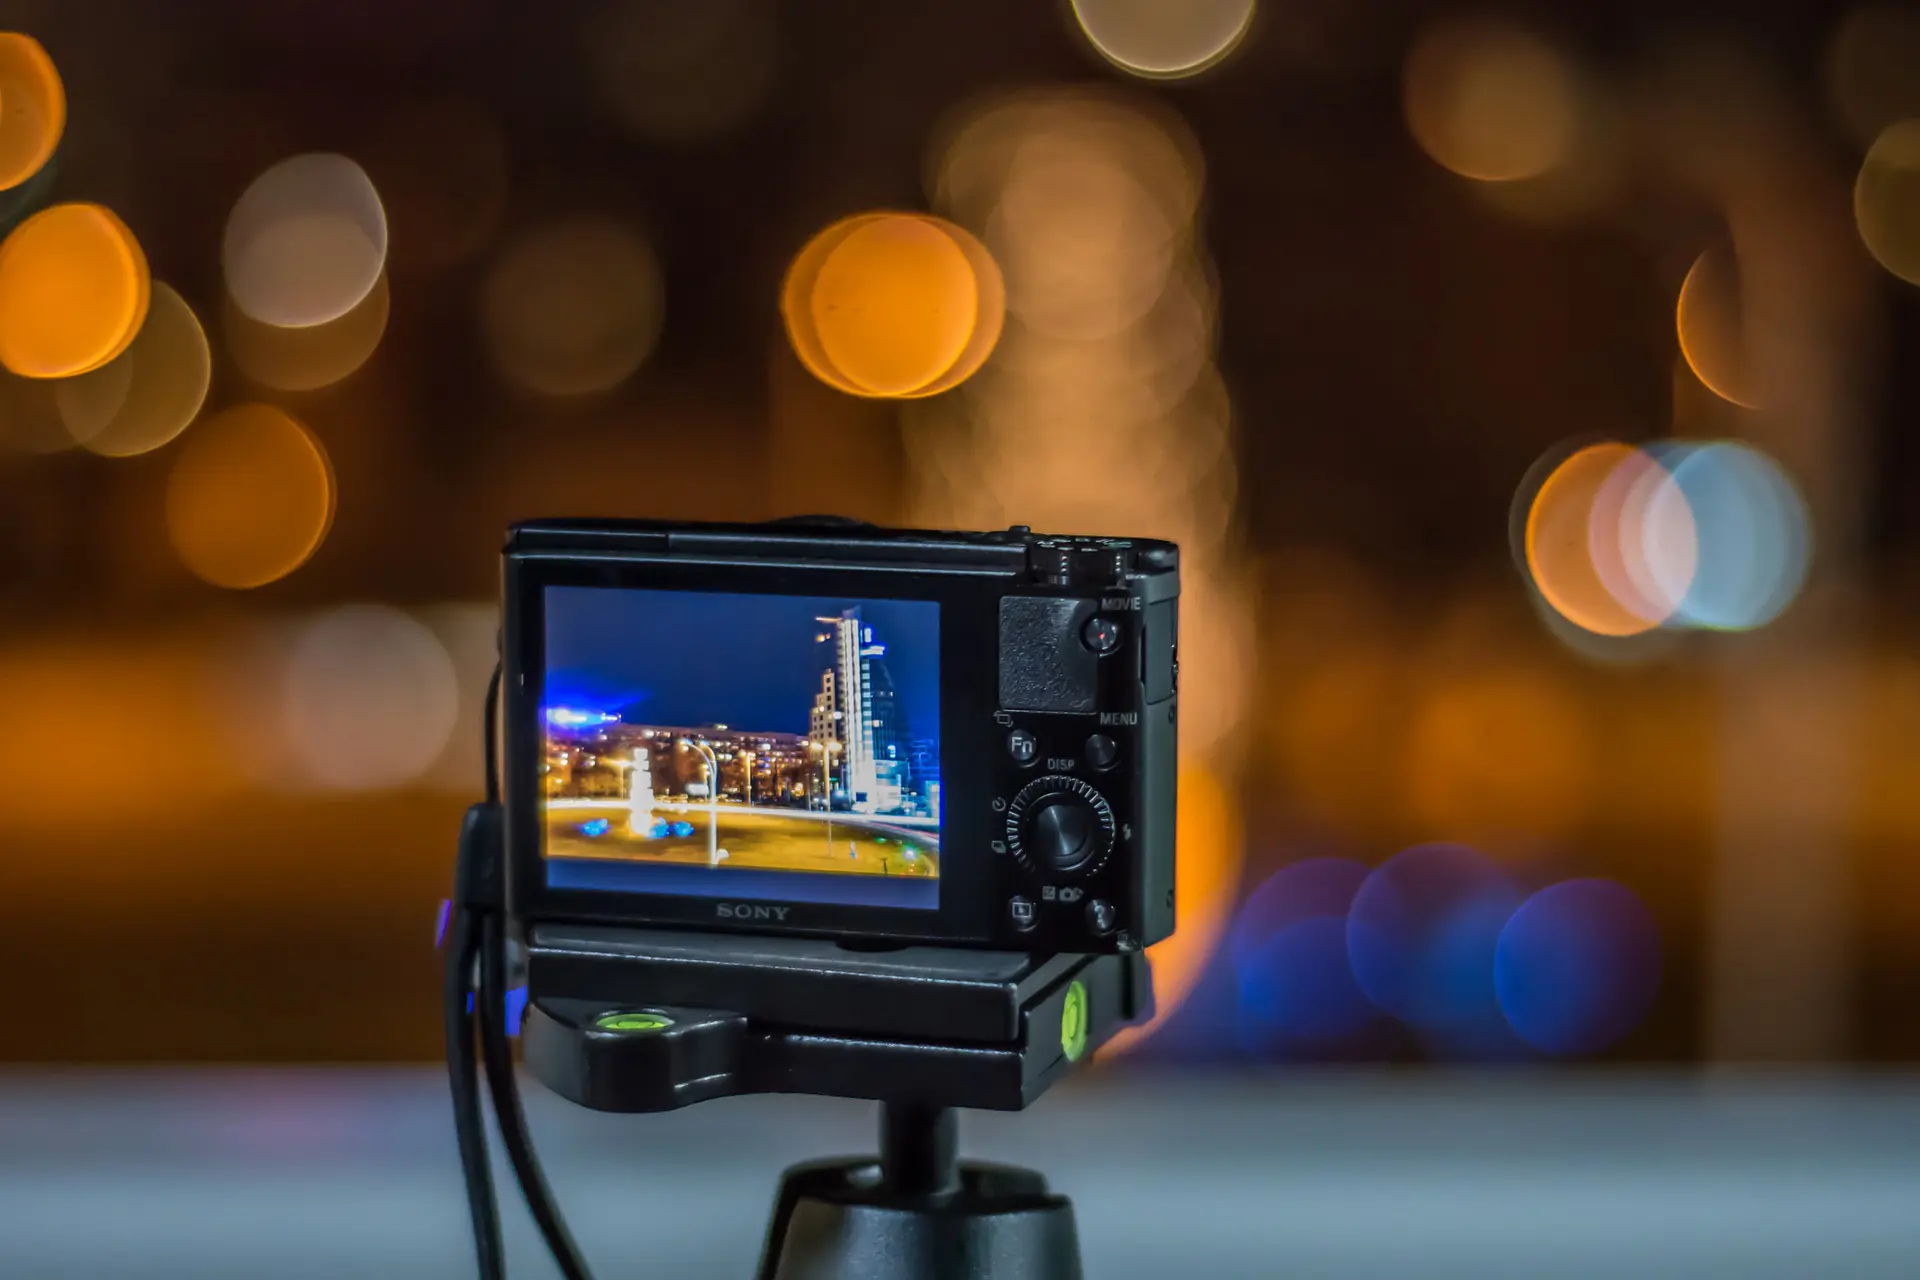
That bring us neatly to the tripod. You are going to need a good sturdy tripod. As you will be shooting relatively long exposures the slightest movement or vibration can be transmitted to the camera and cause a loss of sharpness.
With you sturdy tripod it is best to have some form of remote release. This can be a dedicated wireless remote, a cable release (if you camera supports one) or even a smart phone app. Any of these will help remove you from directly pressing the shutter button and the potential for camera shake.

Your choice of lens is important. Probably the most preferable lens is a moderate wide angle. The relative low magnification reduces the chance of camera shake but at the same time, it’s not so wide that it will be capture light from the extreme peripheries. The latter can cause internal lens flare and degrade the image. A good quality lens should also help cut down internal reflections. If the lens has a hood, make sure this is also attached.
It’s well worth taking spare batteries if you have them, the long exposure times will deplete your battery life much quicker.
It’s also well worth investing in a long exposure calculator app such as the one included with PhotoPills. This will help you greatly in determining the tricky business of determining the correct exposure. So what are the best locations for shooting night shots?

2. Shooting In The City
Brightly lit cities are ideal for night photography. As well as possessing great locations, these locations are often well lit, as are the surrounding environs. Cities on rivers make for ideal night shots, as bridges are often colourfully lit. The lights reflecting in the water add an extra dimension to your compositions.
Looks for subjects that do not contain large unlit areas as these will stand out in your shots. Your scene should have an even amount of lighting across the whole shot.

Shooting RAW will help alleviate the issues of multiple different coloured light sources as you can correct the white balance in post. Try to avoid going for very small apertures, even if trying to get a deep depth of field. Smaller apertures can lead the starburst effects of single points of light leading to your shots have a somewhat Cokin c. 1980s feel to them. If you are looking to get a deep depth of field try a wider aperture and focus stacking instead.
In most cases we need t keep our ISO at base to prevent noise and set the shutter speed to suite. This could be anything from several seconds to minutes depending on the light levels in your night scene.
Whilst with daytime photography we might try to avoid overcast days, for night photography, we can positively embrace them. There are a couple of reasons for this. The first is that heavy cloud is great for reflecting back the lights of the city. This in turn gives the clouds a very ethereal look whilst subtly raising the overall light levels. The second is that the long exposure we need for night photography mean that we get movement in the clouds, a sort of atmospheric version of motion in water. This adds to the ethereal look of our night shots.

3. Shooting In Rural Locations
When we escape the city for our night shoots, we also escape a significant amount of the available light. Shooting in rural locations at night requires, perhaps, even more skill than shooting in the city.
For a rural nightscape, we are going to need at least one well lit subject. This might be a lighthouse on a rocky peninsular or a light emanating from an open barn door. We must base our exposure around making sure that primary light source is correctly exposed. If we over expose it, we will not be able to recover it in post production leading to a poor image.

If you are looking to capture the night sky in your rural landscape you will need to open up your aperture as wide as possible. You may even need to increase your ISO up from base. Any artificial light source in the scene may well become overblown. If this is the case then try to shoot two images, one exposing for the sky and the other for the ground based light source. You can then merge them in post production.
Another type of shot you can do in rural locations is the moonlit landscape. As it’s name suggests this is shooting the landscape lit purely by the light of the full moon. You will need to some preplanning for this type of shot as well as setting up the composition whilst you can still see the scene. Try to experiment with your exposure but expect the shutter speed to be up to several minutes. You will also need to have your tripod rock steady and sheltered from any wind. Whilst you can use a flashlight to set up the camera, you cannot put any light on during the exposure as this will leak into the final shot.

Night photography is an amazing genre to shoot, but one that is often neglected by photographers. Following some of the advice we have provided above, you should soon be able to capture stunning night shots both urban and rural
Further Reading:
- Quick Tips To Get You Started With Night Photography
- Essentials to Getting Started with Low-Light and Night Photography
- How To Master Night Sky Photography
Further Learning:
With night photography, you'll be using relatively long exposure times and long exposure photography is one of those techniques that you'll want to master. If you are looking for a comprehensive guide then Kent DuFault's Complete Guide To Long Exposure is for you. This guide covers everything you need to know about this wonderful technique. Check it out for yourself.


1 Comment
Thanks Jason , you made me want to get out tonight ;).
Enjoyed the read.