So here is the latest bite size tip and this one is great – we have 13 fantastic tips on how to get the perfect focus every time.
The most important factor and one that can break any photograph is lack of focus. No matter how perfectly you have the composition, light and other technical details, an image that is not sharp and not in focus, will have to be discarded as it cannot be fixed through any means.
Note that when your photograph is out of focus, this is also the only thing that you cannot fix using any post-processing applications.
So how do you get perfect focus each time you take a photo? Here are some tips:
1. Set Your Diopter:
This is the first thing you should be getting right on the camera before shooting, especially if you wear glasses, make sure to set this again if your eyesight changes. Look through the viewfinder and adjust your diopter to get perfectly sharp and focused “focus indicators” through your viewfinder.
2. Learn The Different Autofocus Modes:
As you may be aware, there are different focus modes in a camera that will need to be used in different situations. For example, single shot autofocus, continuous autofocus and automatic autofocus modes. Decide which one to use depending on your situation.
If your subject is moving, use the continuous focus mode and for stationary subjects, use single autofocus modes. If you have a doubt that your subject may move at some point, then use automatic focus mode. Using the wrong focus mode can cause blur in your images.
3. Use Single Point Autofocus:
Most of the time when using multiple focus points, the camera will use a bunch of autofocus points and this will not get the focus right where you want it to be. Using single point autofocus will help you get precise focus on the point where you want the focus to be.
4. Focus Through Live View:
There are times when you need to zoom in and focus perfectly on a single point or object to have the focus perfectly right, for example, eyes in portraits or stars in night sky photography. The best option is to use live view where you can zoom in and manually focus perfectly on a point for tack sharp focus.

5. Use Back Button Focusing:
Back button focusing prevents your camera from refocusing each time you want to take a shot. If you have a subject that is not moving, then back button focus lets you lock focus on your subject and shoot as many frames as you want without having to focus each time.
6. Zoom-In On Preview Mode:
If you are checking for sharpness in your images, by previewing your images using your camera, then zoom in to check for perfect focus and sharpness, because many times, images that look sharp on the camera LCD, can look dull and soft when previewed on your computer.
7. Focus Manually:
When shooting at wider apertures, especially portraits, there are times when you may miss focus slightly while using the auto focus feature. In these situations, it is best to use single point autofocus combined with live view and manual focus on the point by zooming in. This way you can guarantee sharp focus, provided your subject does not move once you have focused.
Another situation is low light conditions especially at night when your camera will be struggling with autofocus and this is another situation when manual focus should be used.

8. Use The Right Aperture Values:
While shooting images at wider apertures will help get beautiful bokeh in the background, there are certain situations where you will need to make use of narrow apertures to get sharp focus in your images. Some of the situations are for example while shooting landscapes, architecture, group portraits where shooting at very wide apertures may have part of the scene or subjects in focus and the others blurred.
Also, remember, every lens has a sweet spot – the aperture at which the images will be the sharpest. So wisely choose your aperture values based on what and where you are photographing.
9. Take Care During Focus And Recompose:
Most of the times, when you have the object that you need in focus, lying out of the autofocus points area, you will need to focus and recompose to get the composition right. Make sure while you do this, that you are using single point autofocus mode and that the focus does not change. Note that, there are chances for the focus to be a bit off during focus recompose if you are shooting at very wide aperture values like f/1.2, f/1.4 or f/1.8 – so wisely choose aperture values based on your situation.
10. For Landscapes, Focus One Third Into The Scene:
When you shoot landscapes, you will want all the areas in your scene in perfectly sharp focus. Focusing one third into the scene will help you get the whole scene in focus.
11. Use A Tripod:
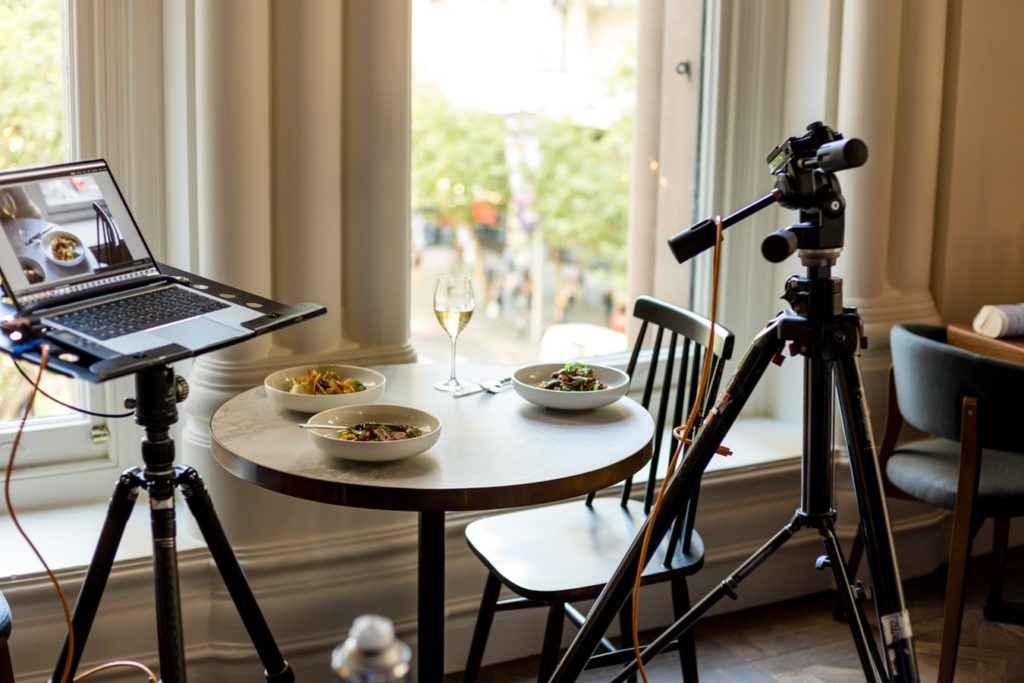
Wherever possible, make use of a tripod to get your shots so that you can avoid blur due to handshake. Having the camera on a tripod also gives you the convenience to go for different perspectives, compositions and helps to avoid blurry images. For long exposure images, always use a tripod, manual focus, mirror lockup feature for DSLRs and cable release.

12. Use Faster Shutter Speeds:
Most of the time, using slower shutter speeds can be the reason for blurry or out of focus images as even the slightest movements get recorded in slower shutter speeds. Always make sure you have your shutter speed greater than 1/250s or 1/focal length (take crop factor into account), whichever is faster. I’d say to be on the safer side, greater than 1/(2 x focal length). This way you can avoid blur caused by any movements from being recorded in your photographs.
13. Use Image Stabilisation Features:
If your camera body and/or lens comes with image stabilisation features, make sure you use them if you are shooting handheld. But, if you are shooting with your camera on a tripod, make sure you turn off image stabilisation.
So these are some of the ways in which you can avoid blurry or out of focus images and get perfect focus while shooting in any condition.
Further Resources:
- 6 Reasons Why Your Images are Out of Focus
- Bite Size Tips: How To Nail Focus Every Time
- Bite Size Tips: 16 Tips On How To Get Tack Sharp Landscape Photos
- 5 Common Reasons You Aren’t Getting Sharp Photos And How To Fix It
- 5 Free Guides That Will Help You Capture Sharper Photos


9 Comments
These are things I know but sometimes overlook. Thank for reminding me. And thanks for the great article.
Hi Richard, thank you and glad you found this to be a helpful reminder 🙂
Hi Dahlia, your comments on the importance of correct focusing are very helpful, but I’m facing another problem that maybe you have found an answer to somewhere in your journeys. I have retired my old DSLR and replaced it with an iPhone XR. OK, I know that the professionals call these things toys, but I’m not looking to sell anything. My problem is that my old eyes have been staring at computer screens for 40 years and now see everything fuzzy at short distances, so unless I wear my reading glasses all the time, which is not practical, images on my iPhone are out of focus even when they are in focus. I know that there are literally dozens of iPhone camera replacement apps out there and was wondering if any one of them might have a feature similar to exposure blinks. Something like a color graded translucent focus mask would be great. Suppose that green represents sharp focus and red full blur. Then various mixtures of green and red would be spread across the image to indicate the degree of focus and not. Then I wouldn’t need my reading glasses to assess image focus quality because I can easily make out shades of color. For color blind people, different shades of gray should also work.
Hi Roger,
I personally use smartphones a lot to take photographs and I love it. I don’t see any reason why smartphones should not be used for photography.
Regarding focus, I found a few good apps that have the focus peaking feature. This means, the areas that are in sharp focus will have a highlighted colour to show focus.
Halide – has manual focus along with custom controls like focus peaking.
Prime – has smart focus peaking where areas in sharp focus are highlighted with bold colour
Chromatica Camera – has focus peaking while using manual focus
Hope this is helpful 🙂
Great article, very useful .
Hi Anton, thank you for reading and glad that you found the information useful 🙂
Note that several of these are DLSR specific, a mirrorless camera has other specific actions and abilities that can help with focus. Might want to add those to cover all the newer cameras.
Hi Reno, thank you for mentioning that. We will have a look 🙂
Great article. You addressed the focus problem if using an I Phone but what about people that have had cataract surgery and now have 20/20 vision for distance but must wear glasses for up close, which would include view finder or camera screen. I generally can’t tell if something is in focus or not. Any suggestions.