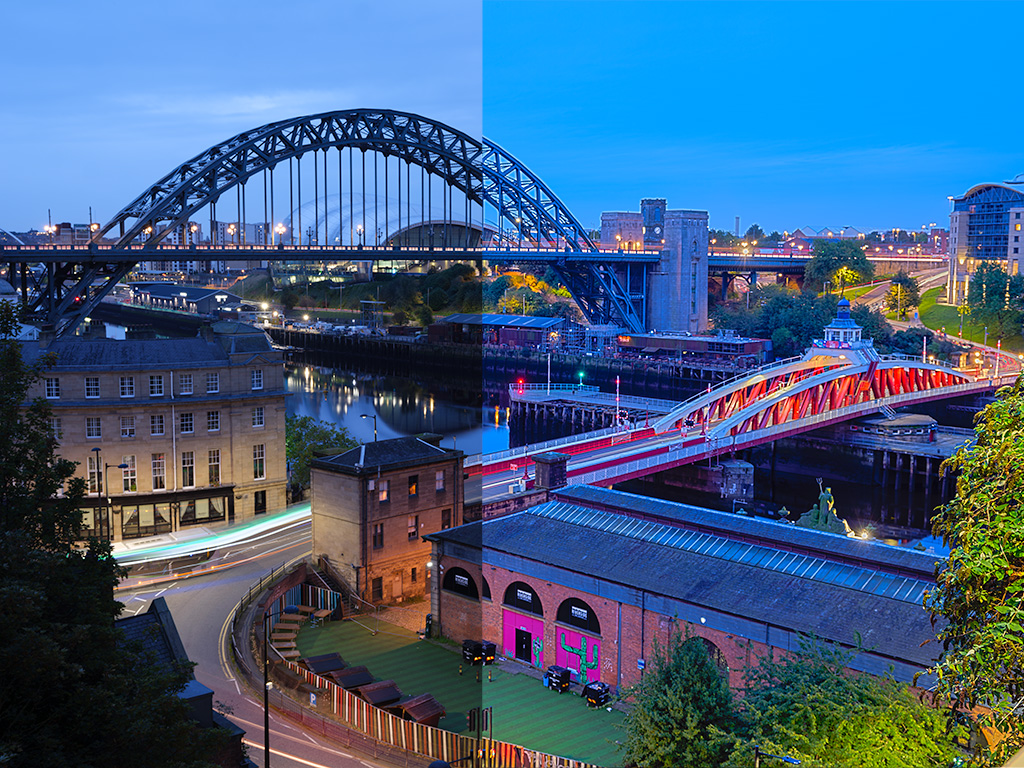
Time is money and if it’s not, it is still precious. One of the most time consuming aspects of our photographic lives is post production. If we don’t do it, it builds up into a unmanageable mess. If we do do it, it can take large chunks out of our potential shooting time. Whist post production is an necessary evil, there are steps that we can take to speed up our workflow and gain back some of that shooting time. Today we are going to look at some of the things that you can do to speed up post production, some specific to certain apps, some generic, all hopefully, useful.
Importing: Importing can be a drag, especially if you have large cards full of raw files. The quicker you can load them the quicker you can start, so tip number one is get a fast card reader. Many of us plod along with USB 2.0 readers yet buy the best and fastest SD cards. Make the best of your SD cards speed and upgrade to USB 3.0 or even thunderbolt card readers. The speed increase is not huge but its enough to knock a decent amount of time off your download.
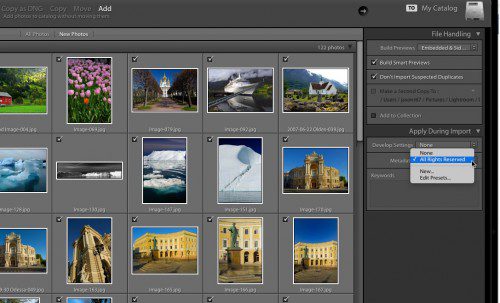
Another tip when importing is to add metadata. If you use Lightroom or most other image management apps, you can add predefined data such as copyright details, location and basic, generic keyword upon import. You can also define a template to do this, entering fixed details such as copyright, name and licensing to the template and adding in variables such as keywords when you import.
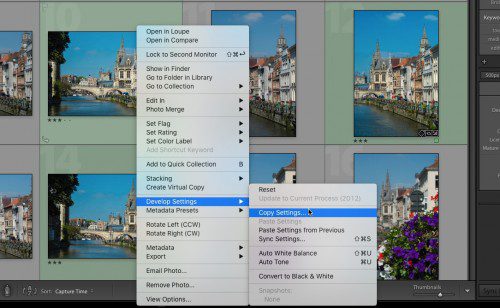
Basic Corrections: If your shoot is under similar lighting and exposure conditions from start to finish you can do the basic correction work on one generic image and then apply it to all images in the shoot. The corrections can include white balance, basic levels/curves and saturation adjustment. In Lightroom you can do this two ways, apply the corrections then right click and save the required adjustments using the settings, save settings option. You then select all the images that you wish to add these adjustments to then right click on one of them and again, from settings select paste settings.
The second option is to save your settings as a preset. Once you have made the initial settings, click the add preset button from the preset window on the left of the develop module. Select the settings that you wish to use and give the preset a relevant name. You can now apply that preset to all relevant images.
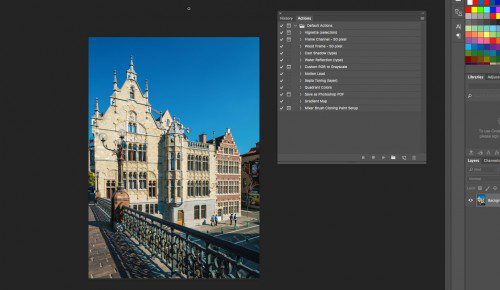
In Photoshop you can use a similar technique called actions. This records the corrections that you make to a single image then allows you to “play them back” on subsequent images.
When making presets or actions, make sure you corrections are basic and relevant to all the images that you wish to work on, otherwise you might find yourself having to back track and undo some work.
Keyboard Shortcuts: Many of us use these in our daily computer use. Things like CTR C and CTR V (CMD C and CMD V on Mac) allow us to cut and paste quickly. Most modern photography apps have a huge range of shortcuts that we can use in our workflows. Of course learning them takes time so think about the actions you use most and learn the keyboard shortcuts for these. To make this easier, most software will show you exactly what the keyboard shortcut is from the menu system. For instance in Lightroom if I want to quick-convert to black and white, I simply press V.
One very useful and ubiquitous shortcut to remember is CTR (CMD) Z. This is the undo command and very useful for quickly correcting mistakes.
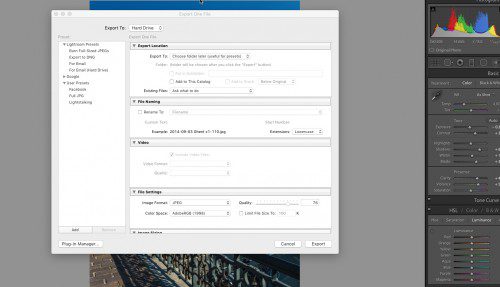
Export Options: There are many ways and reasons to export our images. To social media, to clients, for printing, with watermarks. Again we can speed up this by using export presets or actions. In Lightroom we can create any number of different presets using the export dialogue. We can control where the image is saved to, its file type, size, resolution, quality, whether metadata is included as well as including a watermark. By using these presets we can quickly export hundreds of images to the right location and exactly as we require them to be.
In Photoshop again we return to actions, by creating an action that can resize and output the image to suit.
Using some, or even all of the tips above you should find that your post production workflow has become more efficient, freeing you up to get out and take more images.


