Show ‘Em What You've Got – Some Great Photographed Products!
It's pretty obvious that photographing products is all about advertising. That's a given, but what should you do with the given product in order to get the best results for your client?
Here Are Some Things You Shouldn’t Overlook When Photographing Products For A Client.
1. Context
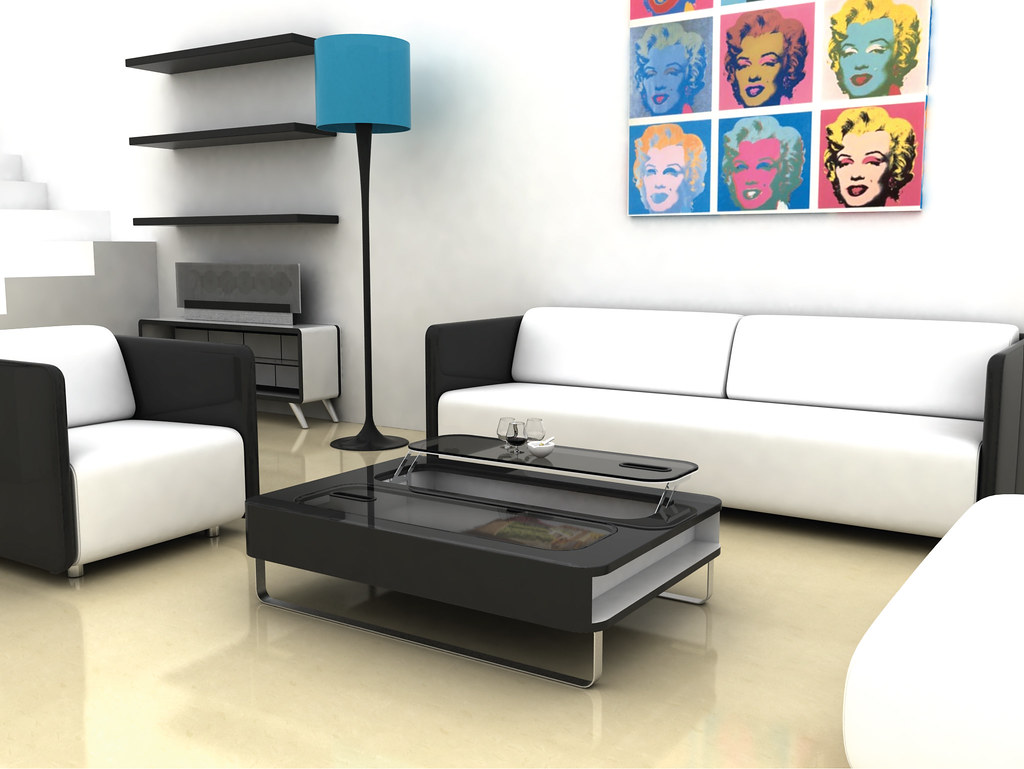
This is probably the most important thing ever when it comes to photographing for clients. Take this simple example: If you take a shot of a bench for your client and put it on white background, it won’t do you any good, right?
No matter how good the light is, no matter how big the resolution is, that would fail right away. However, put the bench in context, in real life scenario, and the effect is quite the opposite.
2. Scale
This too is a simple concept. Always use something common for scale. Of course, you won’t just throw something in the picture just for the sake of it being there.
If we go back to the bench example, you could use a human for scale, therefore you’ll let the customers know the rough size anytime they look at the photo.
The goal is to use an object which always will be familiar in scale to the viewers. Stuff like coins, cutlery, cell phones, pens, pencils tend to work best. Everyday items are always a good choice.
3. Light
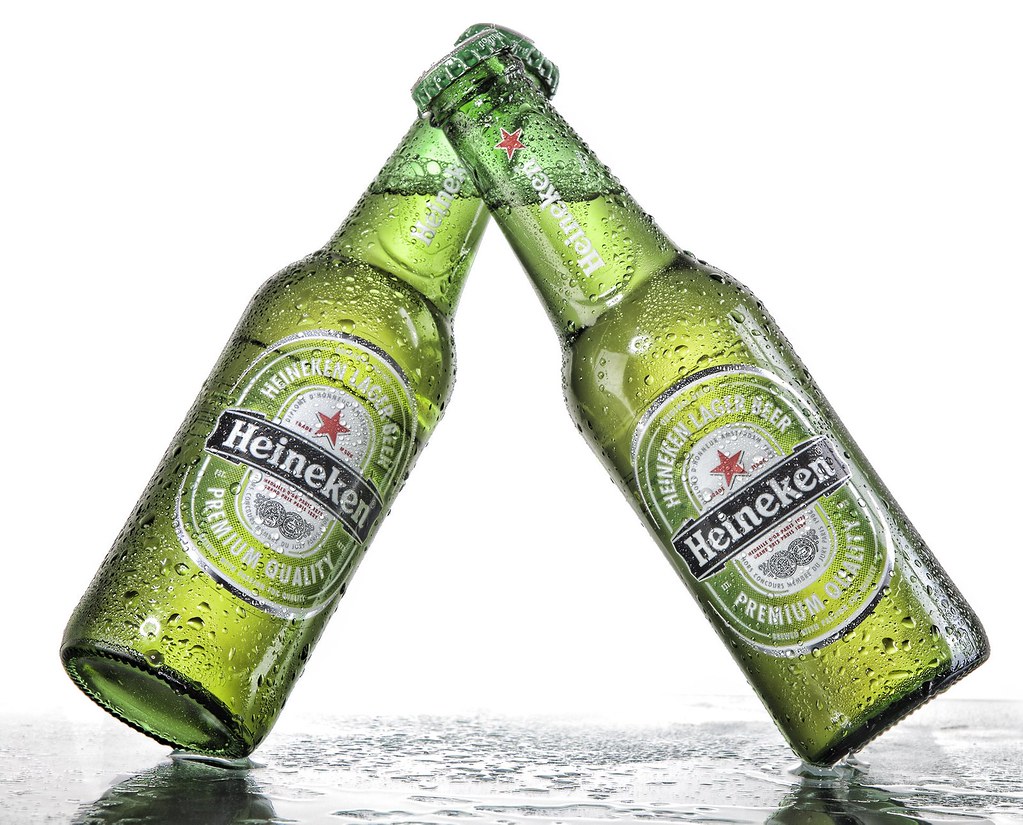
This is important as in any type of photography. The key here, however, is not for the light to be dramatic and scarce, quite the opposite actually. You need to light your scene well, overexpose it a little even.
Now, this doesn't go as a rule of thumb for ALL product photography, but on the whole, you can stick to this guideline, because there are always going to be clients who are exceptions.
This is due to the fact that bright things attract more attention and tend to look more “clean”. If you aren’t sure how it is supposed to look, take a look at some stock photos of subjects that you're supposed to photograph.
When they are often bright and slightly overexposed, you want to avoid hard light. Remember soft and equal light is your safest bet.
4. Final Destination
This is very important. You’ll need to know where the photo will be used in order to match the scene.
For example, if you are going to use a photo on a bright website, which is clean, and sleek, and you make a photograph on black background with lights all over the place you will most likely disappoint the client.
You need to match the destination color set in your photo, or at least be as close as possible. Another thing to watch out for is the other pictures in that destination (whether it is a website or magazine).
You’ll need to emulate the style the other photos are being shot at in order to look uniform.
5. Color
While you are being careful not to mess up the destination color and style you need to be careful to represent the colors of the item properly.
This means that you need to use proper white balance. Bringing and using a gray card for this matter is recommended.
However the right tonality is not the only thing that you need to be worried about, vibrance and saturation should be kept at a realistic level as well and equal in comparison to the other photos you will make.

6. Depth Of Field
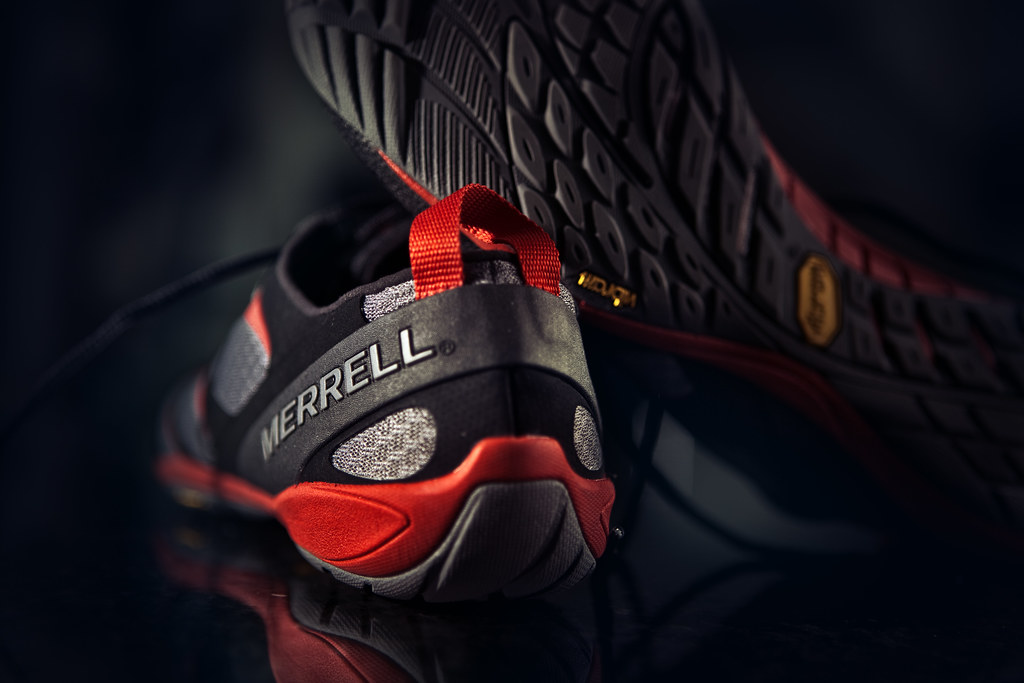
You really need to control this aspect accurately. If you have a wide aperture lens it doesn’t meant that you should keep it wide open. You’ll want your item to be completely in focus and as much detailed as possible.
Accurate representation is essential here and the customer needs to see what he or she is getting at the utmost detail possible. I don’t need to mention that you’ll probably need a decent prime lens for this matter, right?
Summary
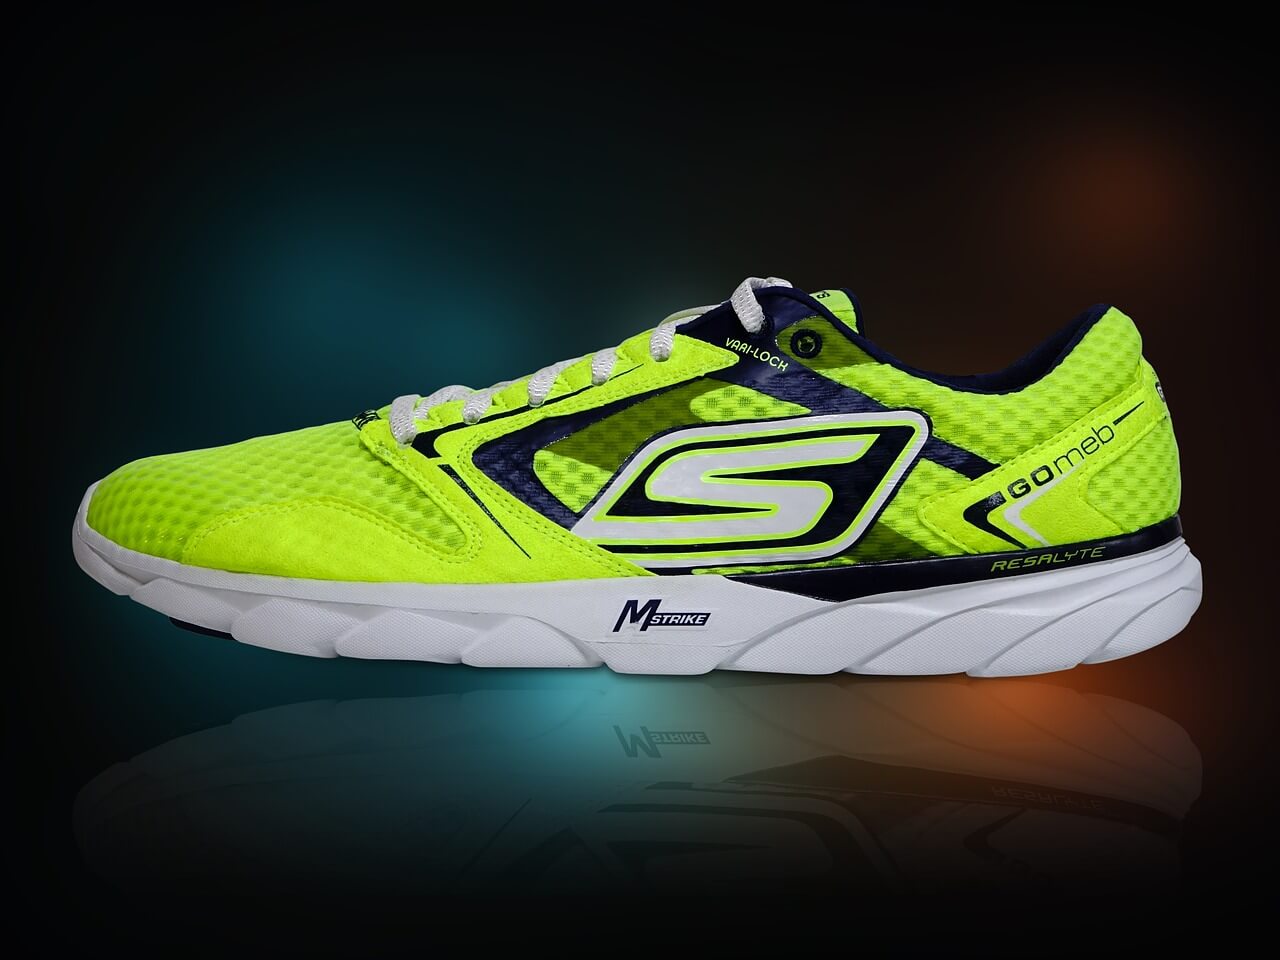
At the end of the day, everything comes down to creativity and skill, and your job is to provide both. Product photography isn’t as simple as one might think and it requires quite a great deal of invested time to produce great results.
You’ll need to try every angle possible in order to have few angles to choose from for your client. Don’t be afraid to experiment, you can do some experimental shots along the classic ones and see if your client likes them. Why not make some suggestions to the client?
You are the professional with experience in photography after all, and who knows – you might get lucky if they are executed nicely, and possibly get a hefty bonus for that extra effort?
Product Photography Tips And Tricks – Top Takeaways
- Remember context and scale and the example of the bench – ensure the product has a frame of reference so that the whole photograph is relevant.
- Keep an eye on color – saturation, temperature and vibrance. But most importantly exposure and what your client wants. Also, for this type of photography, get in the habit of carrying a gray card around.
- Use aperture control to ensure you're capturing the product with the correct amount of depth of field. One tip to remember is to avoid shooting wide open.
Further Resources
- Do You Genuinely Want To Improve As A Photographer? Share The Ideas Behind Your Images by Dzvonko Petrovski
- Photography On A Shoestring: Product And Macro by Dzvonko Petrovski
- How to Get Professional Product Photographs With a Single Light Source by Dzvonko Petrovski
- How to Use a Speedlight for Macro Photography by Jason D. Little
Further Learning
Why not invest in yourself and your photography skills by checking out this awesome Guide: The Art of Portrait Photography. Learn tips from the pros and how you can advance your skills, faster and more efficiently!
