We photographers all strive for the perfect light. It is normal to aim for perfection, however, the light that we usually imagine in our heads is quite difficult to achieve in real life. Well actually, not that hard if you own complex light systems that usually cost heaps.

Is it possible to achieve the same light in other ways? It is. However, it requires practice, and it often helps if you are skilled in Photoshop. The most common problem I have is that usually I can’t get my hands on diffusers, thus I have the correct light positions (for my idea) but I don’t always have the luxury of making the light soft.
The whole idea of this article is to use Photoshop to soften harsh shadows and repair any inconsistencies in the light in order to achieve a better looking portrait.
Step 1: Prepare the Image
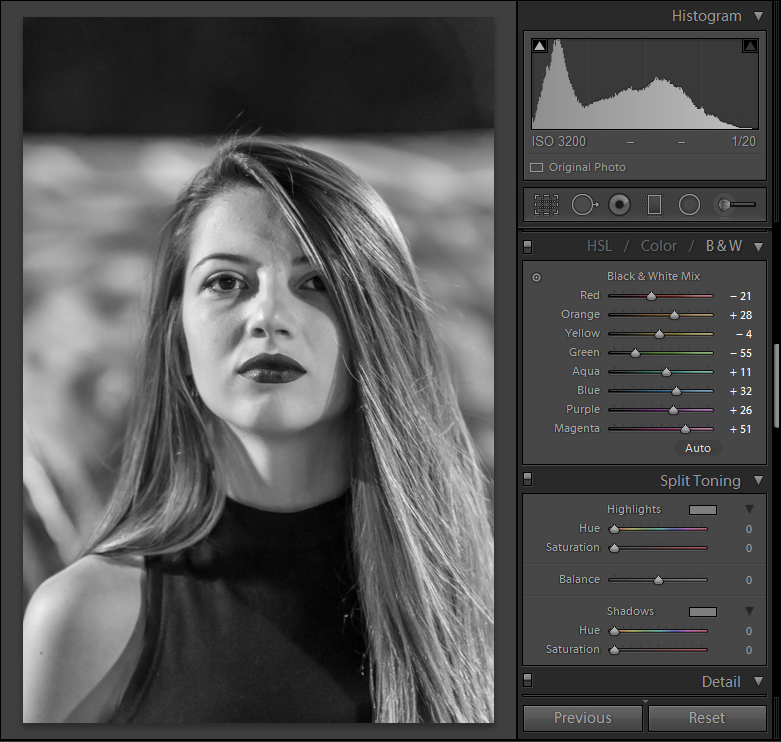
I tend to use Lightroom for the basic edit and preparation, and I also do the black and white conversion there. You can use Adobe Camera RAW for the same thing, but make sure that you open the RAW file in Photoshop after you are done because you’ll need all the information possible. Tiff will usually do it as well, but jpeg will prove difficult in retaining the details and tonality necessary for a successful edit.

Step 2: Frequency Separation
I don’t start an editing process without frequency separation. For now, it is the most efficient process where you have complete control over the tone and texture, which makes it easy to soften shadows and correct the texture properly.
All you need to do is duplicate the original layer twice (due to the fact that we want to work non-destructively). This will result in 3 layers; name the second one “Tone,” and the top layer “Texture.” The Tone layer should have gaussian blur of around 6 – 10px (depending on the resolution), while the Texture layer should be applied (Image -> Apply Image…).
Next, choose the Tone layer, set blending to Subtract (Scale:2 and Offset:128), and hit okay. The resulting layer will look like high pass filter was ran on it – just set the blending mode to Linear Light and you have an image ready for frequency separated editing.
Step 3: Air Brushing or Blurring
Now, you have two options about what to do with the harsh shadows. You can either use the Lasso tool with High Feather to select and then blur the area (by applying Gaussian blur to the Tone layer), or you can airbrush using a brush on the Tone layer.
I chose to go with airbrushing, since it is more precise and offers greater control. I recommend you do the same – however bear in mind that it is a tad harder to do airbrushing with a mouse (it is not impossible, just a bit harder and slower). At any rate, I’d suggest using a pen tablet.
Set the brush at 100% opacity, and set the flow at 10% or less. This will give you control over how much color you are applying while letting you keep the brush pressed (less history actions) so you can build up the effect. Then, select the Tone layer and start painting there using a soft brush (Hardness at 0%).

Keep in mind that the edge of the harsh shadow will have some texture stored in the texture layer, but you will remove that later. To achieve the proper tone with which you’ll be painting on the Tone layer, sample the color by pressing the Alt key and clicking an area containing the desired color. Now, paint over the edge until it starts to form a nice gradient – you should sample colors near the edge and repeat this every time you move lower or higher.
Once you see that the gradient is nicely formed but the edge is still visible, pick the Clone Stamp tool, select the Texture layer and clone stamp it so you can have a nice and smooth gradient there. Of course, after you remove the edge, you’ll probably need to continue working on the gradient since you won’t have a nasty edge obscuring the view now.

Repeat the process by sampling color and removing edges while keeping the form as precise as possible. You shouldn’t worry if you make mistakes, in fact, the whole process is based on trial and error and it will take time to perfect.
If you haven’t noticed by now, sometimes, when you use the Clone Stamp tool on the Texture layer it tends to ruin the texture. This is especially the case when you are using a soft brush. You can repair that by adding a new Layer which will be filled with 50% gray. On top of it you should add monochromatic noise and try to match the noise levels with the noise in your picture. Set the blending mode to Overlay or Linear Light, and then just use a mask which will allow the noise to act as a texture which is lost.
Step 4: Finishing Touches

Since I was going for an old film look, adding some curves to simulate it was the next logical step. After that is done, I reloaded the image back into Lightroom, and applied some noise reduction and sharpening (even though I added noise in Photoshop). After the noise was reduced I added grain to simulate the film, and finally, some haze. And, with that, the picture is complete.


