Unless you’re that one photographer who abides by a strict daylight-hours-only shooting schedule, there will come a time when you desperately need some sort of stabilizer for your camera in order to attain long shutter speeds or simply to maximize sharpness.
Of course, the ultimate tool for this job is a tripod.
But let’s be real — tripods can be a hassle.
A tripod isn’t one of those pieces of gear you carry around everywhere “just in case” you need it along the way. But what if you do need some sort of camera support while you’re out on a random adventure? Something that’s not a tripod? Rest assured, you’re not out of luck.
Here Are 4 Tripod Alternatives That Every Photographer Should Consider:
1. Your Own Body
You always hear about the value of good technique when it comes to exposure; the same principle applies to holding your camera as well. Does this mean there’s a “right way” and “wrong way” to hold a camera? Sort of.
There’s nothing really complicated about it — just be sure to place your left hand underneath the camera body or around the base of the lens barrel to provide a stable platform. This is a great tripod alternative.
Keep your feet at least shoulder width apart and tuck your elbows inward.
Breathe in…breathe out. Now shoot. You can create even more stability by leaning against a wall, fence, tree or any other solid structure.

Photo by Martin de Witte
2. Camera/Lens Stabilization
Image stabilization in one form or another is commonplace these days; it’s a feature either built into a lens or a camera body.
Optical stabilization (the sort built into a lens) is usually described as being more effective. In-body stabilization (built into a camera body) doesn’t lag far behind and provides stabilization no matter what lens you’re using.
Different manufacturers will attach different monikers to their own implementation of the technology and there are various claims about effectiveness, but getting 1-second exposures handheld isn’t unheard of. Keep in mind that image stabilization technology reduces camera shake only; it does not freeze motion.
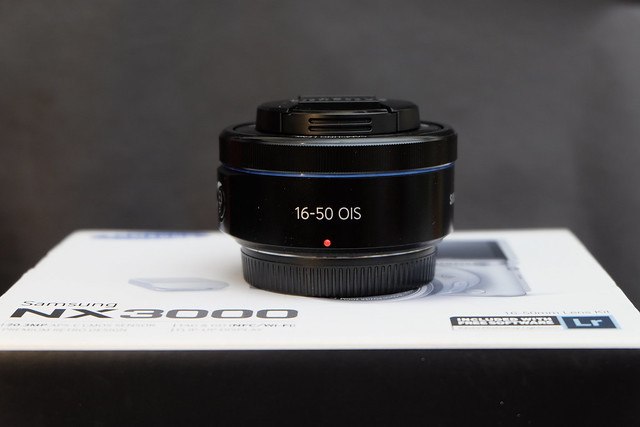
Photo by YangChen(TW)
3. Use A Monopod
A monopod is not only lighter and less expensive tripod alternative – it also affords you a certain degree of flexibility that you won’t get with a tripod.
When you’re using a long lens and need to remain mobile, a monopod is the way to go, as it will give you some stability without being as restrictive as a tripod. A great compromise!
This is one the top reasons you see sports photographers utilizing a monopod (in addition to the fact that tripods are typically forbidden at sporting events); they can easily move around and keep up with the action.

You can easily increase the effectiveness of a monopod by trying one of the following techniques:
- Add a second point of contact. This could be a wall, a fence, a chair, or just about any other stationary structure.
- Engage in a strategic stance. Place your left foot forward and place the foot of the monopod against your inner right foot, allowing the monopod to lean against the inside of your right leg. This is essentially another method of creating a secondary contact point.
- Form a human tripod. Contrary to what you may see others do — or what you may have done yourself — placing a monopod in a perfectly vertical position isn’t ideal. Instead, use your own two legs (spread about two feet apart) as a starting point, then with the monopod out in front of you, tilt it back toward you as if to form the third leg of your tripod.
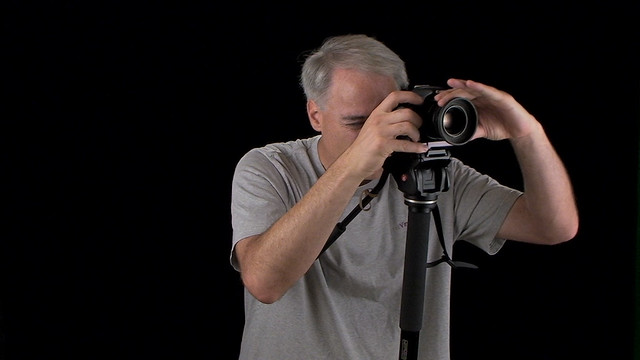
Photo by Dave Dugdale
4. Your Environment
The simplest solution is often the best solution.
Makeshift camera supports are all around you, just waiting to be called into service. Really, any solid object with a flat surface can work as a stabilizer: a tree stump, a stack of bricks, a partially torn down wall, a park bench, I’ve even used one of those orange barrels that dot the streets in the vicinity of construction projects.
The best thing about these kinds of camera supports is that they are just about as useful as any tripod, yet when you’re finished all you have to do is grab your camera and go.
You can leave the “tripod” where it is and it will probably still be there if you need it again in the future!
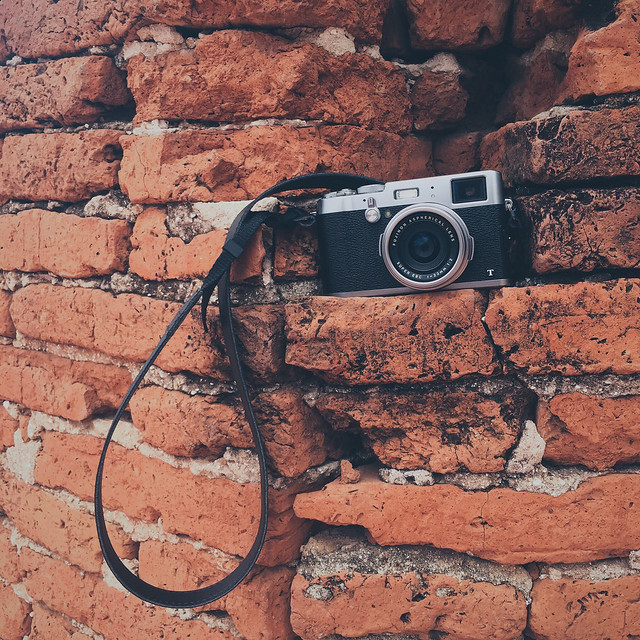
Photo by arolplease
Final Thoughts
Of course, you have many more options than those presented above – these are:
- Bean bags,
- Mini/flexible tripods (that you can affix to trees, fences, bars, etc.),
- Suction cup mounts,
- Clamps,
- Shoulder rigs, etc.

Any one of these may address your specific stabilization needs. What’s outlined here are some of the most commonly used non-tripod camera support solutions.
A tripod is arguably the pinnacle of all camera stabilization apparatuses, yet there are plenty of other options out there that can stand in reasonably well for a tripod minus the weight and bulk.
Depending on your style of photography, there may be only a select few occasions when a tripod is a must; for all those other times when a tripod would be a “maybe,” you can choose from any of the aforementioned options to get the job done without taking up much space in your camera bag.
Further Resources:
- When and How to Use a Monopod Instead of a Tripod
- The Advantages Of A Flexible Tripod And Ball Head For Landscape Photography
- Close-up Nature Photography: Tips on Hand-held vs. Tripod
- Five Ways to Steady Your Camera Without a Tripod
- What Photographers Need to Know Before Buying a Tripod Head
- 7 Things You Really Don’t Need For Street Photography


3 Comments
Camera stabilization. Take a small 1/4 inch bolt (screwed into the camera), connect a long (5 or so feet) strong string and a 1 to 2 inch washer on the other end. Pull up on the camera with your foot on the washer. With the string (pre-)adjusted to your height, you will find that you have a great monopod that folds into a very small and light package!
Hi Bob. Beat me to the punch. Have used this “String Method” on occasions when Tripods or Monopods are not allowed. Churches and/or Museums for example.
I have successfully hand held a camera firmly against something solid, like sitting it on the rail of the hotel balcony and pushing it hard down to the rail AND against the wall at the same time. I have had great results on 30 second exposures and longer for night city shots and Maui night sky shots this way