To be efficient a catalog needs at least two main things. The first is a good organizational structure, meaning items are located in a logical and well thought out place. The second are tools with which to rate and locate items in the catalog.
Photographic catalogs are no different. You need to be able to assign multiple levels of ratings to images, based on what they might be used for. For example, you might want to rate the suitability for stock libraries, whether that image is for commercial or editorial use and whether you have prepared and edited the image or not.
Fortunately, Adobe’s Lightroom brings us a very powerful three-tier rating system that can cover many eventualities. Today we are going to take a look at it.
Three Levels Of Categorisation.
The first and most obvious level is the star rating system. You can set your image to have anywhere between 1 and 5 stars or by default no stars. The second level is the color coding system. This is an under-used and customizable rating system that allows you to set one of five different distinct colors to an image.
Lastly, we have the flag system. This has three settings flagged, un-flagged and rejected. Let’s have a look at each of these three levels in some more detail.
The Star Rating System
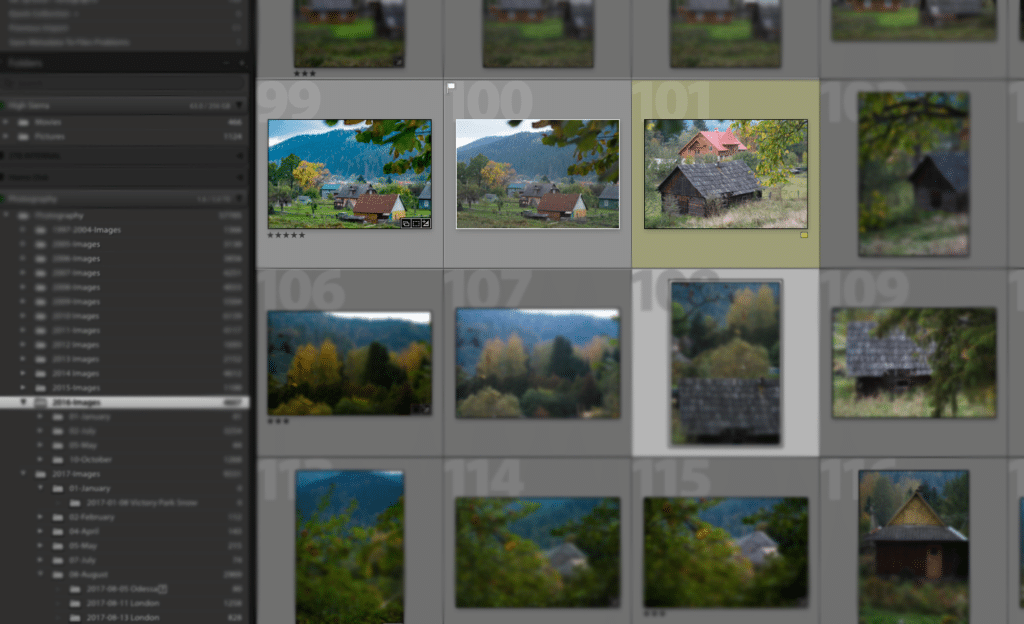
This is a simple yet powerful system to assign a quality rating to your images. For example, you might assign 1 star to average images, 3 stars to images suitable for stock agencies and 5 stars to images worthy of your portfolio. Because we generally see star ratings in any walk of life as a sign of quality, this is probably the best way to use it in Lightroom.
Assigning a star to an image is simple. Select that image, then press either the number pad number 1-5 or the numbers at the top of your keyboard. You will instantly see the stars at the bottom left of the image thumbnail.
To rerate an image you just select a different number and to un-rate an image press the zero key.
The Colour Coding System.
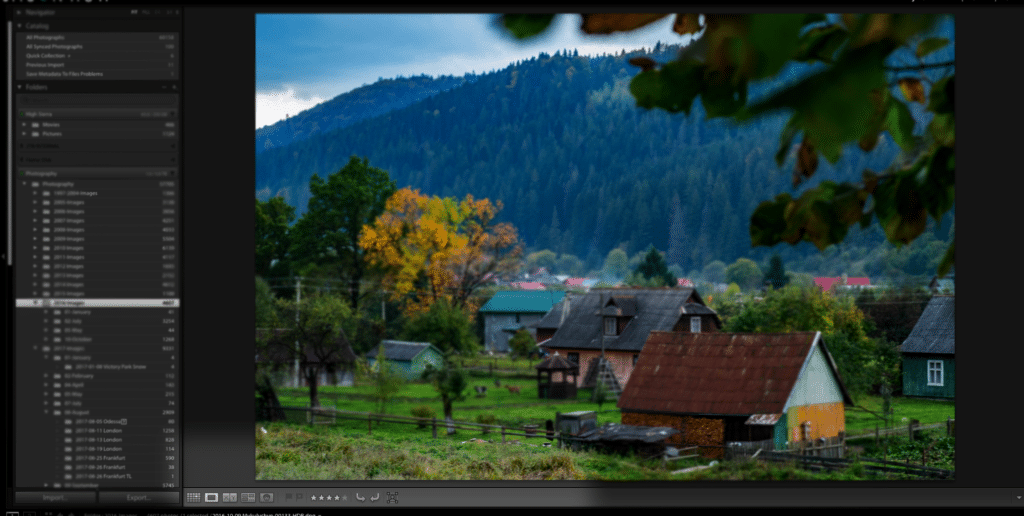
This is a powerful and customizable system that can help you sort your images into different categories. For example, you could use red for wedding photos, green for travel shots and yellow for personal. To set a color rating right click on the image or selection of images. Scroll down to “Set Color Label” and click on the color you wish to use.
Color rating’s power comes from the fact that you can create your own bespoke color sets to suit your photographic needs. By default, Adobe provides Lightroom’s own color set, a simple set of colors and Adobe Bridge’s color rating system. This assigns colors to the words, Select, Second, Approved, Review and To Do.
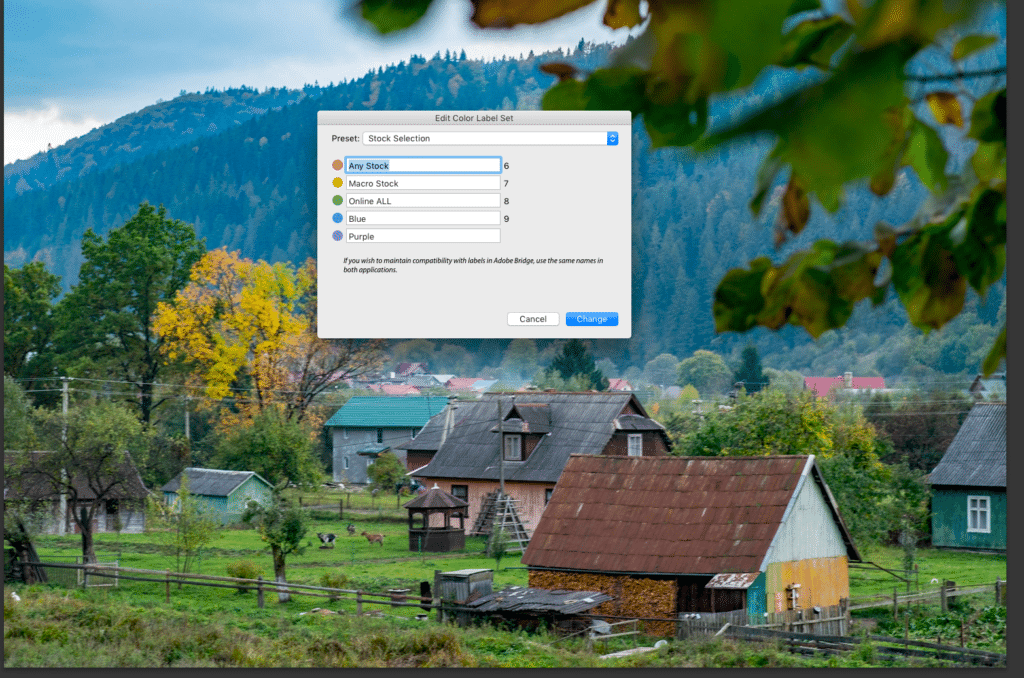
We can, however, set up our own color sets. To do this we go to the Menu and select Metadata – Color Label Set – Edit. A new window will pop up showing the currently selected set. By clicking on the Preset Dropdown we can now edit the color labels and assign new names to them.
We can then save them as our own preset. In my case, I have created a color label set designed for stock photography.
The Flag System.
The simplest of the three ratings system and image can be flagged, un-flagged or rejected. Pressing P will flag or pick an image, whilst CMD/CTRL Down Arrow will un-flag it. Pressing X will select the image as Rejected.
Although a simple rating system the Flag system is useful, for example, determining images that have been edited and are ready for export. Flagging images as rejected can allow you to free up hard drive space when you have completed your editing.
Finding Your Rated Images.
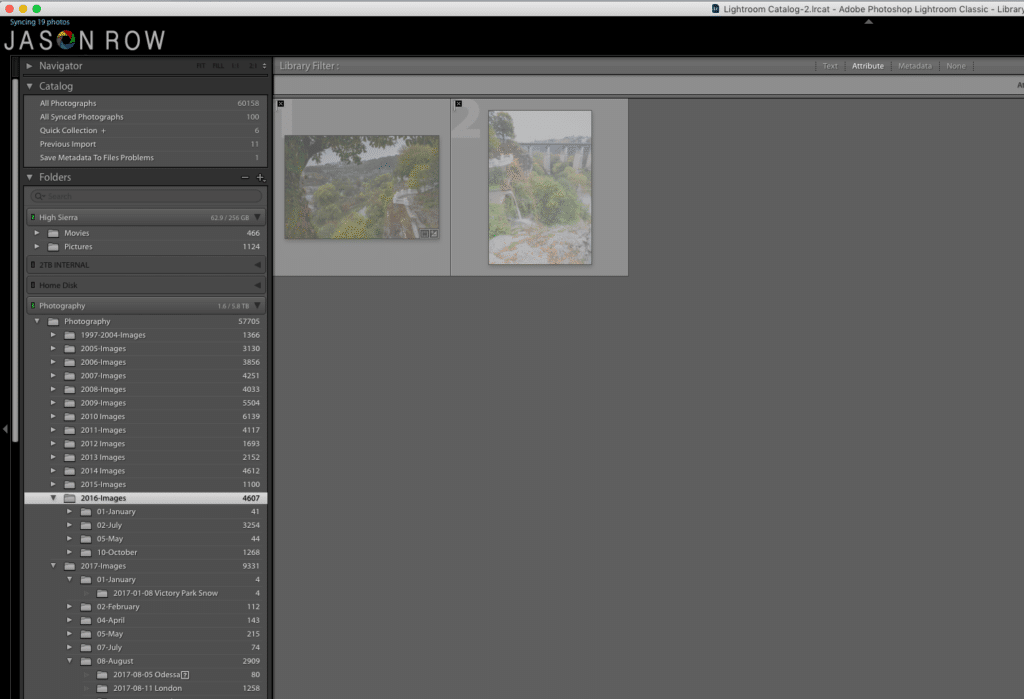
The most powerful way to isolate rated images is by using the Attribute tab in the Library Module. Found in the Library Filter bar at the top of the screen you can set multiple criteria with which to refine your selections.
You can search for flags, colors, star rating, edited or unedited images or any combination of each. For example, I could look for 4 star edited images with a red label. I could do this for any a single album, a selection of albums within a folder or for my entire image collection.
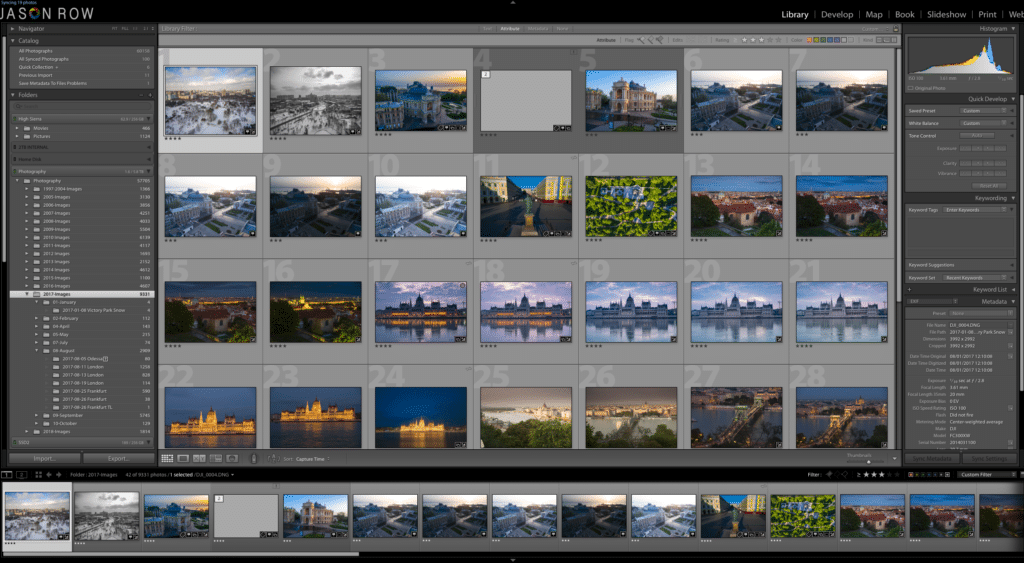

The Lightroom rating system is a very powerful tool for categorizing our images into multiple criteria.
It’s well worth spending some time setting up your ratings workflow. This will allow you to quickly become proficient not only at rating your images but also finding them in a search.
Next time you are in Lightroom, take some time to look at this powerful way to categorize your images.


