We know that a good tripod is the best accessory to stabilise the camera, but there are times when a monopod can replace a tripod for ease of use and convenience. Some photographers may be confused not knowing how to use a monopod and quite hesitant to use one, especially during their early days in photography, but when it comes to sports, events and wildlife photography, monopods can be a great alternative to tripods and can make a huge difference in your photography.
Here are some bite size tips on how and when to use a monopod.
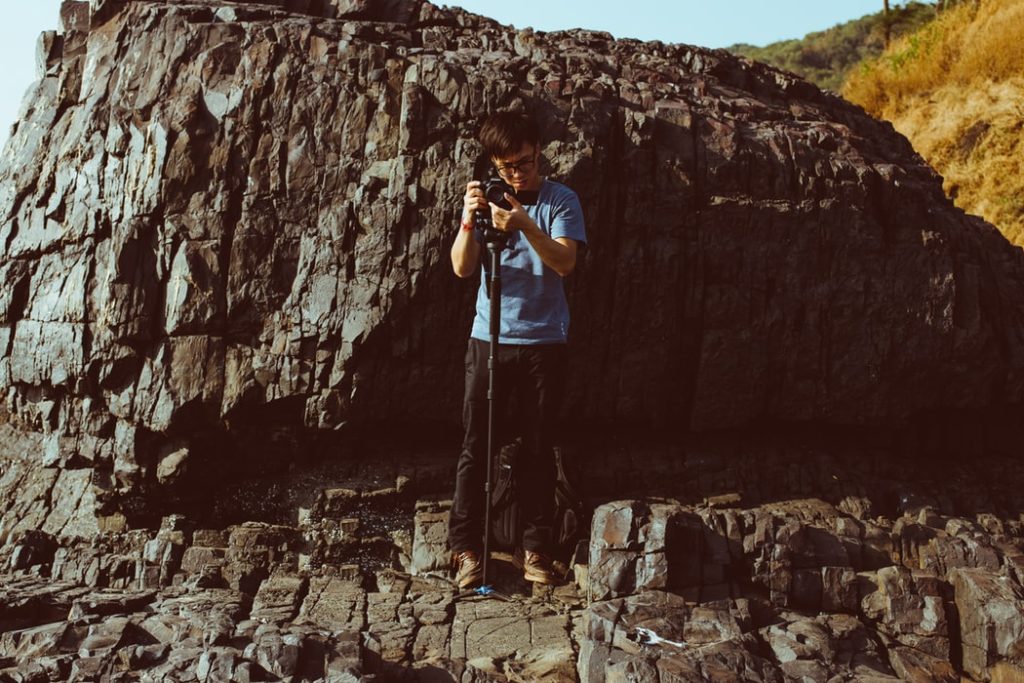
How To Use A Monopod?
Monopods can be used in a few ways depending on your convenience level and purpose. This includes ways to attach the camera to the monopod, ways to position the monopod, ways to hold the monopod and so on. Here are a few practical methods on how to use a monopod.
1. How To Attach The Camera To The Monopod:
The camera can be attached to the monopod in two ways depending on what type of lens you are using.
- If you are using a smaller lens that isn’t heavy, you can screw the monopod directly to the camera body.
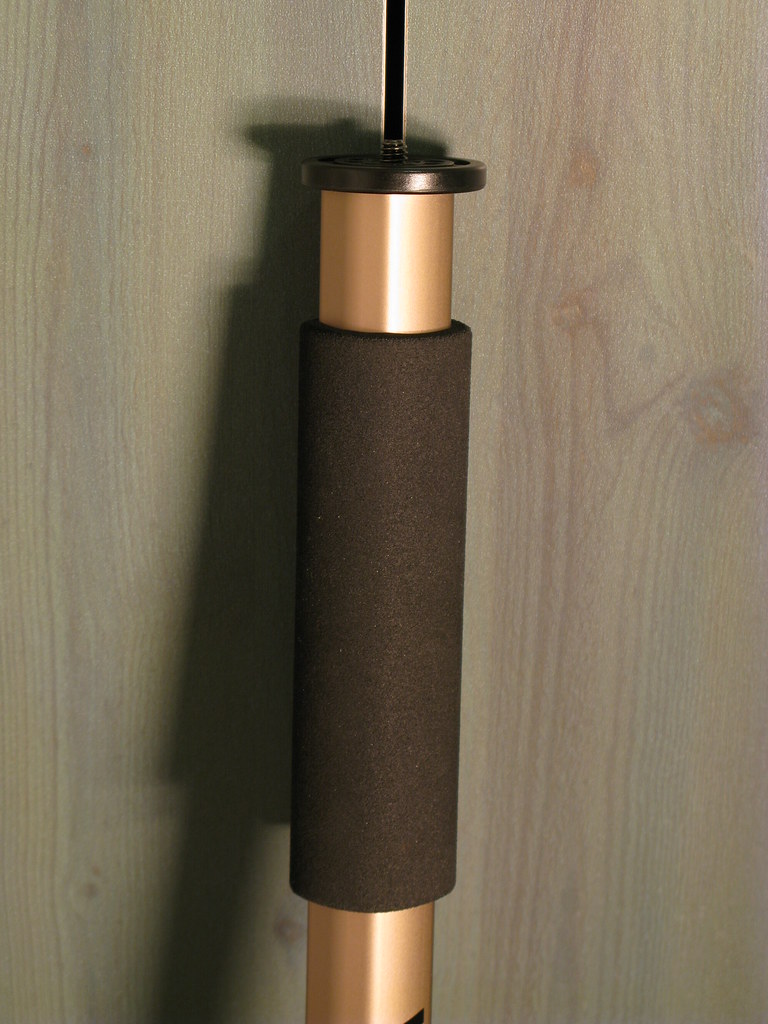
- You can use a ball head in situations when the monopod is slanting and you want to straighten the camera.
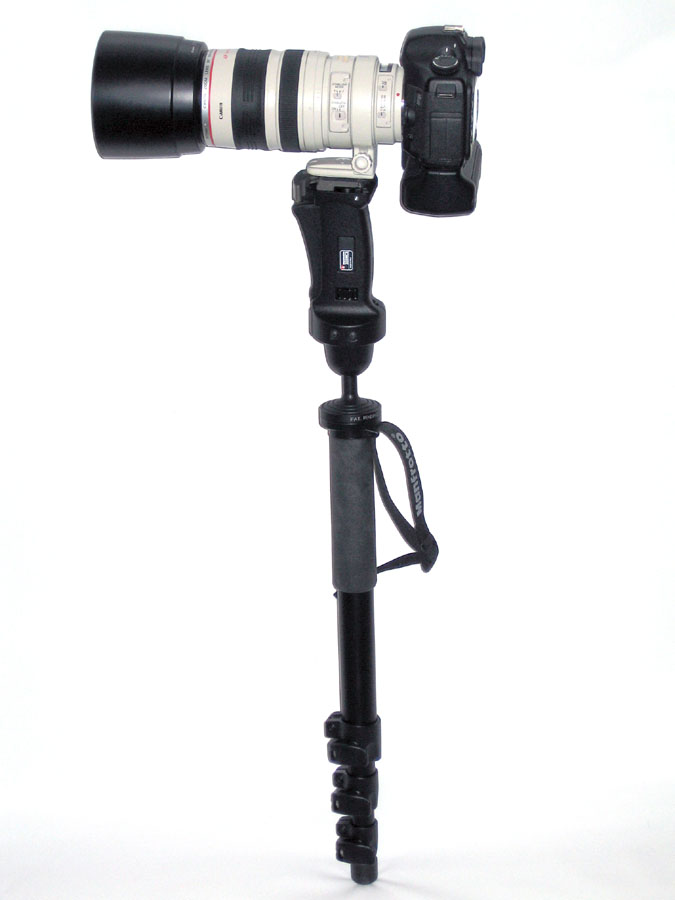
- If you are using a heavy telephoto lens, then it is better to use a tripod mount ring also called a lens collar, that attaches the monopod to the lens rather than the camera, so you get a better balance. This also removes the strain from the lens mount.
2. How To Position The Monopod?
There are a few ways in which you can position the monopod and again, this depends on how you want to use your monopod and what you feel comfortable with. You can try all the methods below and stick to the one that you feel is comfortable. Basically, by doing the below, we are turning the single legged monopod into a tripod.
- The most common way to use the monopod is to stand with the feet spread at a comfortable width (usually shoulder width up to about 2 feet) and putting the monopod in front of you, but, centred between the legs forming a triangle with the feet. This way, you have a tripod, where one leg is the monopod’s and two the photographer’s. This works well on ground and grassy surfaces but may slip on hard surfaces.
- Another method to use the monopod is to stand with feet spread approximately shoulder width, then putting one foot forward (for example the left foot) by a foot or a bit more and turning the other foot (for example the right foot) by an angle. Now place the end of the monopod touching the inside of the right foot (in this example) to prevent the monopod from slipping. You will have to make adjustments to the feet and/or monopod so that the monopod is almost vertical and if required, rests against the inside of your left thigh for sturdiness. This works for hard surfaces.
- The third method to use the monopod is to stand with the feet spread at a comfortable width (usually shoulder width up to about 2 feet) and have the base of the monopod a few inches behind one of the heels. If you have it behind the left heel, then when shooting, push the monopod to the left so it rests on your left inner thigh for sturdiness. If required, you can slightly move this foot to the front for better stability.
- In some situations, you can even use a fence, a fork in a tree (the point where branches split), a chair, a building or anything similar to support your monopod so as to reduce any camera movements that can cause blurry photographs.
- Lean back against a wall, a rock or anything sturdy if possible, while using the monopod to get sharp shots.
All the above methods are some of the ways in which you can position your monopod, but the ease of use and convenience depends and varies with individuals – so use the one that suits your style and needs. Also, adapt or position the monopod in ways that you will feel comfortable using, so as to avoid blur due to camera shake.
Note: For all the above methods, use the wrist strap on the monopod and hold the padded area of the monopod through the wrist strap to anchor your grip and thereby increase the stability of the monopod.
3. How To Hold The Monopod?
If you are unsure about how to hold the monopod, hold it using one hand in the padded area which is just below the point where you attach your camera and use the other hand to hold your camera as usual while tucking your elbows to your body for a sturdier shooting position. When photographing, push the monopod with a moderate force towards the ground to increase stability so you can avoid blur due to camera shake.
When To Use A Monopod?
Monopods are used in situations where it is not practical or convenient to use a tripod and you need some sort of stabilisation for the photographs you are taking. Here are some scenarios where a monopod will come in handy.
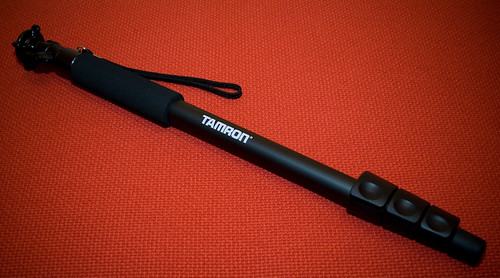
- In situations where you need to move around quickly, for example, sports or wildlife photography, or if you are shooting outdoors in a crowded area, then monopods are the best for stability to avoid blurry images due to camera shake as using tripods in these situations can be inefficient and slow you down.
- Monopods can be used in situations when you have to hold heavy gear for a longer period of time. For example, when working with huge telephoto lenses, hand holding them can be tiring on the arms and lead to blurry photographs as well. This is mostly useful for wildlife and sports photographers who shoot for hours using huge lenses. Some wedding photographers use monopods too!
- Monopod can also be used when you are in the middle of a crowd, for example, shooting festivals and events and you want to hold your camera above your head for the shot. Use a monopod to lift the camera above and use a remote trigger to release the shutter.
- Monopods are great for travel photography because instead of lugging around a tripod, you can carry a monopod to steady your shots and avoid tiring long days of handholding your camera or carrying your tripod. They are also faster to set up and shoot when you are travelling with a busy itinerary.
- Monopods are a replacement for tripods only when you shoot faster exposures like events, wildlife, sports, etc. Do not use it for long exposure photography. A minimum shutter speed of at least 1/(focal length of the lens) is advisable here taking into account the crop factor if you are not using a full frame camera.
Do you use a monopod? If yes, please share any tips you may have on how and when to use a monopod.
Further Resources:
- Should I Use a Monopod or Tripod?
- Camera Stabilization Options and Why You Might Want to Use a Monopod
- When and How to Use a Monopod Instead of a Tripod
- What is a Monopod and When Should I Use One?
- Tripod versus Monopod – a Comparison and When to Use Each
Shareable Images for Pinterest
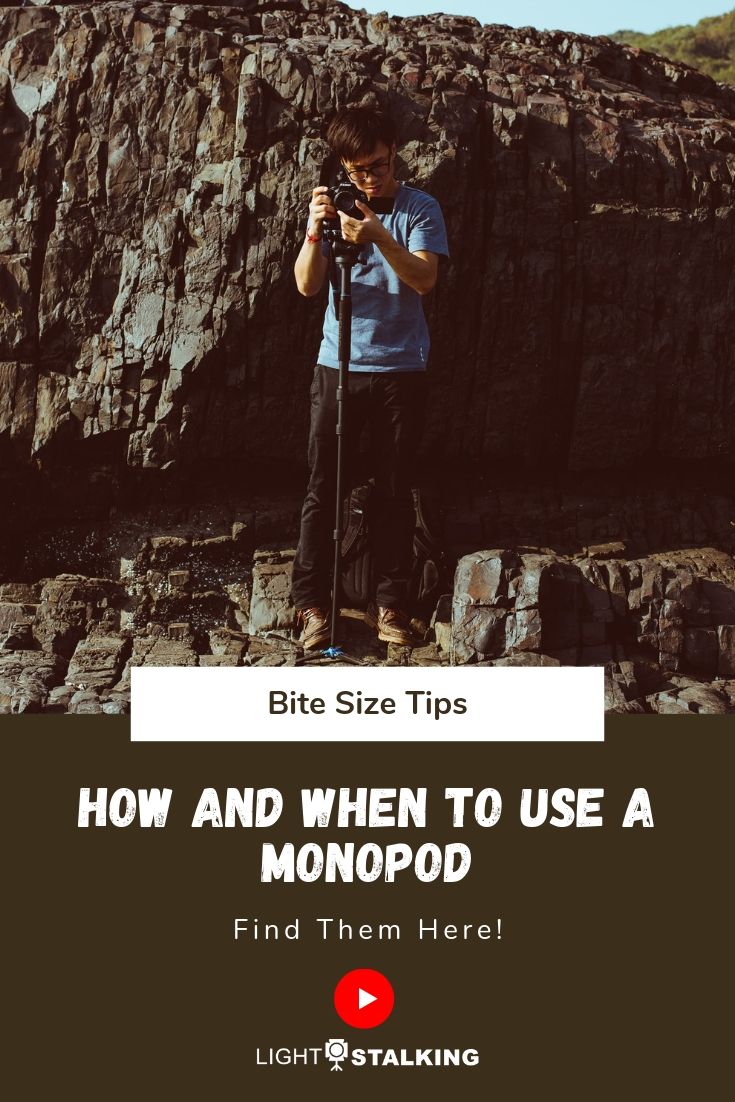
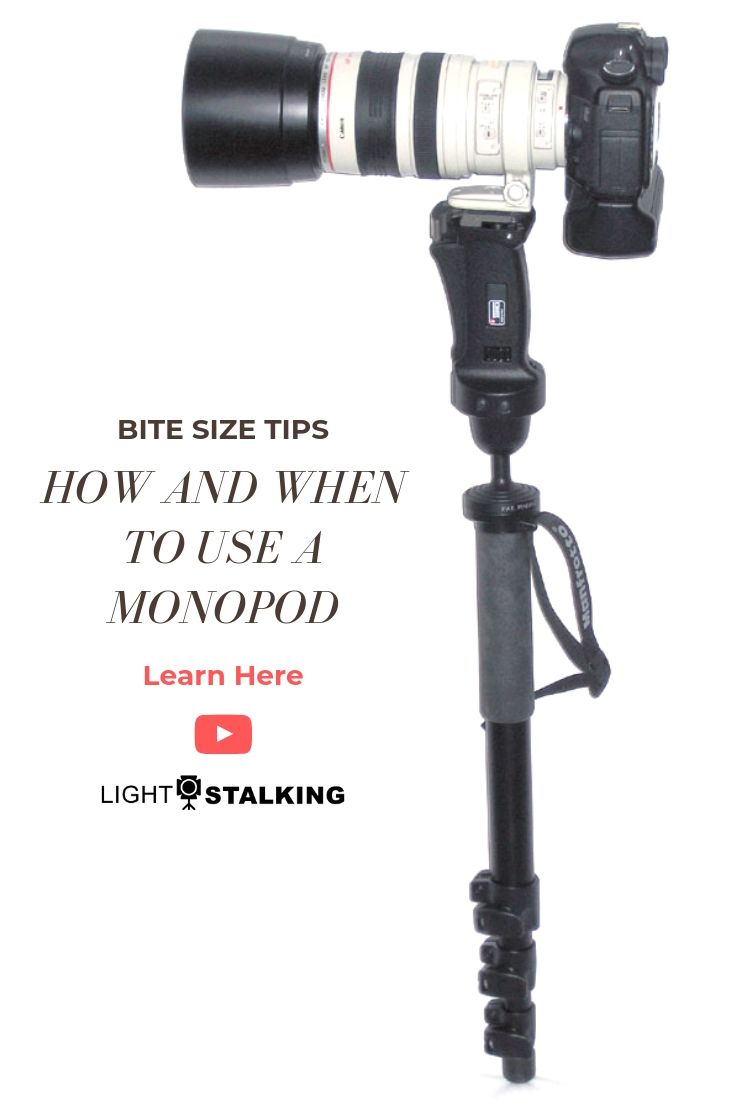
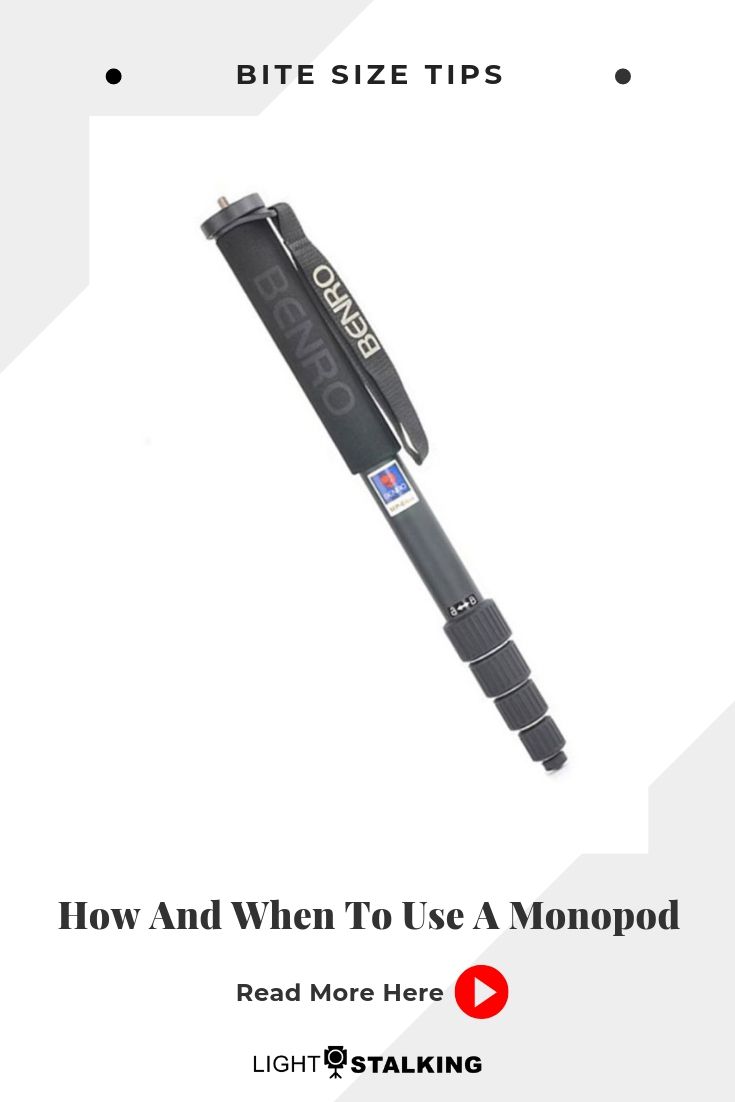
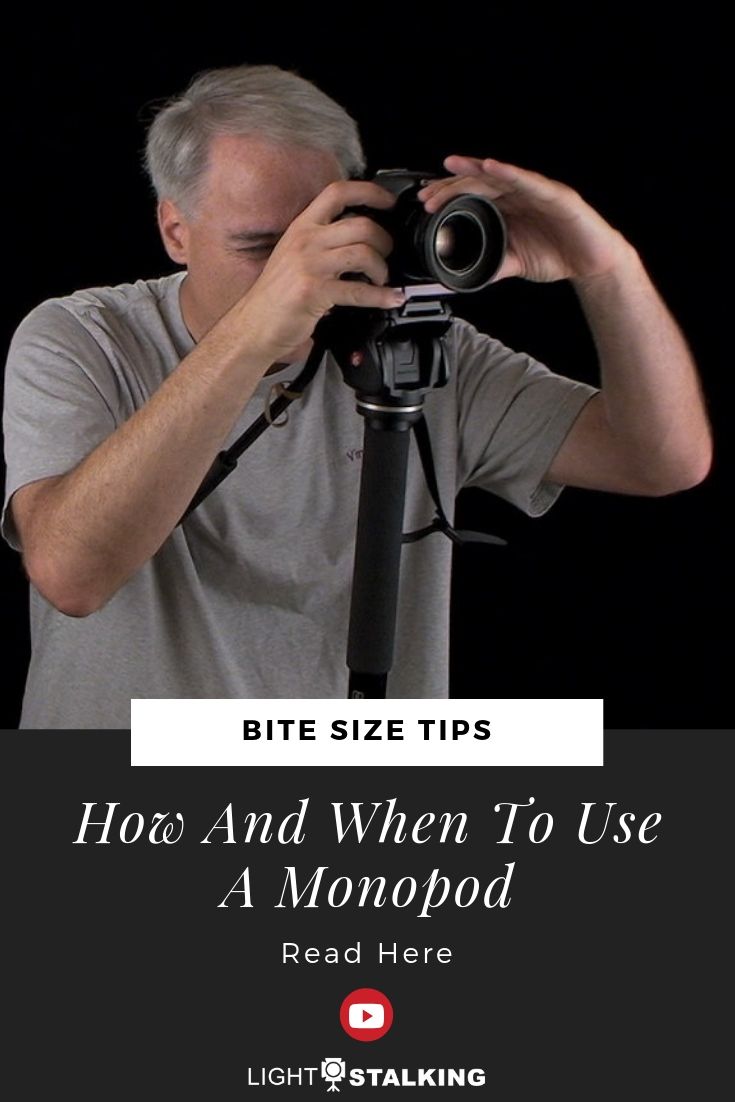


2 Comments
Thanks for writing this article Dahlia. Great tips on various ways to steady a monopod. I’ll be trying them all. My tripod breaks down to a monopod and I was using it as such just the other day in the yard.
Was using a 100mm Macro lens shooting flowers and various insects. The problem I had with just handholding was trying to keep the focal plane from changing. With true macro shots I’ll use a tripod. But this time out I was just going for “close ups.” But using a wide aperture to isolate subject from background leaves you with a shallow DOF. Doesn’t take much movement for the subject to become out of focus. The monopod helped me a lot in reducing that movement.
Now that I’m nearing my golden years I’ve found it more difficult to hold the camera steady. I believe I see me using a monopod more often in my future. 🙂
Hi Dave, thank you for reading and sharing your experience 🙂