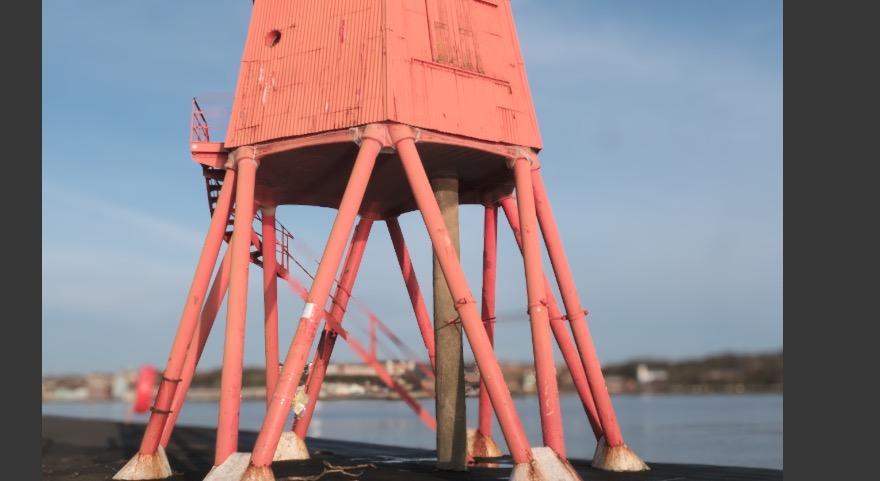
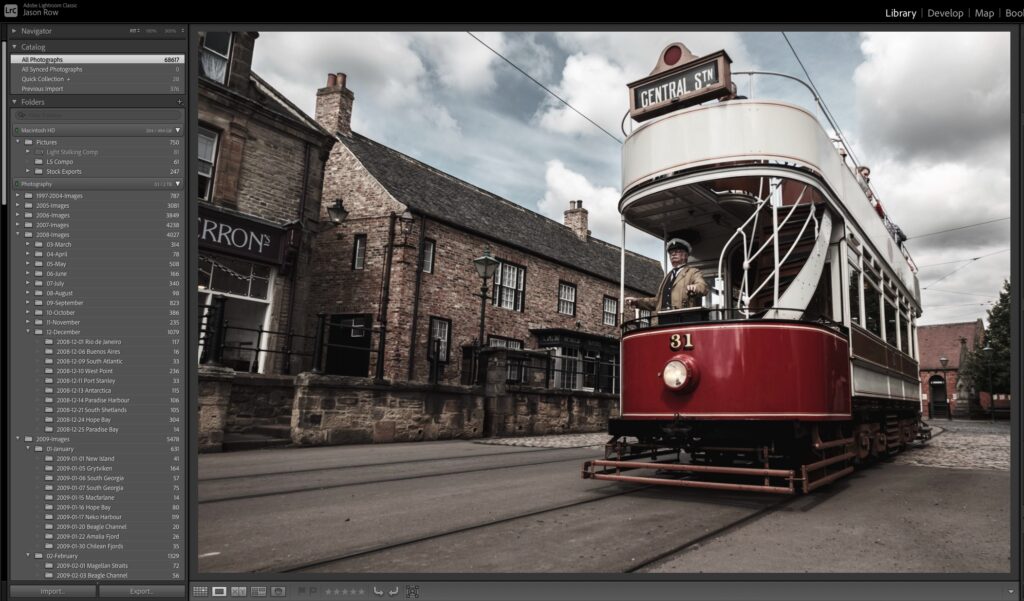
For some, perspective control or PC lenses are a necessity. For many of us, however, they are an expensive luxury that we can ill afford. PC lenses allow us to correct things like converging parallels. These are most often seen when pointing a camera up or down at parallel lines such as the outer walls of a building.
Fortunately, for those of us who do not own a PC lens, there is, as is often the case, a way to correct in post-production using Lightroom CC Classic.
It is named Transform and is found towards the bottom of the editing tools in the Develop Module. Transform is a very powerful tool that actually does quite a bit more than parallel correction, however, it should also be noted that as this is digital manipulation it is not going to be quite as accurate as getting it right in camera.
First, Lens Corrections.
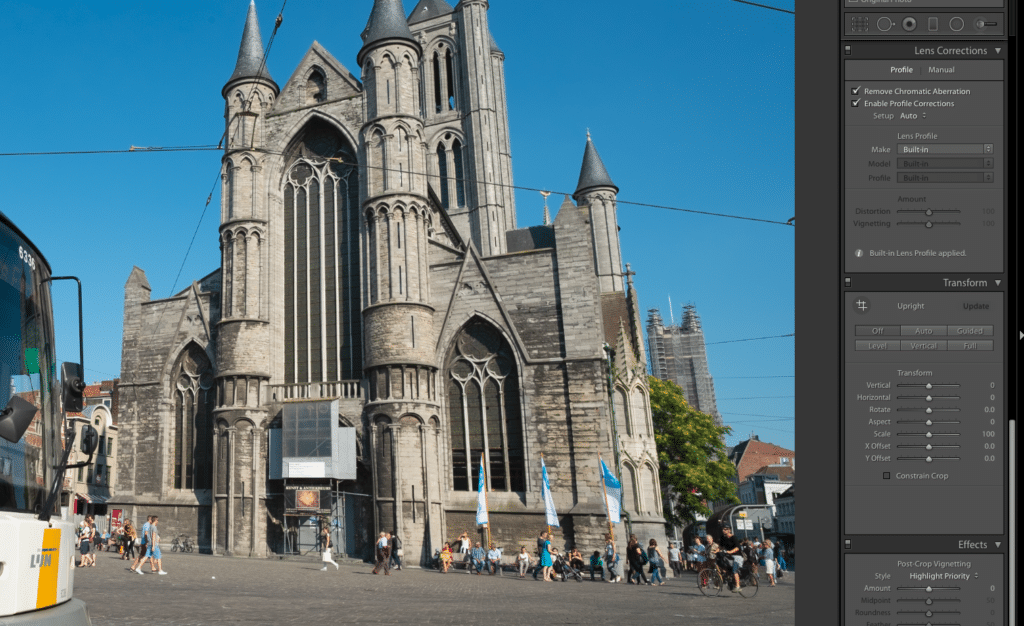
Before we get to the Transform tools we should apply Lens Corrections. Found just above the Transform tool, this corrects our images for the slight and varied distortions that every lens has. Some cameras now have built-in profiles that will correct automatically but many do not.
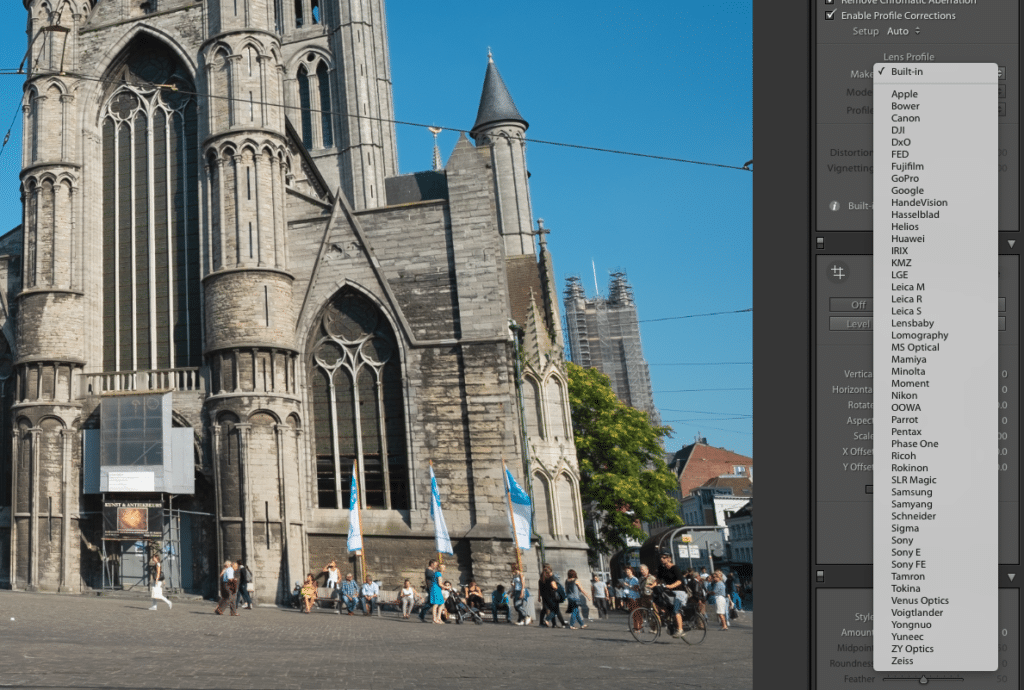
To apply a suitable correction check Enable Profile Corrections. Then click the Make dropdown and select your camera manufacturer. Then the lens Model from the next box and finally the Profile. Profiles for most lenses will be set to default but if not select the right profile for your lens. As you do this you should see a change in your image as Lightroom corrects distortion.
Correcting An Image With Transform.
Now on to the main feature, the Transform controls. We are going to correct this image of a tram and church in Ghent Belgium. It has a classic converging parallels issue and a wonky horizon to boot.
As with most things Lightroom, there are several ways to achieve the same result. In this case, we have the Guided Upright tool, the automatic tools, and the manual transform tools.
Guided Uprights.
This is a relatively new semi-automatic way to correct converging parallels. It is found by clicking the crossed line icon on the top left of the Transform tab. When you do so a square loupe opens.
In our image, we are attempting to correct the converging parallels of the church walls. We place the crosshair of the loupe against one outer wall of the church and draw a line down that wall. we repeat this for the opposite outer wall.
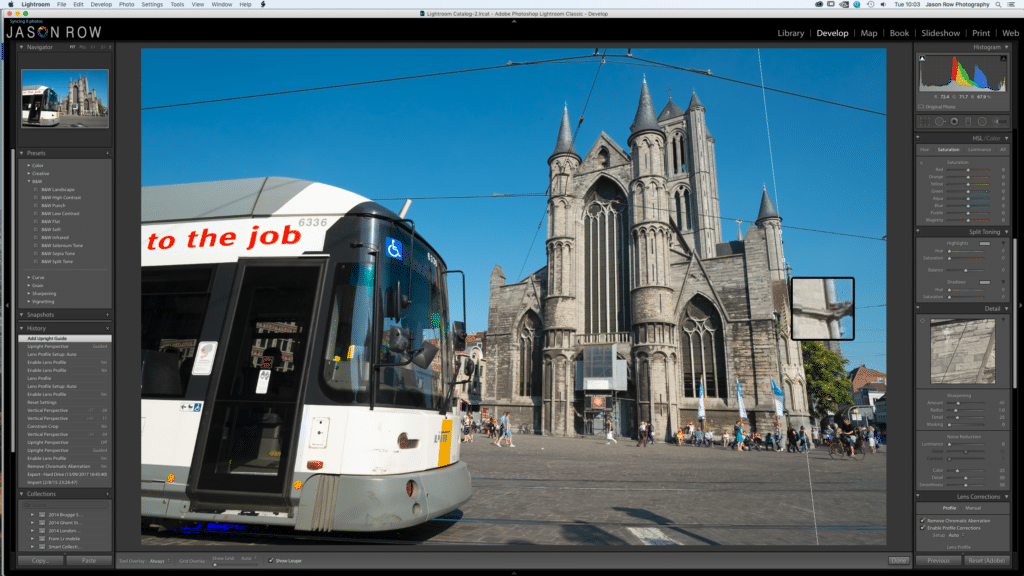
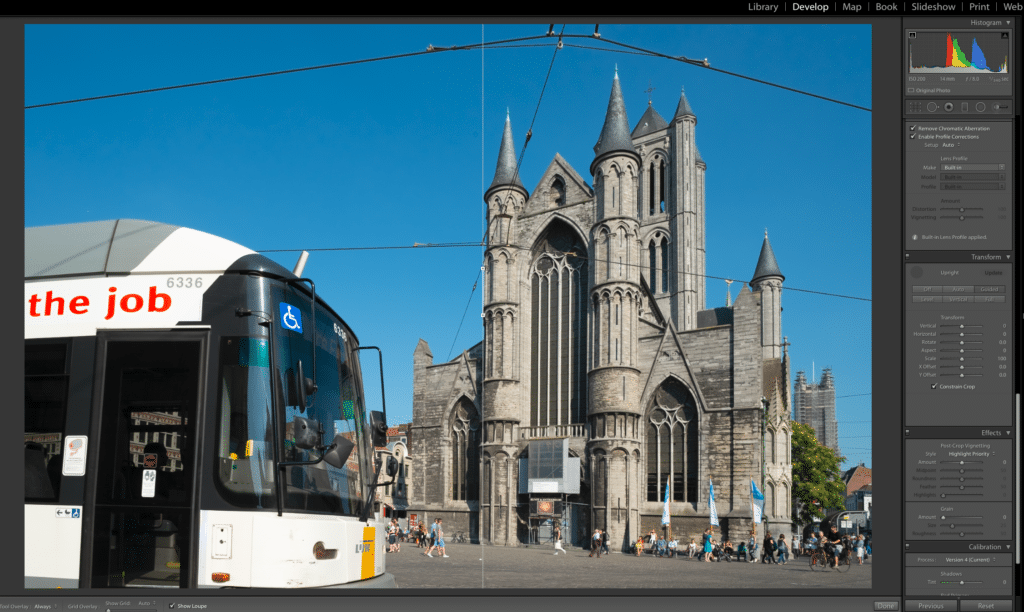
As soon as you release the mouse button the image will correct. In this case, you can see there is now a white border around the image and the church looks a little compressed horizontally. We can get rid of the white border by checking the Constrain Crop box at the bottom. Guided Uprights works best on images that have plenty of space around the subject and in this case, the end result has been less than ideal. Let’s look at the alternatives.
The Auto Controls
There are five tabs that we can use here and an Off tab to reset the image. Auto corrects issues in both the vertical and horizontal planes and attempts to correct the aspect ratio as well. As can be seen below, it has done a slightly better job than the Guided Upright tool on this image. Guided is an alternative way to engage the Guided upright tool.
Level will correct the image only in the horizontal plane, ideal for wonky horizons, vertical does the same for the vertical plane. Full will correct in the horizontal and vertical planes without correcting the aspect ratio, giving you a squeezed look.
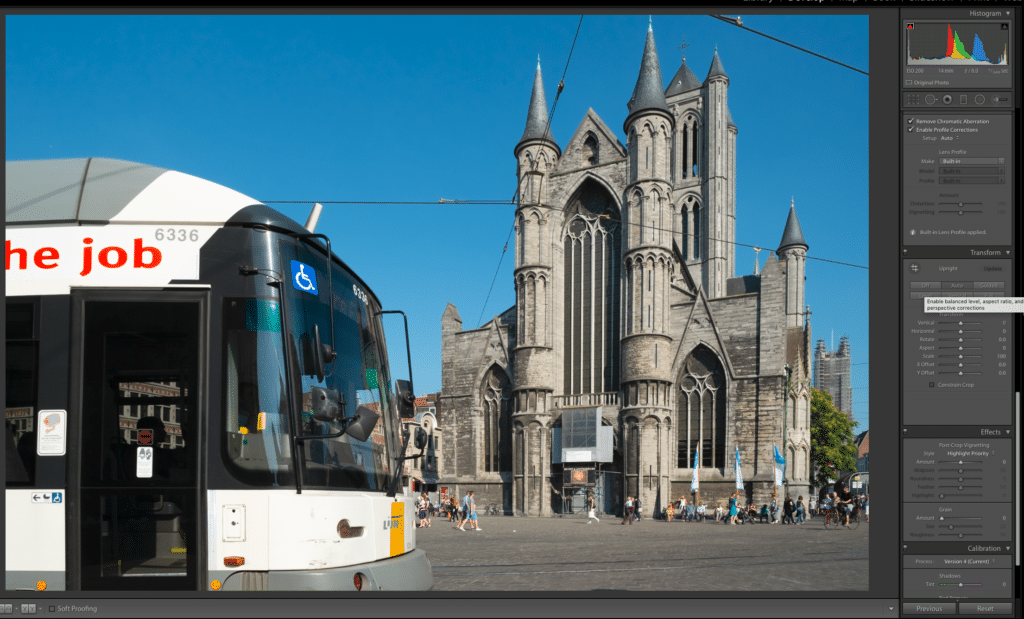
Going Manual
All transform corrections in post-production are going to be a compromise. In the case of our image, because we have little space around the church it will be best to use the manual controls to get the best result. To reset our image I have select Off from the tabs at the top.
Now I will correct the vertical plane using the vertical slider. As I do so a grid appears to help me align the image. I have concentrated on getting the right side of the church straight by moving the vertical slider left to -20. This still allows a little space around the image while giving a decent correction to the parallels.
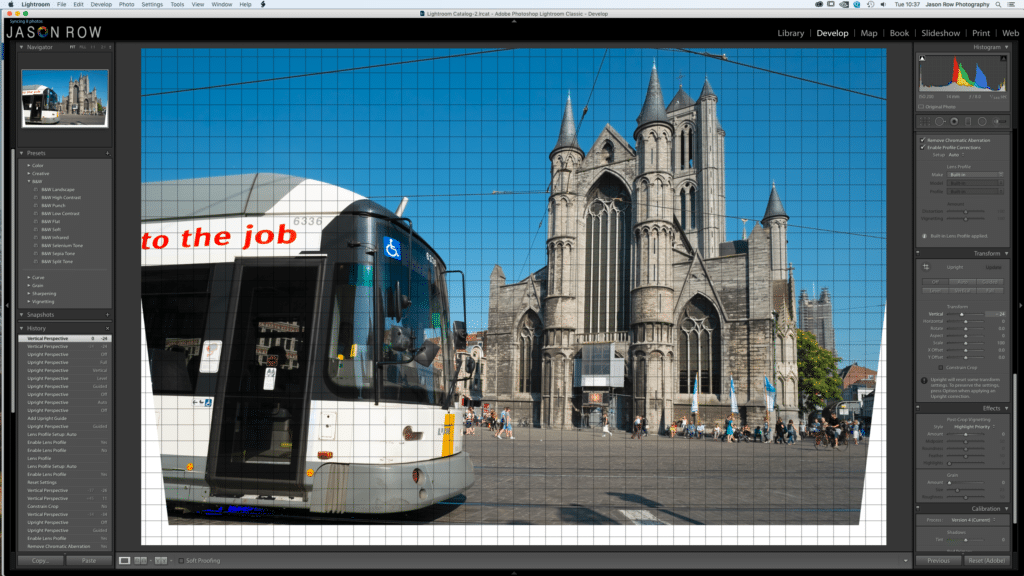
Next, I use the Aspect tool to slightly widen the church to a more natural look. After that, I use the rotate tool to correct the slightly wonky horizon. This now requires me to make a further correction to the vertical plane. As the subject is quite tight in the frame its a matter of experiment and compromise to get the best solution.
Once happy the last thing we do is to crop manually. This is done by selecting the crop tool just under the histogram at the top of the Develop module. This allows us to manually control the way we crop the image.
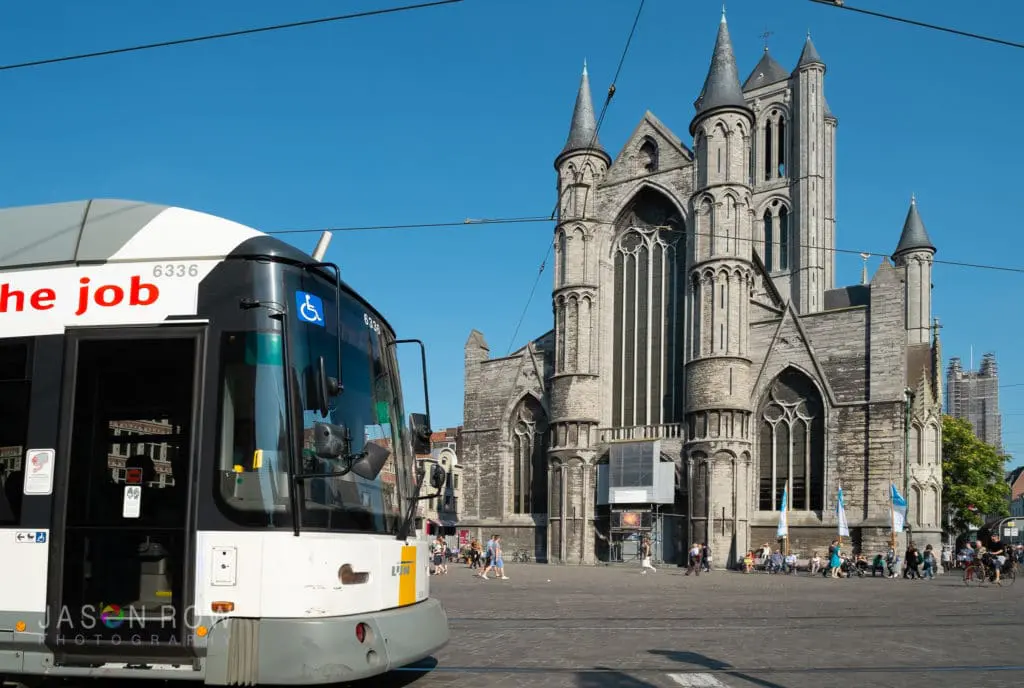
Lightroom CC Classic’s Transform controls are extremely powerful and can give you good results even with tightly cropped images. The key is the try the different ways detailed above. For subjects with plenty of space, the Guided Upright or Auto controls should give a good result. If your subject is a little tighter cropped, using the manual controls will yield a better result.

