Vignettes are a photographic anomaly. They are a technical defect that we sometimes want to embrace creatively. However, it can also be a technical defect that we try to avoid.
Confusing isn’t it?
In this article we are going delve a little deeper into the shady corners of vignetting. We will look at what it is, why it happens and more importantly whether you should avoid it or embrace it.
What Is A Vignette?
In its most simple photographic form, vignetting is the fall of of light towards the outer edges of the image frame.
It will first manifest itself as a slight graduated darkening at the corners of the image. In more severe forms, that darkening will start to infringe on the left and right edges of the frame. In the worst case scenario it can also start clipping the upper and lower frame edges. This can make an image look almost as if you are looking at the light at the end of a tunnel.
So what causes vignetting?

What Causes Vignetting?
As photographers the there are two primary causes of vignetting. The first is optical deficiencies in the lens that we are using. The second is lack of care when attaching accessories to our lenses.
Let’s look at optical deficiencies first.
To state the obvious, a lens is a tube full of optical elements designed to focus light on the camera’s sensor.
Cheaper lenses tend to use less elements and of lower optical quality. This often means that light entering from the outer extremities of the lens does not fully reach the sensor. In turn this gives a slightly darker edge compared to the centre.

It’s not just cheaper lenses that suffer. More expensive lenses with wide apertures can also be prone to vignetting, especially when used at maximum aperture.
Lens accessories as a cause of vignettes.
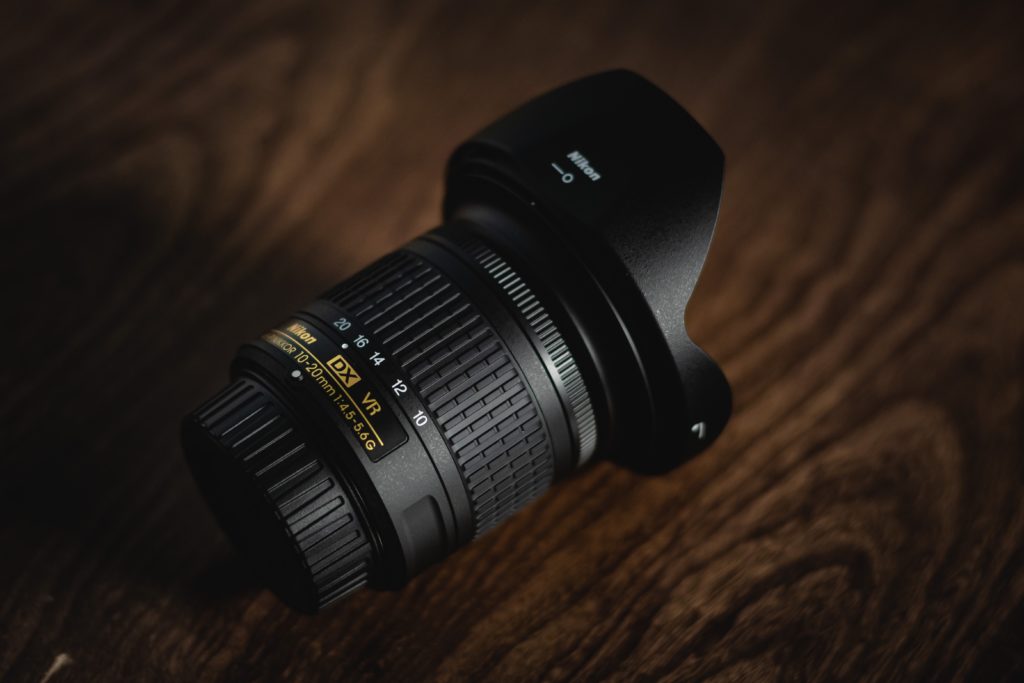
The second main cause of vignetting is when we stack filters or other accessories such as lens hoods on the front of our lens. Most lenses, even budget ones will be ok with one filter on the front element.
However, if you start to stack filters, for example a polariser on top of a UV filter, you may start to get vignetting. This is more likely to occur on wide angle lenses but can occur on any lens in the right conditions.
Poor quality third party lens hoods can also cause vignetting.
A slightly lesser know cause of vignetting in digital cameras is pixel vignetting. Individual photocells are optimised for light hitting them at an almost perpendicular angle. If that angle is exceeded it can cause light fall off. Modern camera’s counter this with micro lenses and software correction. We will look at software corrections a little later.

How To Avoid Vignetting
Vignettes can cause our images to have a type of tunnel vision. It can quite easily detract the viewer from the overall composition. This is especially true if there are important elements to the composition in the outer edges of the frame.
Vignetting is not always consciously visible, sometimes it is so subtle yet it can still subconsciously trigger something in the viewer’s mind. It can draw and focus the viewers eye directly towards the centre of the image. This is not always something we wish to do.
Avoiding it requires recognising the potential of it occurring. That can be difficult to judge when using your camera’s LCD screen. Where possible stop down your aperture to 1 or 2 stops below maximum, especially when using a wide angle.
Avoid stacking filters. You may get away with two filters stacked on a standard to telephoto lens but on wide angles, you are greatly increasing the chances of it occurring. Make sure your lens hoods are the right ones for the lens. It can be easy to mix up lens hoods if you have a lot of lenses from the same manufacturer.

Avoiding Vignettes in Software
Another way we can avoid, or rather improve vignetting is in software.
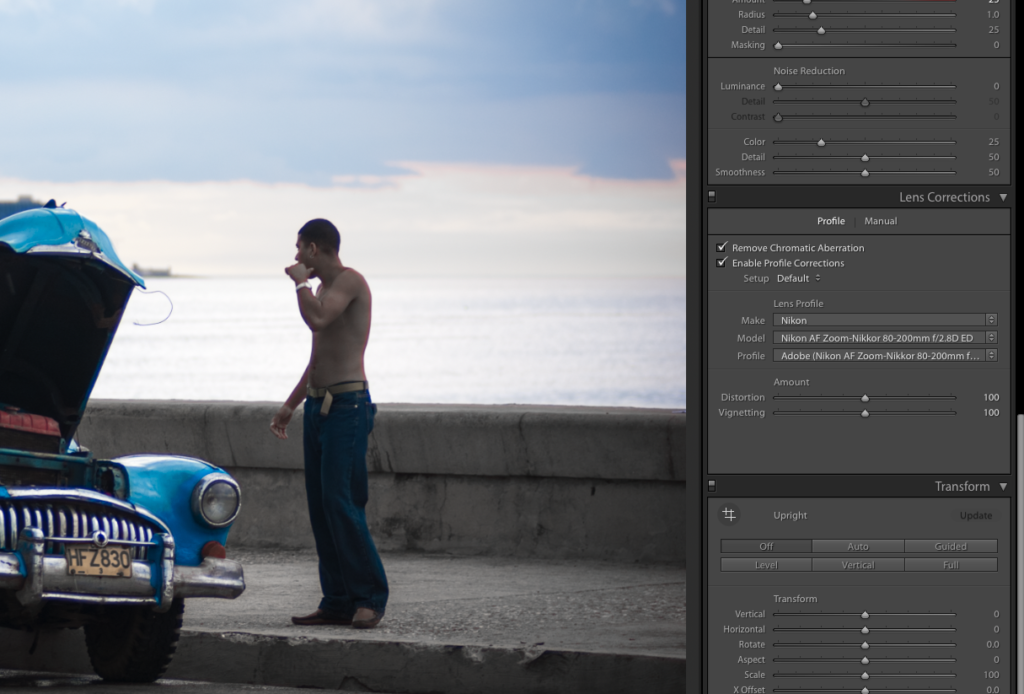
Most modern editing applications now have lens correction tools. Many camera manufacturers have measured both lens vignetting of their optics and pixel vignetting of their sensors.
They then write this information into the image file be it raw or JPEG. Applications like Lightroom and Photoshop can read this information and apply it to the edited file to correct issues such as vignetting and chromatic aberration. Be aware though, this is not usually on by default, you have to remember to add the correction when post-producing your images.

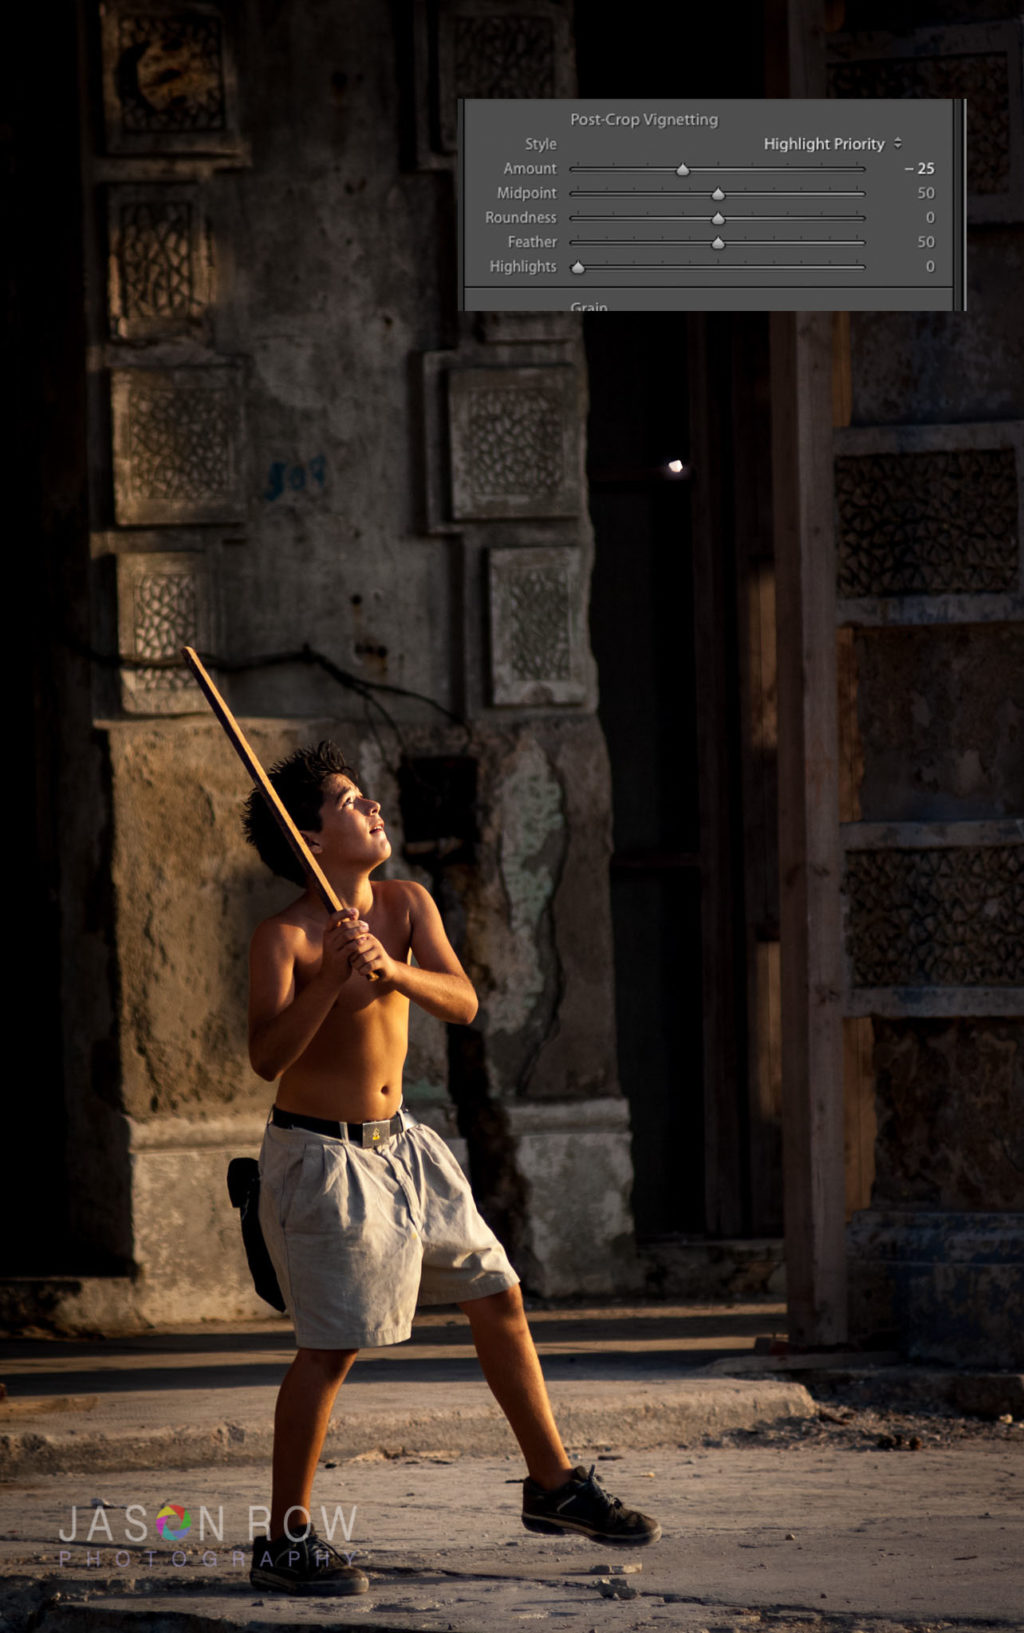
Beyond the lens correction tool, most apps also have a vignette correction tool. This will allow you to manually correct lens fall off. Of course it can work in reverse, but why would you want to do that?
When To Embrace Vignetting
Whilst vignetting may be seen as a technical defect, it can also be used as a compositional aid. The very darkening of the image edges that we seek to avoid, can also draw the eye towards our subject.
Of course our subjects are, very often, not placed dead centre of an image. For this reason a physical, lens based vignette, may not be suitable. However, just as we can remove a vignette in post production, so we can add one also to an image. The advantage however, is that we can define where the centre of the vignette will be, how strong the vignette is and even the gradient of the fall off.

As we mentioned earlier, even a very subtle vignette can have a subconscious effect on the viewer of an image. As photographers we can use the vignette tools in apps such as Photoshop and Lightroom to cleverly draw attention to a specific element of our composition. Done subtly it can be an immensely powerful visual effect.
Overdone however, it can be painfully obvious, giving the image a tunnel like effect. The key to creating a good vignette in post production is to use the sliders sparingly and to check, then recheck the visual strength of the vignette.
Vignettes are a fact of photographic life. How we deal with them is very much down to the look we are trying to achieve and the light we are shooting in. In many cases, we may well want to avoid an obvious vignetting in a shot, in others we may well seek to embrace it.
Let us know in the comments below your favourite way to embrace a vignette.


