When you get into zoom burst photography, it opens up a new creative tool that can be used for some wonderful shots. By using your zoom lens to zoom in and out during a shot, you create an effect that gives you a lot of new artistic options.
This is a type of long exposure photography and uses a lot of the same skills as light painting. Zoom burst photography is easy, but like all photographic techniques, it takes a bit of time and practice to master.
What Is Zoom Burst Photography?
The basics of zoom burst photography are very straightforward. Just imagine it this way – any element that moves when the shutter is open will blur if your shutter speed was not fast enough to freeze action. In a similar fashion, if your camera or lens moves when the subject is stationary, it causes blur effects that depend on the type of movements.
Zoom burst is blur created by zooming the lens (changing the focal length of the lens continuously during exposure from one value to another) when the shutter is open and these lines can act as leading lines to direct the viewer to the subject in focus.
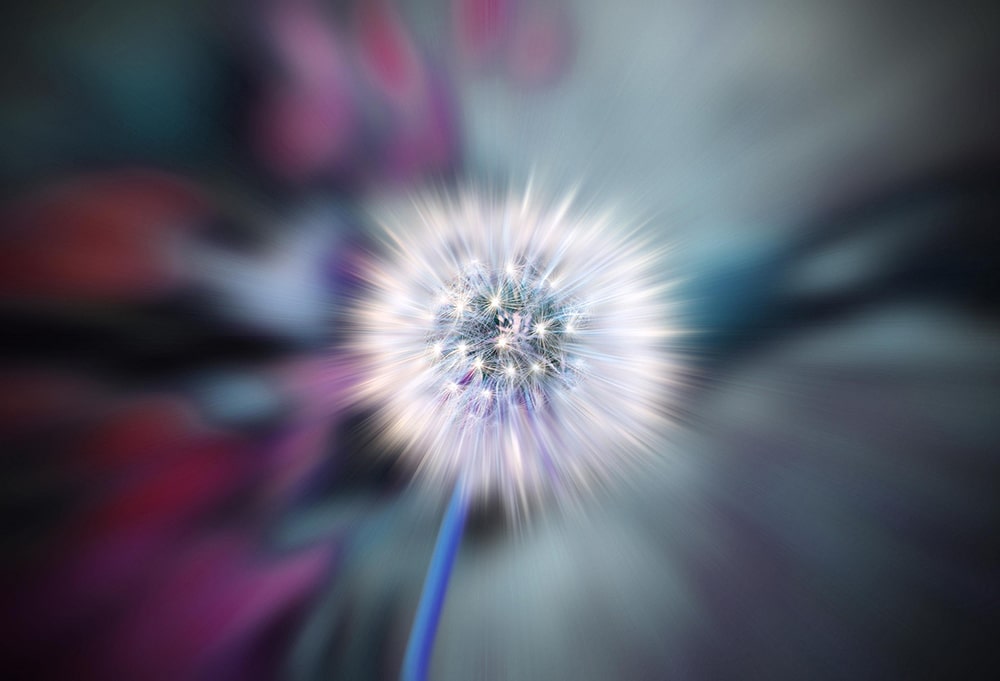
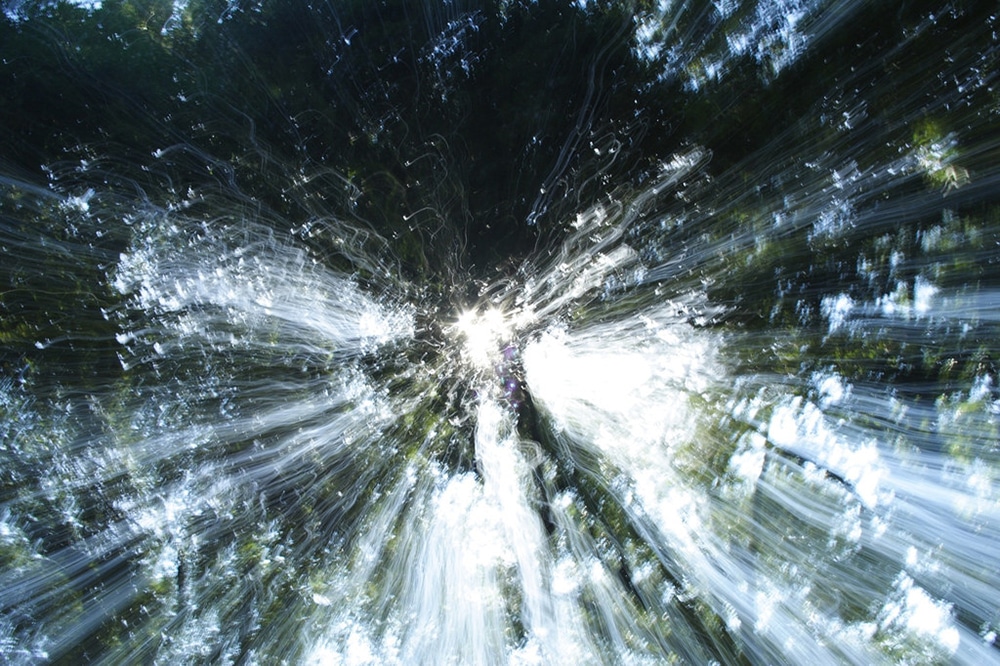
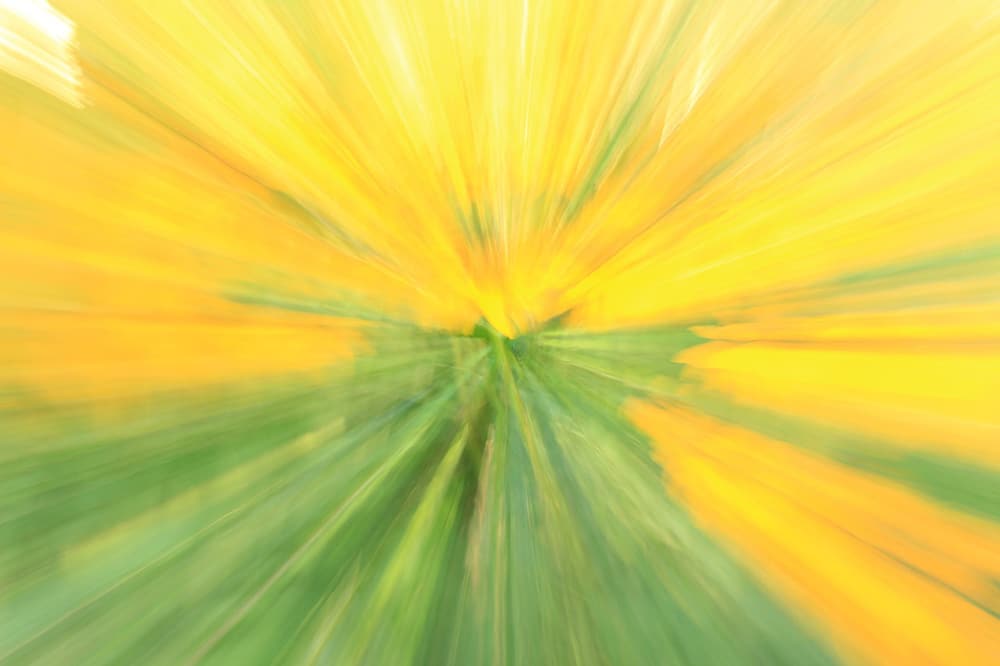
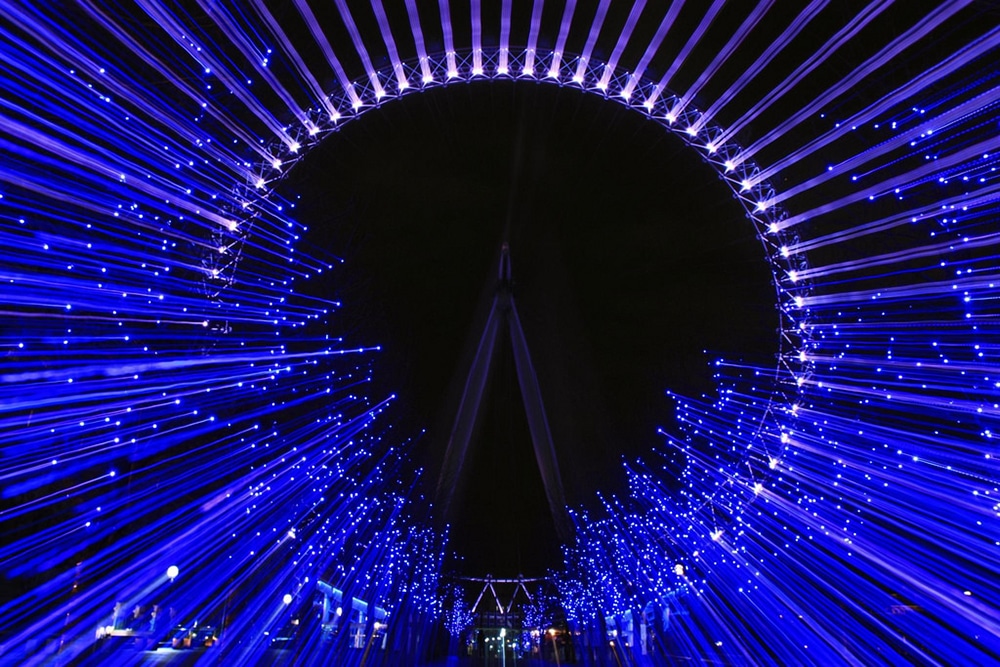
If you are wondering what zoom burst photographs look like, they are characterized by blurry streaks that seem to emanate from the center of the photograph making the viewer get a feeling that they are traveling into the frame.
This technique can also be achieved in post-processing, using applications like Adobe Photoshop, but in this article, we will focus on how to achieve this effect using a camera.
What Do You Need To Get Started With Zoom Burst Photography?
Location:
- If you are shooting during the day, symmetrical structures are great, think about places where there are interesting colors and textures, also, the center of bridges can make for compelling locations.
- You can also shoot zoom burst in pine forests or any wilderness where you have a symmetrical array of trees or a huge number of trees with sunlight cracking open through the canopy
- If you are shooting during the night, you can make use of the zoom burst techniques for the night sky, night cityscape, tall illuminated buildings, illuminated bridges and really anything that is illuminated.
- Locations with mixed or different coloured lights can make for interesting images.
Time Of The Day:
Any time of the day is good for zoom burst photography. It is best to avoid the harsh midday sun, as there will be too much light for long exposure. You can, however, use neutral density filters to stop the high amount of light from reaching the sensor of the camera.
Gear Required:
- A DSLR or mirrorless camera
- You need a zoom lens with a manual zoom ring. A zoom lens with moderate zoom, for example, 18-55mm for APS-C sensor cameras or 24-70mm for full frame is more than enough to create this effect.
- A sturdy tripod. You can do this handheld if you are using a shutter speed of for example 1/60s or 1/30s, but if you have elements that need to be in focus and get a neat smooth/uniform zoom effect, you need to use your tripod.
- Use the in-camera timer to delay the shutter release or use a cable/remote release to avoid shake due to the shutter release
Here Are The Basic Camera Settings You'll Need For Zoom Blur:
- Use the camera in manual mode for zoom burst photography
- Choose aperture values between f/7 and f/16. If your lens performs well at apertures narrower than f/16, feel free to go down to f/22 if that is required for your shot.
- Set the lowest possible ISO for daylight shots, so you can have longer exposure times and reduced noise.
- During the night time, depending on what you photograph, you may need to pump up the ISO to compensate for the low light, but be mindful of noise
- Have the shutter speed one second or faster / slower depending on what you want to shoot. Having a shutter speed of 1 (day time) to 5 (night time) seconds is a good start for brilliant zoom burst photography.
- At times when you want to do a quick handheld shot, and depending on the frame and effects you are looking for, you can go for shorter shutter speeds like 1/30 or 1/60s, but bear in mind, the shutter needs to be open while you are zooming and you need to be quick and steady to finish off the zooming process within this time. If the exposure time is too short, you may not get much of a zoom burst effect.
- Always use the focal point as the point from where the zoom blur emanates outwards.
Note:
- You will need to experiment with the shutter speed and zoom effect as zoom burst photography is a trial and error process and purely depends on how fast you can zoom and how much of the effect you need in your final image.
- If you find that shooting using manual mode is quite intimidating, try shutter priority where you set the shutter speed and ISO and the camera will set the right aperture value for you.
Elements And Compositions That Work For Zoom Burst Photography:
Make sure you choose the right composition and elements to make the image interesting – this itself is a skill in creating brilliant zoom burst photography.
Not all frames benefit from this effect. Some of the elements that you can choose to frame and shoot for this technique include the following:
- Walls that have strong textures
- Flowers – choose single flowers that have a contrasting color compared to the background
- Trees in the woods
- Sunlight through the trees
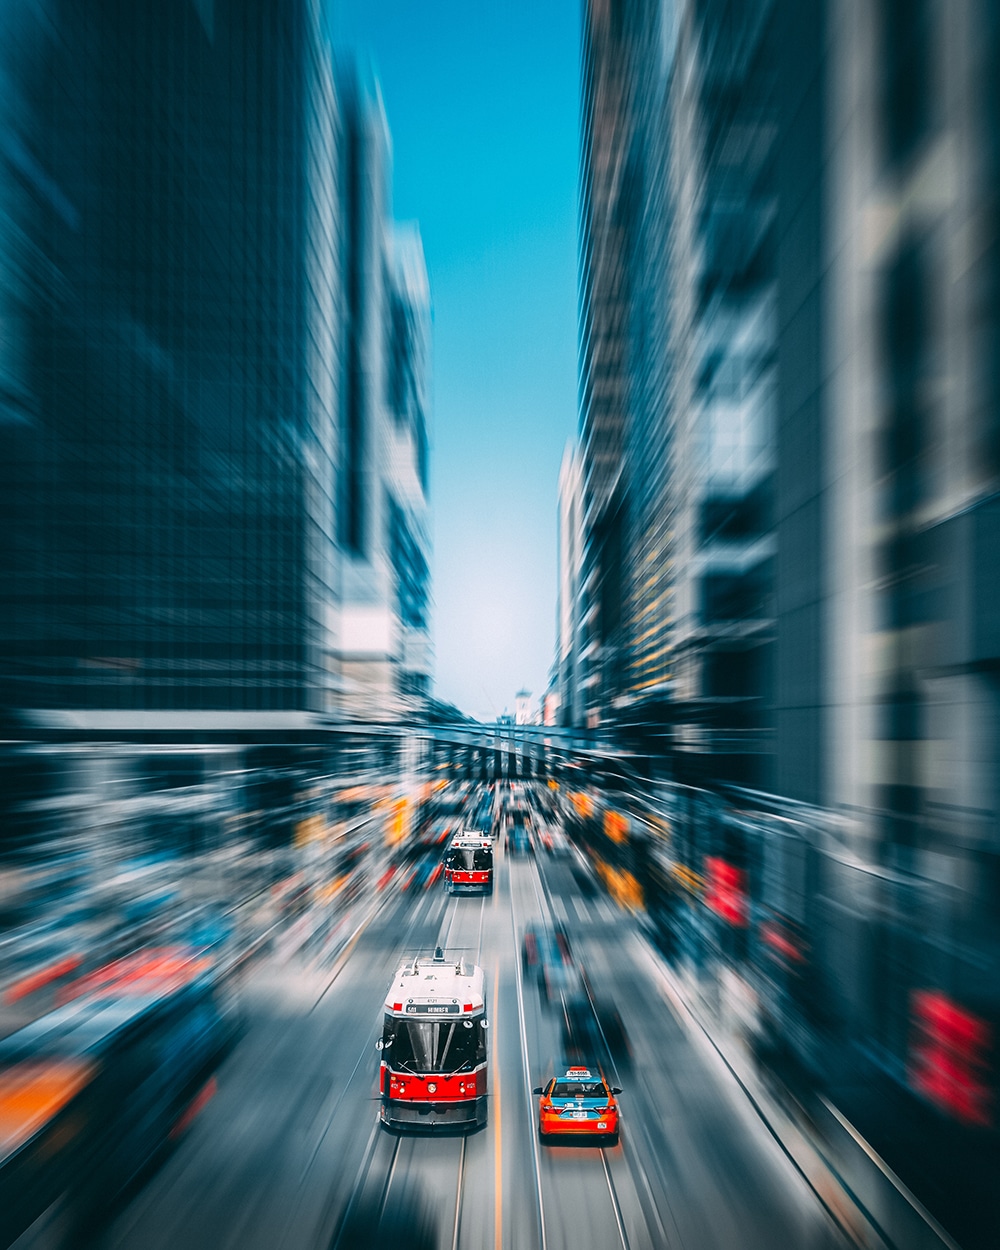
- Cityscapes or tall buildings
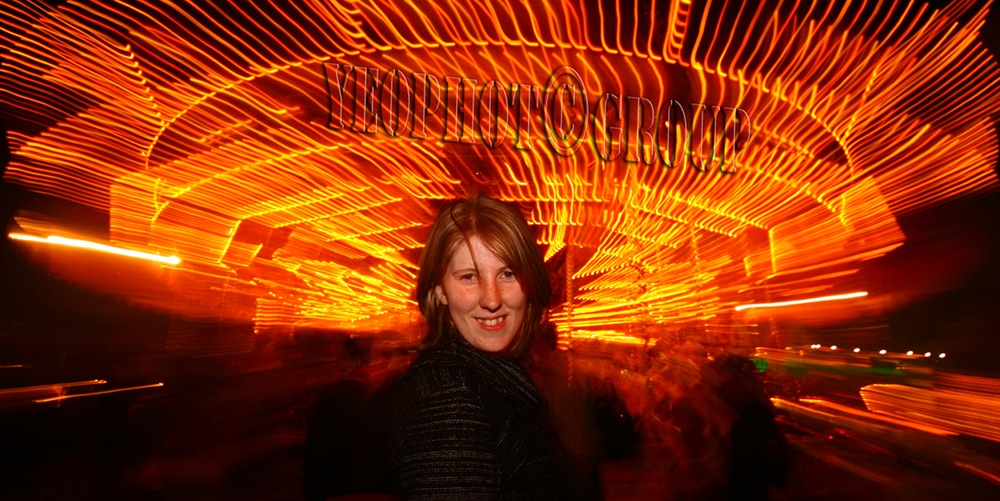
- Portraits – yes, you can create some stunning portraits using this method.
- Bridges
- Ferris wheels
- Any elements that have a symmetrical form or pattern
- Glass windows and doors that let light through
- You can try this even on the night sky – you may need to crank up the ISO and have an exposure time of at least 30 seconds for getting this effect on the night sky
- Neon signs and lights, LED or Fairy lights, light from cityscapes or buildings at night can be a great idea to incorporate the zoom burst effect into.
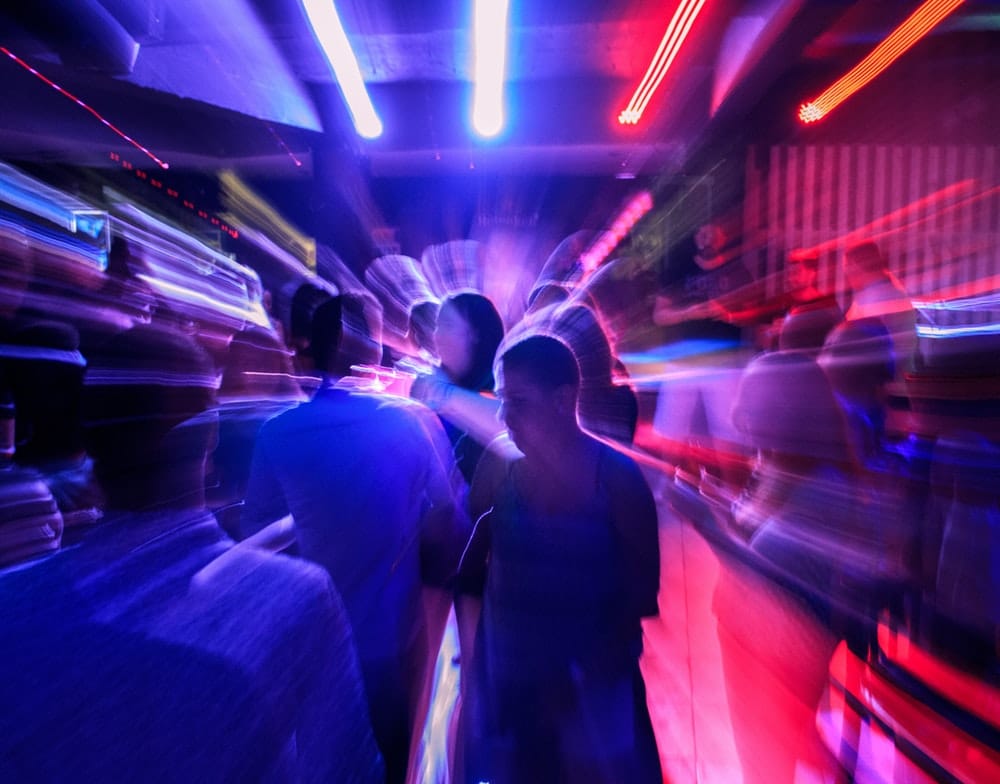
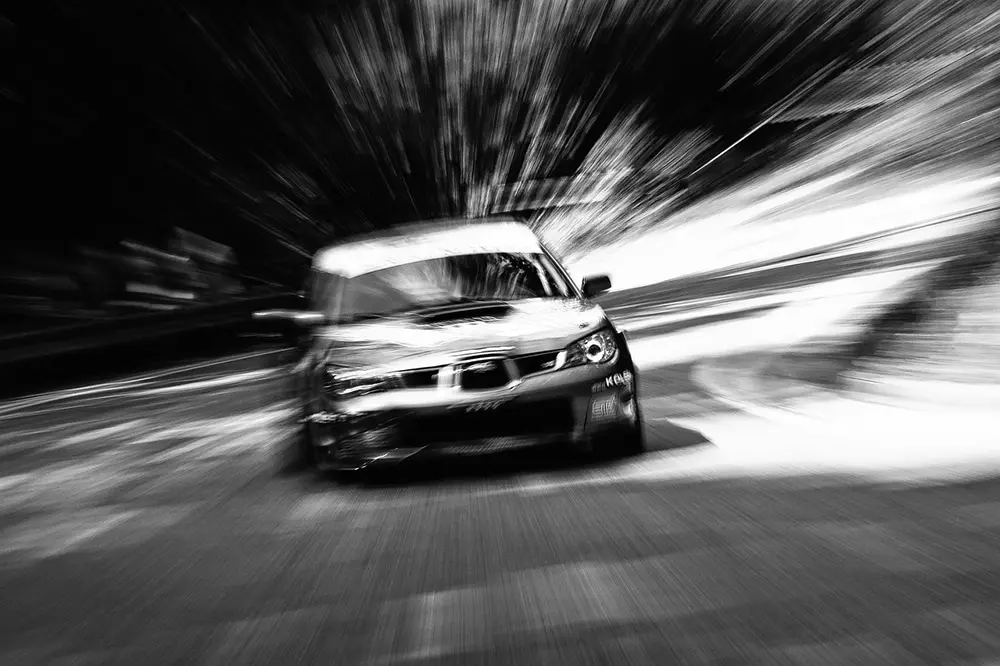
- Now if you want to show a sense of speed using this technique, you can shoot sports images, people or vehicles bustling through the streets – even if the subjects move. Zoom burst photography captures the feeling of movement or being busy and will get your story across to the viewer.
- You can experiment with focus tracking for moving subjects. You can see a lot of images in the link here and here on Flickr.
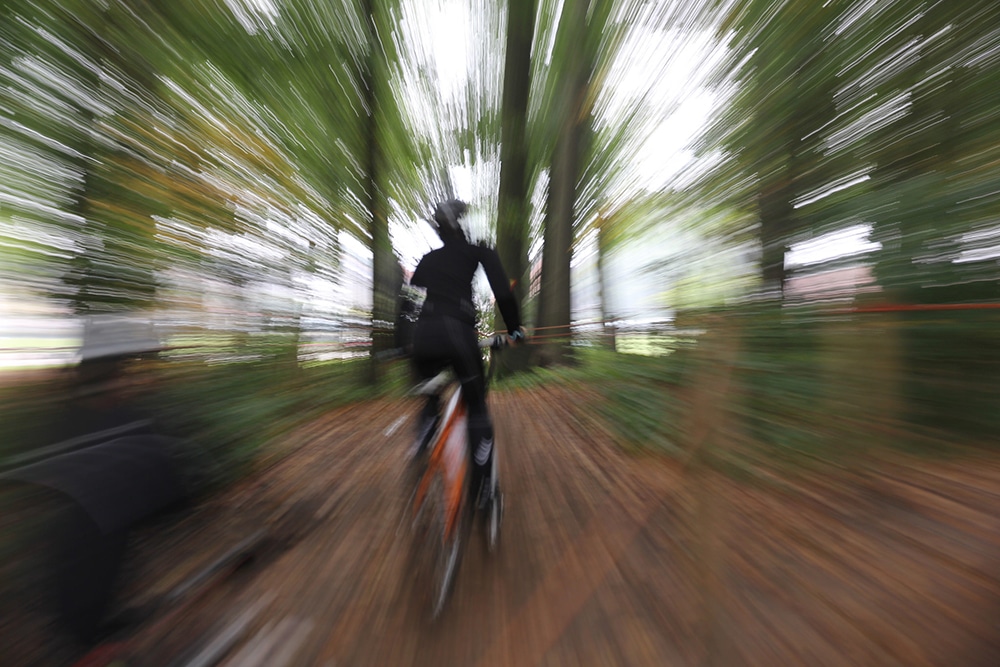
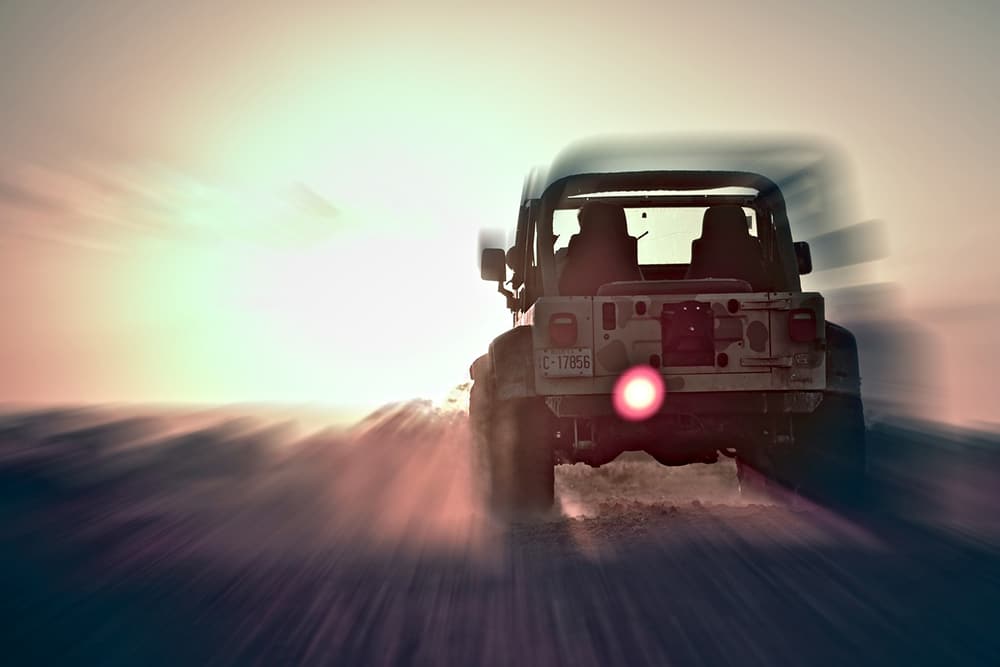
The above list is just to give you an idea of what elements/subjects can be used for your zoom burst photography composition.
Do not confine your shots to these frames, instead go out and experiment with other elements that you find around you because most of the time, without taking the shot, you may not know what the end result will look like.
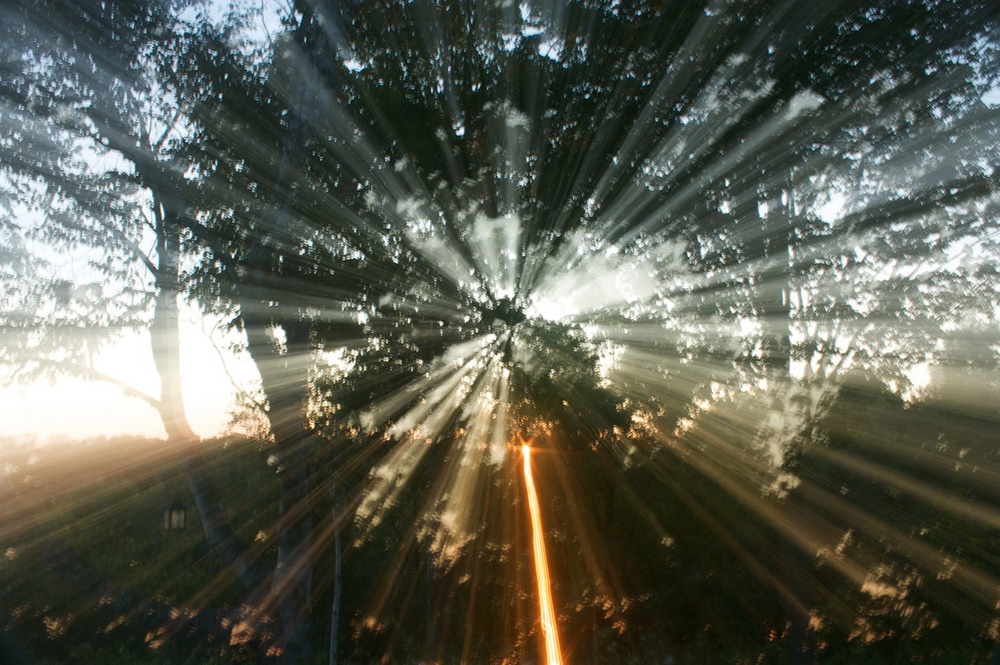
Here's Zoom Burst Photography In A Step By Step List
- Put the camera on manual mode and set it up on a tripod (always advised for neat looking straight line zoom burst effects)
- You can avoid the tripod if you are looking for imperfect zoom effects (very abstract), but make sure you do not move back and forth.
- Compose your image by setting your lens at the widest focal length so you know what elements to include in the frame. It is good to have still subjects in the frame, but moving subjects can create a totally different effect.
- Look for some brilliant colors while composing, to make your zoom burst photography pop.
- Zoom in completely, focus manually on the subject that you wish to have the focus on and set your exposure based on this.
- Do not move your camera or subject or change focus after this step, as it may result in blurry images.
- Now zoom out to the widest or shortest focal length on your lens and be ready to take the shot.
- Make sure you choose the shutter speed wisely so you have enough time to complete the zoom process from the smaller (wider) focal length to the longer (narrow) focal length
- Release the shutter and rotate the zoom ring (zoom in) from the wider focal length to the narrow focal length at a constant speed (in one go), while the shutter is open so that your zoom effect is recorded smoothly
- Once the zooming process is complete, you need to stop zooming just before the shutter closes. That is, towards the end of the exposure (at the longest zoom value) just before the shutter closes and when the subject is in focus, freeze exposure for a few moments (few milliseconds) so that you record the focussed subject sharp in the image.
- If you are only focussed on creating an abstract image with limited sharp or well-defined details, you can just zoom all the way through while the shutter is open, without freezing any frames towards the end of the exposure. A tripod may not be necessary for this scenario during the daytime, if the exposure time is not more than 1/30s to 1/60s or 1-second maximum.
Note:
- Don't worry if you don't get a good image in the first shot. You will need to take a few test shots to get the hang of the zoom operation, exposure settings and how it affects or shows up on your image.
- You need to practice zooming all the way from wide to narrow within the shutter speed limit. So try a few test shots before you get the final one and test shots also help with making adjustments to exposure values if needed; for example, settings like aperture, ISO, shutter speed
Different Types Of Zoom Burst Photography:
Now that you know how the zoom burst technique works, it is time you experimented with different types of zoom burst photography in camera. Here are some tips:
- You can zoom in and out a few times during the exposure to create abstract images
- Instead of zooming in, you can reverse the process and zoom out. In this case, you will need to set the focus on a subject when the lens is at its widest focal length. Then zoom in completely, release the shutter, zoom out and freeze exposure for a moment in this position to get the subject in focus.
- Or, you can start from completely “zoomed in” setting where the subject is kept in focus in “zoomed in” position. Press the shutter, wait for a moment (few milliseconds) before zooming out so you get the subject in focus initially before the zoom.
- You can make use of ND filters or very narrow apertures and do a long exposure (few seconds) where you slowly zoom in or zoom out during the entire exposure.
- You do not have to do your zoom burst through the entire zoom range, instead, you can just do it for the part of the time to get shorter trails or zoom effects.
- You can zoom a bit, freeze exposure, then zoom again a bit, freeze exposure (zooming in or out step by step) and repeat this any number of times to get a different effect in your photographs. Make sure you have a longer exposure time (5 to 10 seconds) to complete this process
- You can try focus tracking for moving subjects, especially if you want to create dynamic images of busy streets or traffic.
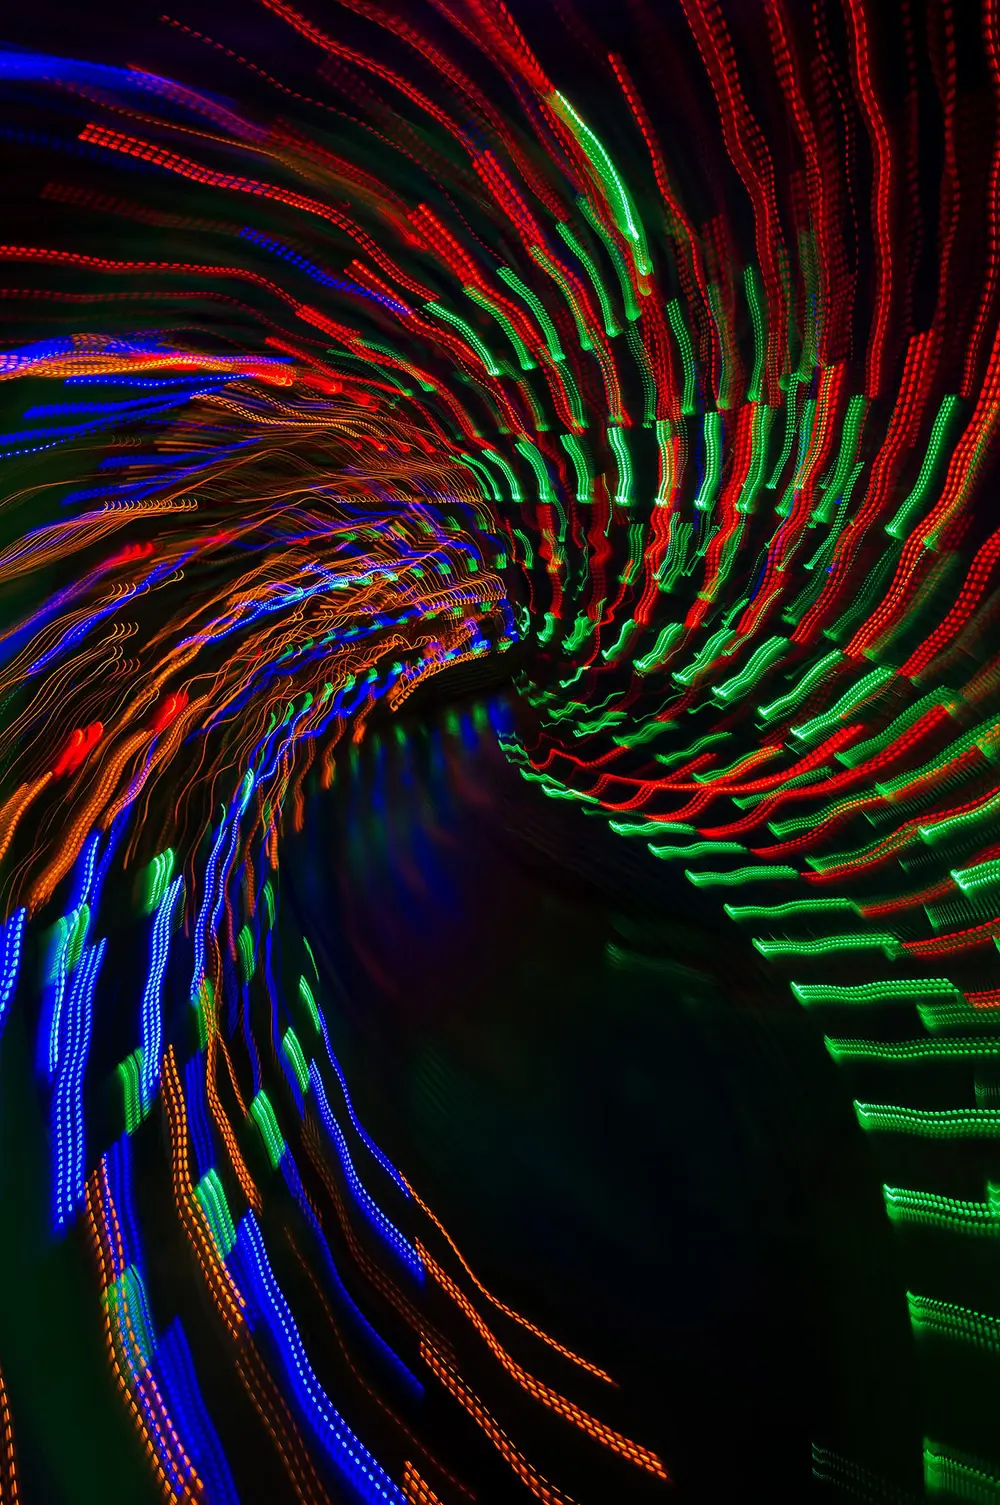
- If you want spiral zoom effect, hold on to the lens, especially the zoom ring and rotate the camera when the shutter is open, for the zoom burst effect. However, in this technique, you need to work your way around having the subject in focus if you need to.
Post Production:
- There are no techniques you need to incorporate while post-processing zoom blur images. As with any image that you would post process, use your favorite post-processing application to make basic adjustments on your final image.
- You may have to add some contrast to the image at this stage.
- Crop the image if you find unwanted elements in the edges.
- You can choose to convert to black and white as this can take your zoom burst photography to a different level.
Applying Zoom Burst Techniques To Night Sky Images:
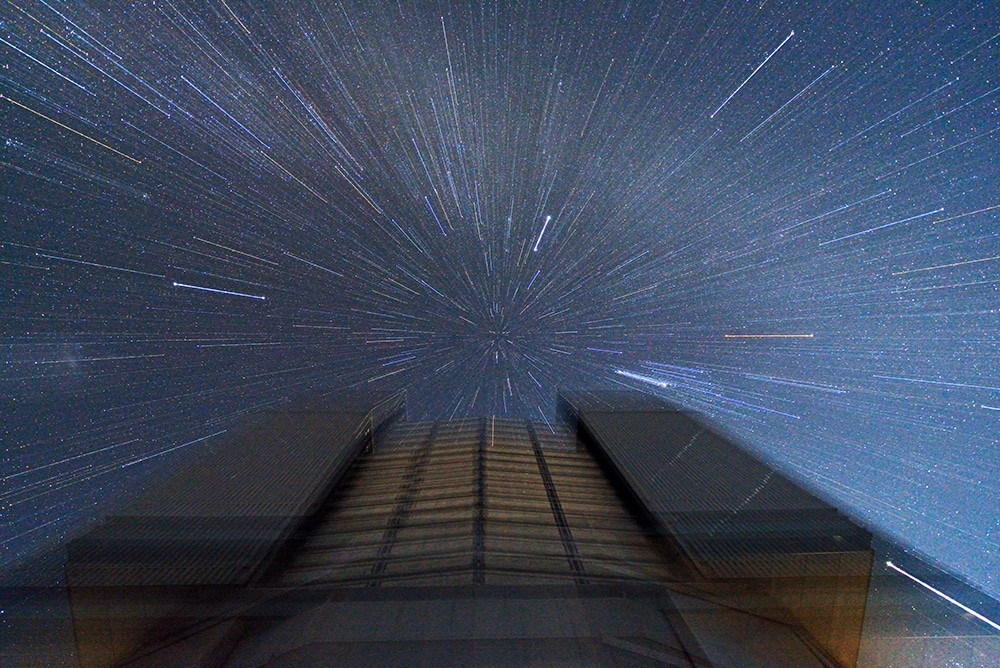
Using the zoom burst technique on stars in the night sky can transform the stars to look like meteors bombarding the sky. Here is how to get this effect:
- Mount your camera on a tripod as the exposure time will be very long.
- In this case, you need a zoom lens, so do not use any prime lenses that you would normally use for night sky photography.
- Use the widest aperture possible and ISO between 500 to 3200 depending on your camera’s low light performance. Do not use ISO higher than 3200 as it can create too much noise in the image
- The longer the exposure, the more stars will be recorded in your image and in turn the more star streaks you will record using the zoom blur technique.
- You could set the shutter speed to 30 seconds – but as always it is trial and error to achieve the image you want.
- At the widest focal length, focus at a distant star to get sharp focus. Use manual focus and zoom in on live view mode to get the focus right.
- Once you have set the focus, zoom in to the longest (telephoto) focal length. Release the shutter using a cable release and zoom out slowly at a constant speed for the first 15 seconds till you reach the widest focal length.
- Leave the lens at this focal length for the next 15 seconds without touching the zoom ring or the camera, so that the camera can record foreground details and star details from the sky.
Here's A Helpful Example
For a 30 seconds exposure, if you are using a 24-70mm lens, manually focus on a distant star at 24mm, then zoom in all the way to 70mm. Press the shutter and for the first 15 seconds zoom out from 70mm to 24mm at a constant speed and for the remaining 15 seconds, leave the lens at 24mm to record foreground and star details.
- Do not compose frames that have bright lights from the city within the frame as they can cause streaks of light while zooming out and can make the image look very chaotic.
- If you have a frame where there are unavoidable light sources, then take a static image of the scene and merge it with the zoom burst image in post.
- Remember to shoot in raw so you can bring out as much star detail and so you can change the temperature in post-production.
- Make changes to exposure, clarity, sharpness, contrast, highlights, shadows, whites and blacks as required while post processing to get clear details of the stars.
Some examples of the zoom burst technique on the night sky can be found here, here and here.
Some Final Thoughts And Tips:
- A good understanding of the exposure triangle will be helpful to play around with the exposure settings.
- If you are shooting when the light is very bright, you may have to use the lowest ISO, narrow aperture to stop more light or to prevent overexposed images.
- Do not use extremely narrow apertures as they can cause fringing or other unwanted effects. Know your lens’ sweet spot and work around it
- Do not use very long zoom lenses as you may not have control over the zoom process.
- Keep an eye on the highlight areas as you do not want to blow off large areas in the image. Learn to use the histogram.
- Under very bright light conditions where lowering the ISO and narrowing down the aperture do not help, you may need to make use of ND filters to get your exposure right.
- Look for variations in colors and lighting within the frame so that you get prominent smooth streaks in your image. For example, if you zoom in on a plain blue sky, you cannot see the zoom burst effect, but a sky with some clouds will show the zoom burst effect
- If you shoot at night, make sure the camera is on a tripod as your exposure times are going to be very long. Depending on the required shutter speed, choose the aperture and ISO combination.
- If you are shooting the stars using this technique, use at least 30 seconds exposure and use a higher ISO to compensate for the low light.
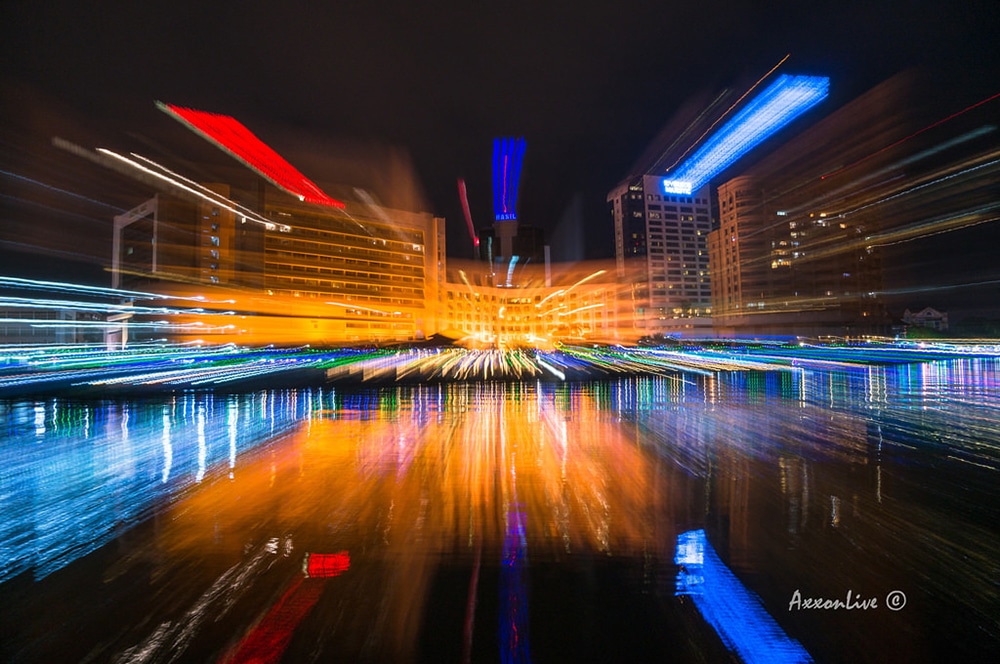
With zoom burst photography, you need a lot of patience, but these images are fun and exciting to create. Bear in mind that timing is very important to get the best results.
The possibilities and creativity are endless when it comes to zoom burst photography and it takes some practice to master this technique. Try till you are able to zoom in smoothly to get the effect you need. There are really no rules and it is up to the photographer and their creativity to create art with the camera using various techniques.
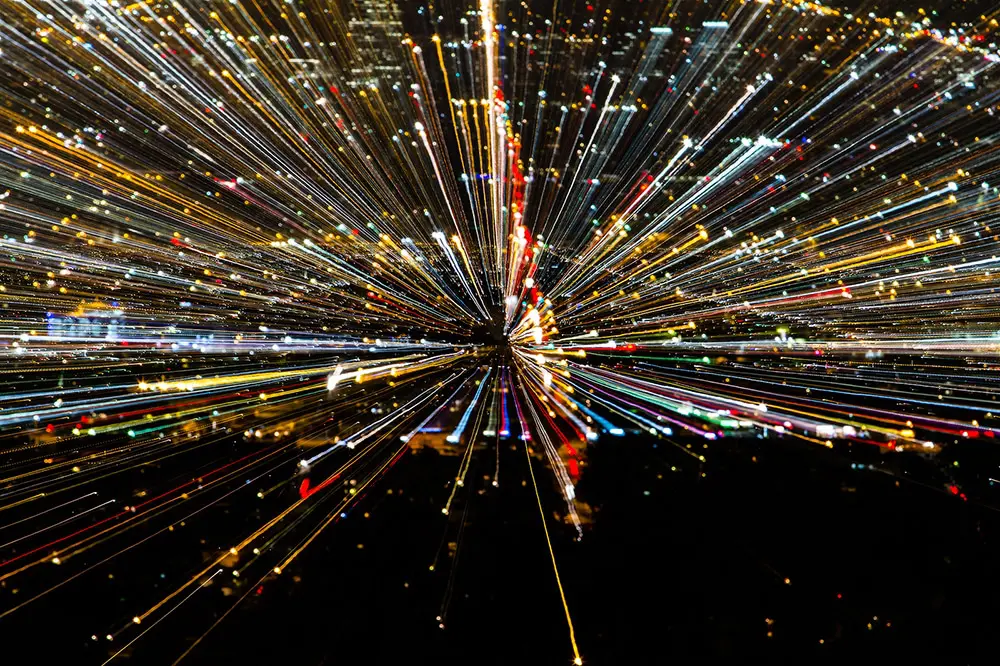
If you are looking to try out a new technique over the weekend, then the zoom burst technique can be a fun thing to do. It can be done both indoors and outdoors. If you wish to share what you create with us, please share them in the General Photo Chit Chat forum as we would love to see.
If you have tried zoom burst technique before, what was your favorite method? If there are tips or techniques that you have and you think that other photographers can benefit from, then feel free to share them with us in the comments section below.
If you are tired of your photographs looking boring and would like to create magical long exposure shots, you should check out The Complete Guide to Long Exposure by Photzy


