It's safe to assume we have all had those days where the light and location is so beautiful we just cannot stop shooting.
As the light fades, the scene becomes even more photogenic, we continue to fire away. As we chimp our pictures though we start to see the dreaded camera shake. The light has become too low to handhold, and guess what? Our tripod is at home.
All is not lost though, and here is why. We will assume for all for these tips that you are shooting at the widest aperture possible.
1. Bump That ISO.
We start with the obvious one, increasing the ISO or film speed. This, of course, has its drawbacks, the higher you go, the more noise you will introduce to the image. There are a couple of ways that we can gain control of the noise when we shoot.
The first is to make sure you are shooting in RAW. When you shoot in Jpeg, the camera will attempt to reduce noise automatically using its built-in algorithms. Although you can set how much noise reduction you want to have, the fact is, that you will still get that smeared blurry look when using it.
When you shoot RAW, no noise reduction is applied to the image. Combine this with the wider dynamic range of a RAW file, you have much more control over reducing noise in post-production. Most editing software has a pretty decent noise reduction tool, but for even better results you can use third-party plugins.
The second option is to use a technique called image stacking. This is where you take several identical images in quick succession and blend them together in Photoshop. As noise never manifests itself in the same place, blending each image effectively reduces the noise.
We have an extensive tutorial on how to do this here.
2. Make Your Own Support.
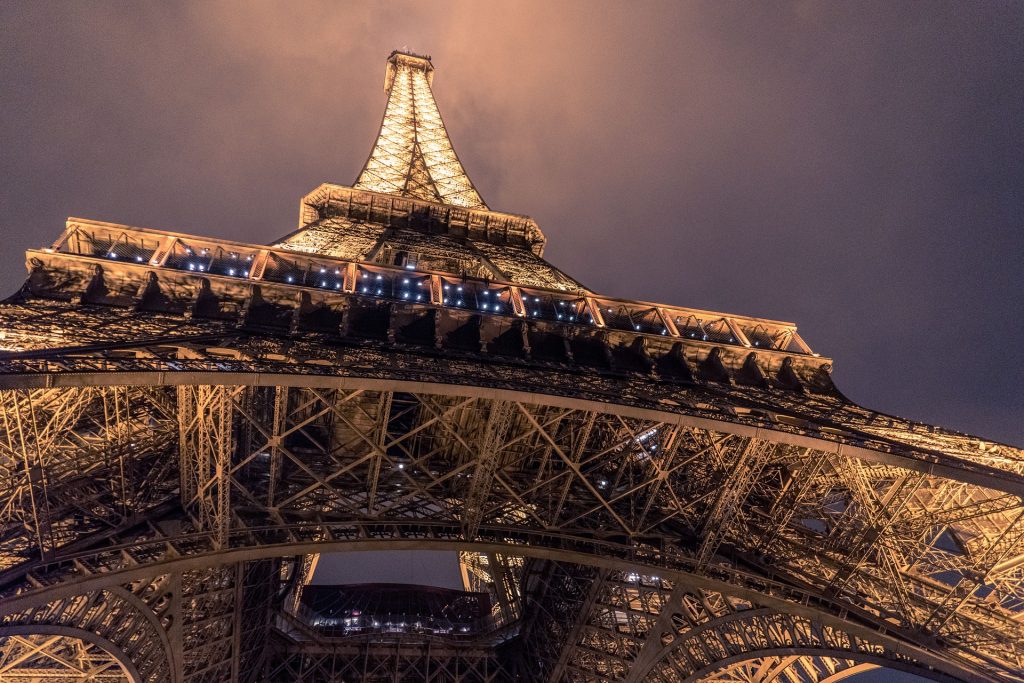
Pretty much anywhere you shoot, there is going to be something solid that you can incorporate as a support. It might be a low wall, a lamp post or perhaps a table top.
The secret to creating a solid support is to mimic a tripod. You are trying to create a triangle that absorbs any movement from the camera. For example, if using a low wall or tabletop, place your elbows at body width apart on the surface bracing the camera at the top of the triangle.
If using a wall, lean your body into the wall with one elbow and one leg braced against it. The secret to getting a good result is not to tense up your muscles but to remain relaxed and fluid, allowing your muscles to absorb any movement.
3. Image Stabilisation.
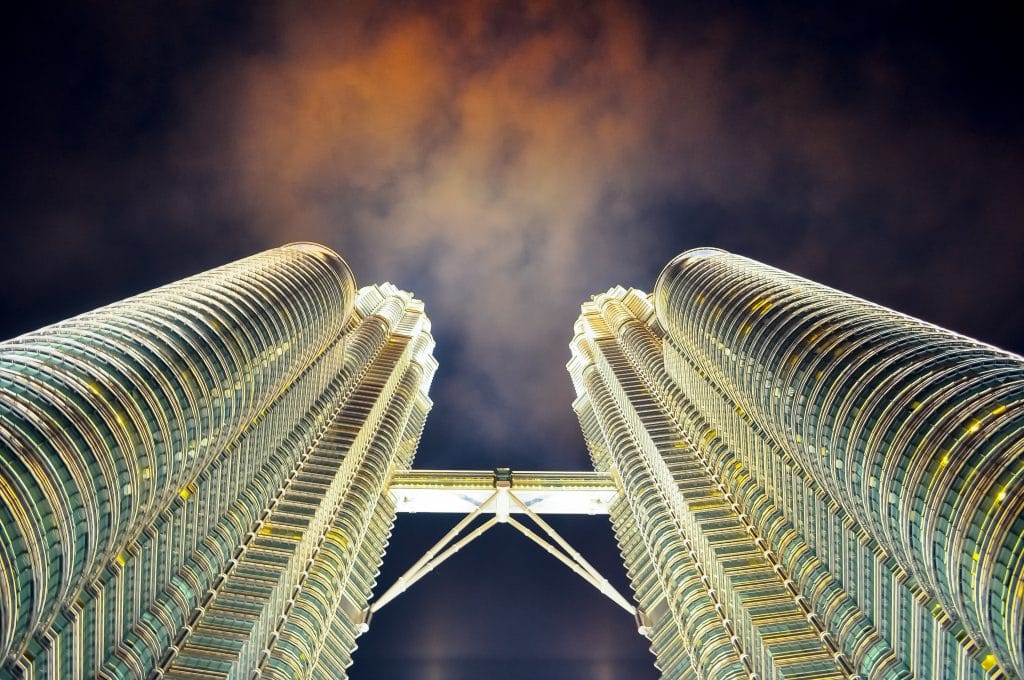
Many modern camera systems come with some form of image stabilisation. The problem is we often forget to use it. There are two types of image stabilisation that we might have, in camera and lens.
In camera stabilisation moves the camera’s sensor to soften out any movement. Lens stabilisation uses motors in the lens barrel to move the optical elements to reduce camera shake. In camera stabilisation has the advantage of working with any lens, while lens stabilisation is regarded to give slightly better results.
As a rule of thumb, stabilisation will give you 3-4 stops of leeway when shooting handheld. Without stabilisation, the lowest handheld shutter speed you can get without shake is 1/60th at f2.8. With stabilisation that could drop as low as 1/4 of a second. Results will vary according to focal length and camera technique.
4. Go Wider.
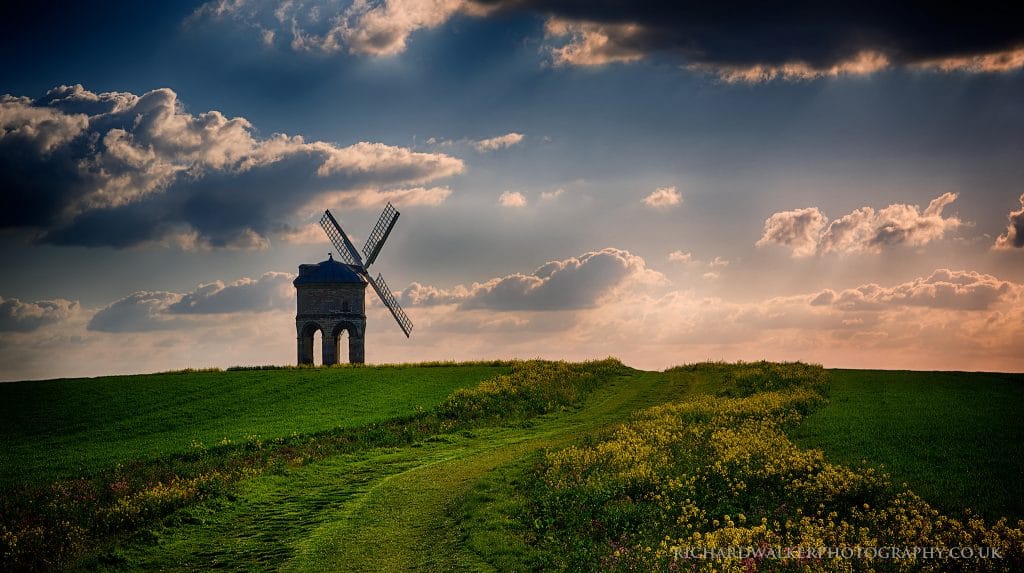
The last of today's low light tips is often neglected or forgotten. It is simply to use a wider focal length. The longer your focal length the more exaggerated any movement of the lens or camera will be. By going wide you will be able to use a lower shutter speed handheld and still get good results.
The rule of thumb for handheld shooting is to match the focal length to the shutter speed. If you are shooting with a 200mm lens, the lowest safe shutter speed will be 1/250th. However, shooting with a 14mm lens might allow you to get down to 1/15th of a second. As you can see, that’s quite a difference.

Forgetting your tripod is not the end of the story for low light photography. You can use any of this tips to help reduce camera shake. Some of them can be used in combination with each other to produce even better results.
Next time the light fades over a beautiful location try combinations of the above tips to help get a good result.



1 Comment
Use your camera’s burst mode holding the camera still; the largest file is typically the sharpest. If you have a Nikon with Best Shot mode, it does this automatically with a burst of up to 10 shots, taking the sharpest.