Landscape photography is one of the great tests of the photographer. It's also one of the most enjoyable hobbies that anybody can take up. But there is a lot to learn and a lot to remember about how to shoot a solid landscape photography. Here are 50 things to get you started. To dig down into settings specifically, see our article on landscape photography settings.
- Shoot in the Golden Hour – Traditionally, the golden hour around sunset or sunrise are considered the best times to shoot landscapes as the light is beautiful and diffused.
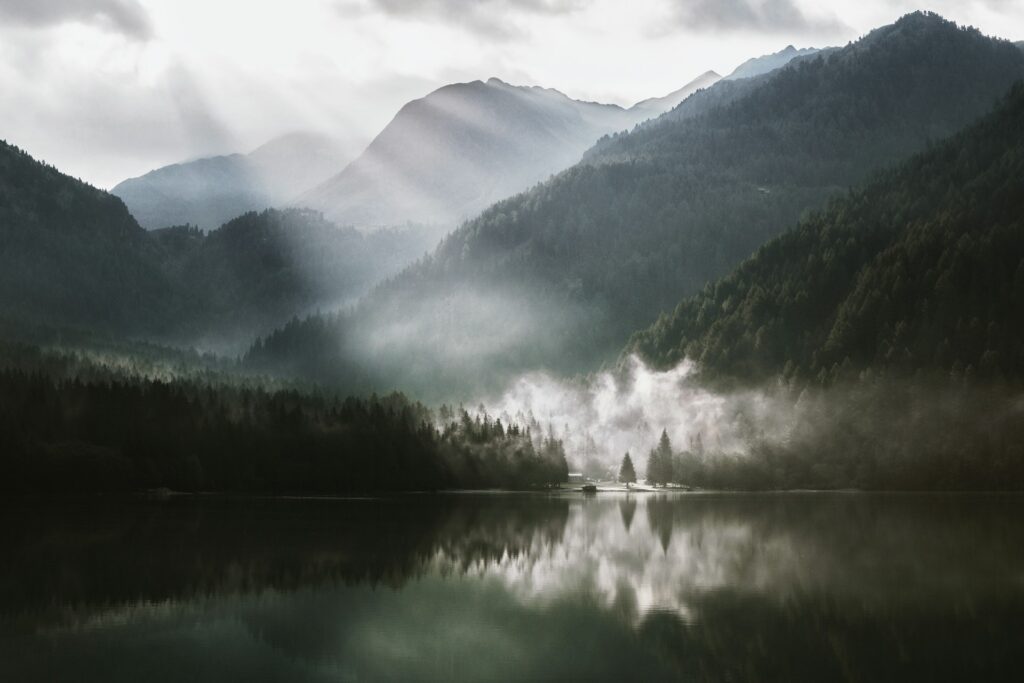
- Shoot in the Blue Hour – Just before golden hour in the mornings, or after it in the evenings is blue hour – another wonderful time to shoot landscapes for the quality of light
- Shoot at Other Times Too – While they may not be quite as desirable as the golden or blue hours, shoot when you can. With a bit of skill and consideration, you might get something worthwhile – just remember the sunny 16 rule.
- Remember to Include Foreground Interest – Putting something at the bottom of your shots in landscapes (ie the foreground) can lead people's eye into the scene and is usually considered a desirable element of landscape composition.
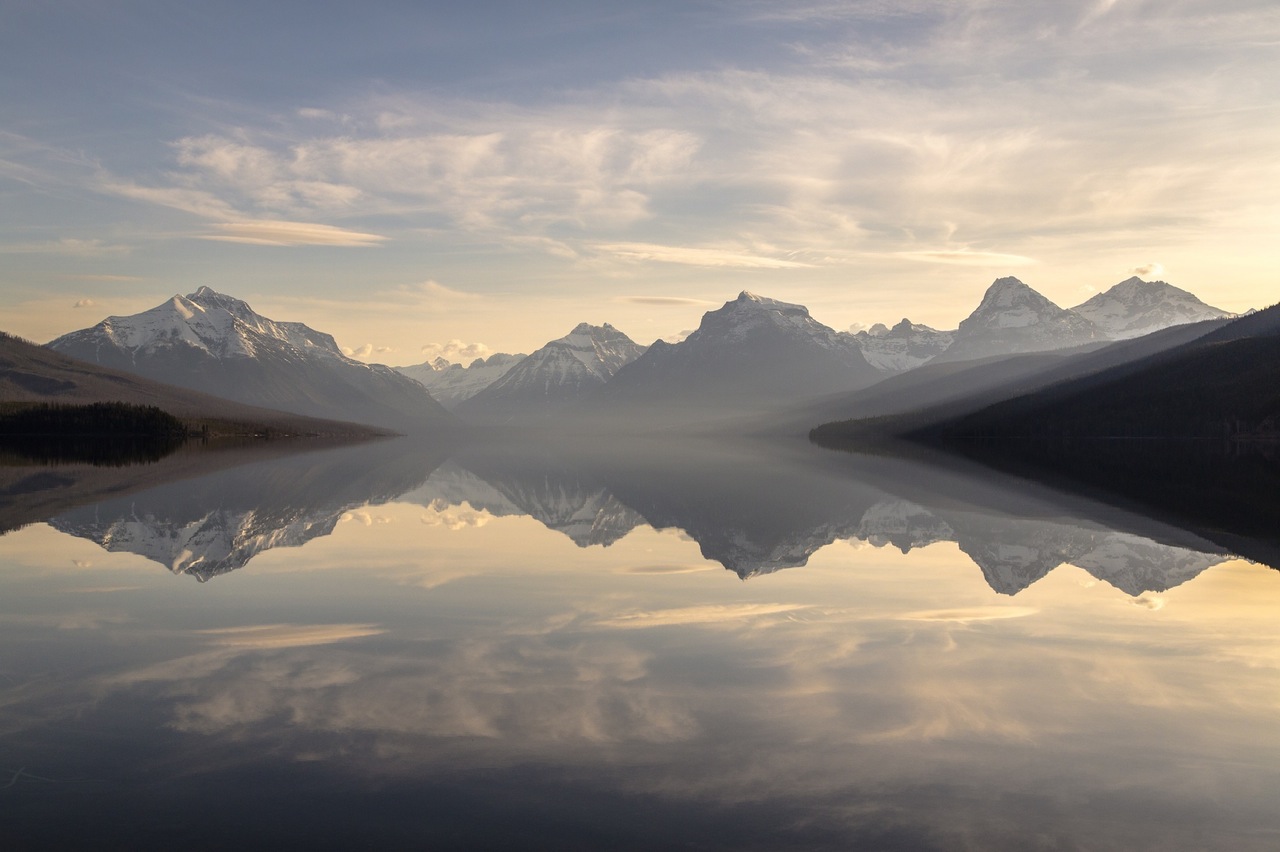
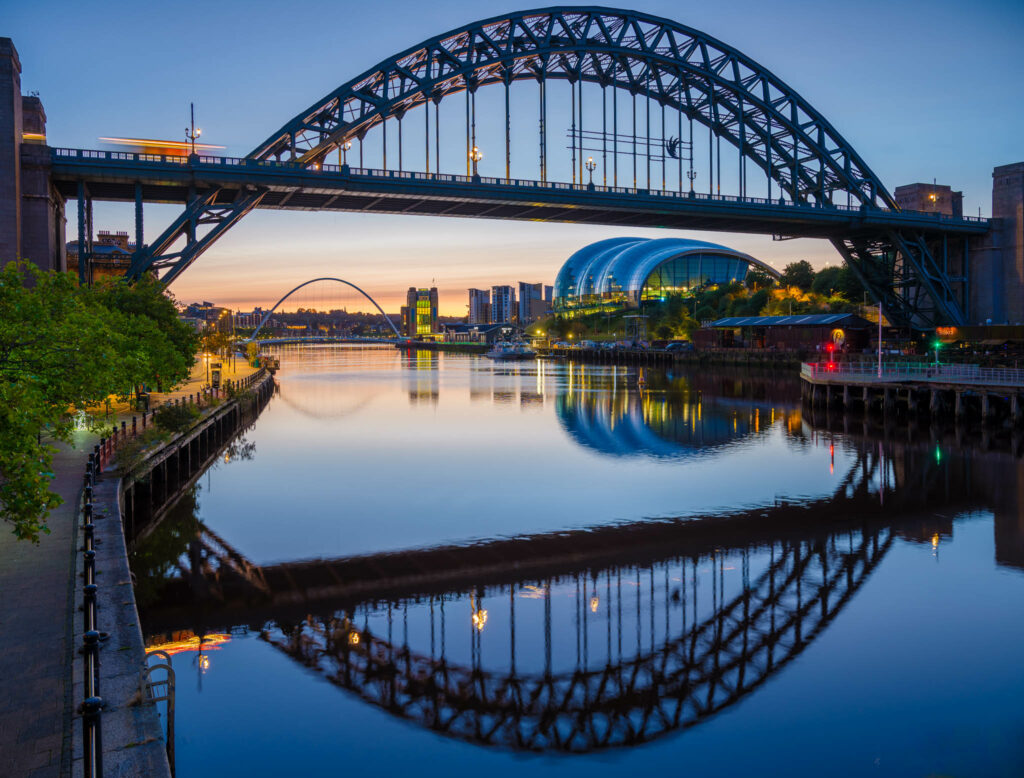
- Look for Symmetry – Symmetry in landscapes is difficult, but can result in some amazing compositions. Reflections in water is a favourite here, but there are other opportunities to get symmetry too.
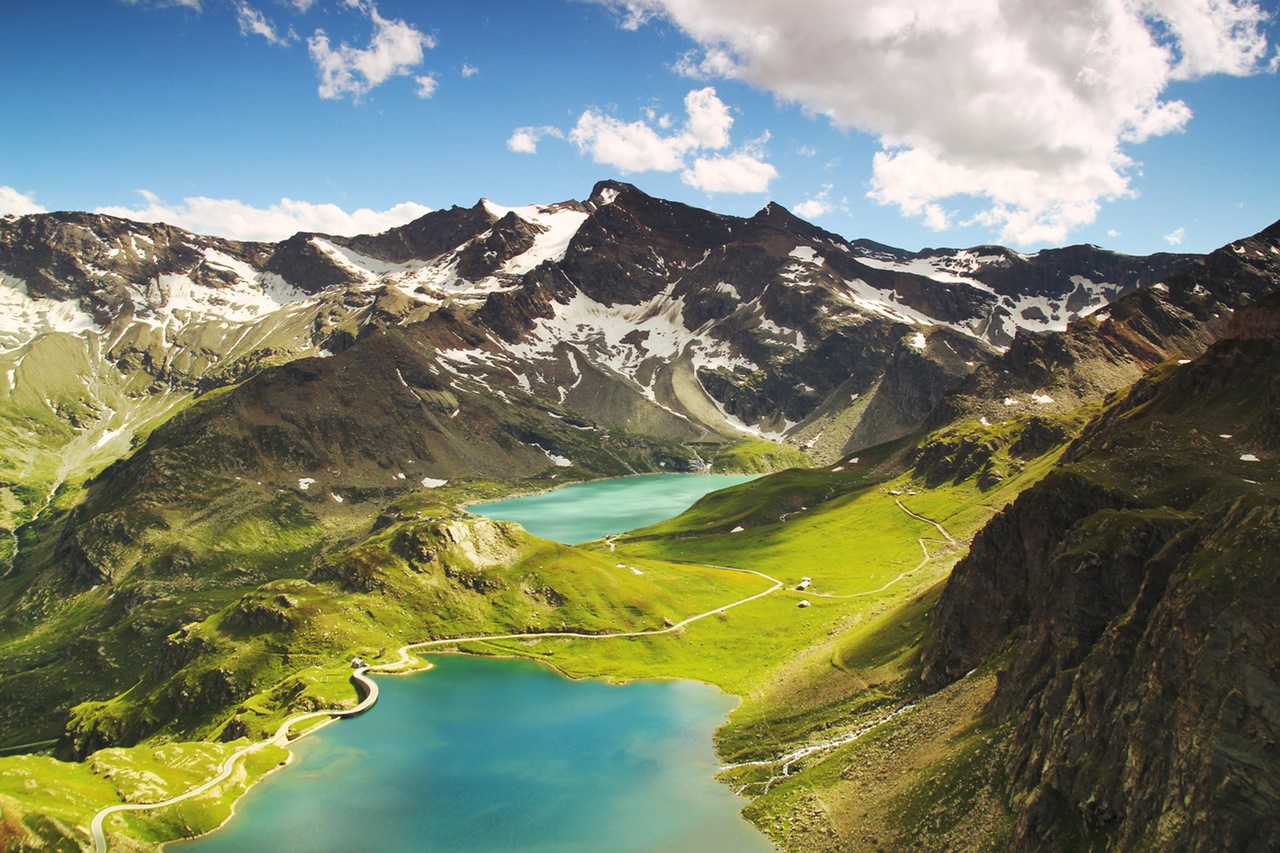
- Look for Leading Lines – This one crosses over with the foreground interest tip, but elements of the landscape that lead the eye can work really well.
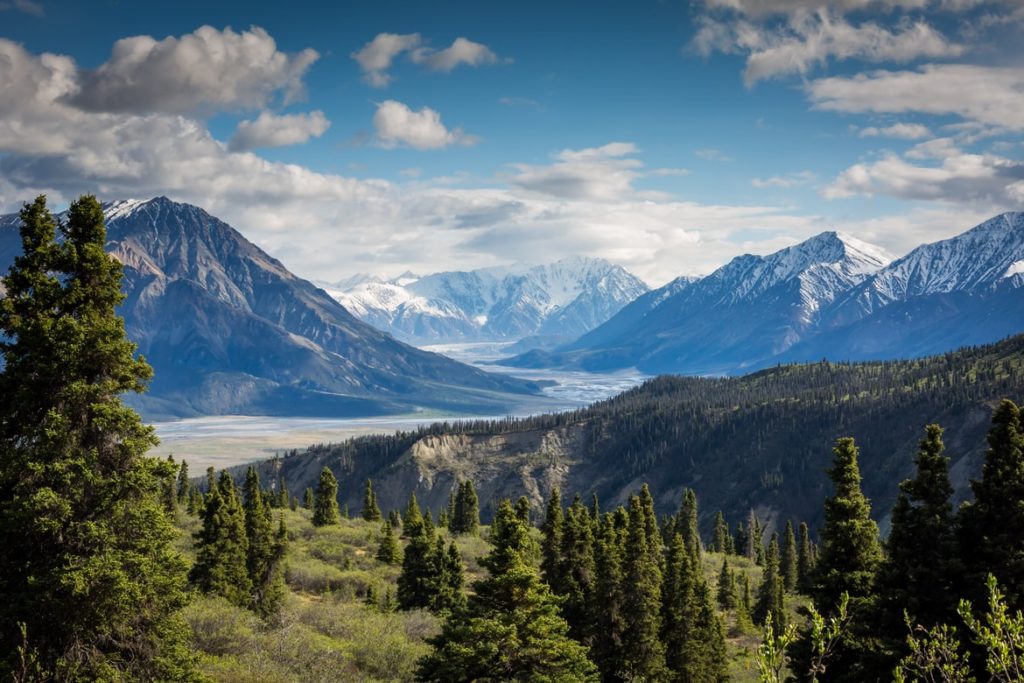
- You Will Probably Want to Shoot Wide – The vast majority of landscape photographers shoot on wide angle lenses (12mm through to 28mm) which means you might want to start there too. If you don't have a wide angle lens, don't stress as you can still get amazing landscapes with other lenses too.
- Low Light = Slow Shutter Speeds – Be prepared to shoot with slower and slower shutter speeds as the light fades. Usually, in landscape, you want to keep the ISO low and the aperture at its sharpest so that only leaves shutter speed as your main control to get a good exposure.
- You Will Probably Need a Tripod – You are going to need to stabilise your camera, especially as the light fades, so get yourself a good tripod.
- Include Elements to Show Scale – If you are photographing big things like mountains, one trick to show scale is to include human-made elements such as a car or a building (or even a person).
- Mirror Lockup is Great for Getting Sharp Photos – One of the great challenges of longer exposures which are common in landscape is keeping your camera steady. A big source of camera shake is the mechanical movement of your actual camera. Mirror lockup helps prevent this.
- Use a Remote Shutter Release for Sharper Photos – A very useful little tool (and usually very cheap) to prevent camera shake is a remote shutter release.
- If You Don't Have a Remote, Use Timed Shutter Release – Most modern cameras allow you to set a timer on the shutter release so the camera has time to stop shaking from the movement of your hand pressing the release. This is usually just as good as a remote.
- Use Electronic First Curtain Shutter for Sharper Photos – If this is available on your camera (a quick Google search should tell you), then it will help further alleviate problems with camera shake and help you get sharper shots.
- Longer Shutter Speeds = Blurred Water – Remember that if you are leaving the shutter open for longer than about half a second, any moving elements in your composition are going to blur. That means water will start to blur which, if you want that, is fine. If not, keep the shutter fast.
- Even Longer Shutter Speeds = Blurred Clouds – Just like water, clouds move and will start to blur. Now, usually they are moving slower than water, which means you can usually shoot with a slower shutter speed before that becomes an issue. It really depends on the environment you're shooting in.
- Focus About 1/3 of the Way Into the Scene – As a rule of thumb, if you focus about a third of the way into a wide angle landscape scene, you're usually going to get a nicely focussed image (yes, you can get a lot more technical with hyper-focal distances etc, but this guideline will help you ignore all that if you want to).
- Shoot RAW to Capture More Information in Your Photo Files – You want to capture as much information as you can in the scene. Raw files hold a lot more information for you to process than do jpegs, so most landscape shooters shoot in raw.
- The Sharpest Aperture Isn't the Narrowest – On most lenses, the sharpest images will usually be had somewhere between f/8 and f/13, but be sure to research where your own lens' sweet spot is.
- Low ISO Will Reduce Noise – Landscape shooters generally all shoot low ISO so as to avoid noise in their images. That usually means under 200 ISO and generally 100 or 64 if your camera has it.
- Use Live View to Focus for More Control – This allows you to increase the magnifications so you can get tack sharp focus within the scene and use that for the shot.
- Take an ND Filter to Control the Light – One of the challenges of landscape shooting is often getting a reasonable exposure. Having an ND filter to block out some of the light can be quite handy.
- Take an ND Grad Filter as Your Secret Weapon – These are the big secret of a lot of landscape shooters. It blocks some of the exposure from the sky (which is basically a giant light box) and allows the shooter to expose the ground well.
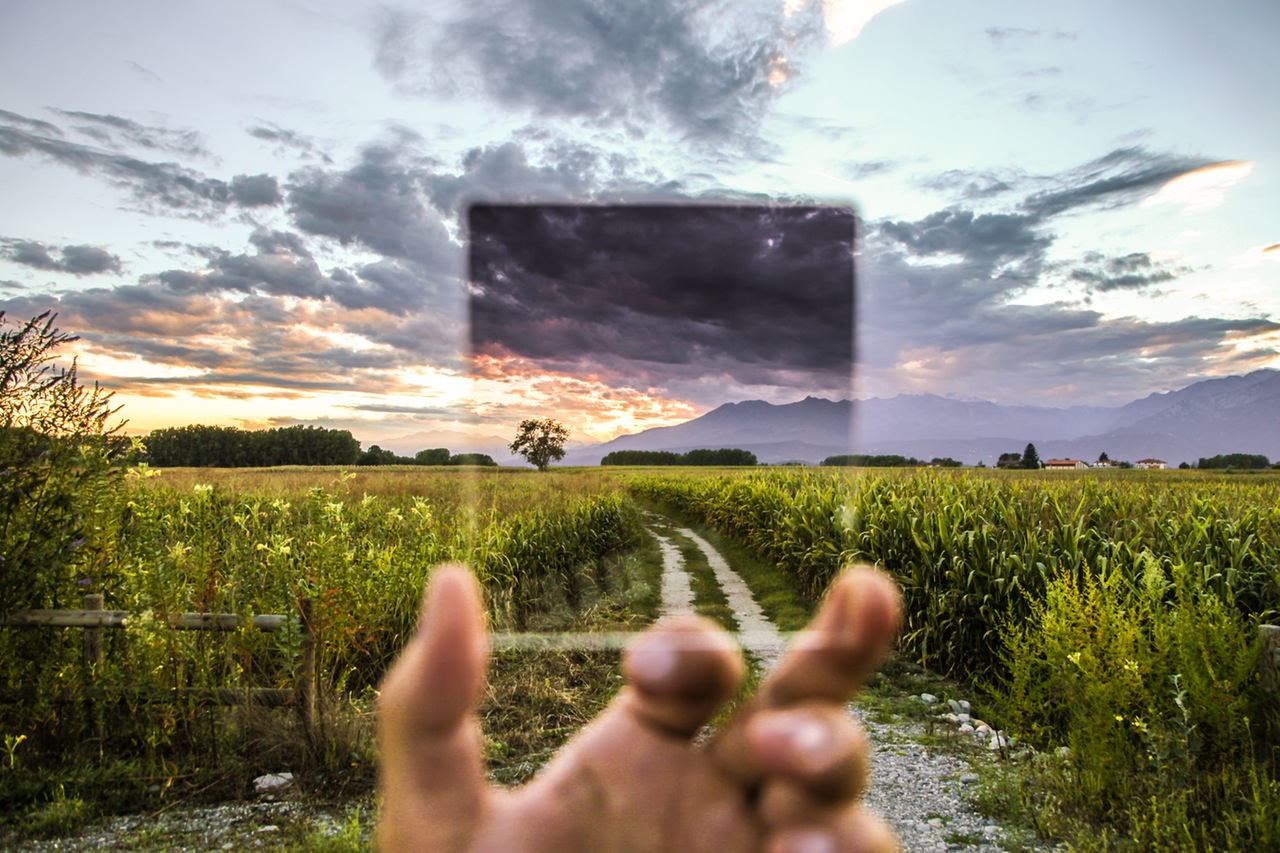
- If You Don't Have an ND Grad, You Can Approximate One in Lightroom or Photoshop – Most post production software has a tool to approximate a graduated filter on the sky. As long as you haven't clipped the highlights, these are often quite useful.
- Make Sure the Horizon is Straight – Seriously, this is an easy thing to do, but it's amazing how many people share images with a crooked horizon. It infuriates a lot of people (which might be funny depending how you look at life).
- Most Filters Throw a Colour Cast – The cheaper your filter, the more likely is that it adds a colour cast to your image (which is usually considered undesirable). If you like the colour cast, then go nuts. (Generally, Lee Filters are regarded as the best filters for landscape to avoid colour casts)
- Get a Good CPL at Minimum – A circular polarising filter will help you block out some of the glare that can cause clipping in your highlights. They are probably the most useful filter for landscapers.
- Your Histogram is Important – Learn to read a histogram and learn to trust it. Specifically, you don't want to lose detail in the highlights or shadows (on a histogram, this is when the graph is up against the far right or far left). Aim for a bell curve (roughly).
- Trust Your Histogram More Than You Trust the Image on Your LCD – The image on your camera's LCD may not be an accurate representation of what the file has captured. Trust your histogram!
- A Lens Cloth is Your Friend – The amount of dust, dirt and water you get on lenses while shooting landscapes is sometimes quite depressing. Make sure you keep a lens cloth on you at all times – preferable a couple.
- Think How You Will Protect Your Camera in the Rain – Invariably, you will find yourself on some remote trail, a long way from shelter, and you will feel the first drops and rain. Panic! Think about how you're going to protect your gear when this happens. A good bag, a camera cover – think about what you want to take with you.
- A Good Camera Bag Will Save You Heartache – A camera bag that is comfortable to carry, easy to access and protects you gear will be a long time friend.
- Take a Jacket – Weather turns quickly. Every landscape photographer gets caught without a jacket eventually.
- Take a Raincoat – In a pinch, you can put your gear under your raincoat.
- Wind is Your Enemy – Wind blows up dust and water, but can also move your camera as you are taking photographs resulting in less sharp shots. Think about how you're going to weigh down your tripod and stop your camera moving!
- Wear Good Shoes – When you start getting into landscape photography, you are almost certainly going to start experimenting with the vantage point of where you are shooting. Whether you plan to or not, you will start walking around, looking for somewhere better. It's best if you have a decent pair of shots.
- Fingerless Gloves in the Cold Are Great – If your hands are numb from the cold, it's very difficult to adjust your camera settings. If you are wearing thick gloves, it is also very difficult. Fingerless gloves are certainly no fashion statement, but they are really practical for shooting landscapes in cold conditions. Sad, but true.
- Cover Your Viewfinder – Especially with longer exposures, light can creep in through your rear viewfinder. The best thing to do is to keep it covered (many cameras ship with a rubber cover, but you can get them off Ebay very cheaply too).
- The Lightroom Spot Removal Tool is Your Friend – With all of that dust and wind, the chances of you getting an image that doesn't have any dust spots is, unfortunately, very slim. Luckily the spot removal tool in Lightroom is very very good. Use it liberally to clean up your shots.
- The Shadow Slider in Lightroom is Amazing – You will probably lose quite a bit of detail in your shadows when shooting in the early morning or late afternoon and it is very difficult to adjust for in camera. Luckily the shadow recovery slider in Lightroom can almost perform miracles. Try it. Fall in love with it.
- Proximity to Salt Water Leaves A Sheen on Lenses – The combination of wind and salt leaves a sheen on glass. Make sure you are using your lens cloth (many of them) very liberally. I carry at least 5 or 6 when shooting near a beach or the ocean.
- Make Sure You Can Get Stuff From Your Bag While Wearing It – One of the things about finding a good vantage point when shooting landscapes is that you will often find yourself standing in weird places. Sometimes on mud, in shallow water or puddles, on top of awkward rocks etc. And when you go to grab a piece of kit – a filter or lens cloth etc, you will have to extricate yourself from that position to go to get them from your bag. It's much easier if you can just grab them from your bag. The better designed bags make this easy.
- Keep Your Hands Dry – Trying to operate a camera with wet hands is awkward, slippery and troublesome. It is also potentially hazardous to your very expensive gear. Try to keep them dry (tip: take a hand towel if you know you are going to be shooting in a wet environment).
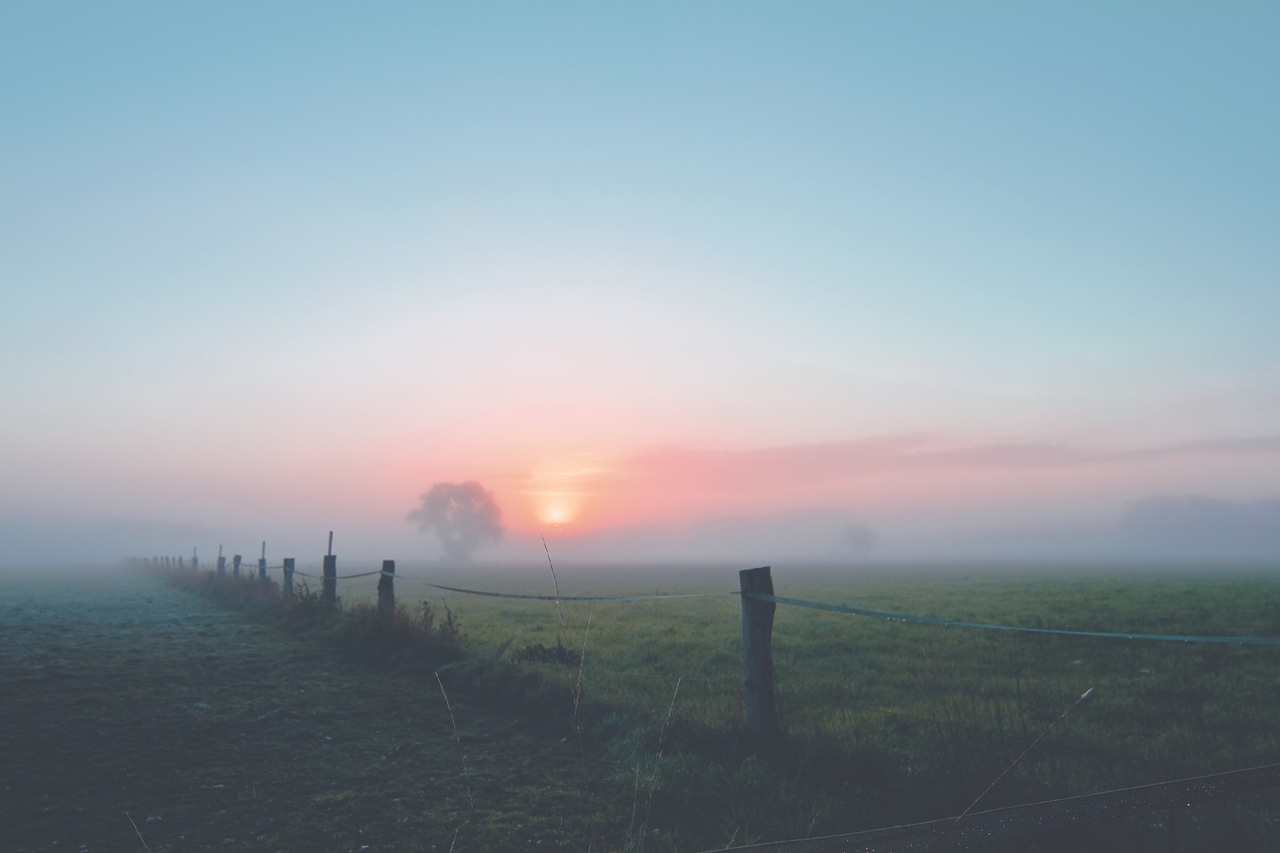
- Use the Saturation and Vibrance Sliders With Care – When you get into Lightroom, it is very tempting to go very heavy on the saturation and vibrance sliders when you see what they can do to your scene. If you shot in raw, you're almost certainly going to have to use them, but just be a bit careful of going too far. It can be obvious to see.
- The Black Slider Can Give a Shot Punch – The black slider in Lightroom is also a favourite of landscape photographers. Use it for sure, but use it with care. Crushing the blacks can also be quite obvious.
- If You Have Trouble With Dynamic Range, Bracket the Shot – Landscape photography often throws up problems with losing details in the highlights and the shadows. If you're struggling to keep your histogram away from the edges (lost highlights and shadows) then don't be afraid to do some bracketing (same shot taken multiple times with different shutter speeds) so you can merge them in post production.
- HDR, Done Well, Is Very Useful for Landscape Photographers – Following on from the bracketing tip, combining the images into a HDR image (possible in Lightroom, Photoshop or many other pieces of software), when done well, can be very useful for a landscape photographer. In fact, this is the exact scenario for which HDR was invented.
- Lightroom Lens Correction Profiles are Useful – You get a lot of distortion when shooting with wide angle lenses. The lens correction available in Lightroom is quite useful for adjusting the image depending on which lens you were using.
- Print Your Landscape Shots – One of the best ways to get better is to print your shots. You will continue to notice more and more ways that the image on your lounge room wall could have been improved. Then you will go out and take an even better shot.
- Enjoy Yourself – Landscape photography is a heap of fun, a wonderful challenge and one of the most enjoyable things you can challenge yourself with in photography. Enjoy it!


3 Comments
WOW. You packed a lot of information in this article. Thank You. I am working with a friend on landscape photography and this will be our study sheet and discussion for a few weeks.
Great summation of helpful suggestions for landscape photography!
Great stuff, confirms many things I have been practicing- thanks