In a previous article we took a look at metering using the camera’s built in metering system, explaining the different metering modes and in what situations to use them. For the vast majority of people the metering systems of modern digital cameras is so good that we need not consider other means of reading our exposures, however, for some of us, studio photographers and landscape photographers for example, there is sometimes a need for some more advanced techniques, using a dedicated exposure meter.
Exposure Meters: Handheld exposure meters used to be a vital tool for many film based photographers – names like Weston being synonymous with professional photography. These days it is possible to pick up older second hand meters for very good prices or, if your budget allows, a brand new digital meter from the likes of Sektronic et al. The advantage of newer meters is that are more likely to include a dedicated flash meter as well as the incident and reflected metering modes. Today we are going to look at both incident and flash metering.
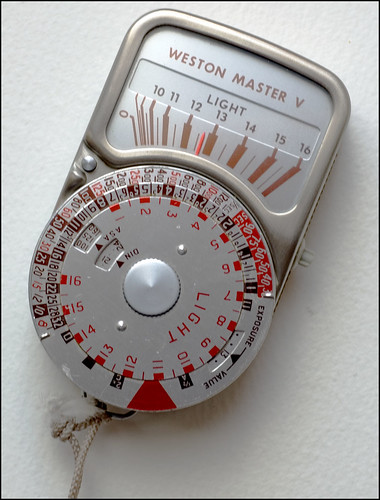
The Iconic Weston could still be used today by georgerexta [at] gmail [dot] com, on Flickr
Incident Metering: When you read the exposure using your own camera’s systems, you are making a reflected light reading. This means that light falls on your subject and is reflected into your camera. The problem with this is that the surface and color of your subject, modifies the light as it is reflected. If there is a predominance of one color or the subject is significantly darker or lighter than average, your camera’s meter can be fooled.
A good solution to this is to use incident light readings. This will measure the light falling directly on the subject, un altered by the subject itself. Using a handheld meter, you will notice it will have a white, translucent dome that covers the light sensor. This dome evens out the light and gives a very accurate indication of the correct exposure.
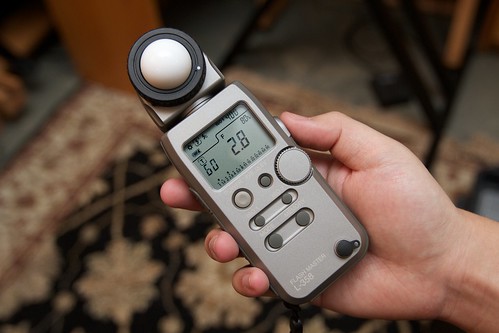
Incident Light Metering, the most accurate way to determine exposure by Yutaka Tsutano, on Flickr
Making an incident light reading is the opposite of a reflected light reading. With your camera already positioned, you go towards your subject, be it a landscape or ambient light portraits, then point the light meter directly towards the camera to make your reading. The reading you get gives you a very accurate indication of actual exposure without the outside influences caused by a reflected light reading. When transferring your reading to your camera, it is important to make sure you adjust the aperture, shutter speed and ISO rating to the camera. If your meter ISO and camera ISO do not match you will be shooting in vane.
Flash Metering: As mentioned, most modern handheld meters often have a flash meter built in. When using a flash meter, you can use either reflected light metering, at the camera position pointing toward the subject or incident reading as mentioned above.
As with ambient incident light reading, flash incident reading often gives a more accurate result. There are two ways to meter flash, you can either plug your flash sync cable into the meter and press the metering button, this will fire the flash or flashes in the same way as the using the sync socket on your camera.
The other way is when in flash mode, pressing the meter button and firing the flashes manually within a certain time frame, usually 60 seconds. Your meter will usually have a button or switch allowing you to select the required mode. One of the advantages of using flash metering in incident mode is it is not affected by light or dark backgrounds, meaning the exposure for the subject will be correct. As flash exposure is controlled by aperture you can adjust your shutter speed accordingly to get the background looking exactly as you would like it.
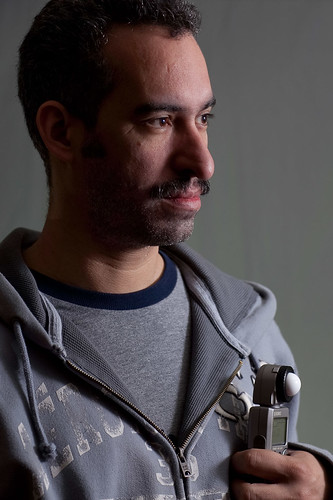
Incident Flash Metering by Vox Efx, on Flickr
Another advantage of using an external flash meter is outdoor portraiture, using fill in flash. An incident flash metering can allow you to accurately calculate the correct amount of fill in flash to keep your subject and background in balance.
Whilst perhaps not an essential piece of equipment for many of us, dedicated, hand held exposure meters can be an invaluable tool to the photographer, allowing us a much greater accuracy in metering in complex light. As photo accessories go, light meters can be a reasonably good value purchase, a decent light meter costing from $200-$400 new, cheaper if you buy second hand.


1 Comment
I’ve just bought a couple of Weston meters, these are the ones that I could never afforded when I first started using cameras. It’s great to go manually, using guesswork and luck when taking the ultimate shot 🙂
Dave