Sometimes, you purchase a product that truly revolutionises the way you work. It doesn’t happen very often but when it does it opens up all sorts of new possibilities. For me, that product is a field monitor, in particular, the Atomos Shinobi. Before we delve into the “what”, let’s have a little look at the “why”. So here's an Atomos Shinobi review including what you need to know about this product.
Atomos Shinobi 4K DCI 2160p
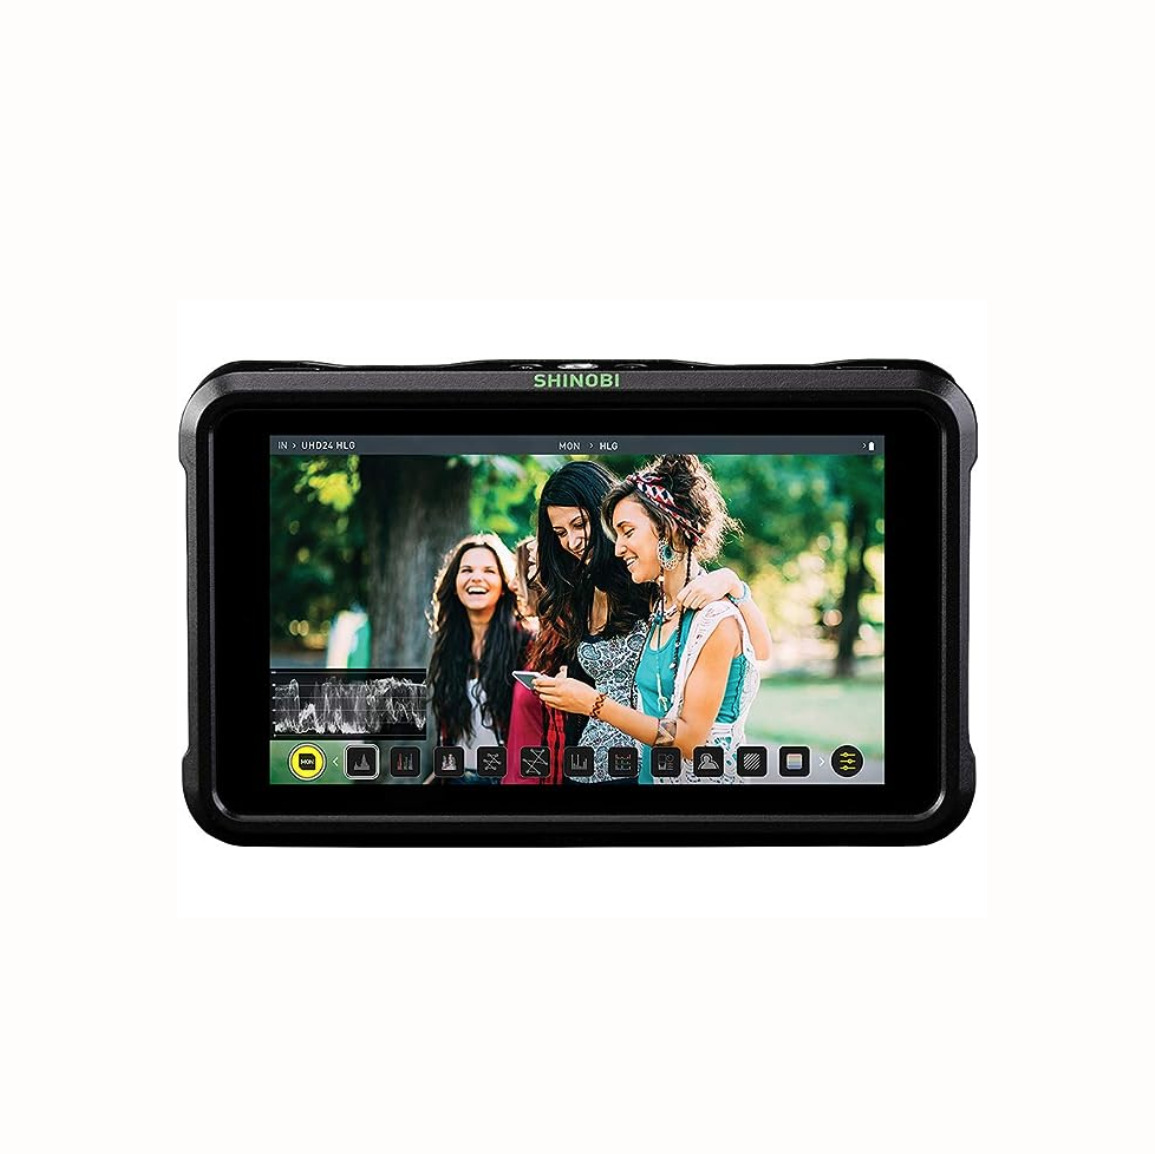
Atomos Shinobi 5.2″ IPS Touchscreen Full HD HDR Photo and Video Monitor
The Camera LCD Problem
When digital cameras first came out, their LCD screens were both tiny and very low in resolution. Over the years that LCD resolution is now greater than that of the actual camera sensor resolution from a few years back.
However, although the LCD screen size has grown, it is limited by the size of the camera. On average most camera’s screens are around 3 inches across the diagonal. There is one other serious drawback with camera LCDs, their brightness. Even in average daylight, it can be very difficult to get a good idea of how an image will look from your camera’s LCD.
Now, some of you might be thinking, so what? We are photographers, we shoot through the viewfinder and whether that’s optical or electronic, that's the best option. This might be true for some, but if we are using our cameras to the full potential, then many of us will be shooting video. And the tiny LCD screens on our cameras, make critical judgements such as colour exposure and focus, very difficult. Doubly so if shooting from a stabiliser such as a gimbal.
Why Use A Field Monitor
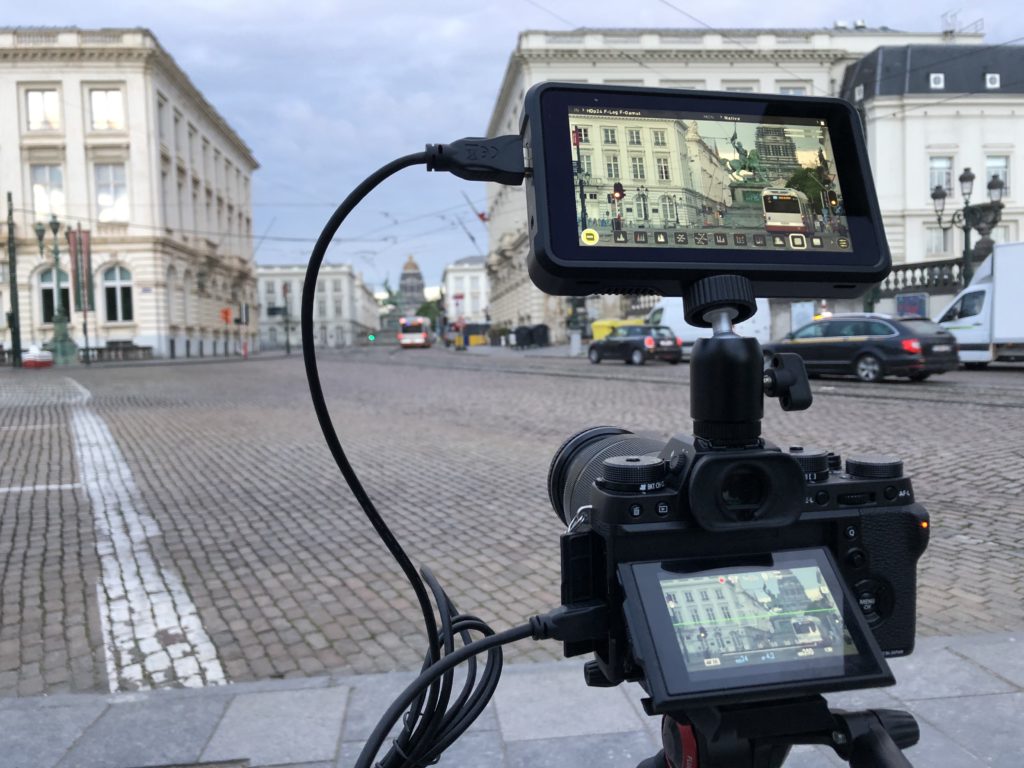
Cinematographers have always worked around the camera screen problem by using field monitors. Small, high brightness, high resolutions screens that take a live feed direct from the camera. Now those monitors are becoming cheaper and more geared towards the DSLR/Mirrorless shooter.
Most modern stills cameras that are also geared for video will have an HDMI output. This can be feed to a dedicated recorder as we discussed here, or you can just use the HDMI feed to view the live image. Because the feed is uncompressed, we get a very pure image with which to analyse and adjust our shots. Field monitors add a plethora of tools to enable the videographer and photographer to nail all aspects of that shot.
The Atomos Shinobi
Atomos is a big name in the high-end video world. They have sold field monitors and recorders for quite a while and for quite a price. Recently, however, they have been targeting the independent filmmaker market, firstly with the Atomos Ninja, a 5.5-inch monitor and recorder and recently with the Shinobi. The Shinobi is basically the Ninja with the recording device removed.
As I shoot predominantly video these days, I had been contemplating a field monitor for a while. The problem was twofold. The cheap ones were not very bright, did not have many tools and not well calibrated. The expensive ones were just that, plus they tended to be a minimum of 7 inches diagonal. When the Atomos Shinobi was announced I was very interested. It was not at the cheaper end, $399 rrp, but it was a 5.5 inch and the specs were very good.
I ordered mine from the excellent bricks and mortar store Park Cameras in the UK and took delivery just before I left on my current trip, a trip where the Shinobi is currently proving it’s worth.
My First Impressions.
Light. Taking it out of the box, it was just amazing how light the Shinobi felt. This is not a bad thing as it will be sitting on your camera or attached to your gimbal. The second was despite its lightness, it was sturdy, the housing made of a decent grade of plastic. Lastly, there’s no batteries, cables or chargers. This bit I already knew and more of that later. It did, however, come with a mains adapter, useful for studio shoots and needed when updating the firmware.
Setting The Shinobi Up.
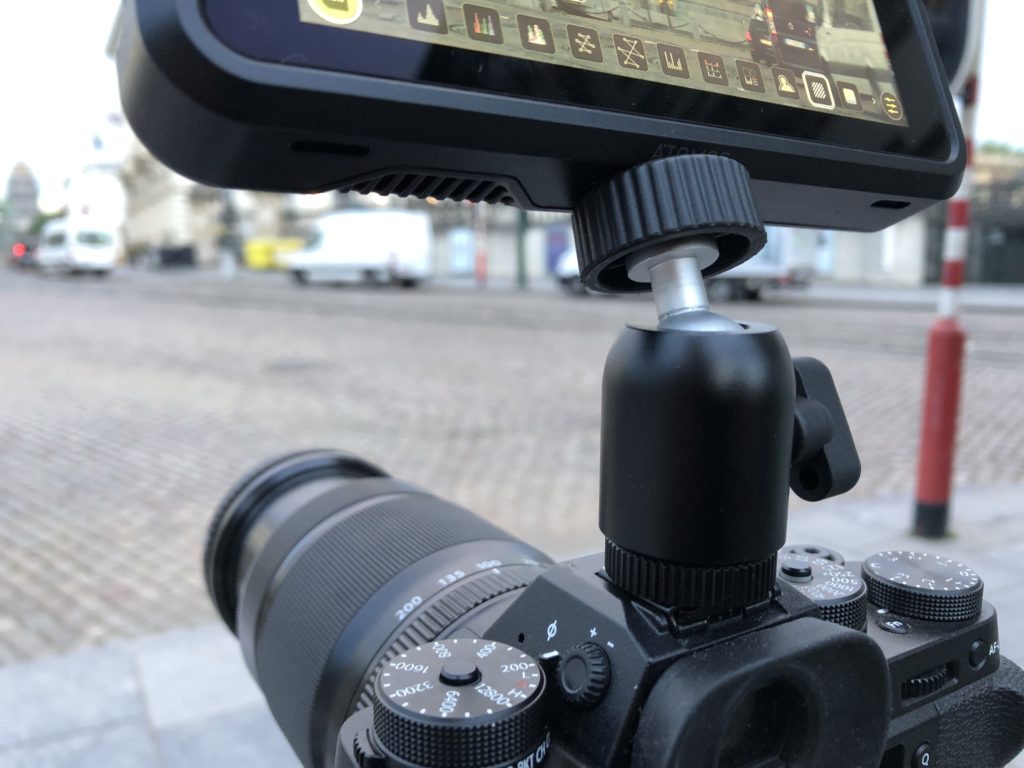
To get going with the Shinobi, you are going to need to buy batteries, an HDMI cable and a way of mounting it to your camera or gimbal. The batteries the Shinobi uses are the almost ubiquitous NP-F style battery found in many video-based peripherals. Originally by Sony, there are a plethora of third-party manufacturers that supply them. Depending on your camera you will need an HDMI or Micro HDMI to HDMI cable. It needs to be at least HDMI v1.4. Lastly to mount the monitor I am using a Small Rig hotshoe ball head. This is small. light and makes moving the monitor very easy.
Once you have connected the cables and batteries, you need to make sure your camera is outputting a live feed via HDMI but also recording internally.
Shooting With The Shinobi
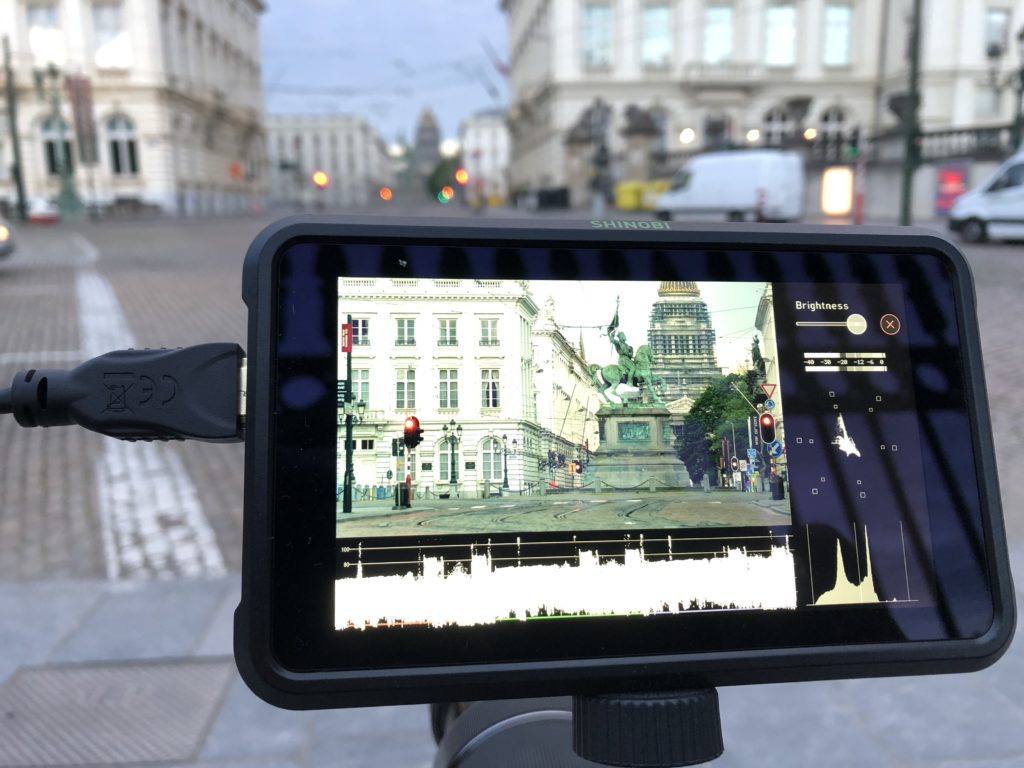
The first things that will hit you when using Shinobi is how much bigger it is compared to your camera’s LCD and how much brighter. The Atomos is a 1000 Nit monitor. To put that in perspective most top smartphones are around 500 nits at full brightness. You can clearly see the screen in bright daylight. It’s also a very responsive touch screen.
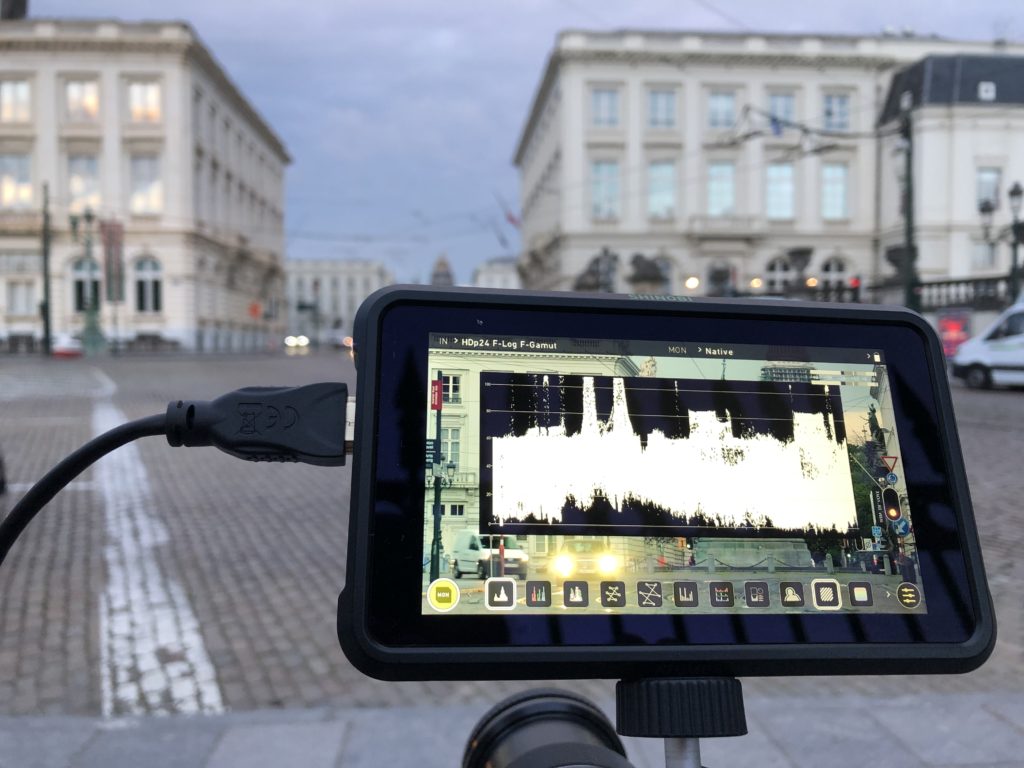
Along the top of the screen is a bar indicating your input. Although you can input 4k at up to 60fps, the feed is scaled to the monitor dimensions of 1920×1080 or full HD. This is more than enough to get a very good indication of what the image will look like. The Shinobi will accept LOG input from most cameras and also has the ability to apply a LUT to the image to give you an indication of what the corrected clip will look like.
To the bottom left is the MON icon. Touching this will pop up all the available exposure, colour and focus tools. Touching any of the tool icons will put that tool live, on screen. Some of the tools that are available include.
- Luna Waveform
- RGB Parade
- Vectorscope
- Histogram
- Analysis – Shows video, waveform, histogram and vectorscope simultaneously
- Focus Peaking
- Zebra Pattern
- False Colour
- Cinema Guides.
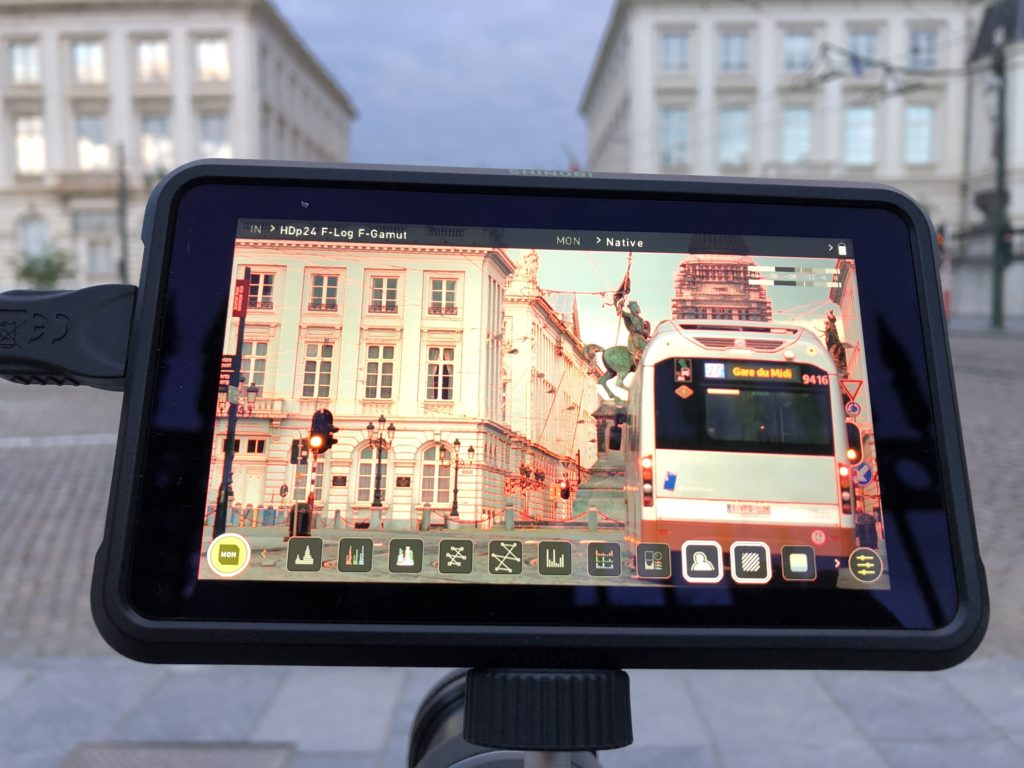
While these are predominantly designed for video, my experience when shooting stills on my Fuji is that nearly all of these tools are extremely useful. The Luna Waveform is a great way to nail the exposure accurately, whilst the Zebra Pattern is extremely useful in limiting or eliminating blown highlights. Focus peaking works in a similar way to most built-in versions except you can control the peaking line width and colour. This makes it an extremely useful tool for absolutely nailing exposure.
At the bottom right of the screen is the settings icon. Here you can define the camera input, audio monitors apply live LUTs or adjust the Shinobi’s display brightness and gamma. As a side note, being a high-quality screen, the Shinobi is factory calibrated to give a very good representation of your camera’s colour output.
Final Thoughts
In the few days I have been using the Shinobi, I have pretty much nailed every exposure and every focus. Even as an experienced photographer/videographer, that was rarely the case when using just the camera’s LCD. The plethora of visual information that it provides is fantastic and the ability to clearly see the screen in bright daylight makes it worth the price alone. Battery life is also very good. I bought two of the smallest NP-F batteries and get around 2 hours of continuous live use per battery.
There are of course downsides. You need to be a patient photographer, to take time setting it up each time you shoot. You will probably get the best results when shooting from a tripod or gimbal, it’s not a handheld sort of device despite its light weight.
Lastly, it would have been nice if Atomos had supplied some of the vital peripherals, in particular batteries and cables. Coming from the higher end video market, it’s possible that Atomos assume that their customers will have these readily to hand, however, this product, and it’s sister, the Ninja is aimed at the hybrid, stills/video market and these customers often will not have the cables or batteries to hand.
Overall, if you are the more patient, considered type of photographer or a photographer that does a lot of video work, then the Shinobi will be an excellent addition.
There are cheaper products out there, but for the relatively small premium you pay, you get a huge increase in usability and visual quality.
Atomos Shinobi 4K DCI 2160p

Atomos Shinobi 5.2″ IPS Touchscreen Full HD HDR Photo and Video Monitor


4 Comments
Thanks for sharing Jason. Do you know if the Shinobi can be used as a display for drones ?
I have looked into to this for my Phantom 4 Pro. It seems it can be, but you would still need the phone or tablet to run the DJI Go app. You also need the additional HDMI out module for the DJI controller which costs about $90.
You then use that phone or tablet as the usual controller and a pure video feed with no data to the Shinobi. As to whether this all works easily I have no idea but I might try it in the future.
Hei Jason,
Thanks for the review :).
A realstate photographer here and I’m just using the shinobi for stills. I like it very much but the big down side for me is that the shinobi disconects and reconnect every time I want to review a picture or zoom inn (very, very annoying)).
Wondering if it is just the way it is or something with the hdmi cable/settings in camera (A7riii)
I use it on my Fujis. The screen goes blank for a second when reviewing a picture but it does not disconnect. However I do get random disconnects in live view, which I suspect is due to the cable. I am going to order an official Atomos HDMI cable to see if that makes a difference