Do you sometimes look at the menu system of your camera in awe? In awe at the sheer number of incredible functions your camera has. Back in the days of film, it used to be so simple, you set ISO and colour balance by choosing a particular film type, set exposure with aperture and shutter speed, half-pressed the shutter to lock your one focus point then fired.
These days, however, there is an incredible array of functions built into our cameras, all are designed to improve our images but many often get overlooked. Today we are going to look at the 7 best camera functions you’re not using, but really should be.
1. Back Button Focus
Back button focus is one of the most underused yet immensely powerful functions that our cameras have. If you have ever been frustrated that your shutter button locks both exposure and focus, it’s time to shift the autofocus to the back button.
We like it so much at Light Stalking that we have written plenty of articles about it. There are many advantages to back button focusing, these include:
- Separating exposure from focus
- Holding focus after the shot
- Fast switching between continuous and single-shot modes.
- Manual focus override.
Once you have started using back button focus, you will wonder how you ever got on without it.
2. Auto Bracketing
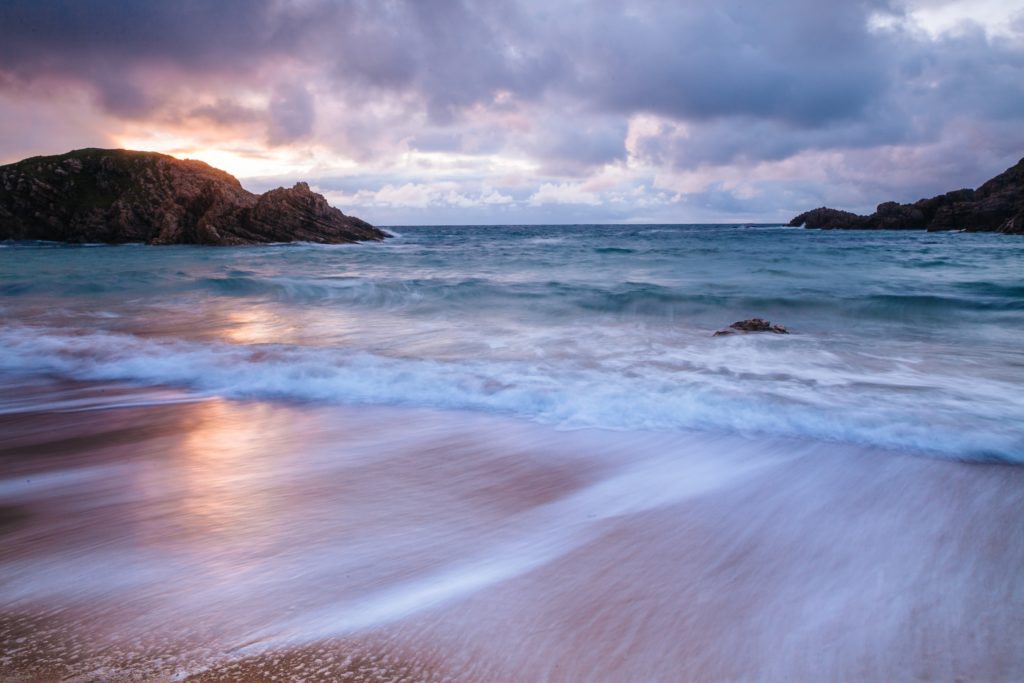
Auto bracketing is another very underused function. Despite their amazing abilities, modern cameras still struggle both with tricky lighting and with scenes with high contrast. Bracketing can help alleviate those issues by giving the photographer a choice of exposure or a sequence of exposures that can be merged into a High Dynamic Range shot (HDR).
However, perhaps the most underused feature of auto bracketing is the ability to program it. Most cameras allow you to define whether the bracket takes place with 1/3, 1/2 or full stops. They also allow you to define how many shots to take in the bracket, ranging from 3 up to 9 on some cameras.
3. Custom Function Buttons
There is a good chance that your camera is packed full of custom function buttons scattered around its body. There is also a pretty good chance that many of you use at least some of them. What is less likely, however, is the knowledge that these buttons can be programmed to your own style of photography.
This will be done through the camera’s menu system and can be an extremely useful function to use. For example, one button may be set to change the ISO but if that’s something you rarely do, you can reprogram it to change the camera’s white balance.
Because we all use our cameras in different ways and with different workflows, reassigning your function buttons can be a great way to become more efficient with your camera.
4. Focus Peaking
Focus peaking is a tool borrowed from video and film making. It is a very precise way to confirm your focus, especially when shooting manual focus. It works by overlaying a coloured pattern on areas of the image that are in sharp focus.
By default, most cameras do not have focus peaking switched on, so you will have to dabble with the menu to get it set up. It works in your camera’s live view and in real-time. As you rack your focus, you will see the pattern change through the image. It’s also a great way to determine how deep our depth of field is in an image.
On most cameras, the focus peaking is customizable, you can change the colour of the overlay and the thickness of the lines in that overlay.
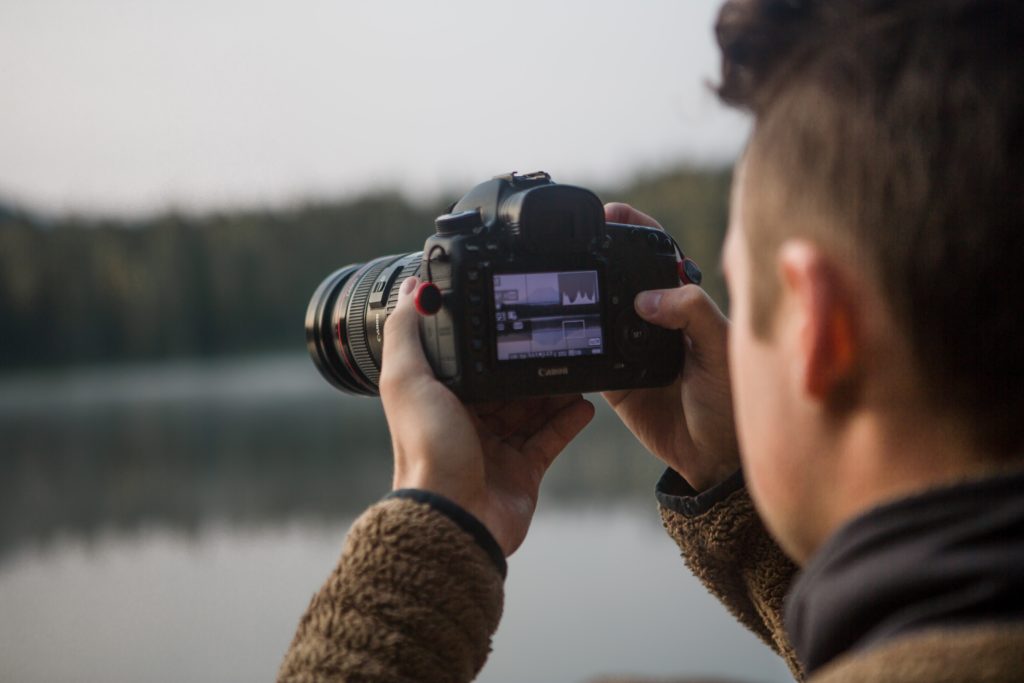
5. RGB Histogram
I am sure many of you use the histogram, it’s an extremely powerful tool for nailing exposure. But how many of you use the RGB histogram? The basic default histogram on cameras is a luminance graph, a combination of the red, green and blue channels. This is fine for much of the time, however, it can be inaccurate when there is a significant block of one colour.
For that reason, using the RGB version of the histogram is preferable. You will probably need to delve into your menu to change it from luminance but by doing so, you can determine whether your camera is under or overexposing in any of the RGB channels and correct for it. This is very useful to help avoid oversaturated reds, a common issue with modern camera sensors.
6. Intervalometer
Intervala…what? You might ask. And you would be right, its an odd-sounding term but for a very useful function. Intervalometers allow you to automatically take shots at specific time intervals over a specific time period. Think time-lapse or hyper-lapse and you will get the idea.
Many cameras these days have an intervalometer built-in. They will allow you to program the time interval from a fraction of a second up to minutes and the number of shots, usually up to 999. If you need to go beyond that just set the number to unlimited.
7. Manual White Balance
Colour meters on cameras are pretty amazing but sometimes you might want to set a manual white balance. A particular case would be when shooting video. Unlike RAW stills you cannot set white balance for video in post-production. Also, video files tend to have a lot less tolerance to correction than even JPEG stills.
Because of this, setting a manual white balance is a very useful function to have. You can scroll through the levels of Kelvin to get the right look or even set your own white balance using a white card. This will give you a very accurate rendition of the light at the time of shooting.
There are so many functions and tools buried within the menus of our cameras. Many of them can be extremely useful but because of the sheer amount of them, they can often get overlooked. The above are just a few examples of underused functions. Can you think of any more? If so add them to the comments below.
Further Reading
- Back Button Focus – How It Can Transform Your Camera Craft
- A Beginner's Guide To White Balance
- A Brief Introduction To Focus Peaking
- You're Probably Not Using This Camera Function To Its Full Potential
- Why Camera Manuals Are So Difficult To Read And What You Can Do About It
Further Learning:
As the next step on your photography journey, you may want to take a look at the DSLR Crash Course. This is a course where you will be taken by the hand and led step-by-step in discovering photography skills using your DSLR.
In the DSLR Crash Course you will learn:
- How you can get the correct exposure in any situation.
- A practical in-depth breakdown of ISO, Aperture and Shutter speed.
- Handling difficult backlighting
- Discover what metering modes are and how you can effectively use them to create the images you want, every time.
- The Focus, Lock, and Recompose Method
- Choosing The “Correct” Auto-focusing Mode
- How to effectively Control Shutter Speed using Aperture Priority
- Understanding Depth of field, so you can create those highly desirable images with amazing background blur.
- And much more…


4 Comments
Let’s say that the Red is over saturated- as you wrote. What camera settings would you change?
Hi Craig, you can reduce your exposure to bring the reds inside the histogram or change the white balance to a slightly cooler temperature
Shoot.
RAW.
I shoot RAW 100% of the time, however, 5 of the 7 tips listed are not effected by shooting RAW at all. Of the other two, setting a manual white balance will still give you a good JPEG reference file with which to compare your RAW too and you can use the RGB histogram to help you with that.