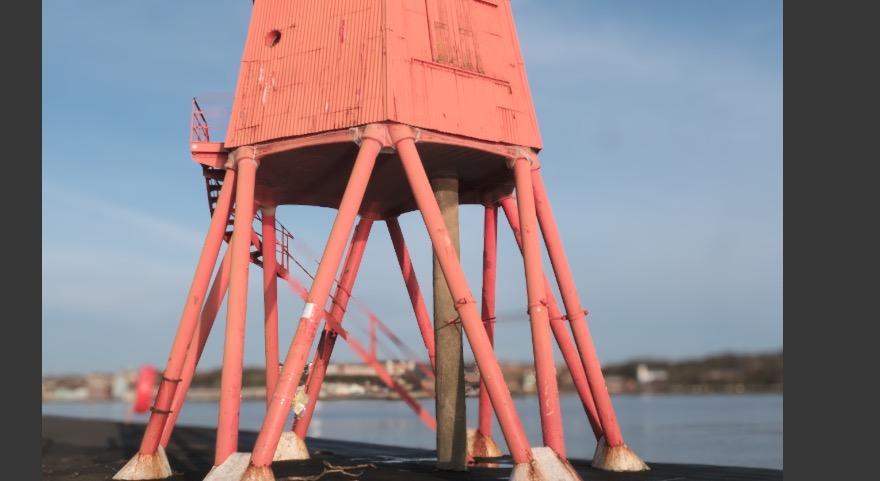
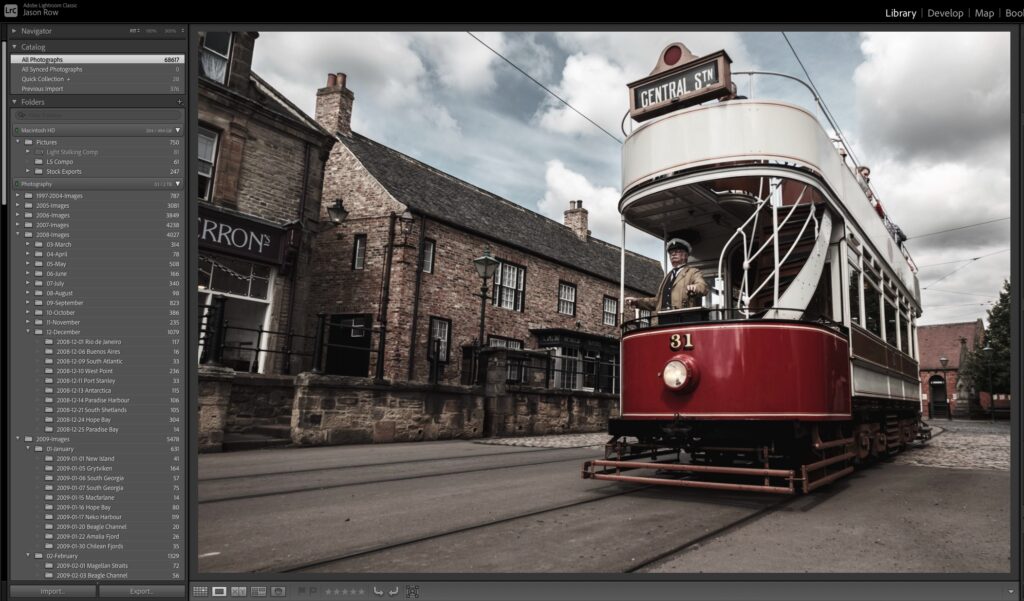
When you shoot raw, you do not see the best image straight out of camera so doing a few tweaks in post production can make your image pop.
Normally people work with exposure, contrast, vibrance and saturation, then do a bit of cropping and that’s about it. But there is plenty more you can do. Let's take a look at some of the easier edits you can make. Grab Kent DufFault's Fundamental Editing Guide if you want to take it even further.
Quick tip: Try using the highlights and shadow sliders to bring out lost detail. Highlights slider for the brighter regions and shadows for the darker regions.
Most good post processing software comes with some powerful tools that you can make use of to bring the best out of your images. We're basing these tips on Lightroom, but most other editing programs have similar editing tools you can use.
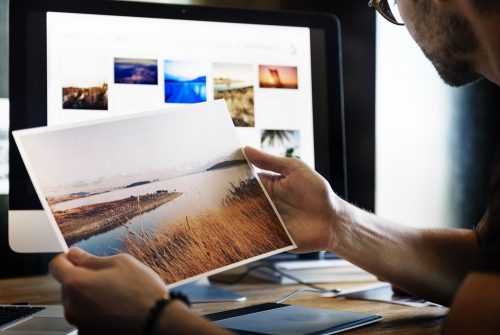
Image from Pexels by RawPixel
Here is a summary of three panels/tools that people rarely use or just ignore.
1. The Curves panel:
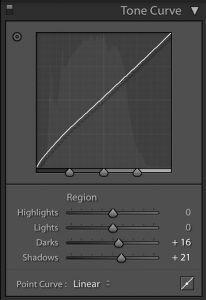
This is a very powerful tool if used correctly. The curve has the highlights, mid-tones and shadows region and each of these regions can be fine tuned separately to tweak your image to look the best. Start playing with the sliders and then try messing around using points on the curve. It's quite interesting what you can achieve with this powerful little tool. With some practice, you can create some powerful images.
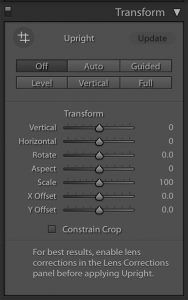
2. The Transform panel:
This tool helps greatly when you are confused on working around the verticals and horizontals in your images. Images look perfect when you have the lines straight, especially images that have architectural structures in them. You can do an auto, which is not always perfect. At times when auto doesn’t help, it is best to manually drag the sliders to see what looks best on your image.
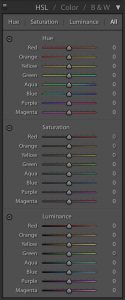
3: The HSL (Hue, Saturation, Luminance) panel:
The one panel that will help you get whatever look or tones you need in your images. Be it a cinematic look or a retro / vintage feel to your image, try playing around with the HSL panel. You will be aware of what the saturation sliders do. The Hue sliders are what you use to tweak your colours and another important one is the Luminance panel that you use to adjust the intensity of the colours. I have personally brought back life to many skies in my images with this tool (decrease luminance on the blues for bluer skies for example).
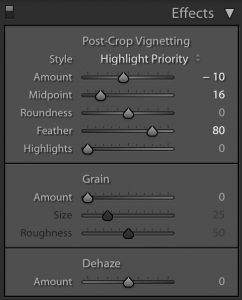
Another quick tip:
If you have a dehaze tool in your post processing app, use it to your advantage to create dramatic images even when they look too flat or hazy!
If you want to take your editing game to the next level, then the guide for that is Kent DufFault's Fundamental Editing Guide which will give you a lot more pro tips.

