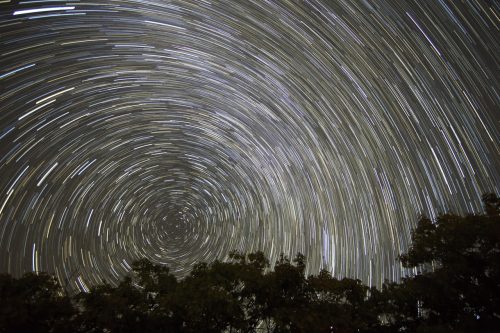
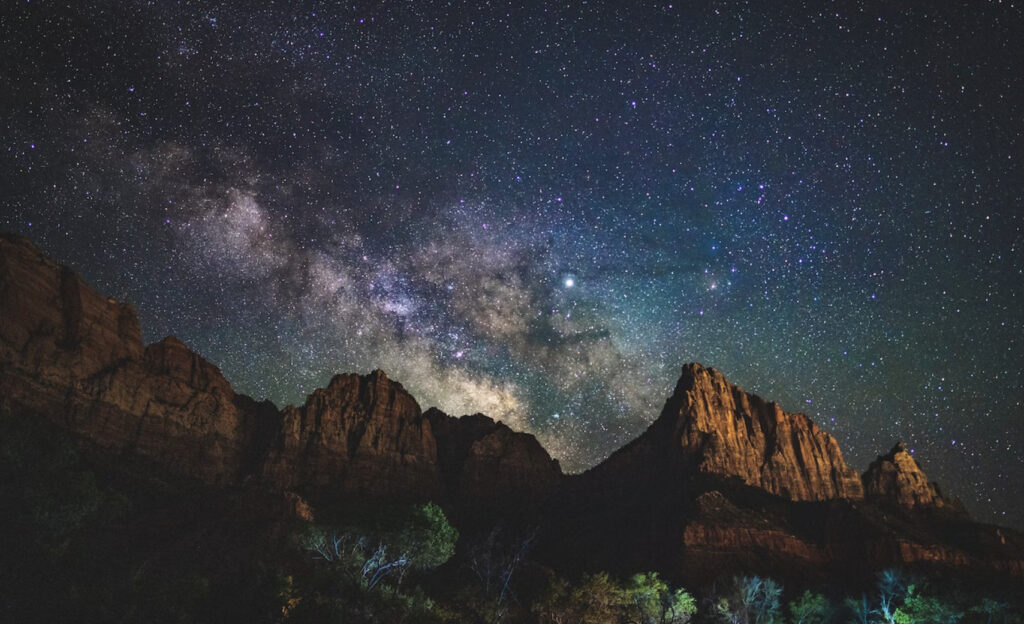
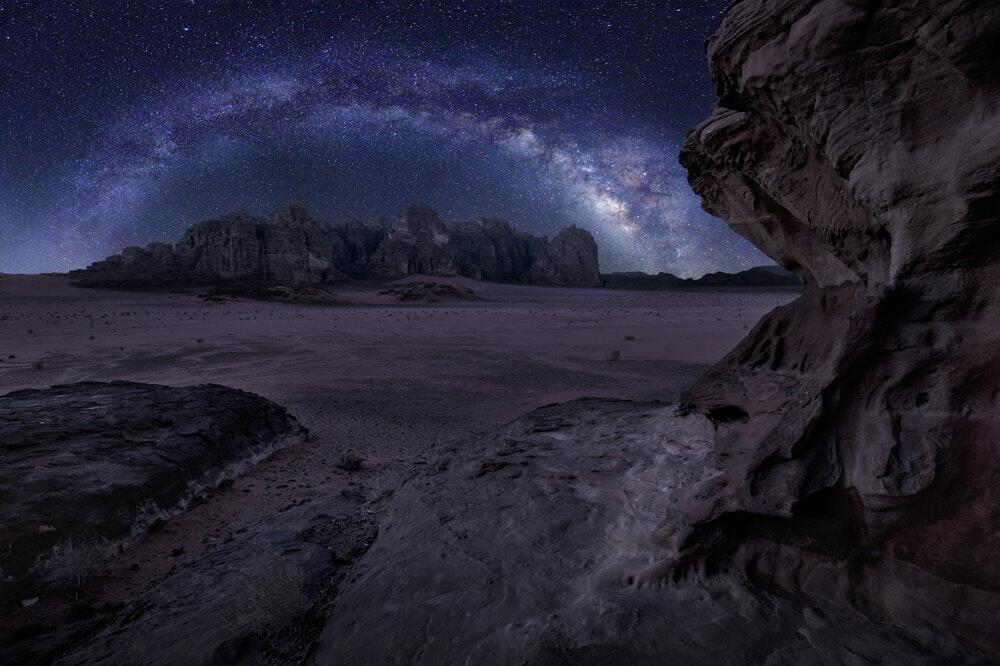
We live in a beautiful galaxy called the Milky Way and to be able to see and photograph it is not an impossible task anymore. Being at the right place at the right time with the right equipment is all that you need to get stunning photographs of the Milky Way.
While it is the Milky Way season right now, I thought it would be the best time to share some tips for those who have been shying away from photographing the Milky Way. Here are some quick tips for you and if you practice with patience, I can guarantee that you will get a good image of this amazing galaxy that we are a part of. Some Useful Information / Facts Before You Get Started:
Grab your Milky Way Photography Blueprint for free right here.
Some part of the Milky Way is always visible all through the year to some part of the Earth, after all, it is the galaxy that we are a part of. It is just that the core is not visible all through the year during the night time and when it is up in the sky during the day it is impossible to see it. Here is a Photographer’s Guide to the Milky Way with a good explanation of why you cannot see the Milky Way every day in the night sky.
What Gear Do You Need To Shoot The Milky Way?
- When it comes to gear, pretty simple stuff to be honest – A camera that can shoot manual, a wide-angle lens with a wide aperture of at least f2.8 (but honestly, kit lenses are good for a start), a tripod, a remote or cable release, an app to locate the Milky Way.
- You need to be in a location free from light pollution due to the city lights, you need to have a clear sky although occasional clouds here and there do not matter and the right time of the year (May to August is the best).
- Keep an eye on the moon phases, moonrise, and moonset times as you do not want the moon to illuminate the sky and make the Milky Way look faint. Having a crescent moon should not be a problem, but will add to the beauty of the Milky Way image.
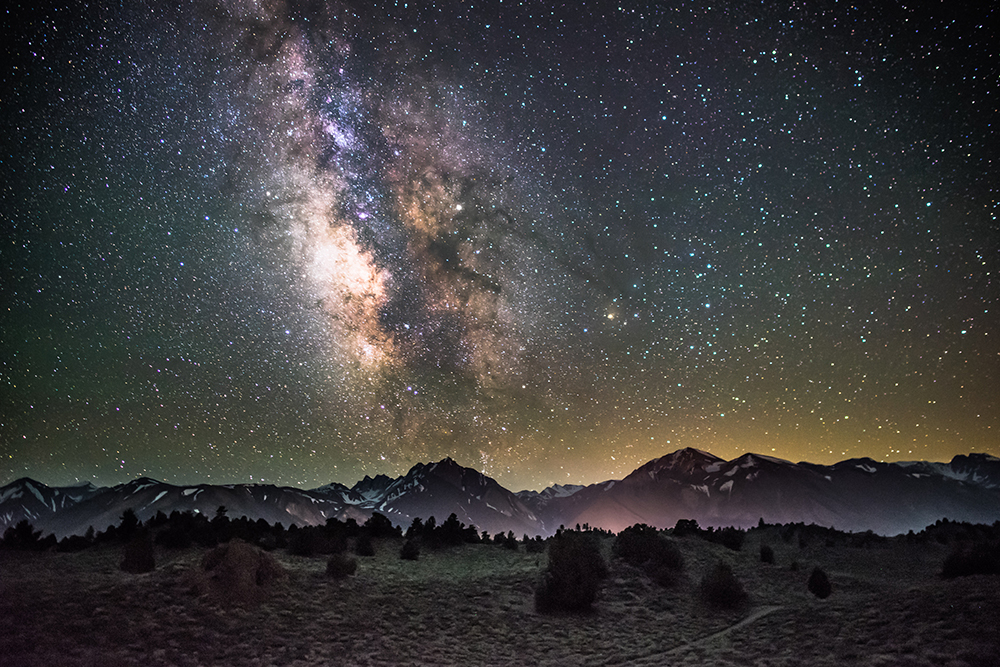
How To Locate The Milky Way?
Here is a very easy way to locate the Milky Way as most of us have a smartphone in hand these days. These apps can accurately show you the location of the Milky Way at any time or tell you at what time the Milky Way rises.
- The Sky Guide app for iOS that I usually use gives an accurate location of the Milky Way and alerts you of astronomical events.
- If you are looking for a free app for the iOS, I have tried the Sky View Lite that is a good enough app to locate the Milky Way. The Sky View is free for Android.
- For Android users looking for a good app Star Walk 2 is the one to go for and it is free. I have personally found these apps to be accurate as I have tried them myself. The Star Walk 2 lets you see the position of the milky way for future dates and times which I think is a good feature of the app.
Did You Know? If you are in a perfectly dark area without any light around you, you should be able to see the Milky Way with your own eyes. It appears as a faint band across the sky!
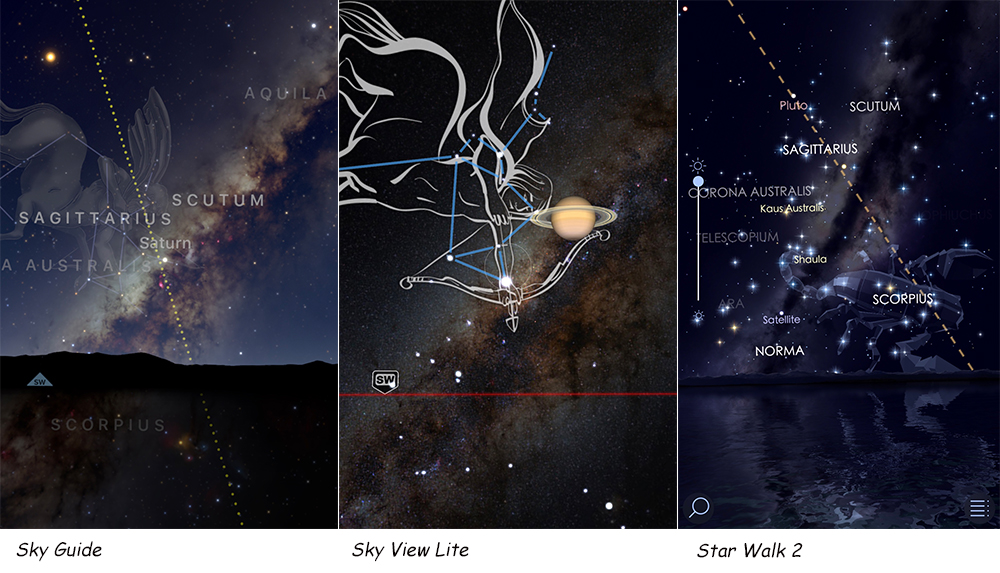
Screenshot of the Apps used to locate the Milky Way
Use The 500 Rule To Calculate Shutter Speed – In order to avoid star trails in your Milky Way image, you need to be careful about the shutter speed. Divide 500 by the focal length of the lens you are using and if you are using an APS-C sensor, take into account the crop factor of 1.5.
For example, if you are using a 24mm focal length, on a full frame camera, the shutter speed has to be 500/24 = 20.8 = 21seconds and for an APS-C sensor, the focal length of the lens will be 24 x 1.5 = 36mm. So shutter speed will be 500/36 = 13.8 = 14 seconds.
And The Golden Rule – always shoot raw. You will not get away with shooting the Milky Way in jpeg format.
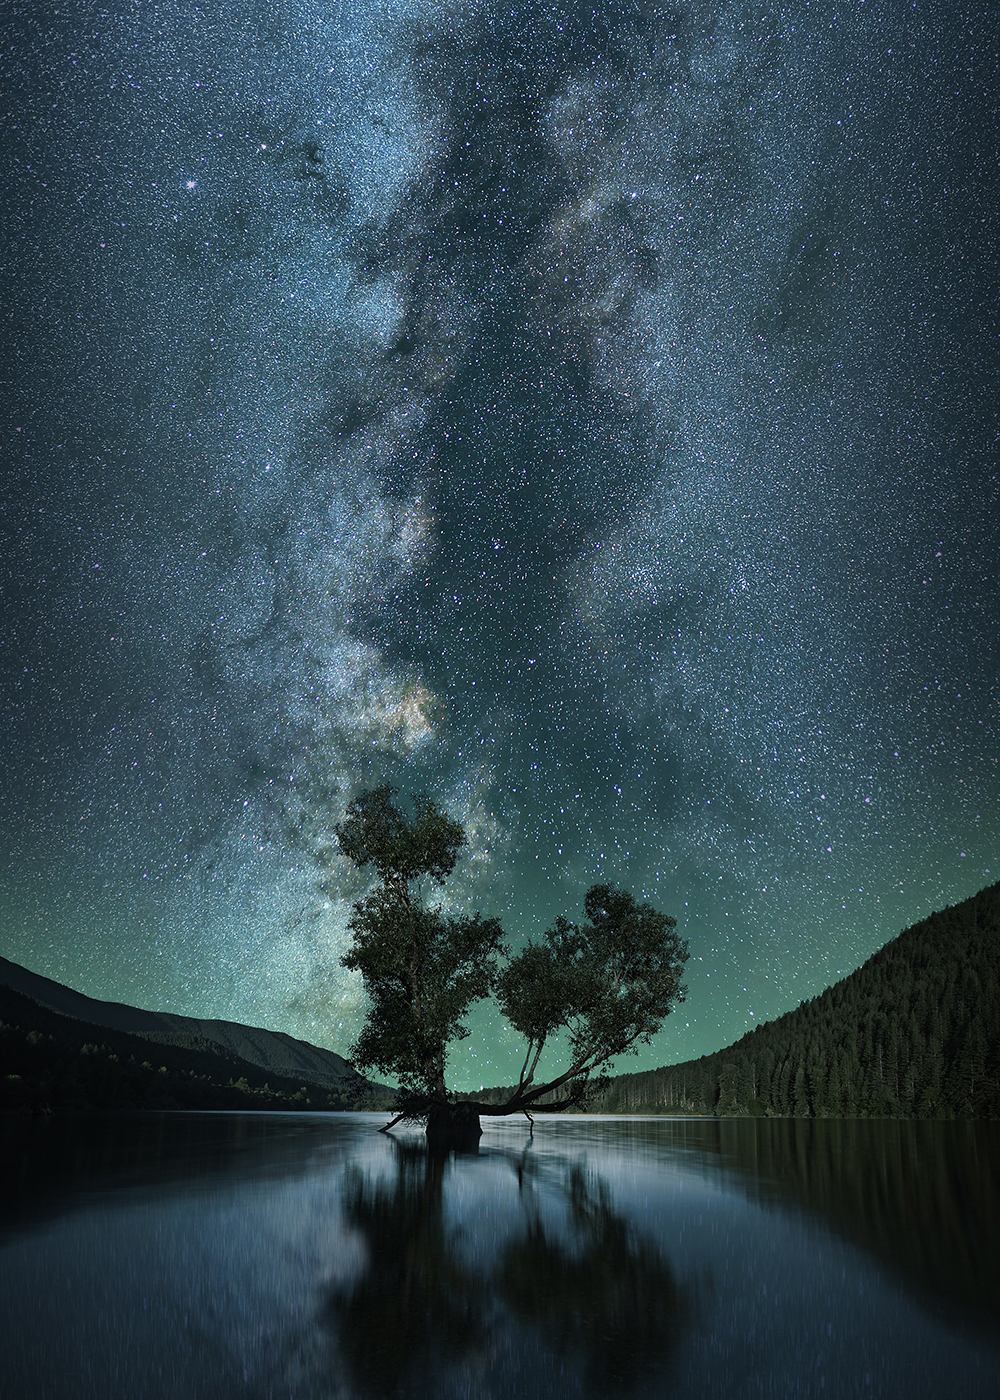
How To Shoot The Milky Way:
- Find a good location away from the city lights. It is good to have a foreground in your composition to show depth and to create some compelling Milky Way images.
- Put your camera on a tripod. You need a camera that can shoot on manual mode. Make sure that the tripod is sturdy enough to hold the camera and lens combination and to withstand windy conditions.
- Having a wide angle lens between 14mm to 24mm is advised to get a good view of the Milky Way in the frame.
- Set the aperture to the widest on the lens – having at least f2.8 is advisable, but if you are a beginner and have only the kit lens, then go ahead with your kit at 18mm / f3.5 (Here are some samples shot using kit lens – Sample 1, Sample 2, Sample 3, Sample 4, Sample 5)
- Start with the lowest iso possible, perhaps 1600. Depending on what you get, if you need you can increase the iso up to 3200, above which the image quality can start to deteriorate.
- Put your lens on manual focus and focus on the brightest star in the sky. It is best to have live view on, zoom in on the bright star and turn the focus ring till the star shows up as a sharp bright point in the screen. Do not change focus after this step.
- Using a mobile app, locate the milky way in the sky.
- Frame your image with the Milky Way in the frame and some interesting foreground where possible.
- Calculate shutter speed based on the 500 rule. You may have to use the bulb mode depending on shutter speed.
- Use a remote or cable release to release the shutter so that you avoid any camera shake due to pressing the shutter. If you are using a DSLR, use the mirror lockup feature as well.
- Do a series of test shots to get the composition and settings right.
- Once you have your images, post process them using your go-to application to process raw images. Slight changes in the temperature, exposure, contrast, clarity, blacks and whites sliders should do the job.
Once you get your first shot that you are happy with, you can go out to locations without any fear or doubt and start shooting the Milky Way straight away as long as the weather and other factors work well.
Do you want to take magazine quality Milky Way Photographs without fancy cameras or expensive lenses even if you live in a light polluted area? You should then check out Milky Way Mastery by Expert Photography.

