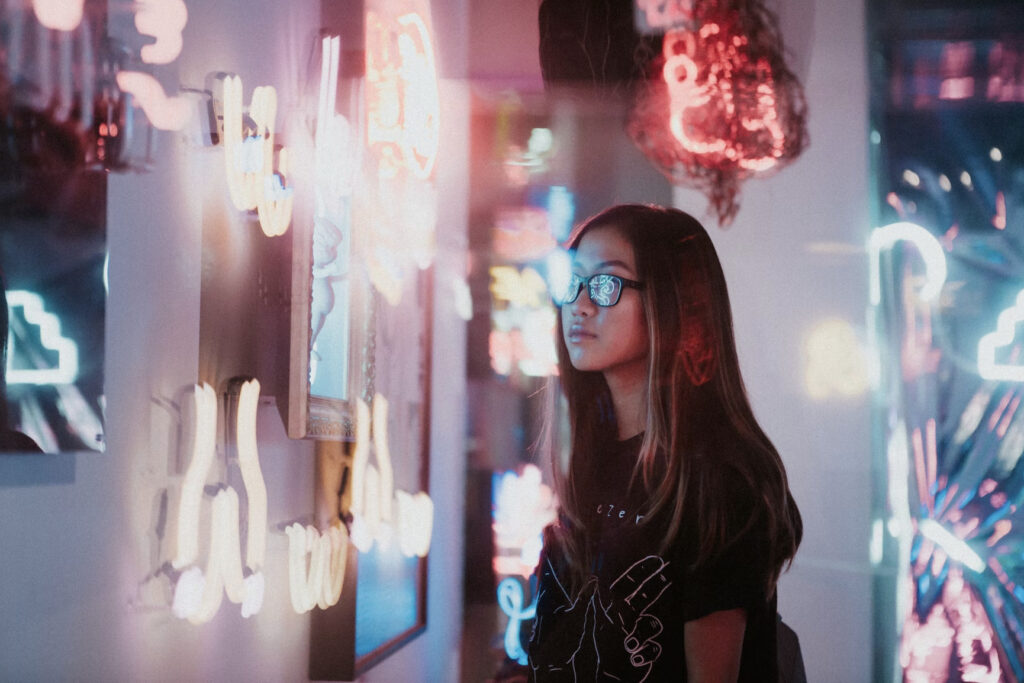
Most of us understand the importance of the color or white balance setting on our camera. It is there to deal with the variations in color from different light sources or in the case of the sun, different times of the day. There is however an entire other side to color and that of course is the control of color in post production. Today we will take a brief look at how to control our color in software.
Shooting in Raw for Better Color Control
Let’s start by looking at Raw. One of the many advantages of using Raw files is that you set the white balance in the post production. No matter what white balance your camera is set to when shooting, you can always set the white balance afterward. This is, in fact an often underrated advantage, as correcting a incorrectly set white balance on a jpg file can be extremely difficult, if not impossible, depending on the scenario.
Adjusting Color Temperature and Tint
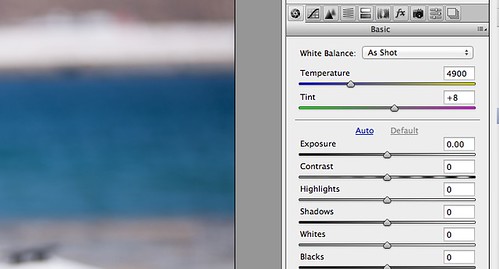
When we open our Raw file in Adobe Raw, Lightroom or Aperture, we have options on how to change the color, typically color temperature and tint. The color temperature goes from blues at the lower end of the scale to warmer reds and yellows at the upper end of the scale. These are the opposite colors to what an image shot at that setting would appear like and can be thought of as a type of filter to correct color. The scale is measured in Kelvin and typically ranges from 2500 K at the low end to 10000 K at the high end. By moving this color temperature slider, we can set the color temperature exactly as we require. For example, we can warm the color of a sunset by moving the slider to the high end of the scale, adding yellows and then reds.
The tint control allows us to further correct the image by adjusting the green/magenta in the shot. In addition to these sliders most Raw software will have a color dropper tool. To use this, you need to look for a neutral grey area in the shot and click the dropper on that area. The software will then attempt to analyse what the color should be and make the correction.
Color Balance Tool
Beyond adjusting the white balance in Raw, there are a number of controls that we can use to adjust color in modern photographic software. Typically the most commonly used are the simple color balance tools. This allows you to adjust the levels of red, green and blue in an image by using sliders to adjust the ratios between them.
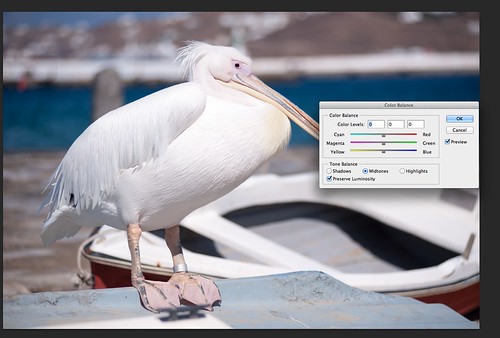
Basic color controls in Photoshop
Color Correction Using Levels and Curves
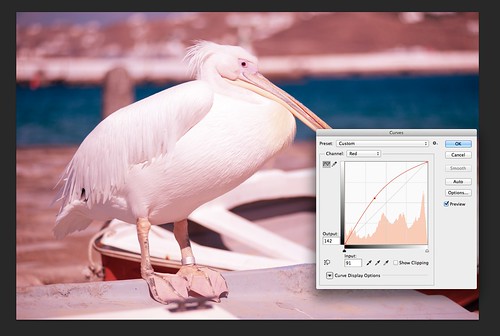
There is, however, a better, more accurate way to do this, and that is to use the levels controls. At first glance this tool would appear to only adjust the luminance level, but in most software there is also the option to work on individual channels. The advantage of this is that you can work on shadows, mid tones and highlights separately. Beyond that and even more controllable is the use of individual color curves in the curves tool. This allows you to create a custom curve for each color channel allowing almost infinite control over a color. When using either levels or curves to control color, you often find that if, for example, you correct a blue cast in the shadows, by adding yellow, the highlights will also move slightly towards yellow. To correct this you can add a touch of blue at the highlight end of the scale.
Hue, Saturation and Vibrance Adjustments to Enhance Color
As well as the typical red, green blue sliders, the main photo editing programs also have a number of other controls such as saturation, vibrance, luminance and hue. Saturation is the most commonly used tool and this boosts color throughout the entire image and across the entire spectrum. Because it is indiscriminate, it should be used with care so as not to over saturate an image. Vibrance is a more subtle tool, using an algorithm, it boosts saturation only in areas of muted color, leaving the already bright, saturated areas alone and reducing the risk of over saturation.
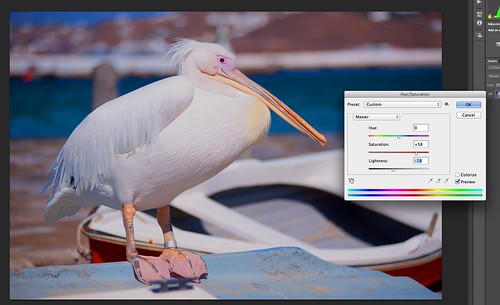
Hue and Saturation adjustment in Photoshop
In some editing programs you can use these controls on individual color channels for greater control. The Hue tool allows you to shift the overall color of an image along the full spectrum range. For example a red door can be changed to green by sliding the hue adjustment. However, all other colors in the scene will shift in the same direction.
The luminance tool will adjust the brightness and contrast of colors with an image and is best used on an individual color channel. For example, if you have a red barn and you want to make that redness brighter without over saturating it, you would slide the red luminance tool to the lighter end of the scale.
In Conclusion
There are a multitude of different color tools available to us in the various post production programs. The beauty of digital is that it gives us the ability to play and experiment with these controls to find out which ones work best for us. When experimenting in Photoshop or Elements, always use a copy of the original as these programs perform what's known as destructive editing, i.e. the changes are permanent. Lightroom and Aperture are non destructive programs, allowing you to experiment as much as you like without risking the image integrity.
