After a decade or so of being deeply in love with photography, I've reflected a thing or two about getting better in a systematic way. Personally, I see photography as a friendly companion for anyone's life. Yet, as a discipline, is hard to find a way of getting better in a consistent way, there are simply no magic tricks or cooking recipes for achieving this.
Among all creative disciplines, photography is one of the easiest to access to. Don't get me wrong, but we can't deny how simple it is nowadays to press a shutter button or a smartphone's screen to get an image recorded for us. In this post, I'll be sharing my opinion on the most common and popular advice you can find on both Lightroom and Photoshop. But first, let me hand you the most basic piece of advice I always give to my students; no matter the craft.
Ask yourselves the following question, “What am I trying to achieve with my images”? Is it a story you are trying to tell? Or is it a product your client needs to sell more? No matter the purpose, every photographic project should have a clear goal behind it. Answering this question ain't easy of course. But the more clear the answer, the easier the workflow will become. A clear goal will guide, not only your eye on the field but also your post-processing decisions.
Before Anything Else
Raw file development and digital manipulation are exciting steps from a broader flow. Nevertheless, they should always be done with delicacy to avoid funny results. After all, we are no longer living in the days of early HDR!
Cropping
It never fails to surprise me how drastically an image can change after a little visual trimming job. Cropping is the first thing I check on my photos. Not all of them need to be cropped, but one just feels when is needed. A valuable trick I learned from other photographer colleagues is to use your hand to block certain areas you find distracting on your shot before even clicking on the crop button in Lightroom or Photoshop. And speaking of peers, did you know that cropping is one of the most popular suggestions we find in our feedback forum? No wonder why!
When thinking about cropping, ask yourself the following questions:
- Is the main subject of the image easy to spot?
- Are all borders clean of distracting elements?
Not as much as you expected right? Of course, you can always get creative and try different aspect ratios, maybe 1:1 or maybe something more in the panoramic vibe. When needed, cropping should always be used to improve composition and not the other way around.
Pro Tip: When cropping, try your best to keep a standard aspect ratio, one never knows when the opportunity to print a photograph might eventually appear in the wild.

White Balance
After cropping is done, the white balance should follow next. This tool sets the ground level for any shot following a concept or a particular goal. For example, if you are trying to convey a dark and moody story, a cooler temperature will benefit the shot. Or maybe you want something more inspiring and uplifting, then a warm temperature will get your image closer to where you want it to be.
Mind the Lines
Over the years, I've become obsessed with capturing horizontal and vertical lines in ways that feel tight and straight. But despite my visual OCD, wonky horizons are just impossible to avoid. Although, if you are into landscape or architectural photography, then I have great news. These and other similar genres require tripods to achieve high-quality results, and keeping your lines secure is quite easy with these marvellous tools.
Nowadays, editing software makes it easy for us to straighten our shots; and I'm not talking just about slightly rotating our raw files. I'm referring of course to these powerful Lightroom tools.
Also, don't forget to check how to display various sets of guidelines on your camera or phone.
Dodging and Burning
These two have been around since the birth of photography and perhaps even longer; yet, some fail to use them properly. And I believe it has to do with their weird names. Let me explain this a bit further. When we listen to the word “burn”, one could think about brightness coming out of a burning fire! And dodging, what's that even supposed to mean?
A simpler way of understanding these two is, of course, to remember that burnt areas tend to be darker than unburned areas, right? And for dodging, well, you just need to remember it as the opposite of darkness, ergo brightness. In a nutshell, dodging refers to the process of brightening a specific area of a photograph and burning is used for darkening another portion of the frame.
For me, this gets quickly done by pulling a bit of extra information from the darker regions of the picture, while also reducing brightness from heavily blown areas. A slight vignette can also add a bit of drama to the scene, and the subtle use of local masking will add the finishing touch.
Cranking up the Contrast
As with many things in photography, contrast is better achieved on camera rather than post; especially when using colour as your baseline for contrast. However, post-processing offers a myriad of tools for dealing with it.
Pro Tip: If you are into black and white photography, you should know that high-quality monochrome imagery gets achieved in post. Back in the day of film, BW was a matter of choice before taking the shot. Nowadays, is something we achieve the other way around.
My personal approach towards contrast is increasing values on any light-oriented slider while pulling down dark-oriented ones. When it comes to sliders, I use the arrows on my keyboard to keep things under control.
Face the Darkness
I love dark and moody shots, for which I deepen the black regions for a more dramatic effect. But “what about reducing contrast?” you might be thinking by now. This can also be achieved by bringing bright and dark values closer to each other. This will deliver a controlled hazy effect on your shots, perfect for getting lovely dreamy effects!
By the way, I got that phrase from one of my favourite ads of all times!

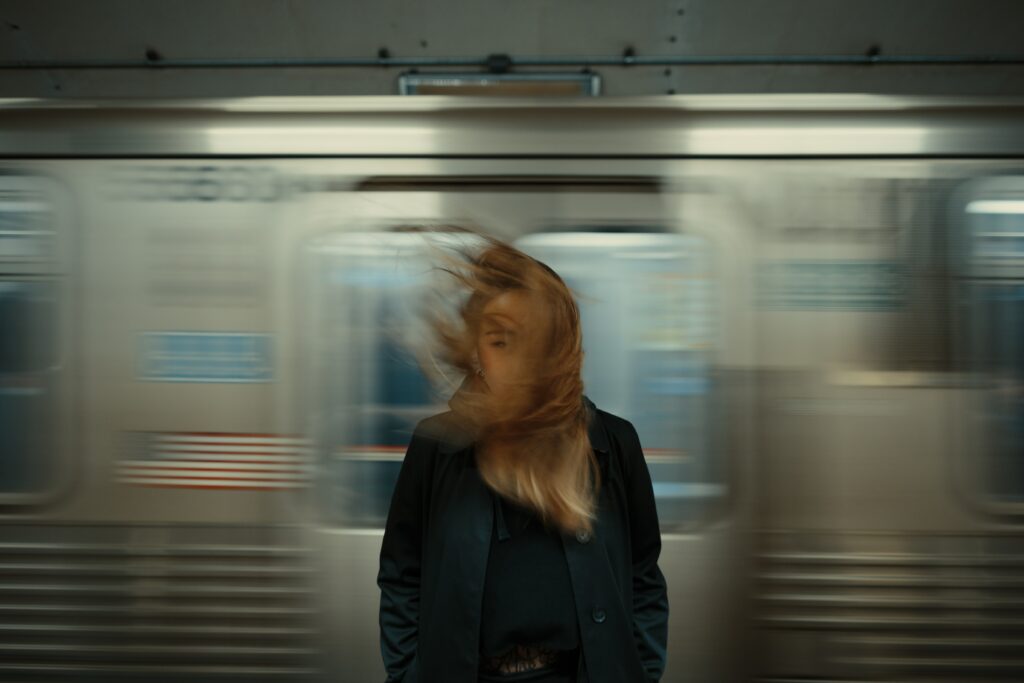
On Using Blur
Technically speaking, blur doesn't affect image quality. However, it responds to the meticulous editing process often found in portrait photography; the words “Gaussian blur” might ring a bell or two. This advanced blurring technique is regularly used for clean skin retouching and is a craft on its own.
Blur comes in many shapes and forms, some of them are achieved on camera and others are mainly done via post-processing and digital manipulation software. For example, radial blur tends to enrich and even mimic shallow depth-of-field. And linear blur is perfect for miniature effects like those tilt-shift lenses are known for; without the high price tag of course.
Saturation and Vibrance
Before getting into these, I should warn you about how easy it is to mess things up when playing with these two; especially with saturation. In Lightroom, this slider aggressively changes the intensity of all colours on the scene. So be extremely careful with it! Or not, I mean, you can always undo stuff, right? But do take into account the little control we have when moving this slider around.
Vibrance, on the other hand, follows a more subtle approach and is considered a smarter tool for complex regions like skin tones. After playing with this slider, you'll notice a focus on warm tones like red, orange and yellow.
Wrapping-it Up
After knowing that Ansel Adams heavily relied on post-processing to achieve desired looks when printing his visual masterpieces, one recognises that getting things perfect on camera is just an impossible task. Nevertheless, good care of composition and exposure guarantees one spending less time on the screen and more on the field shooting.
Every software decision should be guided by a particular goal in mind, and you should never forget that. After mastering your voice and style, you'll start breaking your own rules; making room for personal growth. Please, share with us your tips and tricks in the comment section below, I'm sure I missed a lot of good stuff!
Further Reading On Photo Enhancer Tools:
- Best Photography Software
- Photography Apps
- Free Online Image Enhancer
- How To Enhance A Photo
- How To Enhance A Photo Easily On Mac


1 Comment
Im looking for a app that I can take a photo of a barn and or home and turn it into a framed piece of art. kinda blur out the outside of the object. If you can help me I would really appreciate it.