Lightroom has become an increasingly powerful editing tool for photographers. Possibly to the point where many of us do not need to use Photoshop anymore. Lightroom’s Develop module contains a plethora of tools that cover 95% of what we need to achieve in our editing.
Lightroom groups these tools into individual panels, the most common/powerful are at the top.
Neglected Tools
Because of this, we photographers, often tend to neglect some of the editing panels lower down. That’s a shame because there are some very useful and user-friendly tools that we may be missing out on. Today we are going to look at two panels, Lens Correction and Transform.
I have chosen these two because they are quite closely related. Both are designed to allow you to “correct” issues that might occur due to the lens you are using. So without further ado, let’s jump in and look at the Lens Correction panel.
Why You Need Lens Correction
No matter how much you pay for a lens, it will not be perfect. Grouping lots of finely tuned coated elements together may eliminate some issues, it may eliminate a lot of issues, however, there will always be problems, chief amongst them, chromatic aberration, distortion, and vignetting.
Chromatic aberration is caused because different colors of light have very slightly different wavelengths. This means that when they pass through the glass, they do so at slightly different points. This causes a purple/green fringing in the image, particularly in areas of hard contrast such as a branch of a tree against a bright sky.
Distortion in a lens will either be a barrel, an effect where the image seems to bulge out, or a pincushion, where the image seems to fold in on itself slightly. Vignetting is the fall off of light at the outer edges of an image and is most prominently seen in telephoto lenses or when using badly designed lens hoods. All can be corrected, often quite easily.
Correcting Lens Problems Automatically
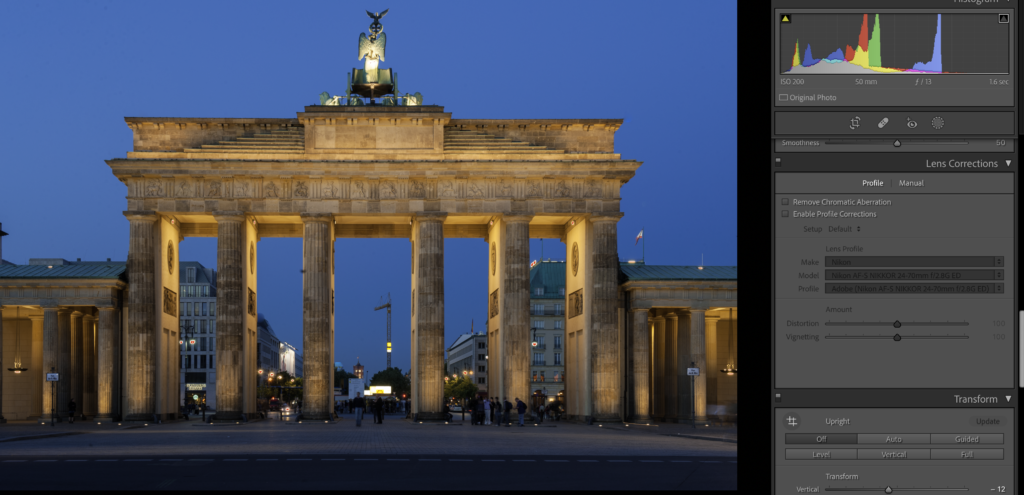
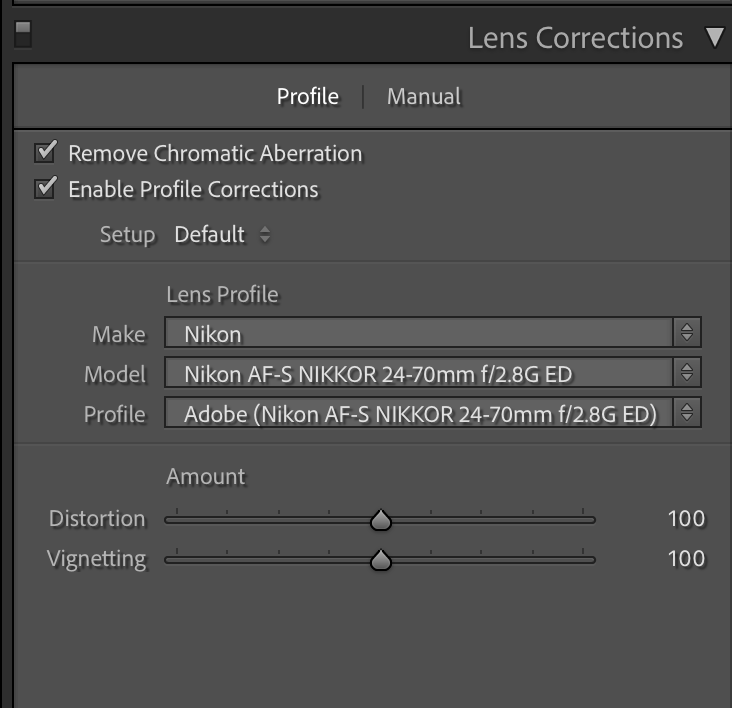
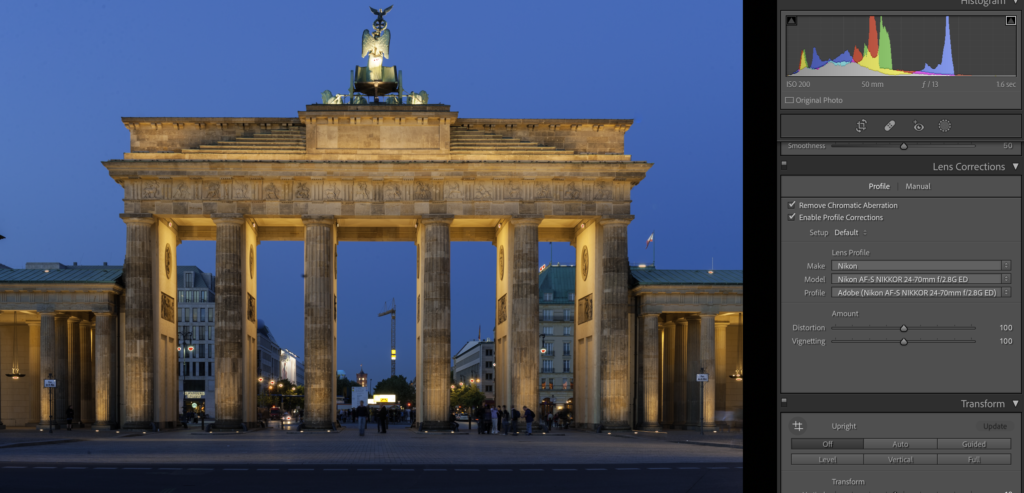
The good news is that in many cases lens correction can be done automatically. You may have to switch it on but the rest will be taken care of. In the Lens correction panel, you will see two tabs. Profile and Manual.
If you check both the Chromatic Aberration and Enable Profile Corrections boxes, Lightroom will automatically determine the camera and lens combination. It will then compare them to a database and apply a suitable correction. If it doesn’t automatically find the camera/lens combination, then you can look for it manually.
Some cameras such as my Fuji X series, have already built in the lens corrections to their RAW files. You may however have to click the Enable Profile Corrections box to enable them.
Why You Might Need To Correct Manually
There will be times that you need to correct your lens manually. This might be because you are not happy with the auto-corrections. It might be because your lens is not listed, perhaps a vintage manual lens.
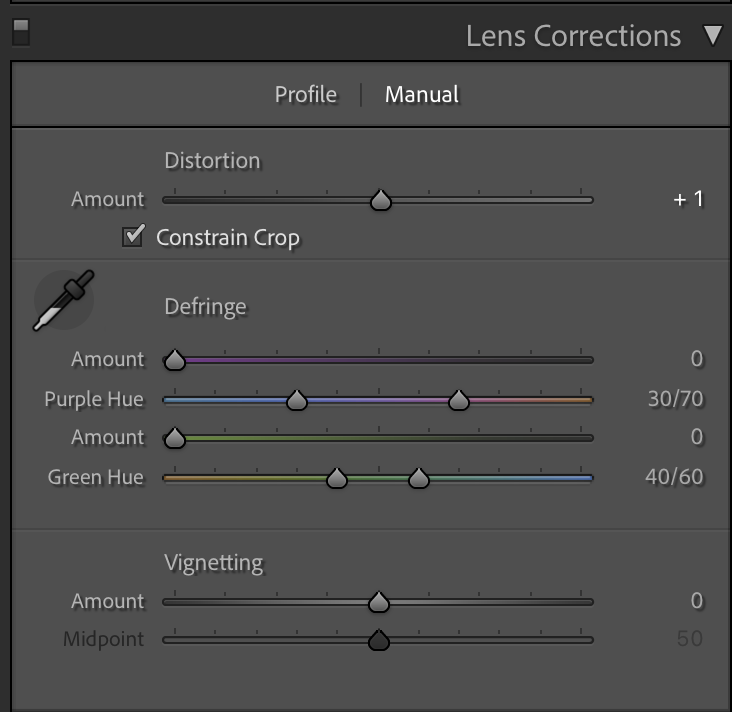
In this case, we can switch to the manual tab in the Lens Correction section. In the manual, you have three tools to correct the three main problems. At the top is the distortion slider. Moving this left or right will allow you to correct for barrel or pin distortion. As you do so, Lightroom projects a handy grid over your image.
Below this is the chromatic aberration sliders. I would highly recommend zooming into 200% on a hard contrast part of the image. You can manually find the tint of the aberration by sliding the purple and green controls and then applying the amount of correction for each.
At the bottom is the vignette control. Sliding to the right will attempt to lighten any darkness at the extreme edges. You can use the midpoint slider to fine-control this correction. This tool can also be used to create an artificial vignette by sliding to the left.
The Transform Controls
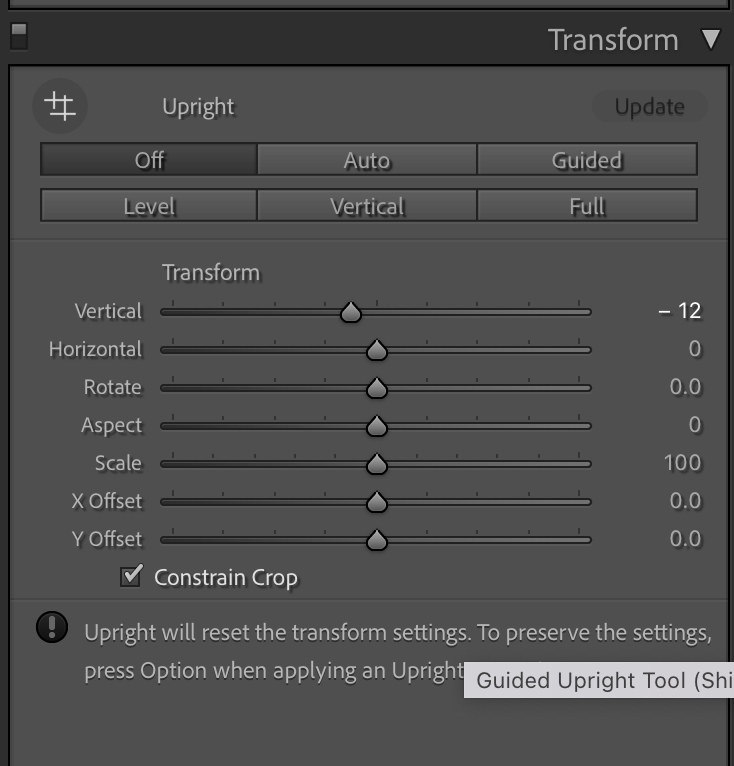
Like the Lens Correction tools, Transform is designed to correct lens issues, in this case, distortions such as converging parallels. These occur when the lens is pointed up or down from the horizon and are more prominent in wide-angle lenses.
Like with the Lens Correction tools, you can auto-correct. There is a mode that will fully automatically correct the perspective in your image or ones that will correct in a particular plane.
I would say though that most of the auto-correct modes are very hit-and-miss. The AI doesn’t detect the image subject well and will often over-correct to the point that the image looks worse than the original. Try them by all means but if you find that it has not worked well, you can easily reset the image by clicking the Off button, top left.
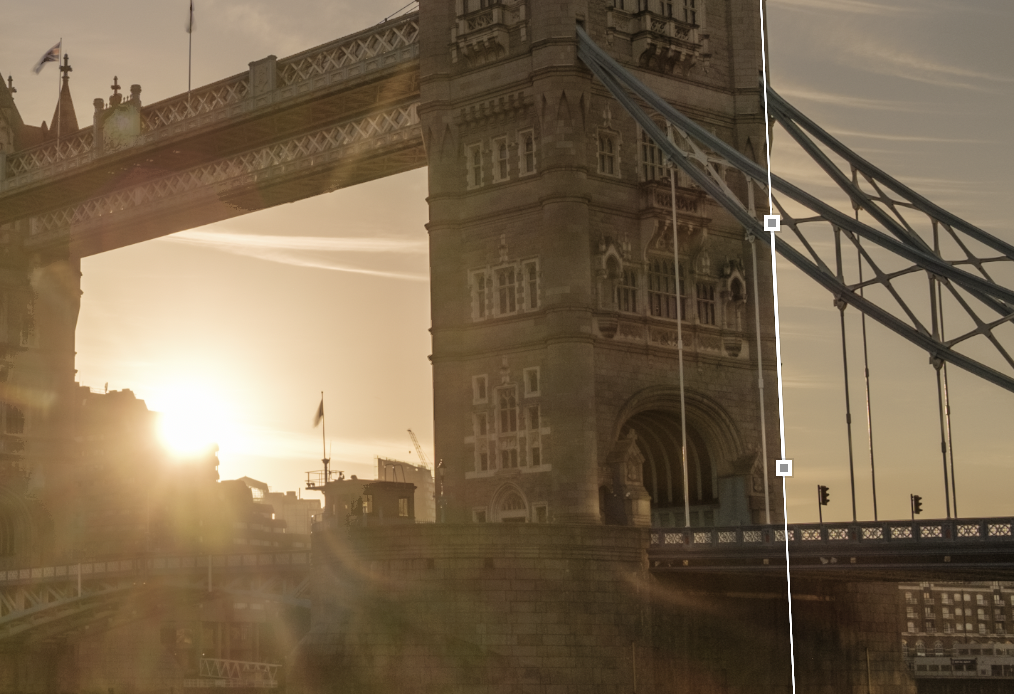
One tool that does work well is the Upright tool. This is designed specifically for correcting converging parallels. It works by you drawing two lines along the outer edges of the subject you wish to correct. It will then automatically adjust and crop the image to suit.
Manual Transform Control
By far the best way to correct perspective and rotation is to use the manual sliders below the six presets. For each slider a grid will be projected onto the image, aiding you to judge the optimum look.
The most common correction will be either the Vertical tool for converging parallels or the rotate tool for wonky horizons. It should be noted that you can also correct horizons using the main crop tool at the top of the development module.
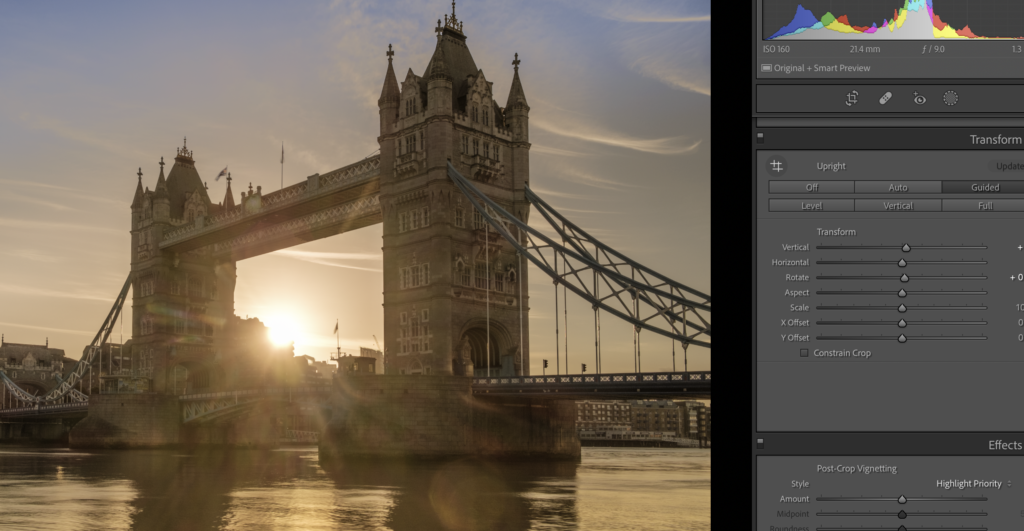
Other corrections you might use are Horizontal and Aspect. Horizontal is useful when your camera is not perpendicular to the subject. It corrects converging parallels in the horizontal plane.
The aspect tool will help you correct any distortion of the aspect ratio that might occur using vertical and horizontal sliders.
Lastly, I would advise you to keep the Constrain Crop box checked. This will allow you to see how much the image is being cropped in as you work with the transform tools.
Lens Correction and Transform are two very important and often overlooked tools. It’s well worth moving down the Develop Module to look at both of these panels and others that Lightroom has to offer.
Further Reading:
- How I Edited This Shot In Adobe Lightroom
- 20 Best Lightroom Tutorials For Beginners
- A Guide To New Masking Tools In Lightroom Classic
- How to Use Lightroom’s Color Wheels To Grade Your Photos Beautifully
- Correct Distorted Perspective In Photos Using Upright
- Lightroom Tips | How To Fix Perspective & Distortion in Lightroom




2 Comments
I do not use Lightroom, but do use Photoshop CC. I was not aware of these corrections and would love to use them in PS. Is there that corrections among all the others available in PS?
I’m really glad that Adobe chose to include the ability to manually adjust the image and not force us to take what it offers.
Just yesterday, I was shooting sunset on a west-facing Pacific beach and composed the shot specifically to include the water surface far offshore that stretched the full width of the frame.
When going through my process, I selected auto transform. It rotated the image 1.2° to the right and made it worse! CTRL-Z to undo and manually rotate 0.3° left leveled out the shot.
Not surprisingly, letting software decide what’s best is not always the right call.