The concept of getting it right in camera carries different levels of importance for different photographers. I’m not an advocate of taking an image straight out of camera and calling it a day. On the other hand, I’m also not a fan of treating post-processing like it’s a magic wand that can fix even the most abysmally captured image.
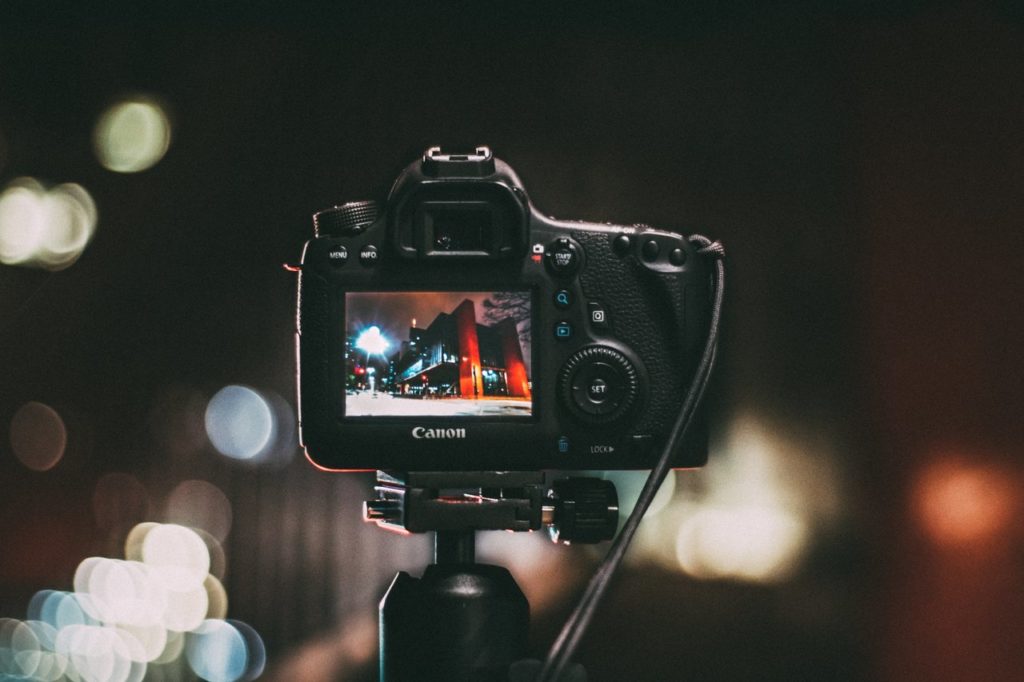
I think any shot you intend for public consumption should undergo some post-production work. And if you’re like me, you want to minimize the amount of time you have to put in in Lightroom or whatever your preferred editing application is.
How can you achieve this? By getting it right in camera.
Here are 3 things you can do to get things right in camera and save yourself some in post-processing.
Check The Lighting/Exposure
Light, whether natural or artificial, will make or break any image. It’s true that editing software can do quite a lot to recover lost highlights and details (though it’s easier to recover shadow detail as opposed to blown highlights), but you should be actively trying to avoid such situations, to begin with.
Odds are your camera’s light meter is going to get the job done properly, but you have a couple of ways to check for potential exposure problems.
- Turn on your camera’s highlight alert feature. You’ve seen it before — the “blinkies.” With this feature activated, any overexposed areas of the image will blink when you review it on the rear LCD.
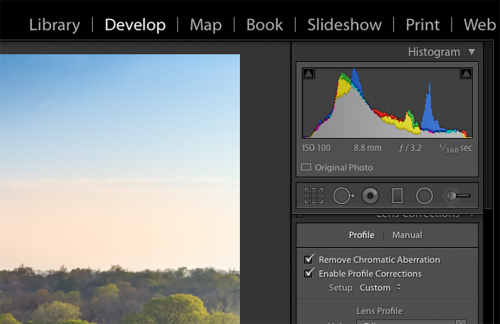
- Check the histogram. The left side of the histogram represents shadows; the right side represents highlights. Generally, you want to make sure you don’t have an overabundance of information at either end. There are, of course, exceptions to this, but a bell-shaped histogram is desirable in most situations.
Check The Composition
There’s only so much fixing of bad composition you can do in post. Indeed, the more megapixels your camera has, the easier it is to crop without losing too much resolution, but this isn’t an ideal approach.
It’s commonplace to compose somewhat loosely in camera so that you have a little breathing room in post-processing. Selecting a new crop when you’re editing isn’t unheard of, but you can only go so far.
The best way to eliminate distractions, create or fill negative space and establish visual balance is to get your crop right in camera.
Check The Little Details
In addition to checking up on your exposure and crop, check for little things like unwanted objects at the edge of the frame and background distractions. You might be able to remove/replace virtually anything in Photoshop, but why make more work for yourself?
If you’re shooting a human subject, make sure you’ve got the pose you want — there no fixing that in post.
Check on your depth of field. While you can fake the look of shallow depth of field with software, there’s nothing you can do if you shoot a group portrait at f/2 and half the subjects are out of focus.
Check for focus accuracy and make sure you’re using adequate shutter speed to avoid blur due to camera shake. Boosting the sharpness slider isn’t going to save you.
It seems these little details aren't so little, after all.

Final Thoughts
Getting as much as possible right in camera just makes good sense. It doesn’t mean your work on an image is complete right after you release the shutter, it just means that it won’t take a ton of work to get your image to look exactly how you want.
Further Reading
Shareable Images for Pinterest
