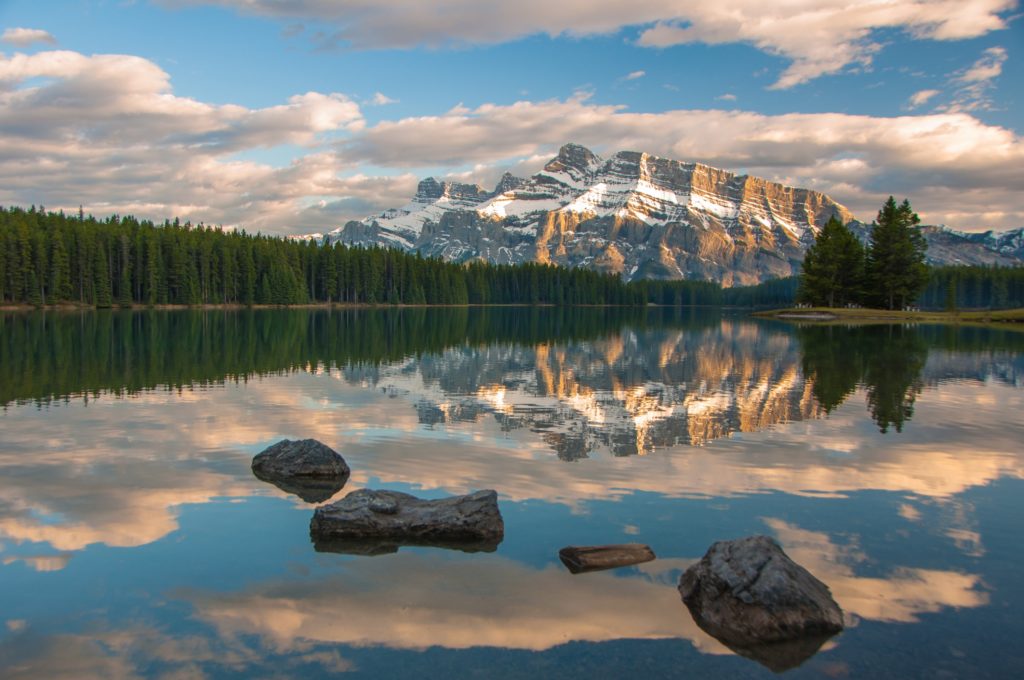
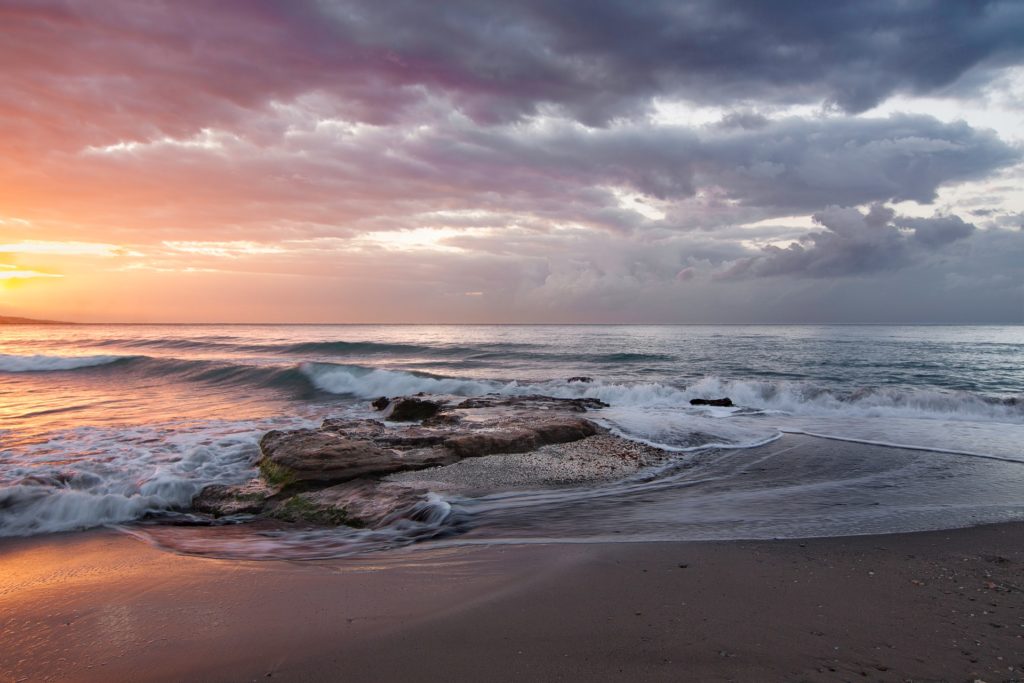
For travel and landscape photographers, there is undoubtedly a plethora of planning tools available. Things like The Photographer’s Ephemeris 3D and Photo Pills are particularly useful, especially when on location.
For planning before the event, Google Maps has long been one of the default tools for organizing a photo shoot. However, it is often required to visit other pages and sites to accumulate all the information. There is however a Google Product that can provide us with a huge range of planning tools for our location based photography. Until a couple of years ago, this product was a high-end and expensive, but now it’s available for non-commercial use, entirely free. It is of course Google Earth Pro.
Introducing Google Earth Pro
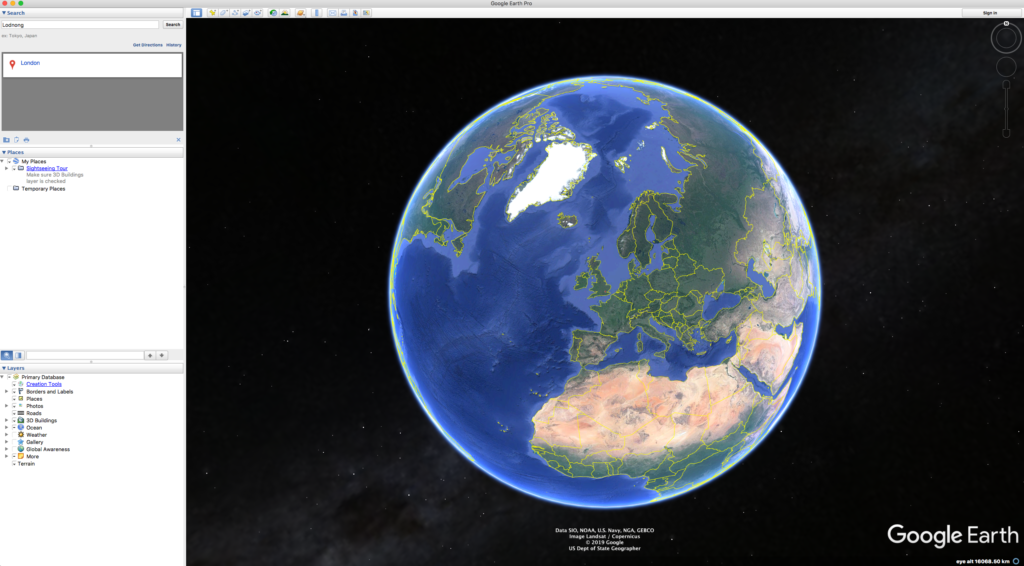
Google Earth Pro is available from the Google’s dedicated Earth website. You are looking for the Desktop app which is available in versions for Windows, Mac and Linux. Once installed and open, you will be presented with a zoomed out view of the Earth from space. To get to a specific location, type it in the search bar (top left) and you will see a film-like animation as Google flies in towards your destination. Let’s take a quick look at the Google Earth Pro interface.
Finding Your Way Around
The left side of the screen is taken up with the Search Bar, Places and Layers.
Places allows you to save specific locations into My Places as well as have a history of your searches. Layers allows you to toggle numerous different information layers. Some of the most useful among these are Borders and Labels, Places, Photos and 3D Buildings. Having too many layers enabled can be challenging for less capable computers. You might need to be selective about what you have switched on.
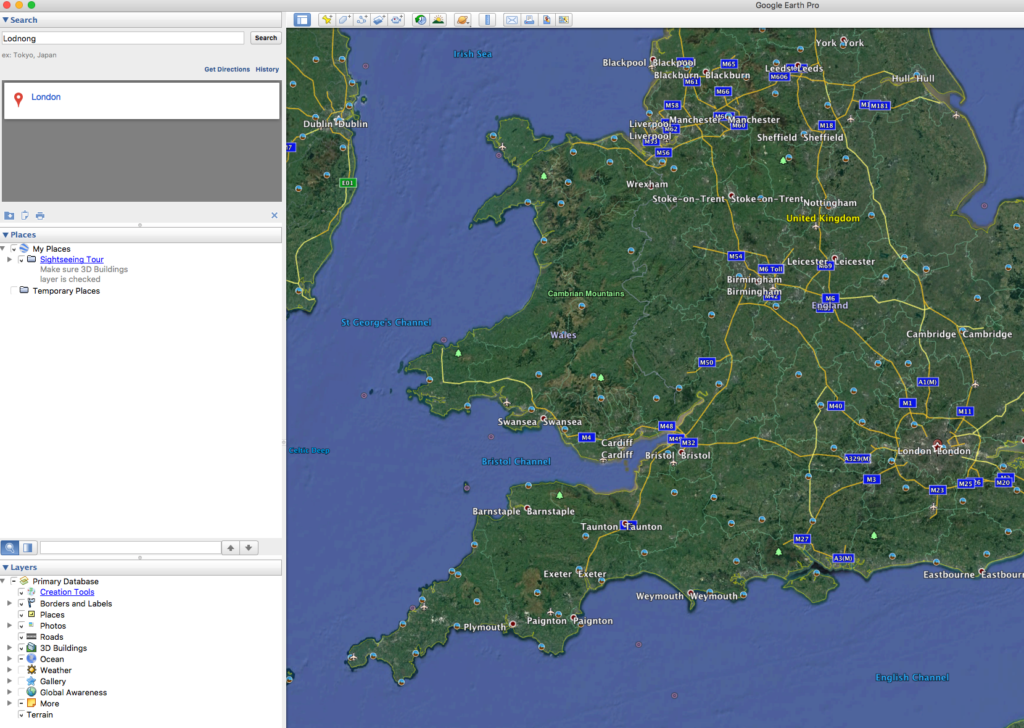
At the top of the screen is a toolbar with icons. Some useful additions here are the Sun Position Tool, Ruler and Save Image. The top left features the navigation controls. The top icon allows you to change your directional bearing, rotation and angle of view. The latter is very useful for looking at terrain and building positions.
The smaller control beneath allows you to move the camera to north, south, east and west. Dragging the figure icon partially onto the map will reveal areas with street view available. This is highlighted in blue on the main map.
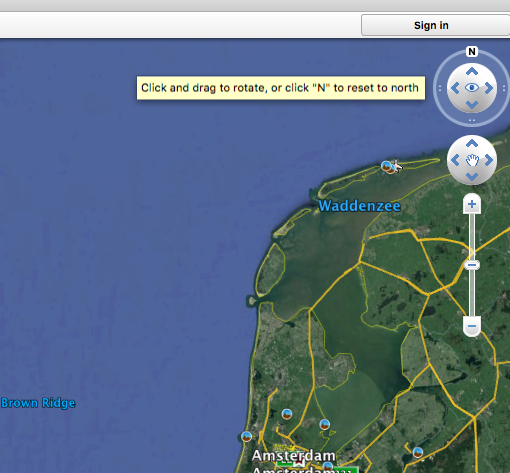
As well as moving using the on map controls, you can also use your mouse to navigate maps. Clicking and dragging with the left mouse button will move north, south, east and west. Next, clicking and dragging the scroll wheel will change directions and angle of view. Rolling the scroll wheel will zoom you in and out of the map. Clicking and dragging the right mouse button will rotate and zoom the map.
At the bottom of the map we have Latitude And Longitude Details, Elevation Above Sea Level plus the Elevation Of The Google Earth Camera. There is also a map scale.
Planning With Google Earth Pro
Let’s have a look at some of the cool things you can do with Google Earth Pro when it comes to planning shoots. The first is actually spotting good places to shoot. When zoomed out, you can see two useful details.
The first is Clusters Of Photographs, these show areas where many images have been uploaded. If you're looking for a photogenic location, this is a very helpful function. While there will be some obvious iconic locations, you can also find some hidden gems in these photo clusters.
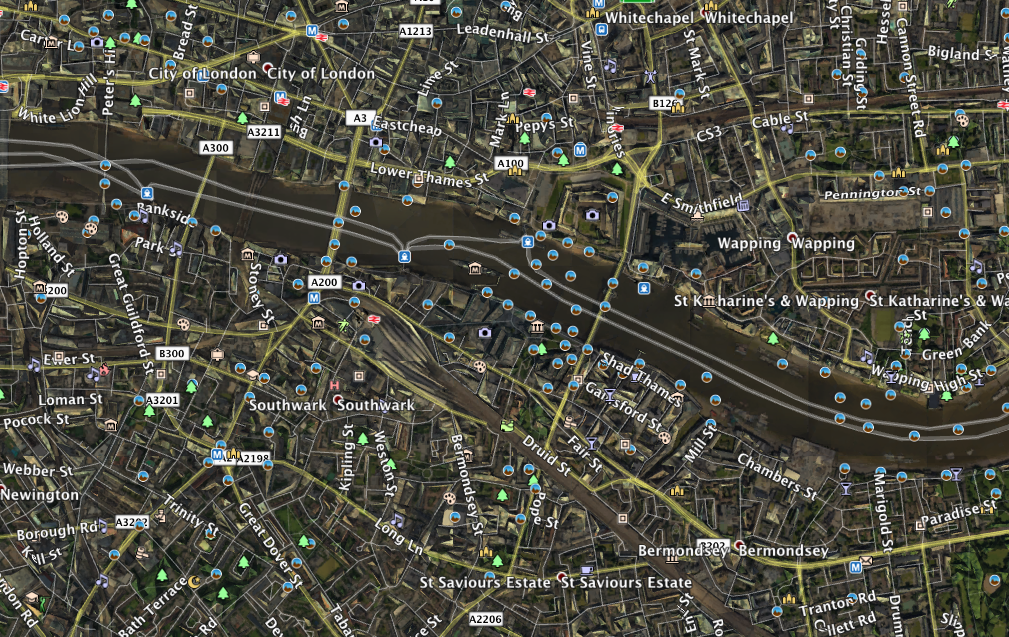
The second is the Camera Icon. This reveals well-known photogenic locations.
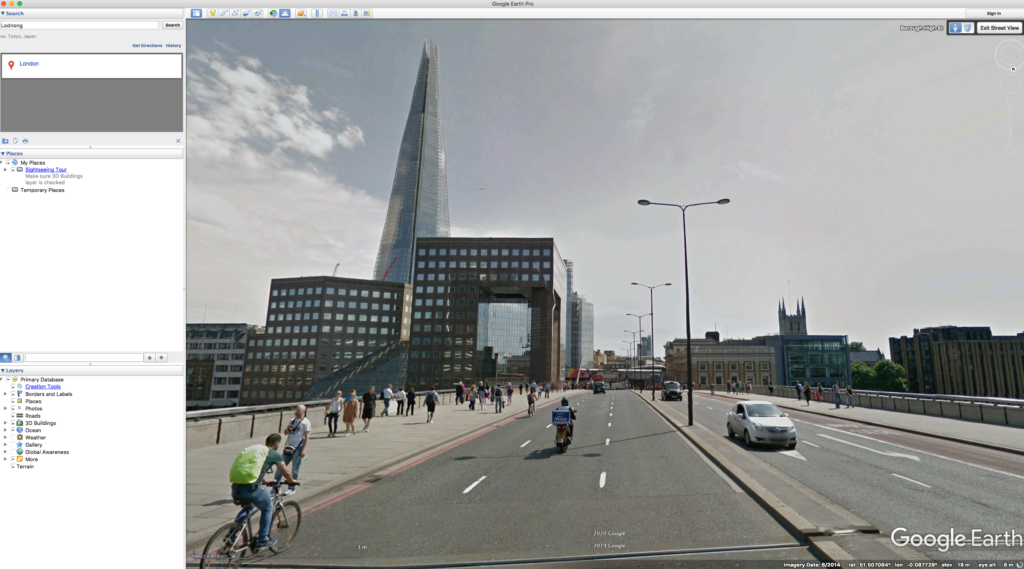
With some locations now in mind, it will be easier to plan your shoots. The most obvious tool for planning shoots precisely is Street View. Street View is not available everywhere but many major cities have it and it is also not only confined to traffic bearing streets. A lot of important pedestrian locations now have Street View as well.
3D View
Zooming in to Street View can give you a good picture of what to shoot and from which position. You can “stroll” along the street, turning the camera in any direction to find interesting and unique angles.
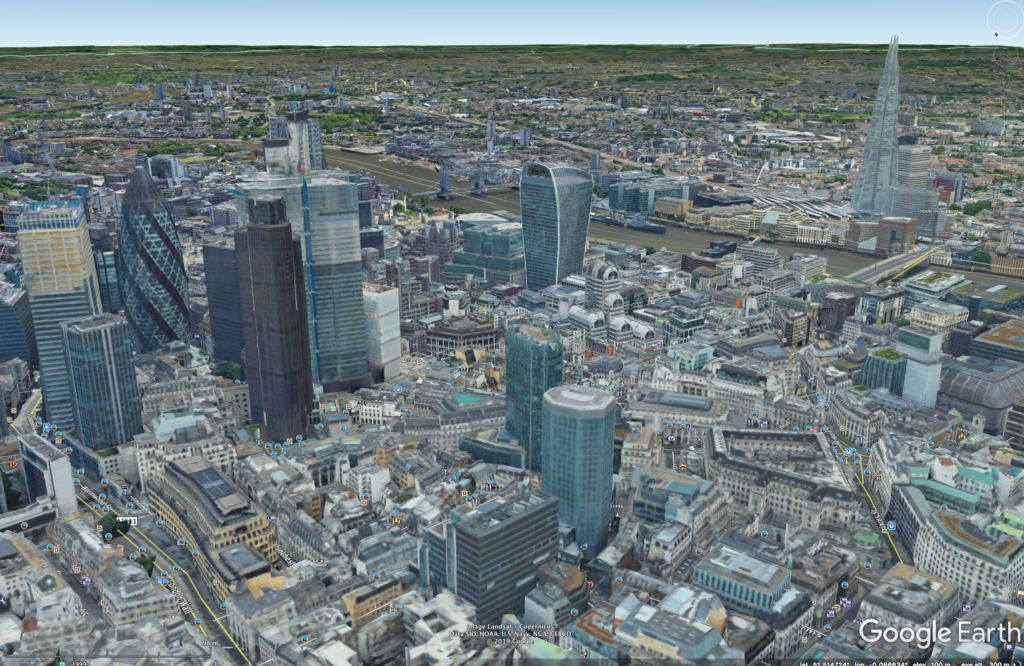
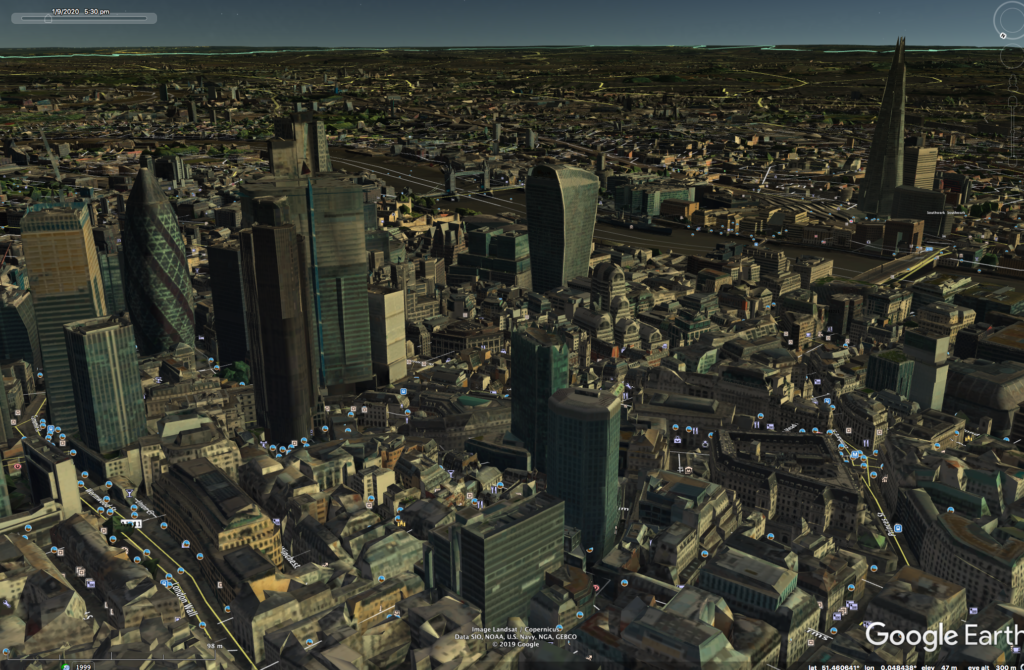
In addition to Street View, many global cities now have a 3D view. This is accessed either by zooming in the Map View or zooming out from Street View. There is also a dedicated icon for 3D buildings (top right of screen).
This is a full three dimensional representation of the city and it is invaluable when scouting locations, particularly for cityscape shots. It's also useful for determining how much of your scene will be in shadow at certain times of the day.
This leads us nicely to the Sun Tool. Found in the toolbar at the top of the screen, this great tool allows us to visualize the position of the sun.
It’s very useful in planning Golden Hour shots, particularly when used in combination with a 3D city view. In those situations, it will show where the light falls on the buildings. The only limitation at the moment is that you cannot set it for a specific date in the future like with The Photographer’s Ephemeris.
Additional Functions
Some other very useful functions are the Measure Tool, Directions and Terrain. The Measure Tool is good for giving you an approximate distance between your shooting location and subject – this can help you select the proper lens. Directions are great for planning a route between locations, either on foot or by public transport.
By selecting the Terrain Tool and zooming in, you can get a good visual representation of the elevations around your location. This is very handy for landscape photography. When used in combination with the Sunshine Tool, you can predict how and where shadows will lie across your landscape scene.
While at first the interface of Google Earth Pro might seem a little daunting, spending some time with it will reveal one of the most powerful planning tools available to photographers.
Since it's free, it’s well worth the download.
To learn more about planning tools for photographers, check out the links below.
Further Reading:
- These Useful Tools Will Make Location Scouting A Breeze
- Useful Tools To Help Simplify Your Life As A Photographer
- 7 Great Apps For Photography Planning
- 15 Free Organizational Tools For Photographers
- One Of The Best Tools To Use When Planning Your Next Photography Trip
- The 23 Best Photography Apps For Landscapes


