As photographers smartphones have become part of the way we shoot. It's now acceptable to most people to assume that photography extends beyond the use of a DSLR, and is more about taking great pictures and being ready with a camera.
We've always got a smartphone with us, right? This means that all of us has permanent access to a camera.
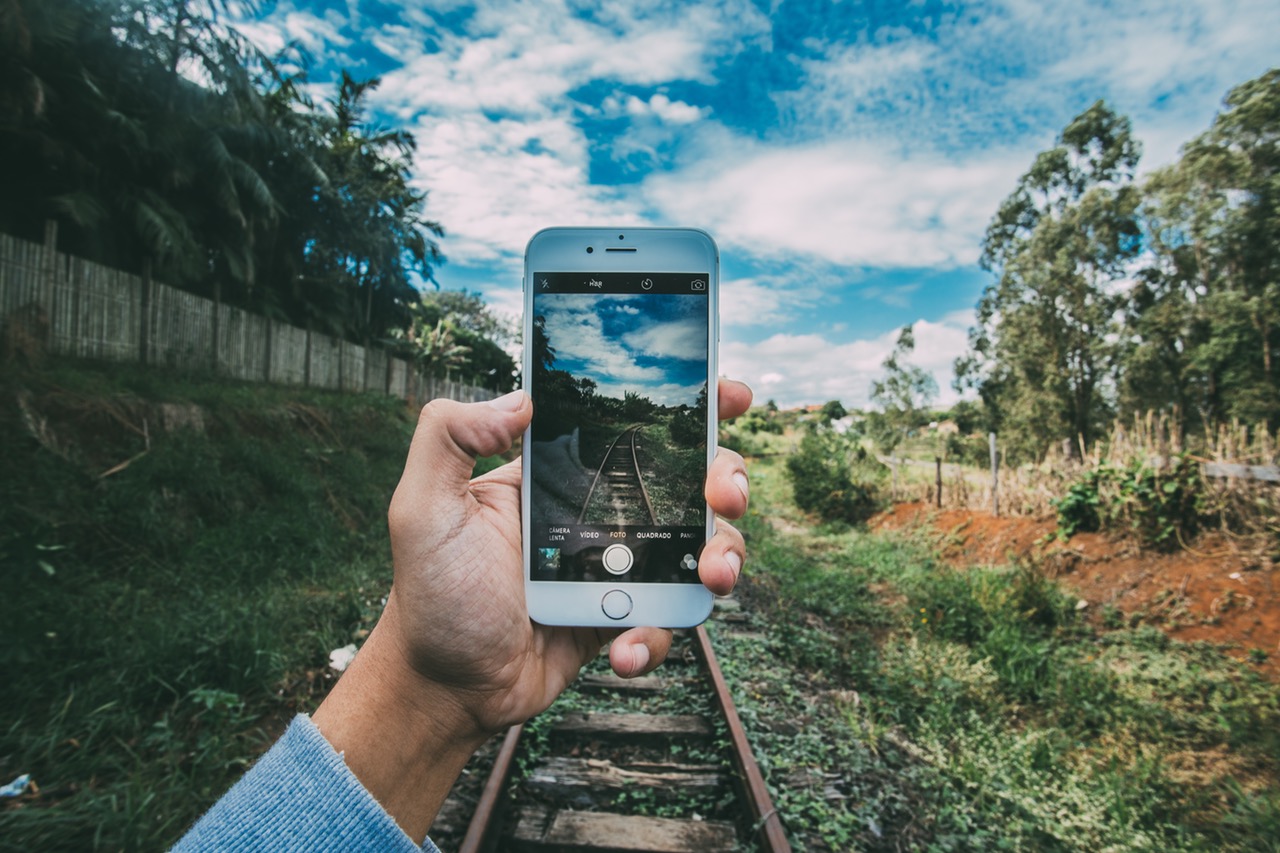
To me, this is great – we now have the ability to capture images even when we don't have our ‘main' cameras with us.
Although to an increasing number of people, the smartphone is their ‘main' camera. Either way, it gets me excited to always be safe in the knowledge that I am able to practice my photography skills and get so many more shots that otherwise I would simply miss.
We're going to dive in and give some great tips on how to use your iPhone camera and have more control.
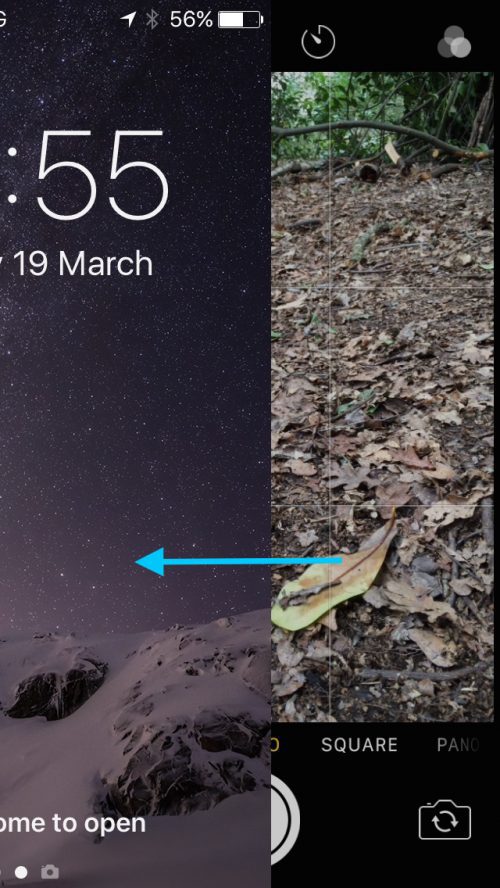
1. Quick Access Using the Left Swipe
Ever find yourself in a moment when you need a camera, like now?! If you never want to miss a moment, an iPhone camera can be just as quick as any other – you've just got to know how to access it quick.
Using this uber-simple tip improves your chances of a capturing that moment. The beauty of this is that you don't even have to unlock your iPhone to access the camera.
2. Auto & Manual Focus on the iPhone
The iPhone is pretty good with its autofocus but as you'd expect, not without fault, though. So if you don't set the focus manually, it will decide to do it for you – as this is how most people use an iPhone camera.
Setting the focus manually will get you out of the hassle of waiting for your iPhone to figure out exactly what it is focusing on! This is VERY easy to do, simply tap the area on the screen where you'd like to camera to focus and voila, your camera's focus knows what you want.

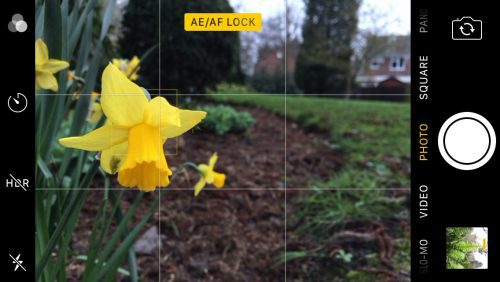
3. AE/AF Lock
Locking your exposure and focus is something you're definitely going to want to do for some of your photos. Why is this important for understanding how to use your iPhone camera?
The main reason behind this is that if something changes in your scene such as light or a moving subject, both your focus and the exposure will not change. So if you're expecting light and movement to change, consider this.
A particularly useful feature for busy scenes like those you'd be more likely to find in street photography.
4. Use the HDR Feature
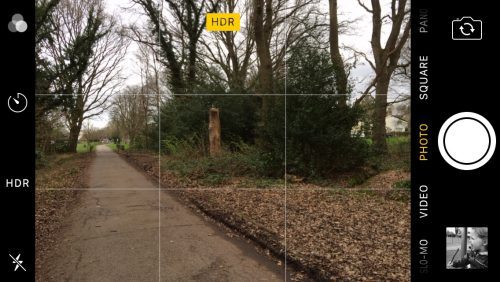
Most photographers are aware that HDR stands for High Dynamic Range and the iPhone camera offers this ability to ensure an even tonal range to bring together 3 images taken in quick succession – underexposed, regular exposure, overexposed.
This enables your iPhone to give you one properly exposed photo – especially good for high contrast scenes where details may have gotten lost in the shadows or highlights.
Remember that it's best to save both versions of the photo because the HDR feature doesn't always give a better image – just bear this in mind, mainly due to any hand-shake while the shutter is open.
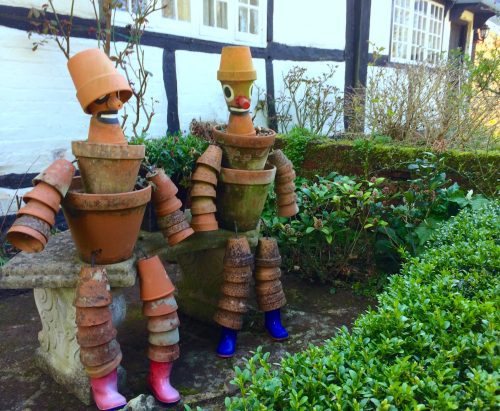
5. Shoot Using Burst Mode
Never miss a shot by using the iPhone's burst mode this way you'll be able to catch moving subjects with ease. Up to 10 photos taken in a second will significantly improve your chances of taking a great action shot with minimal blur.
This is easier than ever, just hold down the shutter button for at least half a second or more – the iPhone then starts snapping photos pretty quick. Excellent for taking pictures of kids, wildlife or things like splashing water.

Image by Rafiq Sarlie
6. Use the Volume Buttons – and Your Apple Headphones
The last of our tips in this guide is another really simple one. Now let's be honest, that tiny shutter button on the front of the screen can be really awkward to press sometimes because holding a smartphone is not the same as a camera.
That's where using the iPhone's volume buttons can really come in handy – mostly when you're trying to steady the camera with both hands – which is ideally how you should be shooting anyhow. Of course, this'll be when shooting in landscape.
Further Resources
- The iPhone SE: The Perfect Second Camera? Let’s See… by Jason Row
- Always Have A Camera With You – Here’s A Great Reason Why by Federico Alegria
- Treat Yourself To These 7 Wonderful iPhone Apps for Photographers by James D Ellis
- Can You Really Get Great Shots on an iPhone? by Jason D. Little
Further Learning
This fantastic guide by Photzy could really enhance your smartphone photography by teaching you the fundamentals of Understanding Composition. Understanding how to properly compose an image can take take any image from good to wow.
You've just got to place everything inside your frame with some meaning!


5 Comments
The Focus Lock feature is super helpful, and a feature that I didn’t realize was available within IOS. However, you didn’t mention in your article how to access it. For others, who may be wondering like I was… If you touch the screen- where you want to place the focus- and then continue to hold your finger there for another second or so- the focus then locks to that location. One other point, is that it also locks the exposure, which may or may not work well depending on the situation. Certain apps like “Camera+” allow you to lock focus and exposure separately- if you feel like getting that complicated with your mobile photography. (Personally, I don’t.) Cheers. Kent
Cheers Kent – great point, yes and thanks for explaining the focus lock “process” as this wasn’t included. I find locking the exposure is another great feature of using this simple function on the iPhone. 🙂
Really. The first photo is on a train track. Are you trying to encourage people to shoot photos on train tracks?
**groan**
Iphone produces photos with higher micron pixel than average Android cameras in the market. Iphone camera includes a better lens. Megapixel doesn’t really matter that much. Thnakyou for sharing this information.