Long gone are the days in which serious photography requirements were met exclusively by cameras. Despite our hardware preferences, we can all agree on one thing, mobile photography escalated when iPhones were born. As years went by, the iPhone became the most popular camera among the Flickr community, which is a solid statement of how well-fit these devices are for image generation purposes.
Of course, several systems followed this path but Apple remains to be king of the hill. And it makes a lot of sense when you take into account how organic their ecosystem is. Apple's hardware and software are designed in parallel, so there's virtually no quality loss between these two.
A couple of years ago, right before COVID messed with our sweet routines, I conducted a course on documentary photography here in my country. The class was part of a graphic design degree and was mandatory for students to take it. This scenario opens the door for many possibilities, like kids with no interest in taking the class having to attend it. Or, having students with interest but no camera to work with!
I remember lending my rugged Canon PowerShot G1X to a student who had the will but lacked the gear. And it was in this particular semester in which I cracked myself open to the possibility of working with phones. You see, there was one student who had been working with his tweaked phone and was capable of rendering raw images with it, and oh boy the images were great!
Today, I've prepared a comprehensive list of iPhone photographic tricks to help you take your images to the next level. From basic techniques to creative tips, these will allow you to get stunning shots with any recent iPhone!
Focus and Exposure
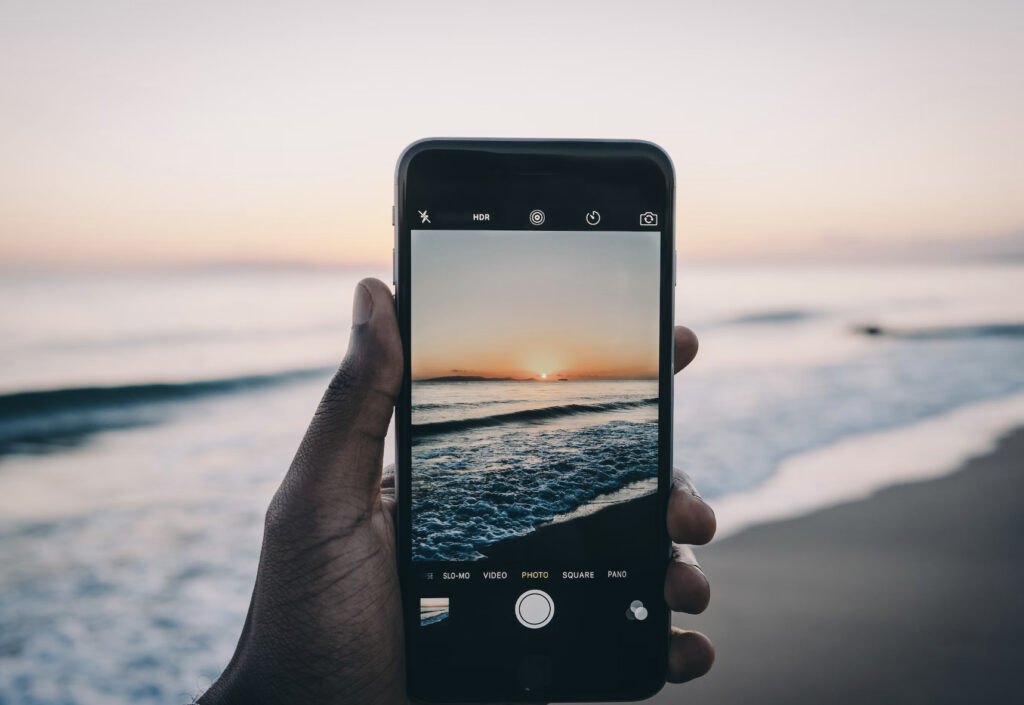
One of the basic things in photography is getting things right in terms of exposure and focus. For this, iPhone cameras have an excellent auto-focus capability, but sometimes you need finer control. To conquer this, always remember to tap on the screen where you want to set the focus and exposure. Quite obvious don't you think? Well, many people take focus for granted and forget about this simple technique!
While pressing the zone to be focused, a yellow square will appear. After that, one can manually adjust the exposure by sliding our finger up or down on the screen depending on what we are trying to achieve. This allows us to balance the lighting in our shots for optimal results, especially in complex lighting situations.
Portrait Mode
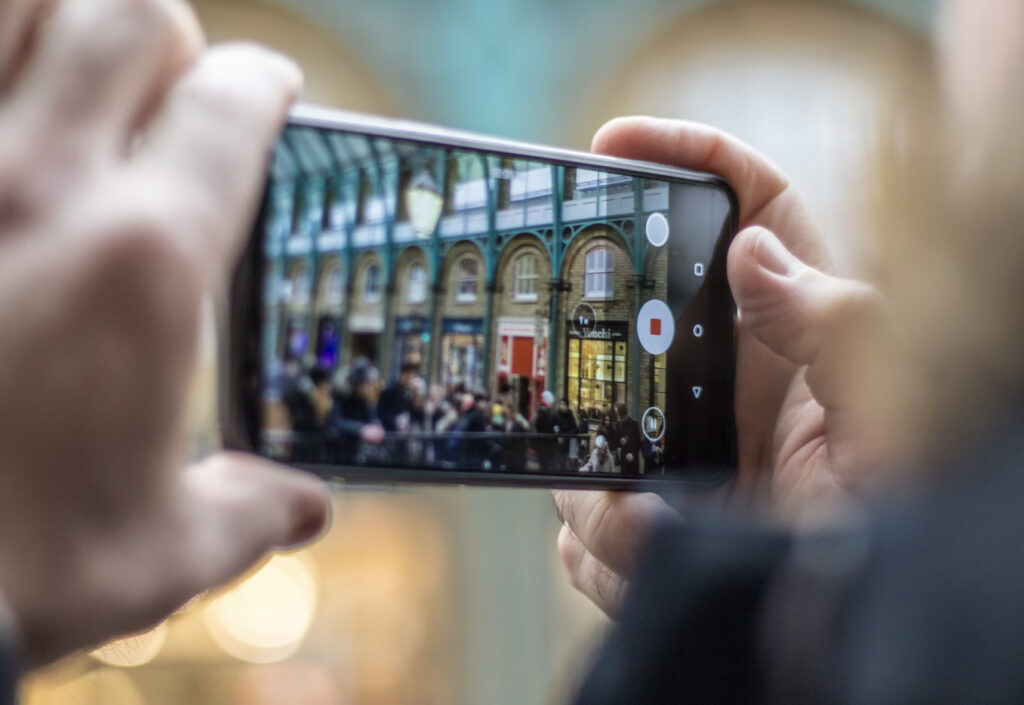
Have you ever wondered why smartphones have various cameras in the back? This is due to the mechanical limitations of these kinds of lenses. Variable aperture is complicated and optical zoom is almost impossible, so manufacturers use an array of different lenses to achieve certain requirements. For example, portrait mode mimics DOF by combining two lenses and using some algorithms Apple remains secretive about.
This mode isolates the subject by blurring the background, creating a natural bokeh effect. Just make sure you have good lighting and enough distance between your subjects and the background, just like in regular DSLR and Mirrorless photography! Also remember to stay creative and play around with different Portrait Lighting options, such as Natural Light and Studio Light, to achieve a broader array of styles.
Try Doing some Time-Lapse Imagery
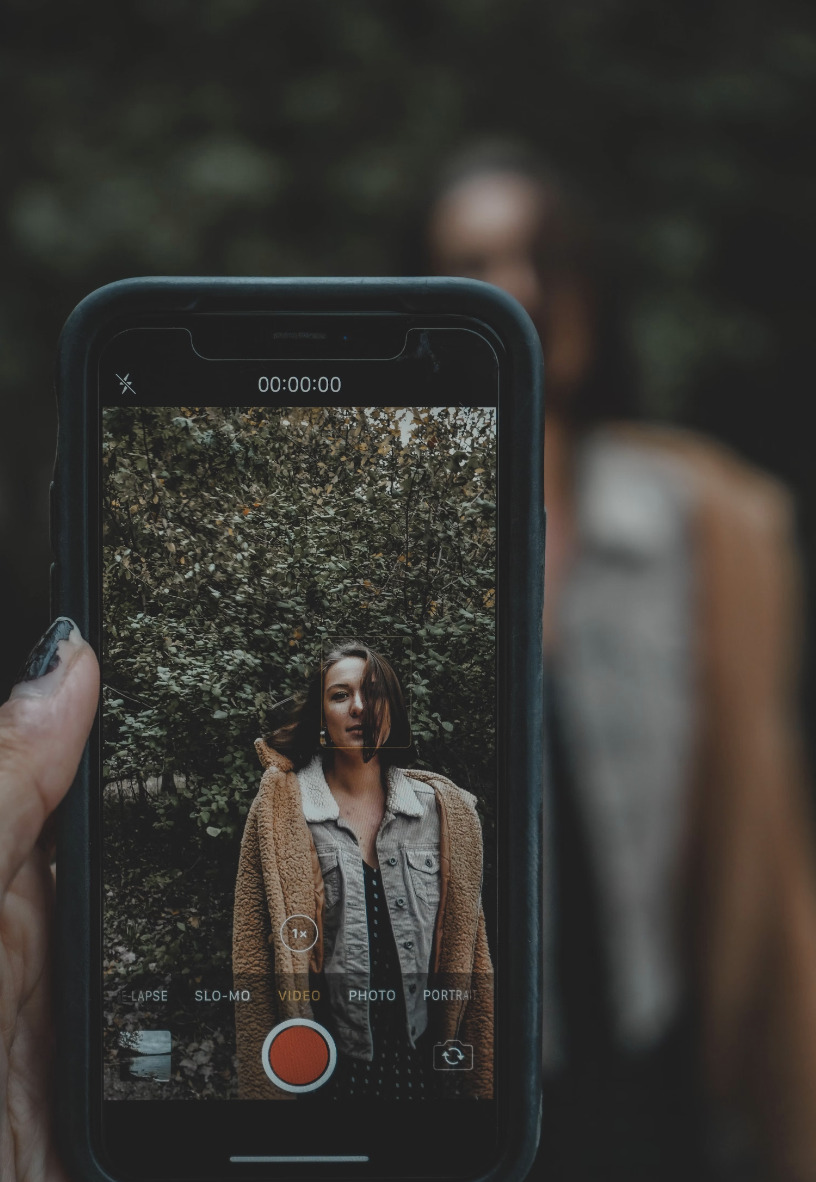
More into the field of videography, time-lapses help us capture the passage of time and a rather aesthetic way. iPhone's native Time-Lapse feature condenses long periods into short clips. This is perfect for capturing sunsets, traffic, or blooming flowers! For better results, you can use a tripod or any other stable surface to stabilise your iPhone and avoid shaky footage. Also, it is a healthy practice to adjust the time-lapse duration according to your subject, so don't forget about that!
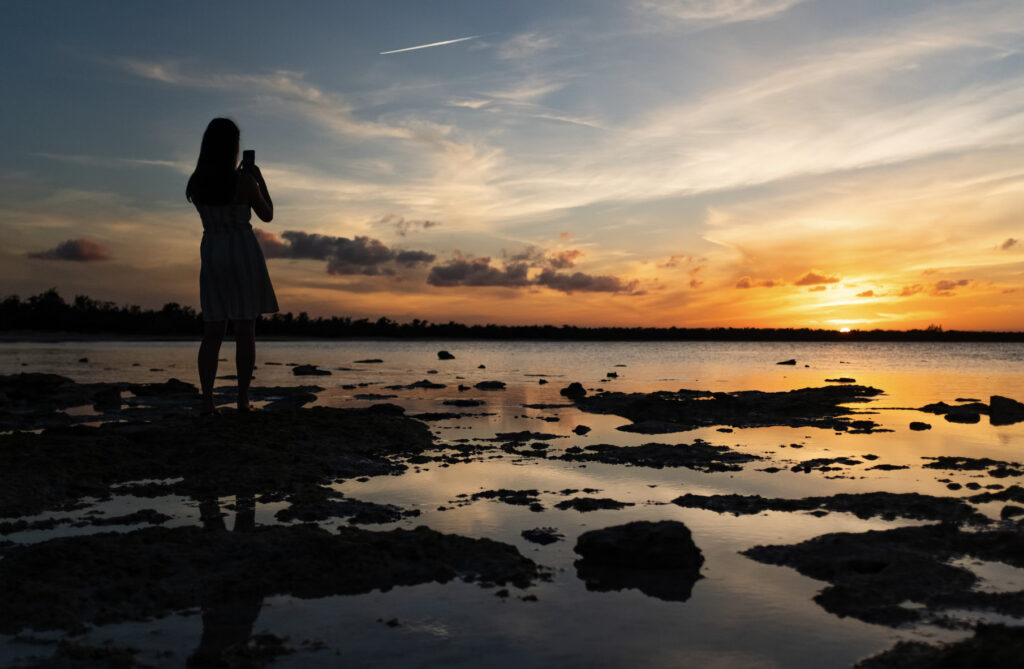
Pro Tip: Turn on the gridlines in your camera settings. The grid helps you compose your shots using the rule of thirds, which often results in more visually appealing photos.
Shoot Raw
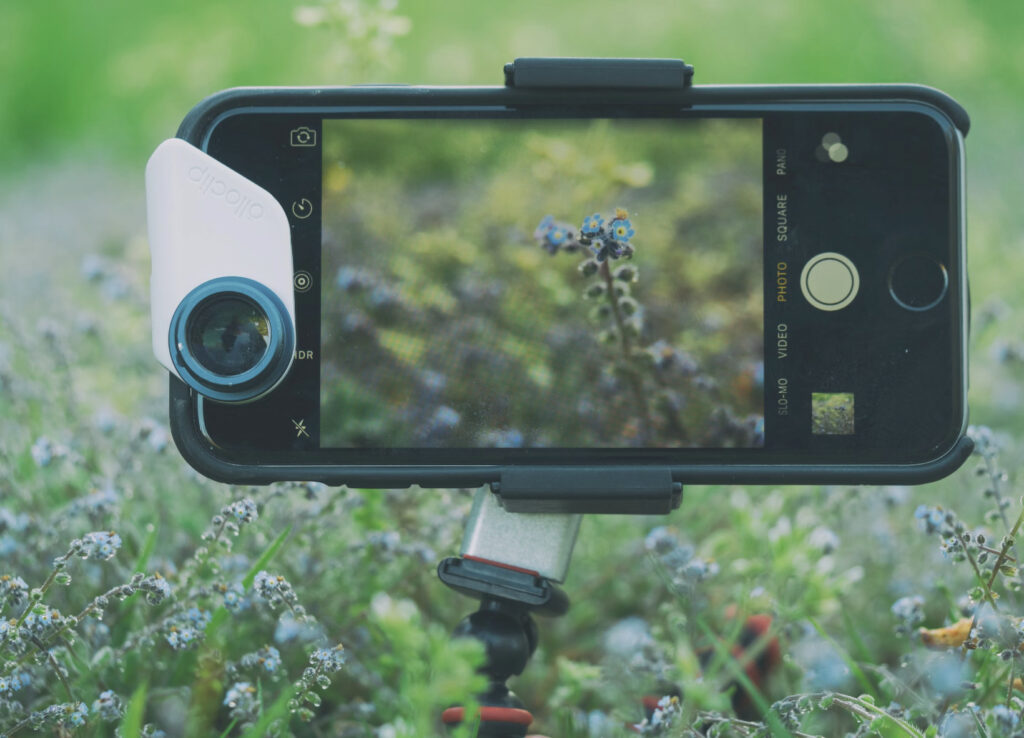
This is something I've been advocating for years, pull all the information from that hardware you paid for! Raw files are the equivalent of having a negative rendered by our cameras, and they store all the information you need for some stunning results.
Don't get me wrong about this, I will always stand the idea that is best for us to capture things right on camera from the beginning, but having that extra information will ensure the best quality for our shots. Unlike JPEGs, raw files keep all the data captured by our sensors, and you can toggle this mode by following this. First, go to your iPhone's Camera settings, then select “Formats”, and pick “Apple ProRAW” or “Apple ProRes”. Although keep in mind that raw files are chunkier and take up more storage space, but their post-processing flexibility is worth it.
Night Mode
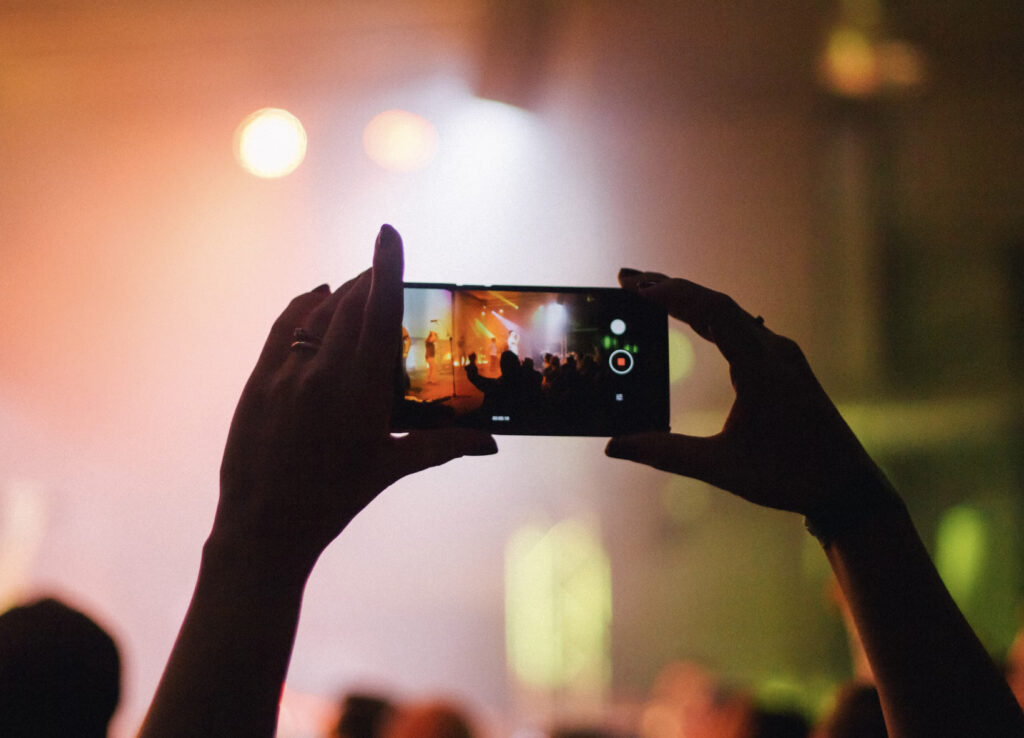
It is common for many photographers to be derived from taking images in low-light situations, especially when there's no tripod around. But don't let this limit your creativity. iPhone's Night Mode extensively improves low-light photography by merging multiple exposures into one well-lit shot. However, an effective use of Night Mode will always require some sort of stability, like a backpack or even a phone stand! This is required by the longer exposures being taken on the backstage of this magnificent mode.
Long Exposure Photography
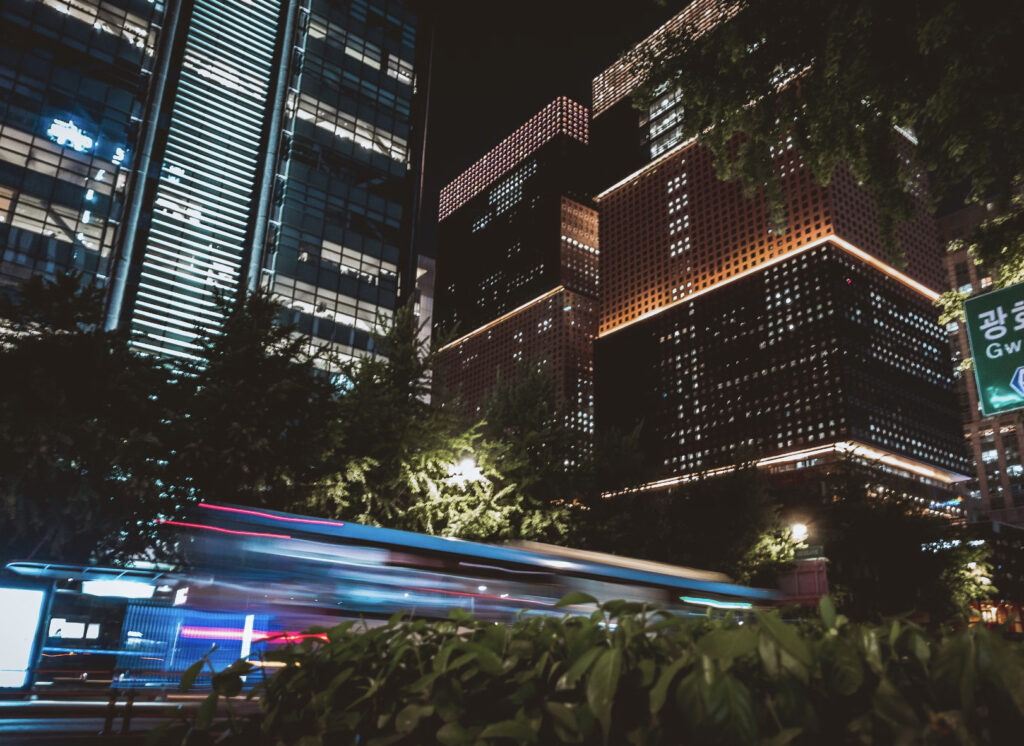
Which leads us to the next trick, long-exposure photography of course! This technique allows us to capture motion in a way simply impossible for our eyes and brains to register. Nevertheless, this requires a stable surface, so don't bother trying the hand-held style, especially because our hands tend to shake more when holding smaller gadgets like point-and-shoot cameras or phones. After getting your iPhone steady, you'll need to go to the Live Photo option in your settings and pick “Long Exposure”. Then, have some fun and try photographing moving subjects city traffic!
Pro Tip: Experiment with third-party apps! While the iPhone's native camera app is excellent, third-party camera apps like ProCamera, Halide, or Moment offer more manual control and advanced features.
Panorama Mode
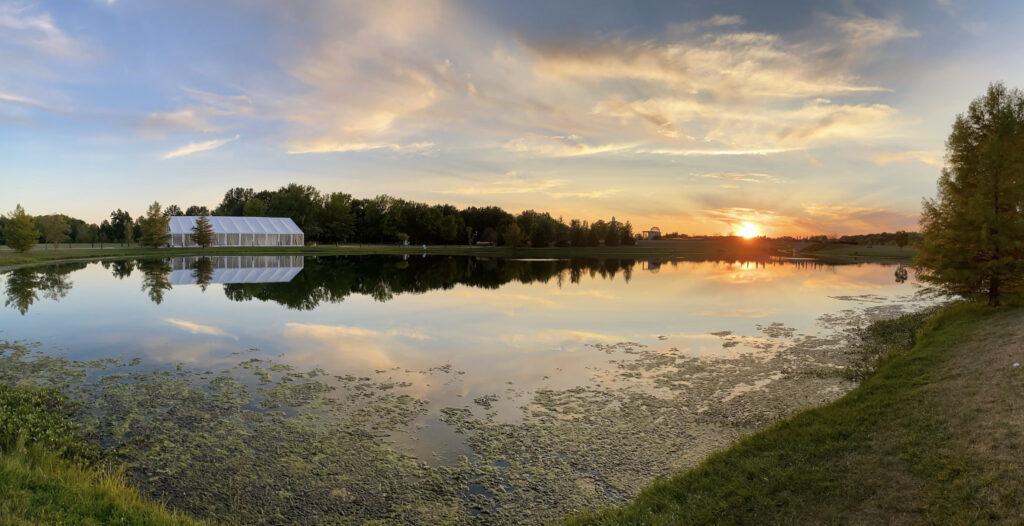
Last but not least, Panorama Mode, which is great for landscapes and other wide captures you might think of. To access this mode quickly, just swipe to Panorama after opening your iPhone's camera. Now, for a challenge, try doing some vertical images with Panorama in mind. “Nonsense' you say? Well, here's the work of Søren Berenguer which might make you reconsider this well-funded prejudice we all have towards panoramic shots.
Wrapping-it-up!
Grasping these iPhone camera tricks could boost your photography skills and enable you to capture remarkable moments with ease. But do remember that practice makes perfect! So don't forget to experiment with them. And if you find this information useful, share your thoughts in the comment section below, or swing by the forums and share your shots!


