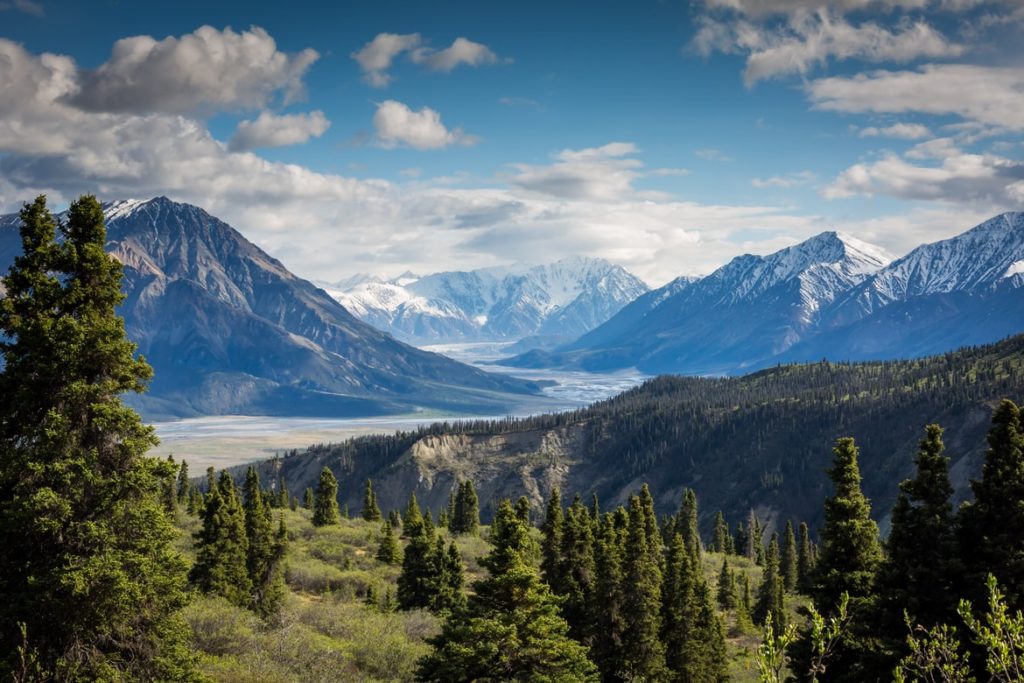
Time-lapse photography is quite a time-consuming process as it involves taking hundreds or even thousands of images depending on what you are looking to create.
Time-lapse photography can be done for any genre of photography like street, night sky, landscape, recording natural processes like a flower blooming, for construction projects, etc.
In this article, we will look at how to set up your camera for photographing a landscape time-lapse.
Time-lapse photography is the best option initially for anyone looking for a transition from shooting stills to videos. Time-lapse shows the passing of time or events in a very quick and interesting way. This could be minutes, hours, days, weeks or even months.
Time-lapse video, just like other videos, is a series of still frames or photos, where you shoot still frames of a subject continuously at a specified interval of time and then compile them into a video that shows the passage of time. When shooting for time-lapse, it is really important to carefully plan and have the setup right before starting the shoot as you do not want to run into the risk of losing the work and effort you put into the shooting process. Moreover, the settings for the photos need to be taken into account as well.
Since we are focusing here on photographing for a landscape time-lapse, we need to take into account the lighting scenarios that can change during the course of the shoot. Basically, the settings for each photo needs to be considered as there needs to be consistency in the set of images from a particular scene. Without consistency, you will come across awkward flickers and transitions when viewing the time-lapse sequence.
Here Are Some Important Points To Remember For Landscape Time-lapse:
Plan well for the scene you are going to photograph. You may want to check sunrise/sunset times, the direction of light, etc. The Photographer’s Ephemeris or the PhotoPills are great apps to make use of when planning for landscape time-lapse.
- Have a checklist of the gear required to take with you as you do not want to travel a few miles to only find out that you left one of the most important gear or accessories at home.
- A very sturdy tripod (not the lightweight ones) is a must for time-lapse photography as your camera will be on it for an hour to few hours. Any slight movement can cause awkward breaks in your time-lapse. Also, if you feel the need to weigh it down because it is windy, etc., do so with a bag of sand, pebbles, etc.
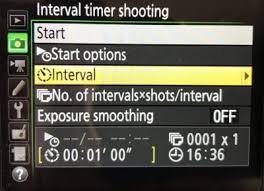
- You definitely need an intervalometer either inbuilt in your camera or an external one, without which, it is very difficult to do time-lapse photography.
- Once your camera is on the tripod, always turn off vibration reduction or image stabilization on the lens and camera body if that option is available.
- Look around the area for brilliant compositions or do a location scout prior to the shoot, which would be great!
- Check the edges of the frame, watch the foreground and perfect the composition before the shoot, as this is time-lapse photography where you are dealing with hundreds of shots. Also, keep in mind the compositional guidelines to get a compelling frame.
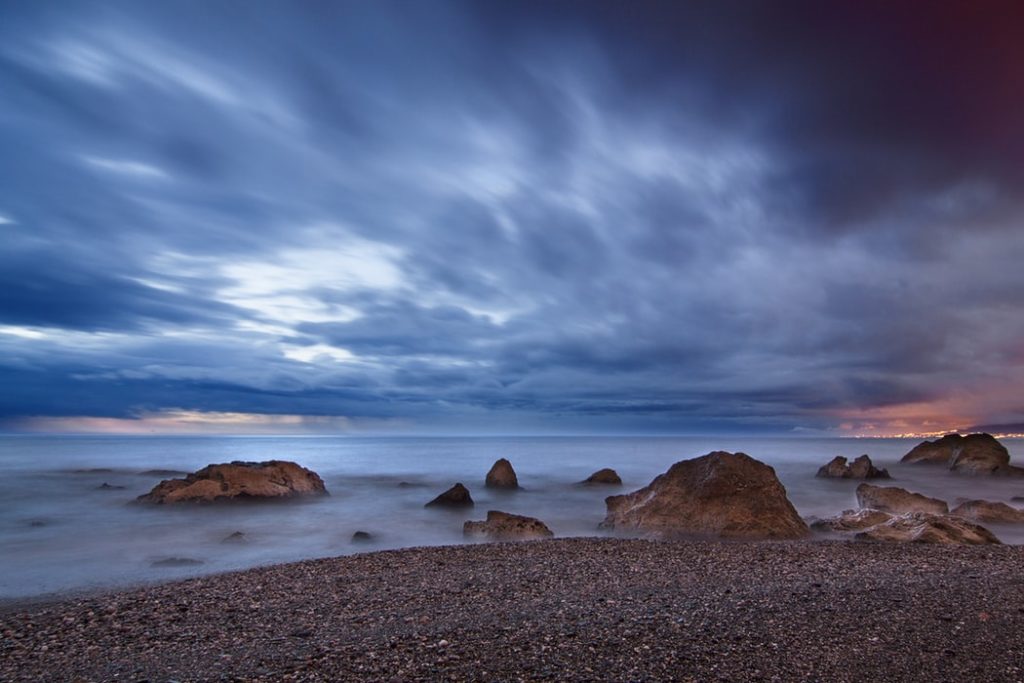
- Another important factor to keep in mind during composition when shooting moving elements is, plan it in a way that the moving subject remains within the frame from start to finish of the shoot. These are particularly important when shooting sunrise, sunsets, etc.
- Anticipate how the scene will change over the shooting period and use that to plan your frame and shoot.
- Make use of ND filters and polarising filters where necessary to get the exposure right in the camera.
- Watch out for the horizon and keep it straight. You will otherwise have to be dealing with hundreds of photos fixing the crooked horizon.
- Another factor to watch out for is the white balance. Choosing auto white balance can be problematic if the light changes all of a sudden and the camera adjusts to a different white balance setting. If you are unable to set a manual white balance, choose one of the presets like sunlight for day time scenes and cloudy or shade for sunsets and sunrises to get the golden warm colours.
- Most important of all, dress for the weather, have enough fluids and snacks to get you through the shoot.
Once you are ready with the basic requirements for shooting the time-lapse, you need to focus on the settings in your camera for shooting a time-lapse. Bear in mind, your time-lapse photography is nothing less than the normal photography and hence, take utmost care in shooting raw files in manual mode. This will give you greater control over settings and control over the files when post-processing.
Note: Putting your camera in auto mode will let it change settings with each shot when the light changes and you do not want that to happen.
Exposure Settings For Time-Lapse:
The first and foremost setting that needs to be taken into consideration is the exposure. If you are photographing something like a sunrise or a sunset the lighting levels will constantly keep changing. If you will be shooting the landscape when the lighting level will be constant, you will need to maintain a constant exposure value. Let us look at the settings for these two scenarios:
For Shooting Landscapes With Constant Lighting Level:
If you know that the lighting level is going to be constant all through the shoot for the scene that you are shooting, then you will need to maintain a constant exposure value where shutter speed, aperture, and iso will remain the same throughout the shoot for all the images in that sequence. This can be ensured by shooting in manual mode where you set the aperture, iso and shutter speed.
For Shooting Landscapes With Changing Light:
In this scenario, if you want to record the change in light conditions in your time-lapse as dark and light, you can shoot in manual mode. But sometimes, this can look weird and cause flickering effects eliminating the smoothness in transitions.
To eliminate the flickering effect, you can shoot in aperture priority mode, where you set the camera for the desired aperture, iso and let the camera choose the shutter speed by metering for the light in the scene. There can still be chances of flickering if there are sudden changes in brightness between two frames and these will need to be eliminated while post-processing.
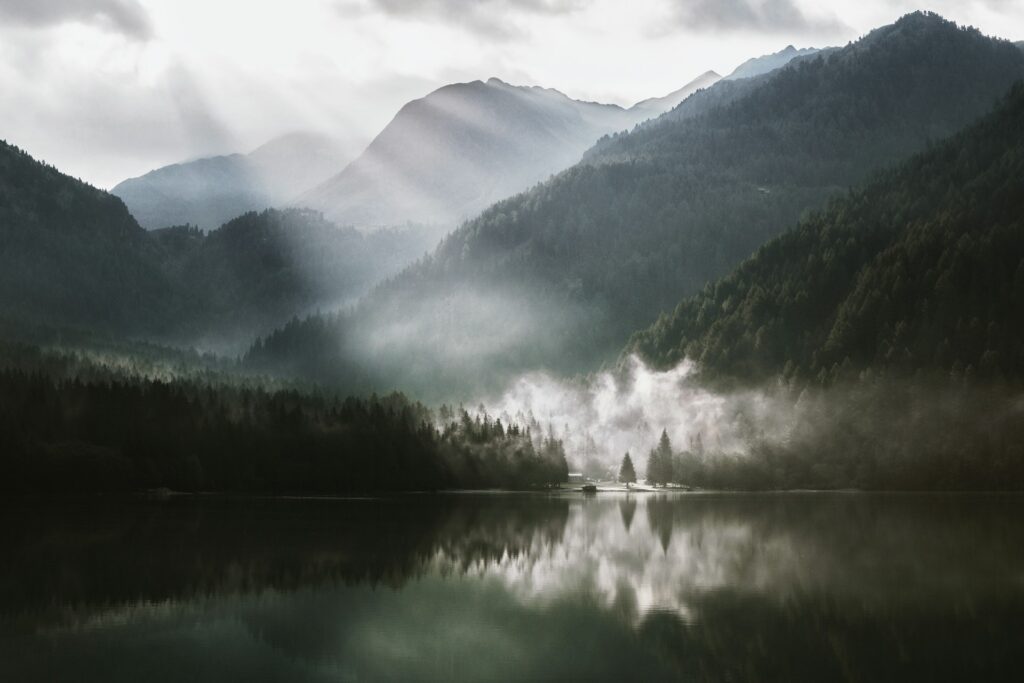
Time-Lapse by Shaimyd Taksi
Other Important Setups To Be Considered For Time-Lapse:
- Use manual focus on the lens and body (where applicable) or use back button focus method to focus the scene so that the focus point does not change during each shot of the sequence.
- Use hyperfocal distance to focus or focus one third into the scene to have all elements in the frame in focus (larger depth of field).
- Choose aperture between f/7 and f/16 depending on what you are looking to shoot – very similar to how you would shoot landscapes.
- Use lower iso values like 100 or 200 to eliminate noise.
- Wisely choose the shutter speed and interval between shots – for example, let us say that you want the shutter speed to be 6 seconds based on the light available. This means, your interval between shots should be greater than or equal to 9 seconds giving the camera enough time between successive exposures.
- If you are using a DSLR, using it in live view will lock the mirror up so you can shoot images without worrying about mirror movements causing blur due to camera shake. This may drain the battery quite quickly, but, this is the best time to make use of your battery grip that will allow you to have an extra battery for your camera.
- Turn off preview after each shot if you have turned it on in your camera. This will also help save battery life.
Tips On Choosing Intervals For Time-Lapse:
This is one of the most important factors to consider when making time-lapse photography. In landscape time-lapse photography, there will be moving elements in your frame like the sun, clouds, water, etc., and you will need to choose the interval between each shot based on what you will be photographing or how fast the scene is changing. The interval that you select, controls how fast the elements in the scene move or the change happens in the final video.
- Movement of the sun across the sky- an interval of around 15 to 30 seconds
- Sun near the horizon during sunrise and sunsets – intervals of around 1 to 3 seconds.
- Moon during the day near the horizon – 1 to 3 seconds
- Slow moving clouds – an interval of around 5 to 10 seconds depending on how slow they move
- Fast moving clouds – an interval of around 1 to 3 seconds
- Normal cloud movement – an interval of around 3 to 5 seconds
- For Stars – an interval of about 30 seconds depending on the exposure time as this is long exposure photography
- For Aurora – between 5 to 30 seconds. This depends on the speed and intensity of the aurora. Follow the instructions for calculating the shooting interval below.
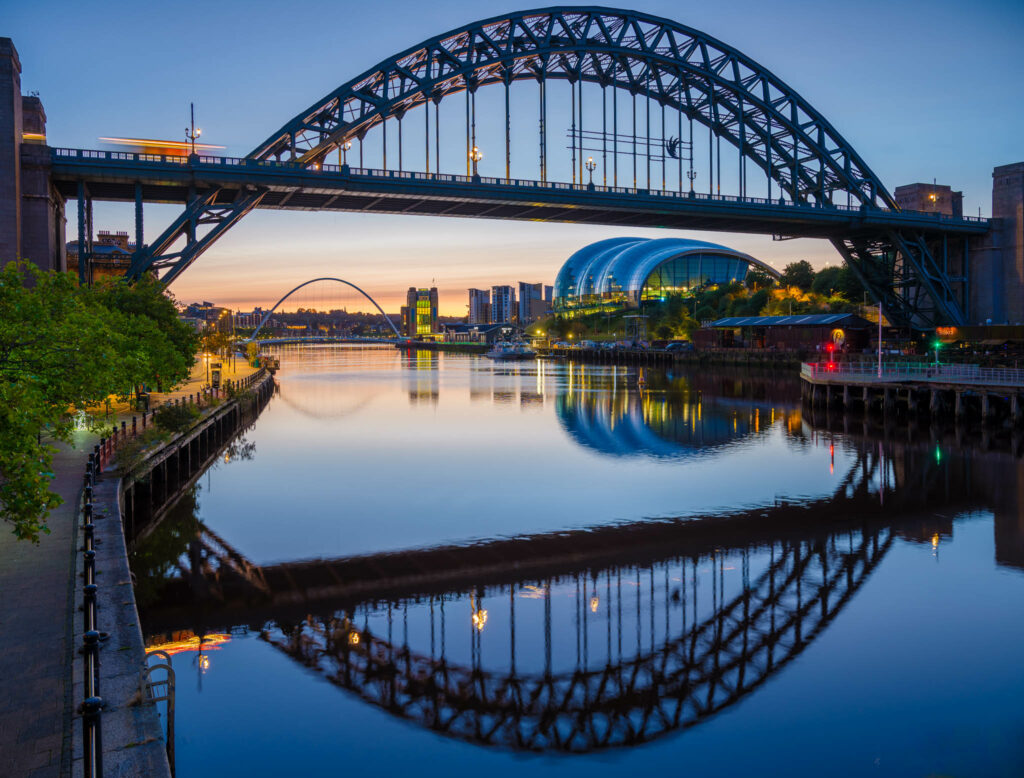
Timelapse by Svamppierre
If you are unsure of any of the settings or time intervals, you can always do a mini test time-lapse. Most cameras come with the inbuilt facility to process and replay the clip within the camera.
Note: Longer intervals in a fast scene can cause sudden or abrupt movements of the elements making it look like popping from one location to the other unless that is what you intended to shoot.
Timelapse by Siri Spjelkavik
For smoother movements in the final video, observe and examine how the scene is changing and select the intervals accordingly. In general, shorter time intervals give smooth transitions in the final video, giving it a more realistic feel.
Time-Lapse by John Fowler
Calculating Exposure Time And Shooting Interval For Time-Lapse:
Based on what you shoot, you will have chosen a particular interval between each shot and the exposure time depending on the scene you are planning to photograph. If you are using an ND filter or polarising filter, your exposure times may be longer than shooting without a filter. Based on these you will need to calculate the shooting interval where you need to make sure that the shooting interval is greater than exposure time giving the camera time between each shot.
Always make sure that there is some time given for the camera to clear up buffer after each shot without which the camera will struggle with the read and write process. If your exposure time is 4 seconds, choose the interval between shots to be at least a minimum of 6 seconds, so that camera has 2 seconds to get itself ready for shooting the next frame.
Sample Calculation For A Time-lapse:
When compiling the images for creating the video, they need to be rendered at 24 or 30 frames per second depending on what video system you will be using.
Here is an example:
If you are shooting a scene with some fast moving clouds, and you need a 10-second video, here is how you calculate the various factors:
For 24 frames per second video:
- You need 24 frames for one second, so for 10 seconds you will need to capture 240 frames
- For fast moving clouds, you need to set the interval about 1 to 3 seconds. Let us consider that we are shooting at about 2 seconds interval.
- So, for 240 frames, you will need to shoot for 240 x 2 seconds, which is 480 seconds, which is 8 minutes.
- In this case, you will need to program your intervalometer to shoot 240 frames at an interval of 2 seconds. Your exposure time needs to be lesser than 1.5 seconds
If you think that you may need more frames because something interesting may happen in the scene, and you’re not worried about the memory card filling up, then you can set the number of frames to infinity and shoot how much ever frames you need.
If you are shooting a landscape with long exposure either by stopping down the aperture or using ND filters, you will have long exposure times. For example, if your exposure time is about 5 seconds, then you will need to have your interval time between 7 and 8 seconds.
Time-Lapse by Dean Hardy. This example shows abrupt movements in clouds, which means the shooting interval could have been shorter for smoother transitions.
Calculating Shooting Time For Time-Lapse:
Knowing the amount of time you need to shoot is another important factor when making time-lapse photography. Just calculate the number of images needed to compile a particular length of the scene you need.
We know that we need 24 frames per second for video, which means for 10-seconds of footage, we will need 240 frames. So, if you are shooting 10-seconds of footage, you will need to multiply 240 by the exposure time + time interval for each frame. You will thereby know how much time will need to be invested in shooting a 10 seconds video and this will also help you to set the number of frames that need to be set in your intervalometer.
On the other hand,
If you want to show an hour’s event in a time-lapse of 10 seconds, you need to do the calculation differently. For a 10 second video, you need 240 frames. So divide one hour (3600 seconds) by 240 = 15-second intervals. This means you will need to shoot a photo every 15 seconds for an hour to get 240 frames to make a 10-second video.
Sometimes, there will be frame dropped while shooting a time-lapse and this can look a bit awkward in the final video.
Here Are Some Ways To Avoid Dropped Frames In A Time-Lapse:
- To avoid dropped frames, the frame interval needs to be greater than exposure time which means it is good to keep your exposure time within 60 to 80% of your interval so you give your camera enough time to clear the buffer and get ready for the next image to be taken. If you do not do this, you will have a lot of dropped frames as the camera will struggle with processing information between frames.
- Another factor that leads to dropped frames is slow memory cards. If you are shooting a frame every second and using a slow memory card, either frames may drop or your card may not respond as it will take quite some time to write on to the card.
Flickering is another important factor that can affect time-lapse photography and is another problem that needs to be taken care of while shooting a time-lapse. Flickering can be caused due to change in light or due to the mechanical elements in the camera. Here are some reasons for flicker and ways to minimize them.
Ways To Minimise Flicker In Time-Lapse:
- Constant Light – flicker due to constant light can happen due to the camera’s automatic light metering. This can be eliminated by shooting in manual mode where you can eliminate light metering process and reduce flicker.
- Changing light – flicker can also occur due to light changing in the scene, especially on cloudy days and while shooting sunsets and sunrises. Manual exposure can lead to over or underexposure of certain frames thereby causing flickering. In these situations, shooting in Aperture priority mode will help where you set the desired exposure, manually focus the scene and the camera will meter the changing light in the scene and choose the shutter speed depending on the available light.
- Aperture Flicker – this flicker is caused by autofocus lenses when the aperture narrows down each time to take a shot and each time it narrows down, there can be an ever so slight variation in the aperture value. This becomes noticeable in time-lapse and the best way to deal with aperture flicker is to use manual lenses that have a manual aperture ring
- Shutter Flicker – this can be minimized by using slower shutter speeds, perhaps lesser than 1/60s
Time-Lapse by Yunzhu Li
If you try the above methods and still come across flicker issues, you will need to use a de-flickering application while post-processing that can help fix most of the issues.
Memory Cards For Time-lapse Photography:
Always use high capacity memory cards as you will be shooting hundreds of images in raw format – a minimum of 32 Gb is a must. Also make sure that you use memory cards that have faster read and write speed, something like the SanDisk Extreme Pro memory cards that come with read and write speeds of 85 mbps and above.
Raw or Jpeg For Time-lapse Photography?
There is so much advise out there recommending to take jpeg images for speed and ease of post-processing as you will be dealing with hundreds of images, but to be on the safer side, we recommend you shoot raw so you can tweak the images and get as much detail possible while post-processing.
After The Shoot:
With time-lapse, only half the job is done during the shooting process. You will need an application to put all these still photographs together to create a time-lapse video. Choose the one that works best for you and use that to compile your time-lapse.
Some of the best applications out there are:
- Time-lapse Assembler – free for Mac
- LR Time-lapse – this is one of the best and the free version allows you to make a time-lapse with up to 400 images. Works as a Lightroom plugin as well.
- Lightroom – you can create the time-lapse in the “Slideshow” module of Lightroom
Further Resources:
- Timelapse Photography: A Complete Guide for Beginners
- 10 Tips on Time Lapse Photography To Help You Create Breathtaking Videos
- 4 Tips to Consider Before Creating Your First Time-lapse
- 13 Sure-Fire Time-Lapse Photography Tips
- The Complete Guide to Time-Lapse Photography: 82 tips
- Timelapse Photography Tutorial: An Overview of Shooting, Processing and Rendering Timelapse Movies
Shareable Images for Pinterest
