Looking for some great tips for long exposure shots? You're at the right place.
Long exposure photography is one of many methods a photographer might choose as a means of doing something “different.” If you’re like most photographers your spend the majority of your time capturing things at a fraction of a second. But it’s always fascinating to see what happens when you leave your shutter open for a full second or longer.
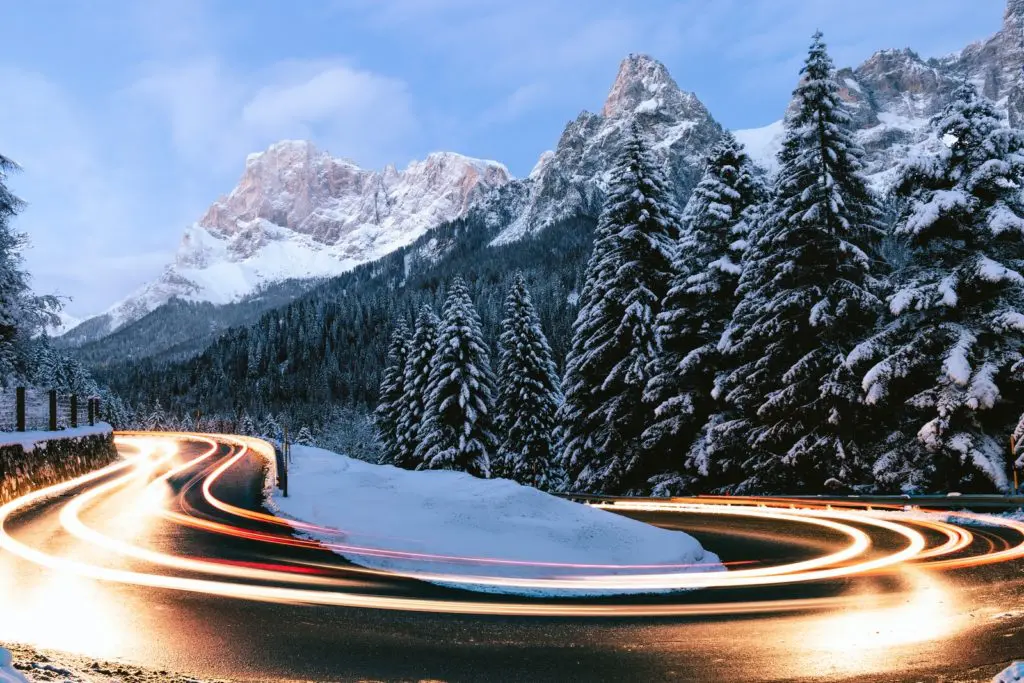
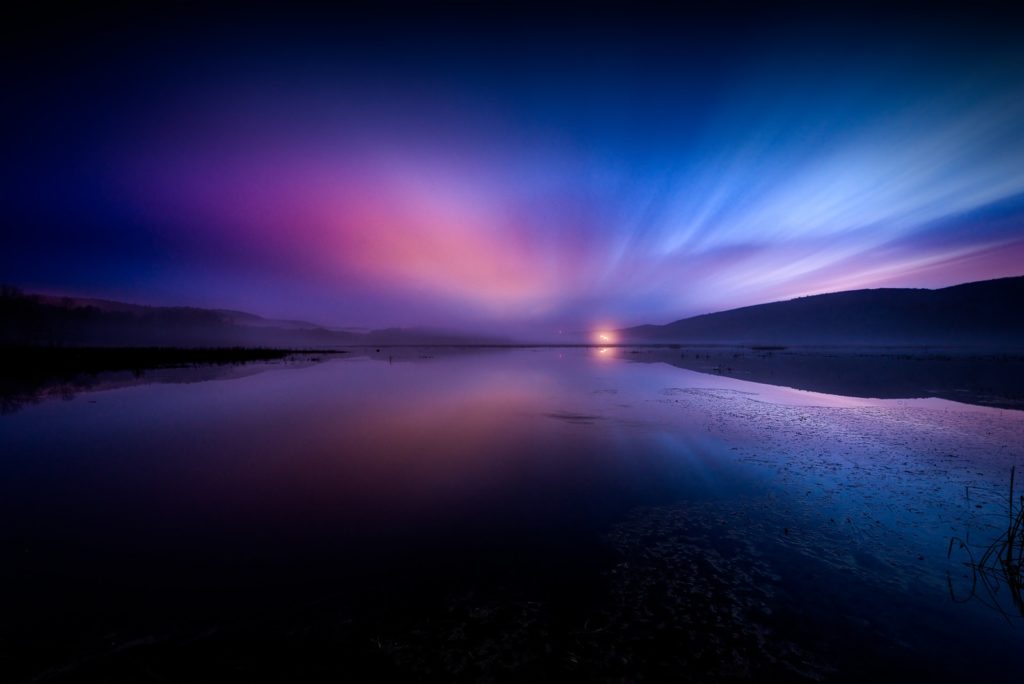
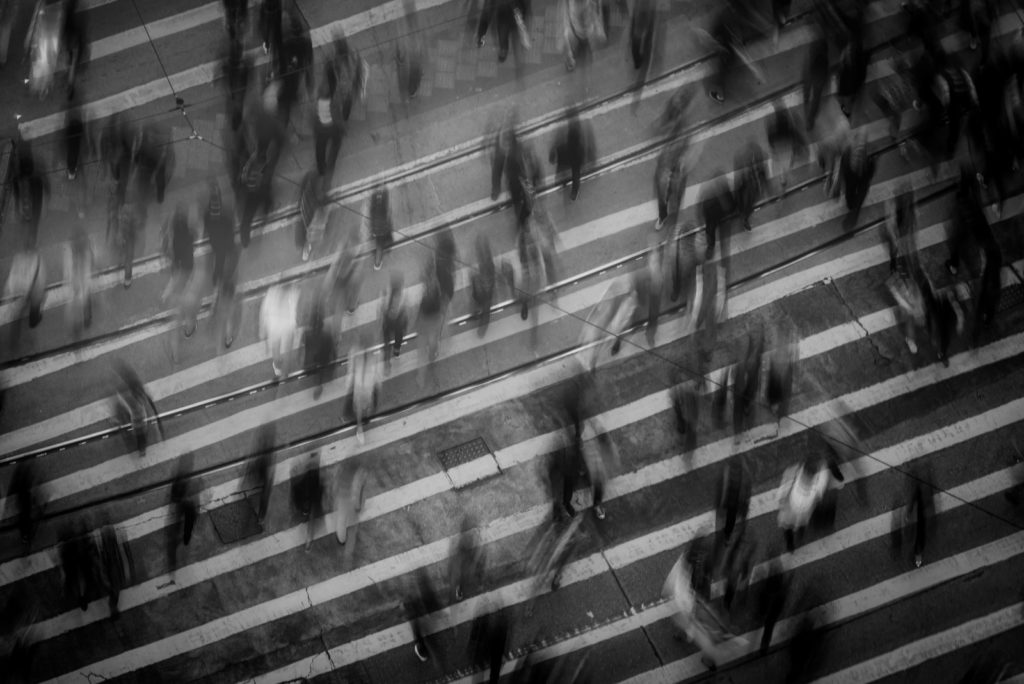
With long exposure photography you can capture motion in a more abstract way or turn an otherwise standard night shot into something ethereal.
There’s a little more to it than just setting an extended shutter time on your camera, however. Below are four easy to follow tips that will help make your long exposure photos successful.
Stabilize Your Camera
I’m aware how obvious this sounds, but I’m also aware of how easily inadequate stabilization can ruin a long exposure photo.
You should know that no matter how amazing image stabilization technology has become (whether in-lens or in-camera), it’s not enough to pull of a long exposure shot.
At the very least you need a sturdy tripod (no, not all tripods are created equal).
If you’re using a DSLR, be sure to activate the mirror-up feature. This will flip the mirror into the up position before making an exposure, thereby eliminating (or minimizing) the vibration normally introduced when take a shot.
Finally, use a remote shutter release device. The very act of pressing the pressing the shutter button causes camera shake. A remote shutter device allows you to start an exposure without having to touch the camera.

Get Your Settings Right
Getting your long exposure settings right will depend on the scene you’re shooting and will take some experimentation, but there are a few things to keep in mind:
- Long exposure photography requires you to take as much control as possible over your camera, so it’s advisable to shoot in manual mode.
- Set your ISO to the lowest setting; use a small aperture (but probably not your lens’ minimum aperture, as diffraction becomes more likely to kick in); use manual focus, as autofocus may struggle and leave you with out-of-focus photos.
- Shutter speed is the setting for which you will likely do most of your experimenting and will depend on lighting conditions and what effect you want to create. Start at 1 second and go longer as you see fit.

Don’t Abandon The Fundamentals
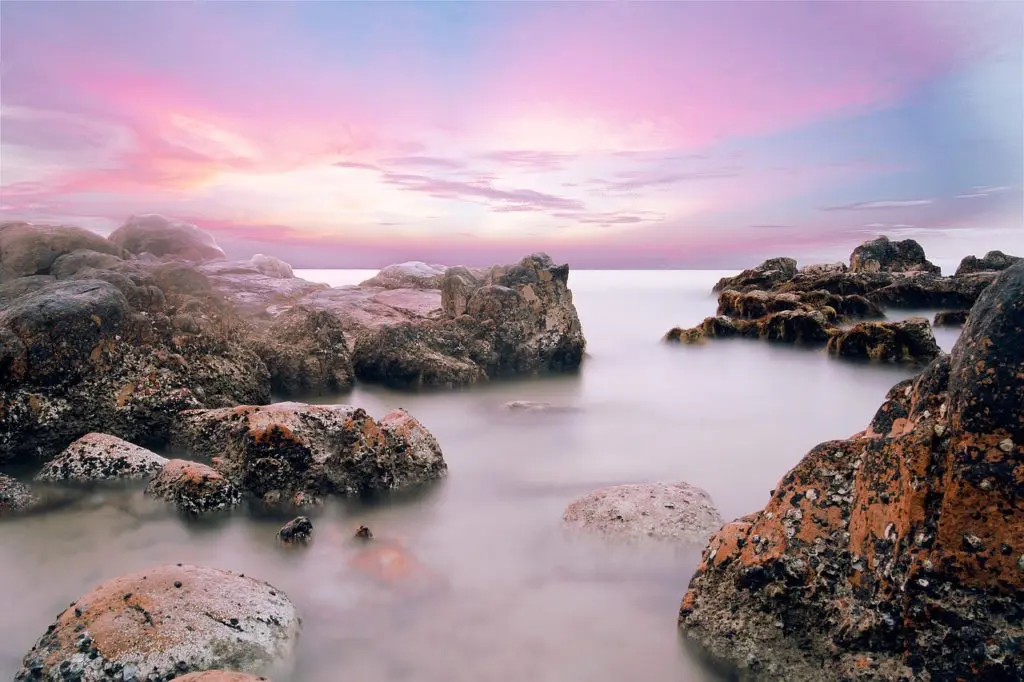
It’s easy to be ensnared by the magical look of a long exposure photo — the silken waterfalls, the protracted light trails, the abstract motion blur. It’s all very cool, but you can’t allow that to overshadow the basics of crafting a good photo.
Choosing the right scene, for instance, means avoiding one with too much light or too much movement. Instead, find a scene that will elicit a clear distinction between blurred movement and static objects.
The rules of composition still apply. It doesn’t matter what compositional technique you use, just use one. Otherwise you end up with an incomprehensible photo, one that you can’t pass off as “abstract.”

Take More Than One Photo
Sure, it’s going to take you a bit more time but make it a point to make multiple photos. Try different settings (especially shutter speed). Looking at the image on your rear LCD may not show imperfections such as unwanted movement in the photo; once you view your photos on a larger monitor, you might thank yourself for taking a second or third shot.

Final Thoughts On The Tips For Long Exposure
Once you’ve done it enough, you will develop a sense of how your photos will turn out in different environments and with different settings, but long exposure photography will always remain a great opportunity to experiment and have a bit of fun.
Further Reading:
- 25 Creative Examples Of Long Exposure Photography
- The 7 Minute Guide to Long Exposure Photography Gear
- A Guide To Long Exposure Architectural Photography
- How To Use A Neutral Density Filter For Daytime Long Exposures
- 13 Long Exposure Tutorials To Take
- Long Exposure Photography Made Easy
- Take Your Time With Long Exposure Photography


1 Comment
On a bright/sunny day, long exposure of a waterfall without blowout, can be done through bracketing and combining for an HDR image. So much easier than fighting the light sometimes, especially if you don’t yet have a good filter system.