To the surprise of no one, the topic of light is relatively common here on Light Stalking; search the archives and you can easily find plenty of useful advice about shooting during the golden hour, shooting only with ambient light, shooting at night, working with long exposures, doing light painting, etc. Likewise, you can find helpful articles about street photography. So, what if someone among Light Stalking's loyal readership wanted to know about night photography and street photography? Together. Night street photography? Street night photography? Either way, it’s a thing and you shoot in ambient light without the aid of natural light.
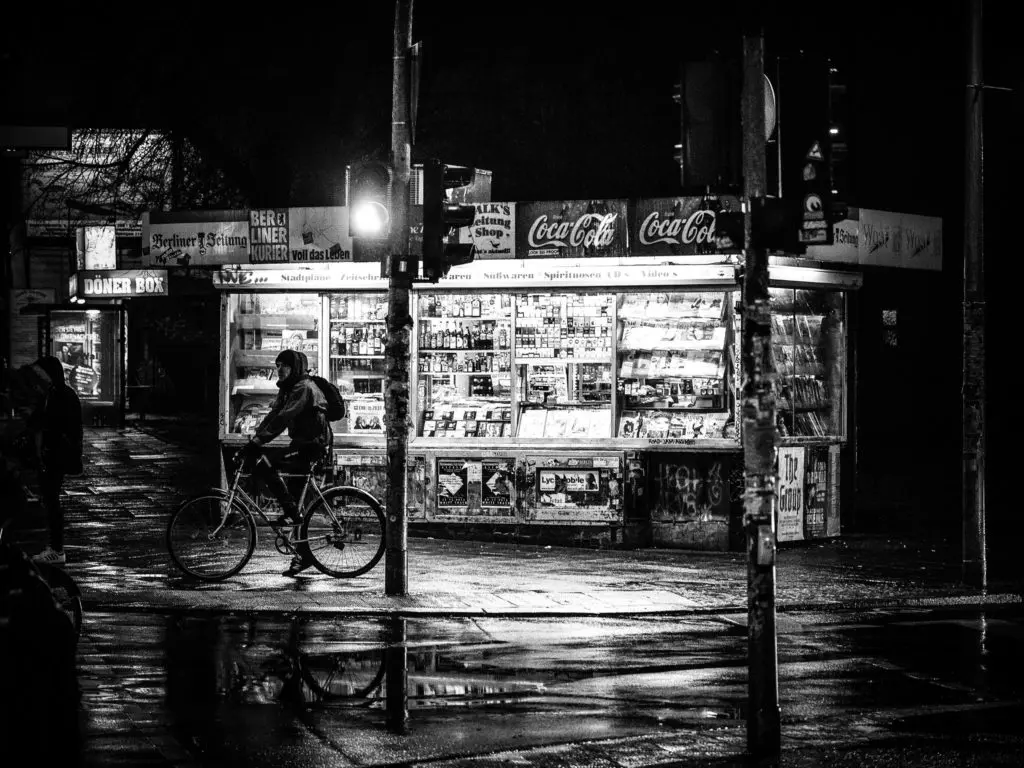
Photo by Sascha Kohlmann
The night adds a brand new dimension to otherwise “ordinary” street scenes that you would encounter during the day. This is true nearly anywhere, but applies particularly well to cities; in a city environment, colors and street lights and colorful lights are in abundant supply, emanating from neon signs, streetlights and lampposts, car lights, storefronts, and even people with their mobile phones. Speaking of people, they are likely to be dressed quite differently at night than they would be during the day, yet another feature that should draw you and your camera into the wonderful world of nighttime street photography.
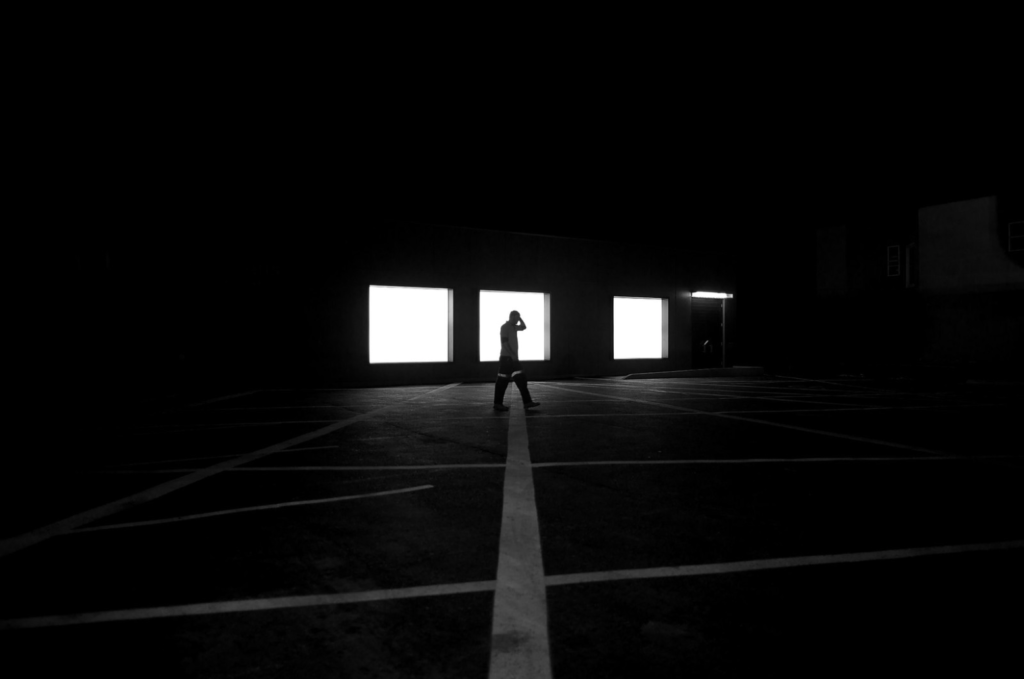
Photo by J_P_D,
If street photography after dark is something you're intrigued by, then the tips below are for you.
And be sure to thank Sheen Watkins, this was her idea; I'm just putting the words on the page.
Gear and Settings
Perhaps the two most inescapable questions regarding nighttime street photography have to do with what camera to use and camera settings like how to set exposure for this situation. Manual mode works great but if you know the shutter speed you will be using, you can even use shutter priority mode or for a desired aperture value, you can shoot in aperture priority mode. Always shoot raw.
Camera – The most practical and to-the-point answer is that it almost doesn’t matter what kind of camera you use. Use what you’ve got. So many of the cameras available today — from mobile devices to full frame DSLRs — are capable of at least decent low light photography. Of course, the better the camera (bigger/better image sensor) the better it will handle post-twilight street scenes. This doesn’t mean you must use a DSLR, however. Comfortable camera weight and size are important considerations when doing street photography and there are a number of high performing, small footprint cameras out there.
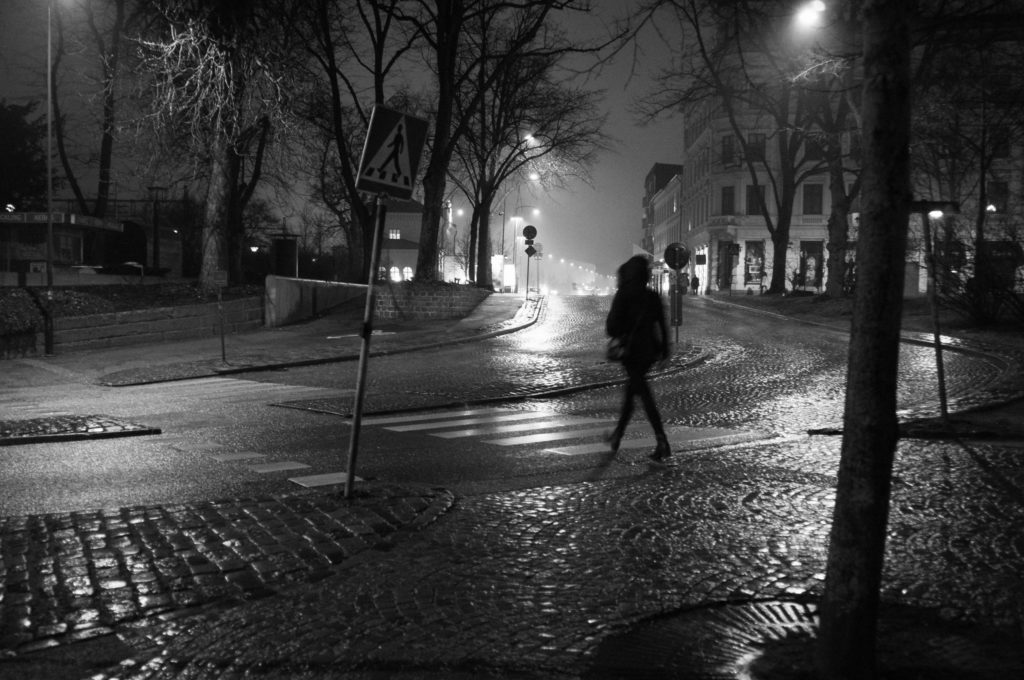
Photo by Sigfrid Lundberg
Lens – If you’re using an interchangeable lens camera body, equip it with the fastest lens you have. Many street night shooters consider f/2.8 the max; anything narrower than that can severely restrict your shooting options. As far as focal length is concerned, the ever-popular 50mm is well suited for night shooting street photography, especially if it has a wider aperture. If you have a 28mm or 35mm lens, you might pick one of those over the 50mm, as a wide angle lens will make it easier to get handheld shots at slower shutter speeds.
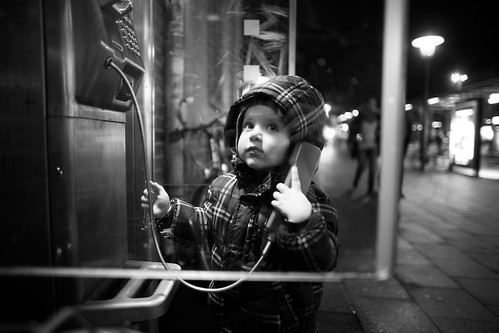
Photo by Andreas Øverland
Tripod – For me, a tripod is out of the question in this scenario and street photographers like to travel light. If you’re not doing long exposures, I’d recommend leaving the tripod at home. If you want your street photography to embody a sense of spontaneity, having to deal with a tripod the whole time is going to kill that dream. That’s not to say that there aren’t those who successfully use a tripod in their style of street photography; it can absolutely work especially for sharp images. If you are prepared to take a more deliberate approach and want to incorporate some creative effects into your work, then by all means use your tripod.
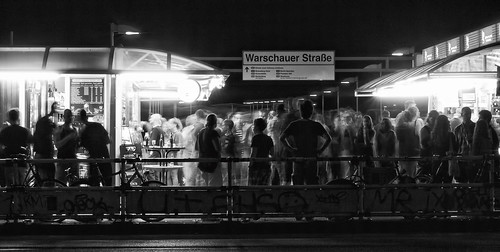
Photo by Sascha Kohlmann
Shutter Speed – Trying to freeze motion at night can be a challenge since freezing motion requires a fast shutter speed; faster shutter speed and low light don’t mix well, however. Here is where that fast prime lens (f/1.4, f/1.8, f/2) comes in so handy. A wider aperture will allow you to collect as much light and, thus, use faster shutter speeds. Of course, the environment plays a huge role in determining shutter speed. You shouldn’t have any trouble shooting at 1/160th sec. at night in a place as brightly lit as Times Square. But what about more dimly lit areas? Is it still possible to freeze the movement? Absolutely. But you’ll probably want to make 1/60th sec. (give or take — you’ll have to experiment) your shutter speed cutoff point, and it will be especially important to practice good technique for handheld shots in order to avoid camera shake.
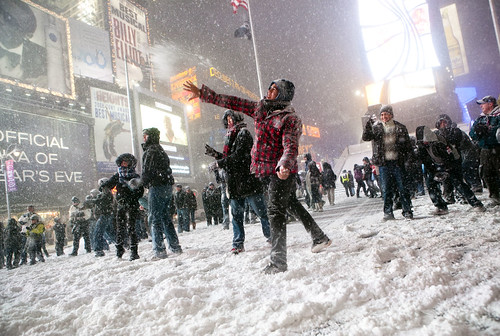
Photo by Dan Nguyen
ISO – Generally, you won’t be shooting at low iso like ISO 100 at night. But don’t sweat having to boost your ISO. With most digital cameras these days, you can comfortably shoot at 1600 without worrying too much about excessive noise. Just be sure to expose correctly. Even a slightly underexposed shot, in this instance, is going to dramatically emphasize digital noise leading to noisy images. How much noise is too much is entirely up to you, however.
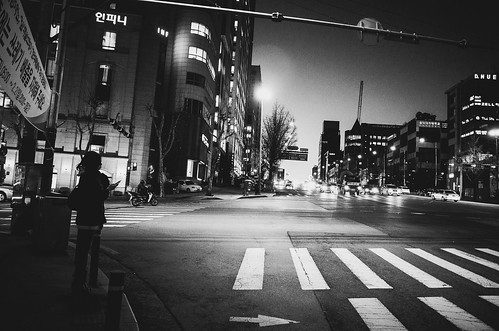
Photo by Anton S.
Focus – In short, get used to manual focus. Odds are your camera’s AF system will hunt for focus in such low lighting. You don’t have time for that. You could be missing shots while your camera struggles to lock focus on something. The best solution is to learn how to focus manually; with practice you will be able to do it quickly and accurately.
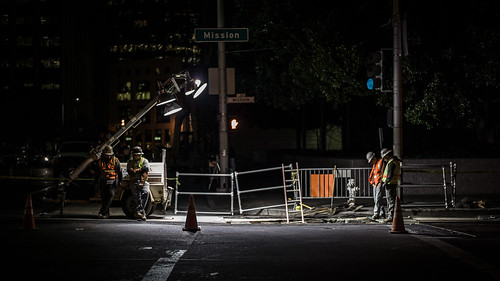
Photo by Max Braun
Image Stabilization – Image stabilization may or may not be of much use to you, depending on your subject. While it can certainly help you achieve surprisingly slow shutter speed, it does not freeze motion. It’s great if you’re shooting a stationary subject or if you want motion blur in your shot; otherwise, for a moving subject, you’re much better off relying on — once again — fast glass.
Out and About
Stalk the Light – The skies may have gone dark, but there will still be plenty of available light sources around you, casting beautiful colors and interesting shadows. Take advantage of this. Notice how light hits people’s faces; photograph their silhouettes; use shadows as subjects. Another tactic you can use is to find your way to a light source you find particularly appealing and photograph subjects as they walk by, briefly bathed in the light. But it doesn’t have to be all about people. Photograph the light itself, the buildings it illuminates, the way it shines through windows or reflects off the street.
Explore – Take this opportunity to explore places you don’t normally go; photographic gold may await you. Also, rediscover places you typically frequent only during daylight hours, as seeing these places at night will give you a brand new appreciation for them.
Revel in the Darkness – Trying to make your night shots look like they were taken in the daytime sort of defeats the purpose of night time street photography, don’t you think? So leave the flash at home and don’t use auto exposure settings (you will likely end up with a harsh overexposure); enjoy and capture everything the night has to offer. Yes, your night image will be dark and, perhaps, have portions that are hard to make out, but that is part of the charm of stunning night street photography. Conveying mood and atmosphere are more important than a perfect exposure.
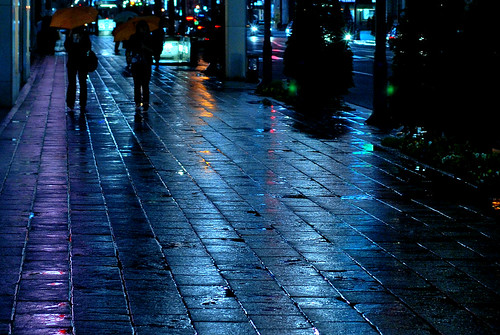
Photo by Yumi Kimura
Capture Motion – Yes, I know I’ve made more than one appeal to wide aperture lenses and high ISO as a means to achieve faster shutter speeds, thereby freezing motion. Well, if you’re so inclined to do something different, to add an extra visual dimension to your night images, then you should definitely capture motion — embrace the blur as these are different from the other blurry images. Street photography can sometimes feel a bit too static; if you want to convey the energy and dynamism of a street scene — people and cars rushing along — don’t be afraid of motion blur.
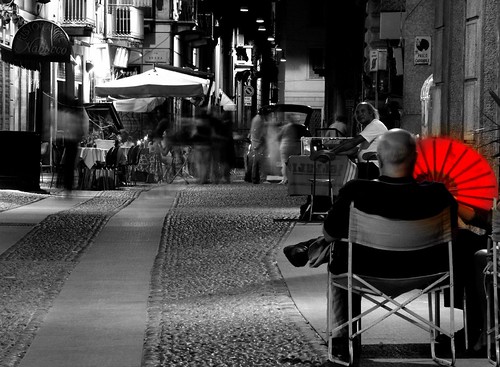
Photo by Jesus Solana
Be Safe – This should go without saying, but I’ll mention it anyway. Safety first! Don’t put yourself in harm’s way or recklessly venture into unfamiliar, isolated areas. The people you’re likely to encounter in alleyways probably aren’t all that interested in being photographed, so stick to open, populated areas. If you can, bring a willing friend along (especially if you insist on wandering into creepy areas). And just as you would in the daytime, be inconspicuous: turn off all your camera’s beeps, turn off the focus assist light, turn of the LCD screen. Stealth is important in street photography, vital in night street photography.
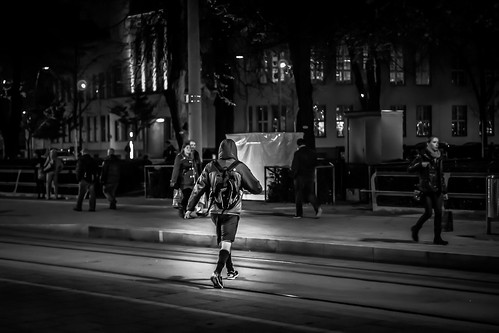
Photo by Christian Weidinger
If you're up for a fun, exciting challenge, go out and photograph life after dark. Not many street photographers do that!


2 Comments
Out of all of google’s ‘street photography hints’ searches, I found this article the most informative on combining night photography and street photography. Many thanks Jason.
Brilliant advice, I’m grabbing my Nikon Z50 with the 50mm 1.8 and roam around olde Bideford and Appldore. . Thank you.