As bokeh became one of my very first photographic experiences, long exposure images did something similar to my mind. I reckon seeing images on Flickr and even DeviantArt, visual content in which something was intriguing; to say the least. I mean, photographs with a fantastic thing going on, especially when involving water or clouds; both fluids by the way.
Back in 2009, I was so naive about photography that myself just couldn't believe those “visual effects” were achieved on camera… Written in that way, the phenomena still sounds like some kind of beautiful witch-craft, don't you think? Now I know better, and thankfully for you, I love sharing my humble insights.
Exposing with a camera depends on three physical mechanisms of light which are:
- Light's speed
- Light's magnitude
- Light's source
Dealing with Light's Speed
Each of those mechanisms poses an effect on the way our cameras deal with light. First, there's the shutter speed, which comes in time-value flavours. This has to do with the fact that our cameras can register light as time goes by; something easier to understand when comparing it to how we view the world always in real-time. Photographs, on the other hand, allow us human beings to constantly revisit a moment in time. Therefore, cameras' films and sensors need to be exposed to light for specific amounts of time. Otherwise, the light won't stay long enough for it to make a visible impression on these photo-sensible materials.
Spoiler alert! Cameras have been working the same way since around 1826 or 1827.
Having fun with Light's Magnitude
The magnitude or diameter of the light source is controlled by our camera's aperture; or more precisely, our lenses' iris diaphragms. Aperture values are somewhat challenging due to their obscure notation which seems to increase exponentially. You know, the infamous F-numbers:
ƒ/1.4 — ƒ/2 — ƒ/2.8 — ƒ/4 — ƒ/5.6 — ƒ/8 — ƒ/11 — ƒ/16 — ƒ/22 down to ƒ/64 or even lower
For some reason I can't understand, people usually ignore these numbers are fractions of a weird number “ƒ”. Once I came to realise this simple truth, these numbers stopped being weird to me and became my best friends in photography. Aperture is fascinating and has a beautiful side-effect, the amount of space which gets in focus. Tiny F-numbers like ƒ/1.4 (or even lower) would require precise camera handling to get our focus where needed. That's why close-up portraits can build bokeh from the very tip of the nose of a model (something easy to achieve with a rather particular lens).
So, using values like ƒ/5.6 down to f/11 are perfect for street photography when you have almost no control of what's going on in front of your camera. Contrary to portraits, landscapes require focusing on the distance, that's why this type of imagery is best made at aperture values no more than ƒ/16.
Fun Fact: The reason why the ƒ/64 group, the one founded by Ansel Adams and Willard Van Dyke, has that name is that their large format cameras were capable of achieving such aperture value; the pinnacle of crisp focus and deepness of field.
In a nutshell, the aperture controls the amount of light that gets through our camera in a given period. So if you want to keep your camera receiving light for eternities above the 1-second mark, then you would consider shrinking this aperture thingy in order so your images won't get ugly bright.
What About Light's Source?
Of course! Light's source; how do we tell our cameras that they are perceiving light from a mid-day sun or some cloudy skies? That's when the ISO value comes into the scene with friendly values like 100 — 200 — 400 — 800 — 1600 — and so on. Back in the days of film, one had to load different cameras with different films. Nowadays, we live in the future and we have technology! And ISO can be changed without the expense of buying another camera.
This last control does something beautiful with our camera, it sends more electricity to the sensor so it can become more sensitive to certain types of light. If the light is dull, raising your ISO to 800 or 1600 could do the trick. Just remember, stop before the noise becomes nasty and noticeable. Noise is produced by this electricity of course, and you can even see how your remaining shots counter change every time you change your ISO value. More energy requires more data, so your precious raw files always come with a price.
Getting Inspired
So, if you which to achieve silky clouds or silky rivers, you should consider exposure setting which would require the following solutions:
- fixing your camera with a sturdy tripod
- slowing your exposure settings
- and even using a remote trigger for a crispier shot
But what if the image is just too bright? Well, that's why committed landscape photographers usually wake up earlier than everybody else! If you don't believe me, go ask about this in the landscape forum. Also, you should consider using an ND filter and doing plenty of scouting as well.
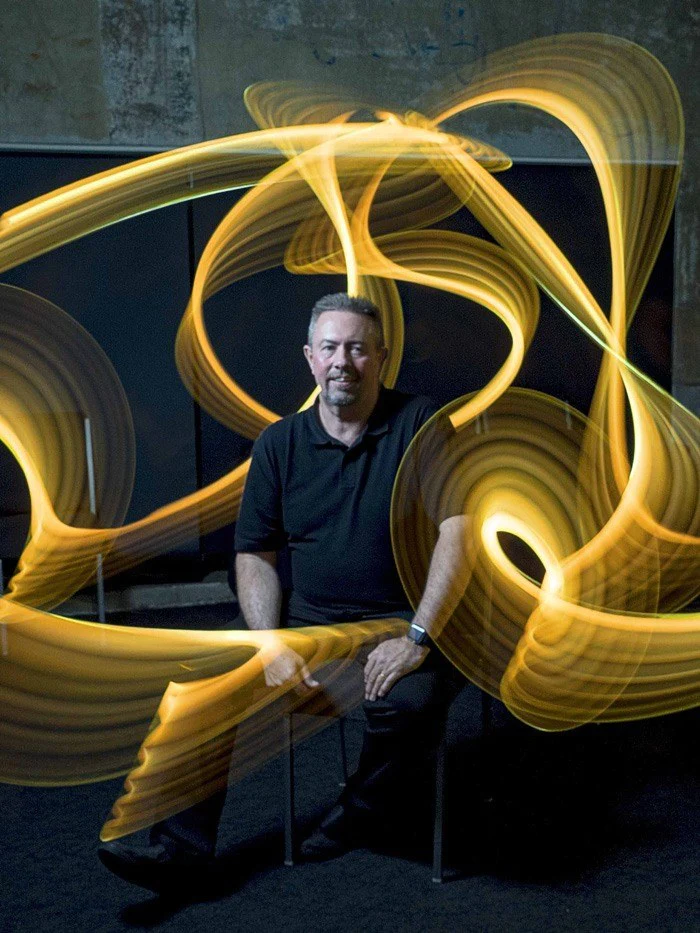
Are you ready for getting some inspiration? Here's a brief selection of fine long-exposure shots!


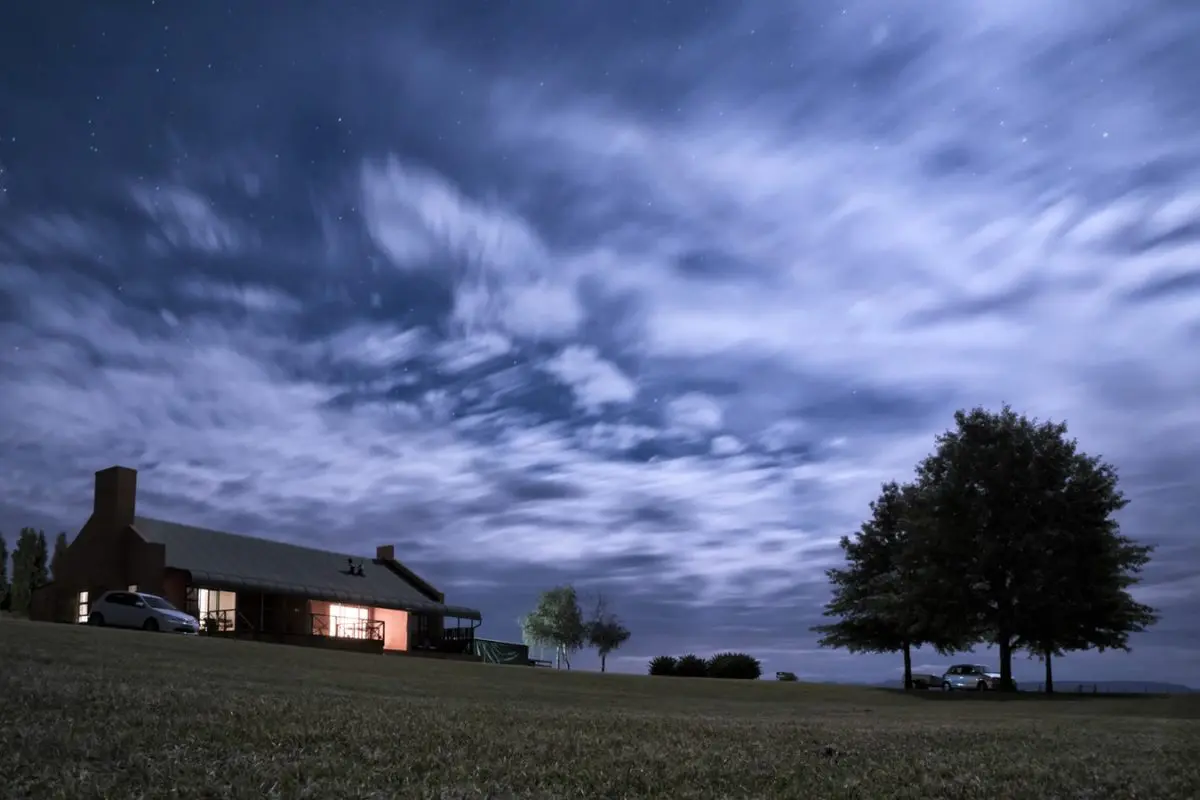


No, thanks to you for scrolling all the way down to here. I hope these brief collection comes with the needed stuff for you to go the extra-mile with your long-exposure shots! Please, feel free to share your results with us at our friendly community any time you want. Or even if you don't have something to share, swing by and enjoy the chat!