In a recent article we showed you how to wean yourself off of program mode using shutter and aperture priority modes. We also took a look at manual exposure mode and how and when to use exposure compensation. In this next article we are going to look at understanding your camera’s focus modes. We will also look at how the autofocus relates to drive modes and finally we will attempt to demystify ISO.
So let’s get into learning about focus.
How to Master Auto and Manual Focus
Your camera’s default autofocus is most likely one of its area modes. As a newcomer to photographer you will probably be pretty happy with the results. However as you start to learn new creative techniques, for example using depth of field, you will come to realise its limitations. So let’s look at some of the main options.
Single Point Autofocus
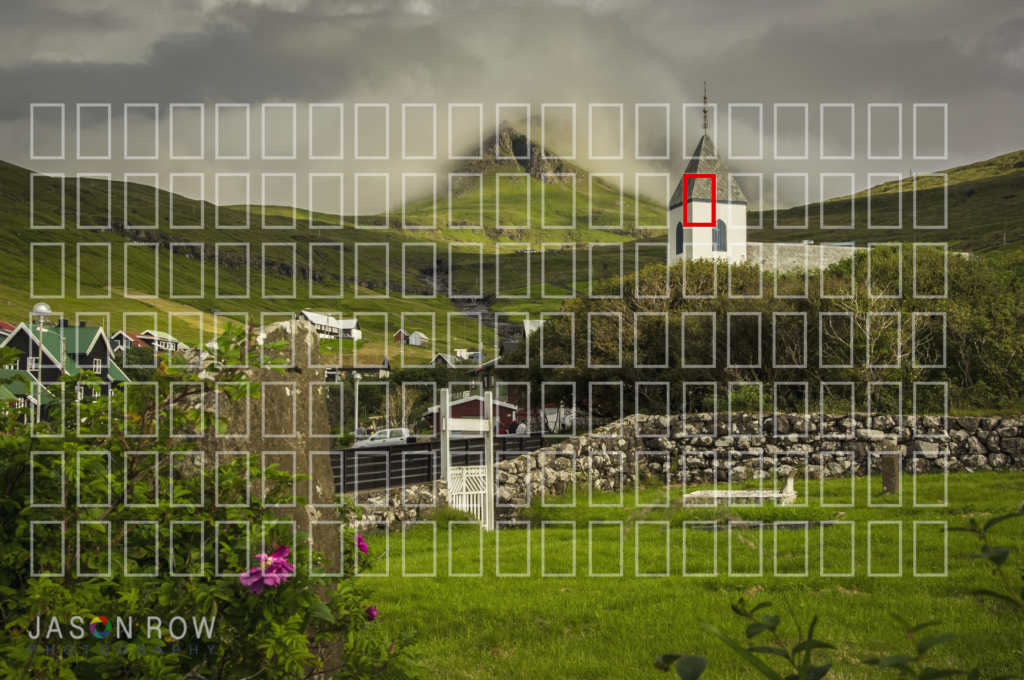
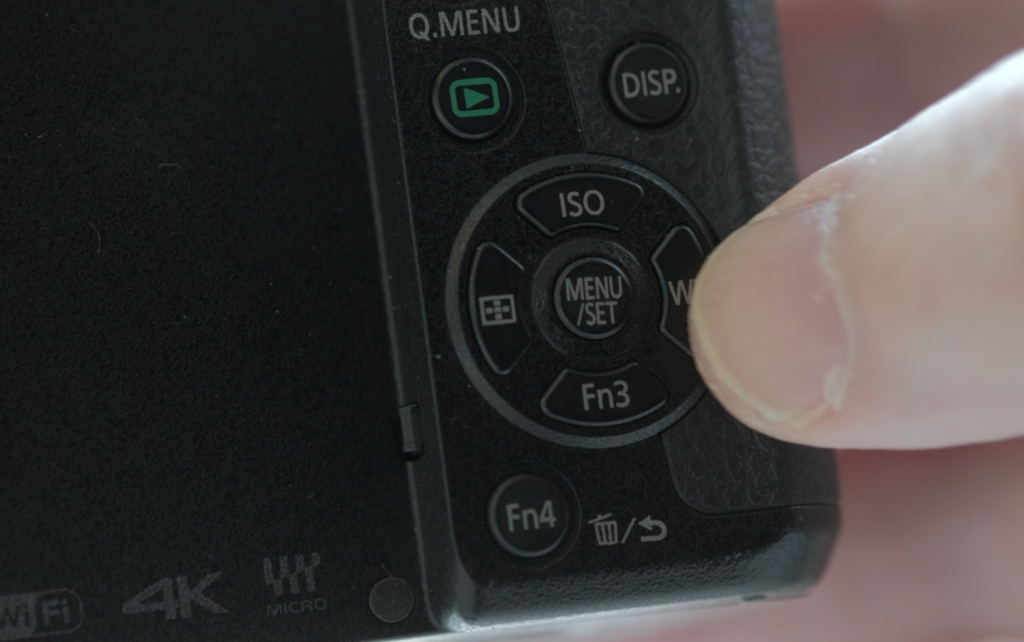
Probably the best autofocus mode for static objects will be single point autofocus. In this mode the camera reads the focus from a small point somewhere in the frame. The position of the focus point can be changed using the camera’s joystick or D-Pad.
This is very simple to practice. You can go to your local park, find two trees, one close and one relatively distant. With single point autofocus set, place the focus point on tree and half press the shutter. Now recompose, placing the autofocus point on the distant tree and half press. In both cases the focus will lock to the selected tree.
As another exercise, rather than recompose the shot, keep the camera positioned so that both trees are in frame. Now use the d-pad or joystick to move the focus point between the two trees. Half press the shutter when the point is on one of the trees. Single point is a much more accurate way to focus on non moving subjects.
Area Autofocus
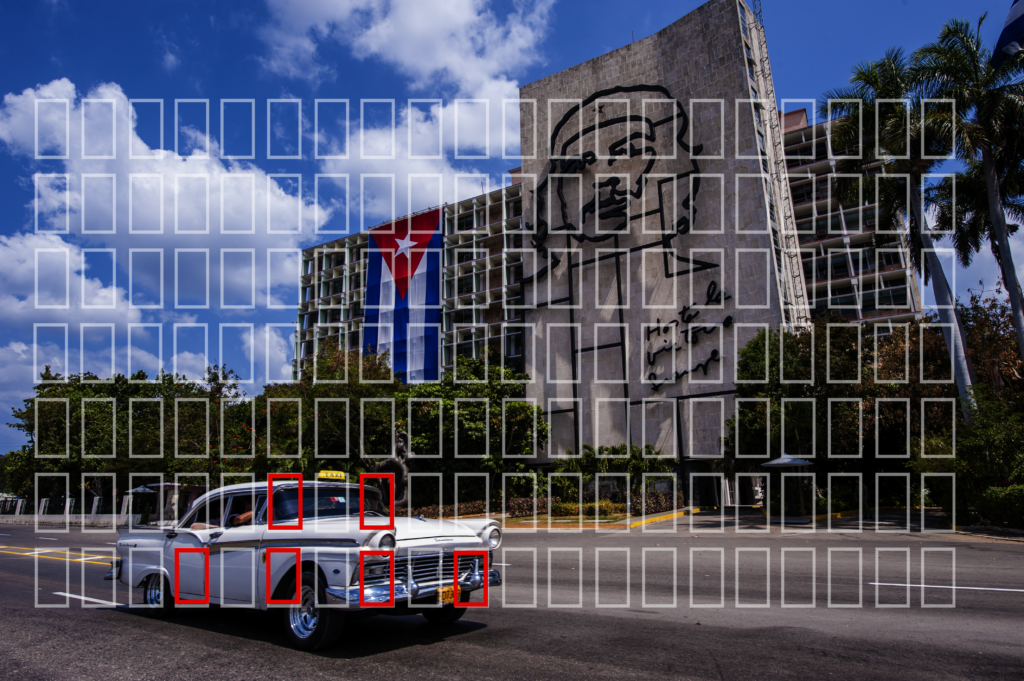
Where area focus comes into its own is on moving subjects. Return the camera to area autofocus and now looking for a moving subject. A car on a road would be a good choice. Look for a fairly quiet road where you can focus on a single car at a time. Standing on the side of the road point you camera towards the approaching vehicle and half press the shutter button. What will happen is that the focus will attempt to track the car as it moves through the frame.
Try this on various moving subject to get a feel for how well your camera tracks focus. For the most part the camera will track subjects that are moving in a predictable single direction better than an erratic subject.
Now Practice Manual Focus
Sometimes you may have to focus manually. Your camera’s autofocus may struggle in low contrast or in low light. You can practice this by using the same trees we used in single point autofocus. Switch the camera over the manual focus mode. To get accurate focus turn the focus ring until the chosen tree comes into focus. Then go slightly past that focus and come back. This helps confirm the sharpest point. Practice by focussing manually between the two trees and take shots to confirm that you nailed the focus.
Exercises to Master Your Camera’s Drive Modes
To compliment the autofocus modes your camera will have drive modes. These determine whether your camera is shooting one shot at a time or multiple bursts of shots.
With your camera in single point autofocus set the drive mode to single. Now take a shot but keep your finger pressing down on the shutter. You will see that the camera will take a single shot and no more. To take another shot you have to remove your finger from the shutter and press again.
Now with the camera still in single point autofocus, select one of the continuous shooting modes. look for a moving vehicle an shoot it keeping the shutter pressed down. You will find that the camera will shoot a burst of pictures and keep going until either you lift your finger or the memory buffer fills up. However what you will also find is the the focus will have remained where you single point was selected in the frame. So the moving vehicle may be in focus in one or two shots but not in all of them.
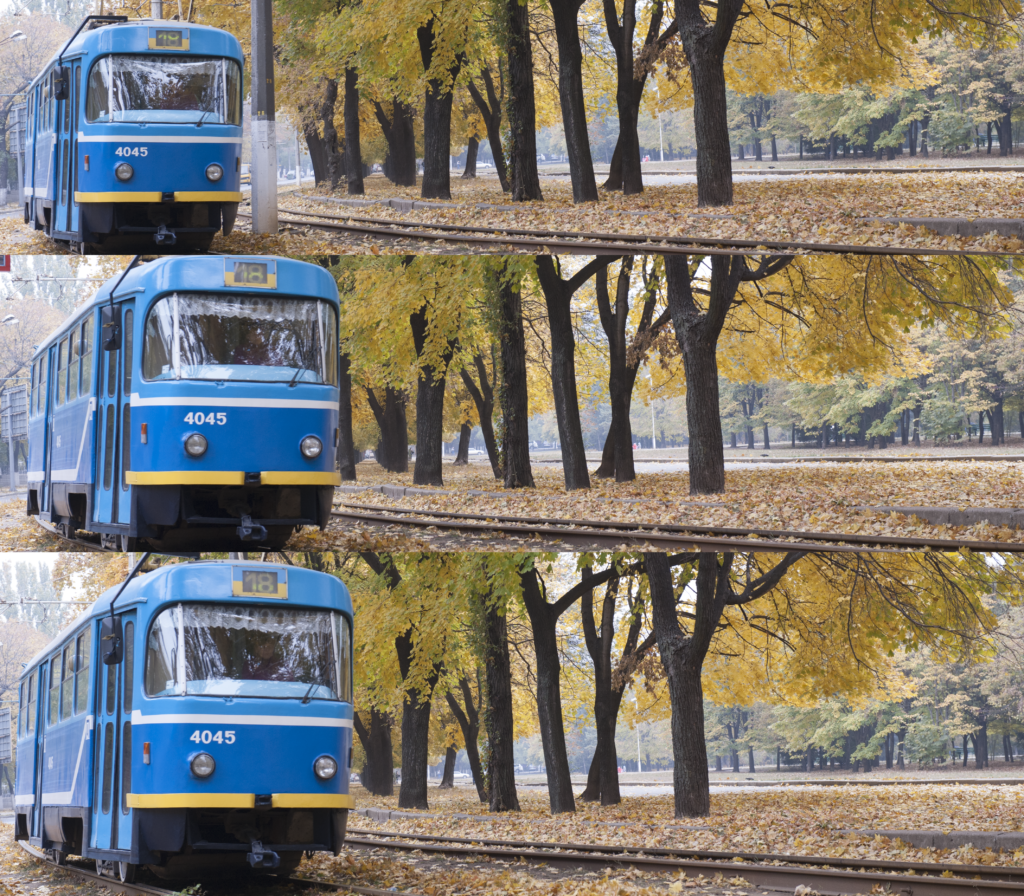
This is where area autofocus mode come in. Move the camera from single point to area autofocus with the drive mode in continuous. Now repeat the exercise shooting a moving car. What you will find is that as the car moves the camera tracks it and each shot will have a good focus.
You camera may have several drive modes of different shooting speed. It may also have several area focus modes. Practice combinations of these modes on subjects of different speeds, for example a pedestrian, a bicycle and a car. You will soon get a feel for what works best for each subject.
Exercises for Mastering ISO
In this section we will learn about the pros and cons of using ISO to counter that camera shake.
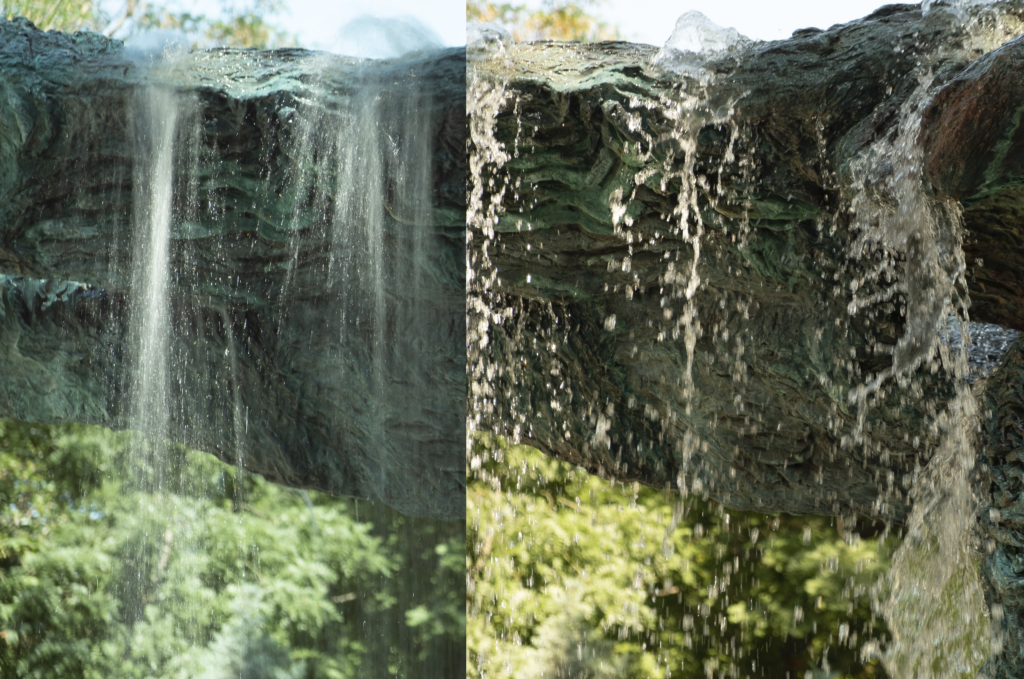
There is a reason we use shutter speed and aperture first when trying to nail our exposure and that’s because increasing ISO will reduce image quality. Let’s demonstrate this with an exercise.
This exercise will take place at twilight. As the sun drops below the horizon your shutter speeds will get longer and the ability to handhold will get harder. You need to shoot a city scene just after the city lights have come on but whilst there is still a good amount of light in the sky.
Use a standard lens of around 50mm and set an aperture of f/5.6 via aperture priority. Set your ISO to base, this is likely to be 100 or 200. Take a couple of shots of your subject. You should find that your shutter speed is fairly slow. Now increase the ISO by one stop at a time, each time repeating the same shot. Take the ISO up to 12800 or beyond if you can. If you still have some light, repeat the exercise with another subject.
At home you will need software like Lightroom or the free Darktable. Load your images up and zoom into each at 100%. What you should find is that on the base ISO images, the overall quality is clean and free from noise however there should be some camera shake in the image.
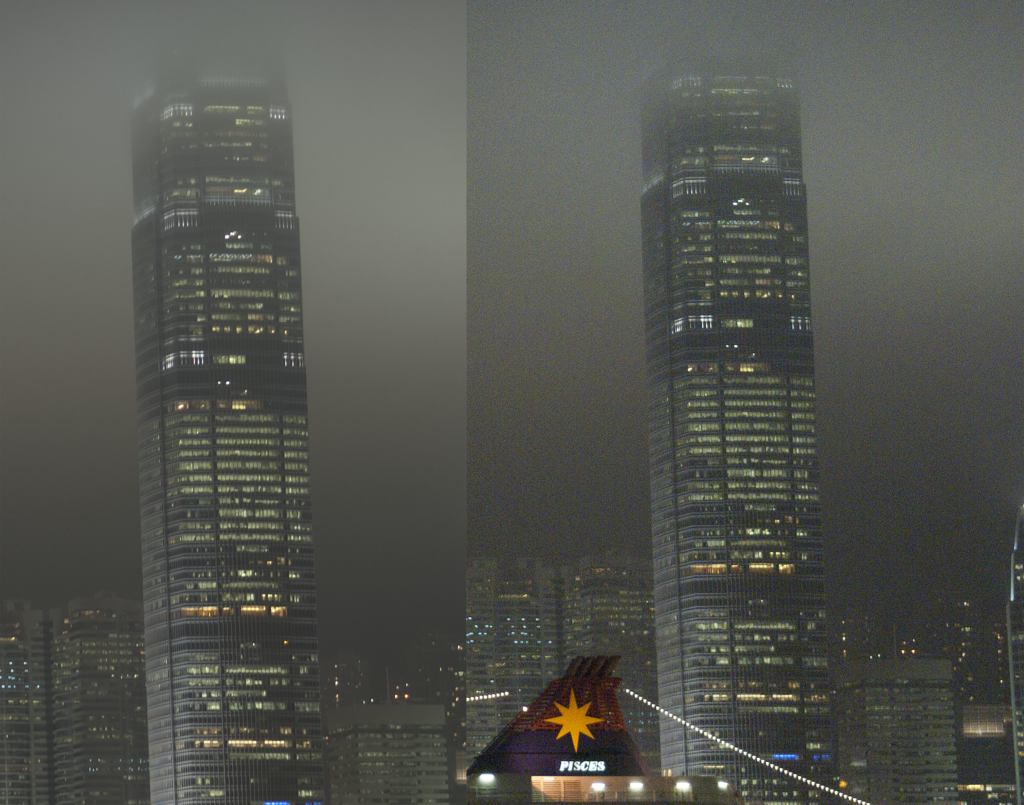
As you go through the shots with increasing ISO you will notice that the level of camera shake disappears but noise in the images increases. This exercise demonstrates the reason why we have to carefully consider by how much we increase the ISO to counter camera shake. The alternative to increasing ISO is to use a tripod and keep the ISO at base level.
By doing these exercises and the ones in our previous article, a person new to photography should be able to get out of the easier modes on their camera and step towards taking a lot more control.

